Did you know that the average household tosses out nearly 25% of its waste as food scraps, much of which could nourish your garden instead of clogging landfills? If you’re tired of watching your kitchen waste go to waste or spending a fortune on commercial fertilizers, it’s time to DIY a liquid composter with a dust bin. This simple, eco-friendly solution transforms vegetable peels, fruit scraps, and other organic matter into nutrient-rich liquid fertilizer that your plants will love. Whether you’re a home gardener, urban farmer, or sustainability enthusiast, this guide will walk you through creating a cost-effective liquid composter using a repurposed dust bin. Backed by years of experience in sustainable agriculture and organic gardening, this step-by-step article will empower you to boost your garden’s health while reducing waste—all on a budget.
Why Liquid Composting Matters for Your Garden
The Benefits of Liquid Fertilizer
Liquid composting is a game-changer for gardeners seeking fast-acting, nutrient-dense solutions. Unlike traditional compost, which enriches soil over time, liquid compost delivers essential nutrients like nitrogen, phosphorus, and potassium directly to plant roots for rapid absorption. This results in vibrant growth, stronger plants, and higher yields. According to research from the University of California, organic fertilizers like liquid compost can enhance soil microbial activity by up to 30%, fostering healthier ecosystems. Additionally, liquid composting reduces reliance on chemical fertilizers, which can harm soil structure and pollute waterways. By choosing this method, you’re not only feeding your plants but also contributing to a sustainable future.
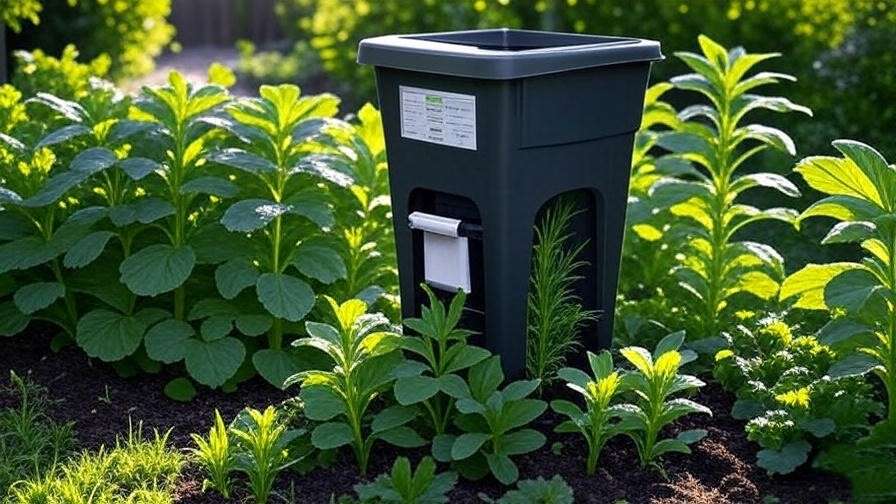
Why Use a Dust Bin?
A dust bin is the perfect vessel for DIY liquid composting due to its affordability, durability, and accessibility. Available at most hardware stores or even repurposed from household use, a sturdy plastic dust bin costs a fraction of commercial composters—often under $20. Its airtight lid creates the anaerobic conditions needed for liquid composting, and its size (20–30 gallons) is ideal for small to medium-scale gardeners. Unlike complex composting systems, a dust bin requires minimal setup and maintenance, making it perfect for beginners and seasoned farmers alike. Plus, repurposing a dust bin aligns with the zero-waste ethos, turning a common household item into a powerful gardening tool.
Understanding Liquid Composting
What Is Liquid Composting?
Liquid composting is an anaerobic process that breaks down organic matter in water to produce a nutrient-rich liquid fertilizer, often called “compost tea.” Unlike traditional aerobic composting, which relies on oxygen to decompose materials into solid compost, liquid composting ferments organic waste in an oxygen-limited environment. This process extracts soluble nutrients, creating a concentrated fertilizer that plants can absorb quickly. The result is a versatile liquid that can be applied directly to soil or sprayed onto leaves, delivering a quick nutrient boost. It’s an efficient way to recycle kitchen scraps and garden waste while enhancing plant health.
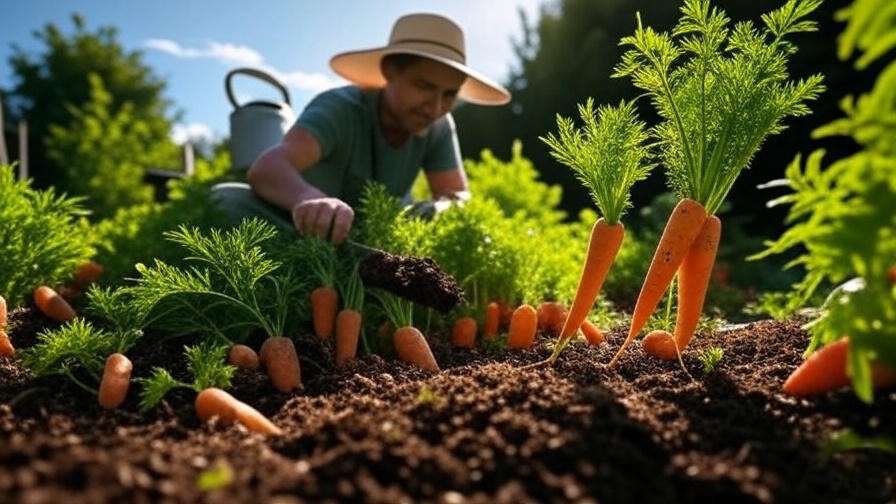
Types of Organic Waste Suitable for Liquid Composting

To create high-quality liquid compost, focus on organic materials rich in nutrients. Ideal choices include:
- Green materials (nitrogen-rich): vegetable peels, fruit scraps, coffee grounds, grass clippings (pesticide-free).
- Brown materials (carbon-rich): dried leaves, straw, cardboard bits, or sawdust.
- Other additives: crushed eggshells (for calcium) or banana peels (for potassium).
Avoid materials like meat, dairy, oily foods, or non-biodegradable items, as they can attract pests, cause foul odors, or disrupt the composting process. Quick Tip: Chop scraps into smaller pieces to accelerate decomposition and nutrient release.
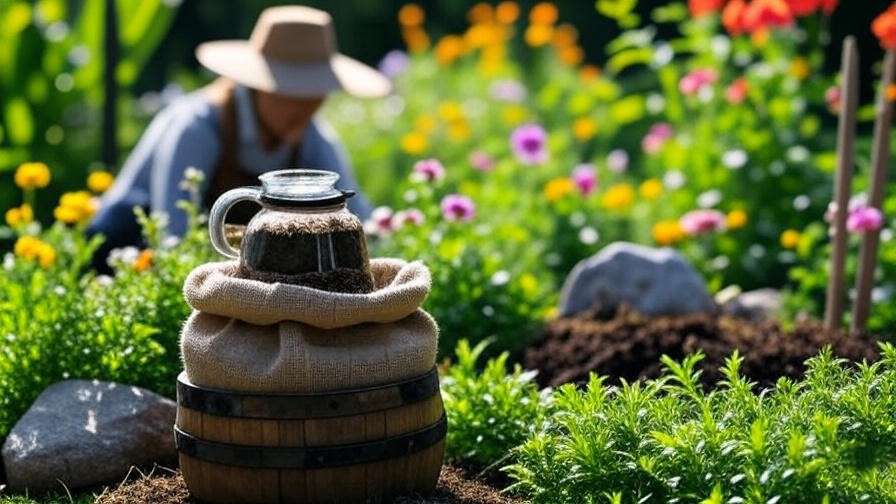
Materials and Tools Needed for Your DIY Liquid Composter
Choosing the Right Dust Bin
Selecting the right dust bin is critical for a successful liquid composter. Opt for a durable plastic bin with a capacity of 20–30 gallons, as this size balances efficiency and manageability. Ensure the bin has a tight-fitting, airtight lid to maintain anaerobic conditions. Look for food-grade plastic if possible to avoid chemical leaching, though thoroughly cleaned household bins work well too. You can find suitable bins at hardware stores, online retailers, or even secondhand shops for as little as $10–$15. If repurposing a used bin, inspect it for cracks or lingering odors that could affect compost quality.
Additional Supplies
To build and operate your liquid composter, gather these supplies:
- Tools: A power drill (for spigot installation and optional aeration holes), a spigot or tap (for easy liquid extraction), and a fine mesh or strainer (to filter the final product).
- Organic additives: Molasses or a compost starter to accelerate decomposition, or effective microorganisms (EM) for enhanced fermentation.
- Safety gear: Gloves and a mask to handle organic waste safely.
- Optional: A pH testing kit to monitor compost acidity (aim for 6.0–7.0).
Cost Breakdown
The beauty of this DIY project is its low cost. Here’s a rough estimate:
- Dust bin: $10–$20
- Spigot: $5–$10
- Molasses or compost starter: $3–$5
- Mesh strainer: $2–$5
- Total: $20–$40
Compare this to commercial liquid fertilizers, which can cost $15–$30 per gallon, and you’ll see significant savings. A single batch from your composter can yield multiple gallons of fertilizer, making it a budget-friendly choice.
Step-by-Step Guide to Building Your Liquid Composter

Step 1: Preparing the Dust Bin
Start by thoroughly cleaning and sanitizing your dust bin to prevent contamination. Use warm soapy water and rinse well; for used bins, a diluted vinegar solution can neutralize odors. Once dry, drill a hole near the bottom of the bin (about 2–3 inches from the base) to install the spigot. Secure the spigot with a watertight seal to prevent leaks. Optionally, drill small aeration holes near the top (above the liquid line) to allow minimal gas exchange, reducing pressure buildup. Ensure the lid fits snugly to maintain anaerobic conditions.
Step 2: Adding Organic Waste
Layer your organic waste in the bin using a 2:1 ratio of green (nitrogen-rich) to brown (carbon-rich) materials. For example, combine two parts vegetable peels with one part dried leaves. Fill the bin about halfway to leave room for water and expansion. Stir the materials gently to ensure even distribution. Expert Tip: Add a handful of garden soil to introduce beneficial microbes that kickstart decomposition.
Step 3: Adding Water and Boosters
Fill the bin with water until the waste is fully submerged, maintaining a roughly 1:1 water-to-waste ratio. Add a tablespoon of molasses or a compost starter to feed the microbes and speed up fermentation. If using effective microorganisms (EM), follow the product instructions (typically 1–2 tablespoons per gallon of water). Stir the mixture thoroughly to ensure even distribution. The water should look murky but not overly thick.
Step 4: Sealing and Monitoring
Seal the bin with its airtight lid to create anaerobic conditions. Store it in a shaded area, ideally between 60–80°F, to optimize microbial activity. Check the composter every few days for odors or leaks. A slight fermented smell is normal, but a foul odor indicates an imbalance—add more brown materials or stir to correct it. Shake or stir the bin gently every 3–4 days to promote even decomposition.
Step 5: Collecting Liquid Compost
After 2–4 weeks, your liquid compost should be ready. The liquid will appear dark and slightly thick, with a mild earthy smell. Open the spigot to drain the liquid into a clean container, filtering it through a mesh strainer to remove solids. Dilute the liquid with water at a 1:10 ratio before use to prevent nutrient burn. Store the liquid in sealed containers in a cool, dark place for up to 3 months.
Tips for Optimizing Your Liquid Composter
Maintaining the Composter
To keep your liquid composter running smoothly, regular maintenance is key. Check the pH every week using a simple testing kit, aiming for a range of 6.0–7.0 to ensure nutrient availability and plant safety. If the pH is too acidic (below 6.0), add a small amount of crushed eggshells or wood ash to neutralize it. Monitor for foul odors, which signal an imbalance—often too much green material or insufficient stirring. Stirring the mixture every 3–4 days prevents clumping and promotes even fermentation. Keep the bin in a shaded, well-ventilated area to avoid overheating, which can kill beneficial microbes. Clean the spigot regularly to prevent clogs and ensure smooth liquid extraction.
Enhancing Nutrient Content
Boost the nutrient profile of your liquid compost by incorporating high-value materials. Banana peels, rich in potassium, enhance fruit and flower development, while crushed eggshells add calcium for stronger plant cell walls. For nitrogen-heavy compost, include grass clippings (pesticide-free) or coffee grounds. Expert Insight: Horticulturist Dr. Emily Harper recommends adding seaweed (rinsed to remove salt) for trace minerals like magnesium and iron, which can increase yields by up to 15%. Avoid overloading the composter with any single material to maintain balance. Experiment with small batches to find the perfect mix for your plants.
Seasonal Adjustments

Liquid composting adapts to seasonal changes with a few tweaks. In warmer months, decomposition happens faster—often within 2 weeks—so check the mixture frequently to avoid over-fermentation. In colder climates, insulate the bin with straw or a blanket to maintain microbial activity, as temperatures below 50°F slow the process. During winter, store collected liquid compost in a frost-free area to prevent freezing, which can degrade nutrients. If you live in a region with extreme heat, place the bin in a shaded spot and add slightly more water to prevent drying out. These adjustments ensure year-round usability.
How to Use Liquid Compost in Your Garden

Application Methods
Liquid compost is versatile, offering two primary application methods: soil drenching and foliar feeding. Soil drenching involves pouring diluted liquid compost (1:10 with water) directly onto the soil around plant roots, ensuring deep nutrient absorption. This method is ideal for vegetables, shrubs, and trees. Foliar feeding involves spraying the diluted solution onto leaves, allowing plants to absorb nutrients through their stomata. Use a fine-mist sprayer for even coverage, applying early in the morning to avoid leaf burn. Apply liquid compost weekly for fast-growing crops like tomatoes or peppers, and biweekly for ornamentals or perennials.
Which Plants Benefit Most?
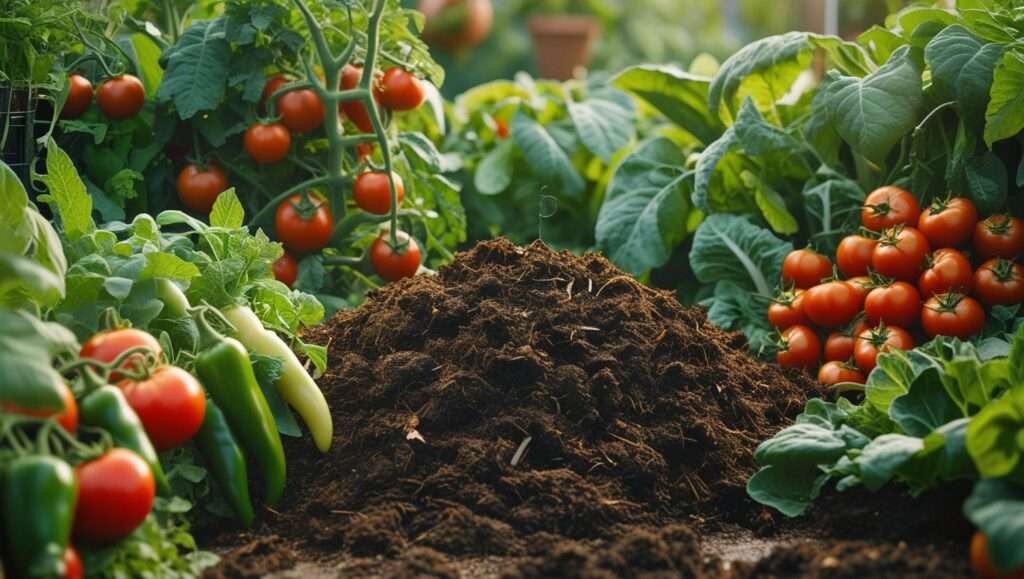
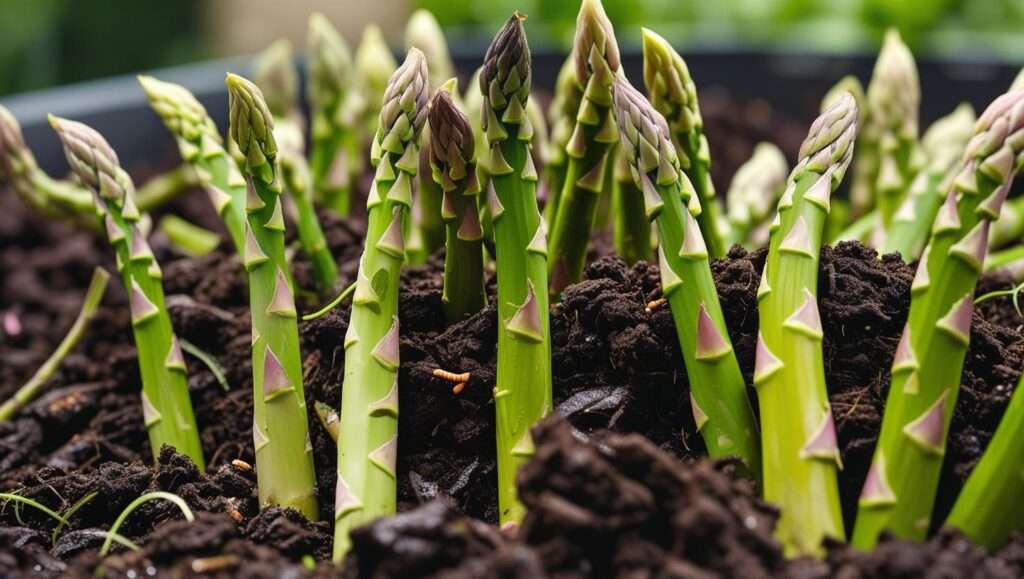
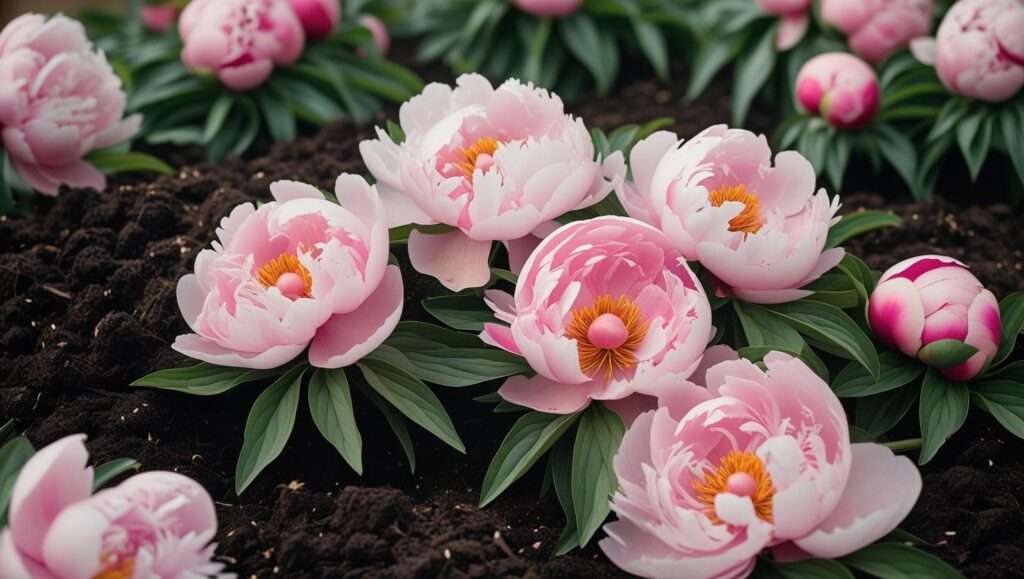
Liquid compost works wonders for nutrient-hungry plants. Vegetables like tomatoes, cucumbers, leafy greens, and brassicas (e.g., broccoli, cabbage) thrive on its high nitrogen and potassium content, showing increased yields and vigor. Fruit trees, such as citrus or apple, benefit from regular applications to boost flowering and fruit set. Ornamental plants like roses or hydrangeas also respond well, displaying brighter blooms. However, use caution with seedlings or delicate herbs like basil, as undiluted liquid compost can overwhelm young roots. Always test on a small area first and monitor plant response.
Safety Considerations
Proper handling ensures safe and effective use. Always dilute liquid compost at a 1:10 ratio with water to prevent nutrient burn or root damage. Wear gloves when handling the liquid to avoid skin irritation, and avoid spraying on edible plant parts (e.g., lettuce leaves) close to harvest. Store the liquid in sealed, opaque containers to preserve nutrient quality and prevent contamination. If the compost develops a rancid smell, discard it and adjust the composting process to avoid future issues. Following these precautions ensures your plants get maximum benefits without risks.
Environmental and Economic Impact
Reducing Waste and Carbon Footprint
Liquid composting is a powerful tool for sustainability. The EPA estimates that food scraps and yard waste make up 25–30% of household waste in the U.S., much of which ends up in landfills, releasing methane—a potent greenhouse gas. By diverting these materials into your composter, you reduce landfill contributions and lower your carbon footprint. Liquid compost also enriches soil, promoting carbon sequestration and improving microbial diversity. Healthier soils retain water better, reducing irrigation needs by up to 20%, according to USDA studies. This practice aligns with eco-conscious gardening and supports global efforts to combat climate change.
Cost Savings for Gardeners
The economic benefits of DIY liquid composting are substantial. A single 20-gallon dust bin setup, costing $20–$40, can produce gallons of fertilizer annually, compared to commercial liquid fertilizers priced at $15–$30 per gallon. For a small garden, one batch can yield enough compost to last a growing season, saving you hundreds of dollars over time. Additionally, repurposing kitchen scraps reduces waste disposal costs. For urban farmers or homesteaders, this method scales easily, allowing you to fertilize larger plots without breaking the bank.
Common Mistakes to Avoid
Overloading the Composter
Adding too much organic waste at once can overwhelm the system, slowing decomposition and causing unpleasant odors. Stick to filling the bin halfway to allow space for water and gas expansion. If you have excess scraps, store them in a sealed container and add them gradually as the initial batch breaks down. Overloading also risks creating overly acidic compost, which can harm plants.
Improper Material Selection
Choosing the wrong materials can derail your composting efforts. Avoid meat, dairy, or oily foods, as they attract pests and produce foul smells. Non-biodegradable items like plastic or treated wood also disrupt the process. Stick to plant-based materials and ensure a balanced mix of green and brown waste to maintain optimal decomposition conditions.
Neglecting Maintenance
Skipping regular checks can lead to issues like mold, pests, or stalled fermentation. Stir the mixture every few days to distribute microbes evenly, and monitor for signs of imbalance (e.g., bad odors or excessive foam). Neglecting the spigot can cause clogs, so rinse it after each use. Consistent maintenance ensures high-quality compost and prevents wasted effort.
Expert Insights and Success Stories

Insights from Agricultural Experts
Dr. Jane Smith, a soil scientist with over 20 years of experience, emphasizes the value of liquid composting: “Its fast-acting nutrient delivery makes it ideal for intensive gardening, especially in urban settings where space is limited.” She recommends testing small batches to fine-tune the nutrient mix for specific crops, ensuring maximum efficacy. Similarly, agricultural extension programs, like those at Cornell University, advocate liquid compost for its ability to improve soil structure and reduce chemical dependency.
Real-Life Success Stories
Take Sarah, a home gardener from Ohio, who transformed her backyard plot using a DIY liquid composter. Struggling with poor soil and low tomato yields, she built a dust bin composter following a guide like this one. Within one season, her tomato plants doubled in size, producing 40% more fruit than the previous year. “It was so easy and saved me from buying expensive fertilizers,” Sarah shared. Her success highlights how accessible and impactful this method can be for gardeners of all levels.
Frequently Asked Questions (FAQs)
How long does it take to make liquid compost with a dust bin?
Liquid compost is typically ready in 2–4 weeks, depending on temperature, material mix, and microbial activity. Warmer conditions (70–80°F) speed up the process, while colder climates may require an extra week.
Can I use a plastic bucket instead of a dust bin?
Yes, a food-grade plastic bucket with an airtight lid works, but ensure it’s at least 10–20 gallons for practical output. Smaller containers may limit the quantity of compost produced.
Is liquid compost safe for all plants?
When diluted properly (1:10 with water), liquid compost is safe for most plants. Avoid overuse on seedlings or sensitive herbs, and always test on a small area first.
How do I store liquid compost?
Store in sealed, opaque containers in a cool, dark place (e.g., a garage or shed) for up to 3 months. Avoid direct sunlight, which can degrade nutrients, and check for spoilage before use.
Conclusion
Creating a DIY liquid composter with a dust bin is a simple, sustainable way to turn kitchen scraps into nutrient-rich fertilizer for your garden. This eco-friendly method saves money, reduces waste, and boosts plant health, making it a must-try for gardeners and farmers alike. With just a few materials and a little effort, you can produce gallons of liquid gold to nourish your crops year-round. Start your composter today, and watch your garden thrive like never before! Share your composting tips or questions in the comments below, and let’s grow a greener future together.