Imagine your hydroponic garden bursting with vibrant, healthy plants, their roots thriving in perfectly chilled water—all thanks to the right hydroponic bucket chiller. In the heat of summer or a warm indoor setup, water temperatures soaring above 80°F can stifle growth, reduce yields, and invite root rot. As of August 2025, maintaining optimal water temperatures (65–75°F or 18–24°C) is more critical than ever for nutrient uptake and plant health in hydroponic systems. This comprehensive guide, crafted by a hydroponics expert, will walk you through selecting, installing, and maintaining a hydroponic bucket chiller to solve these challenges and elevate your gardening success.
Understanding Hydroponic Bucket Chillers: Why Temperature Matters
The Role of Water Temperature in Hydroponics

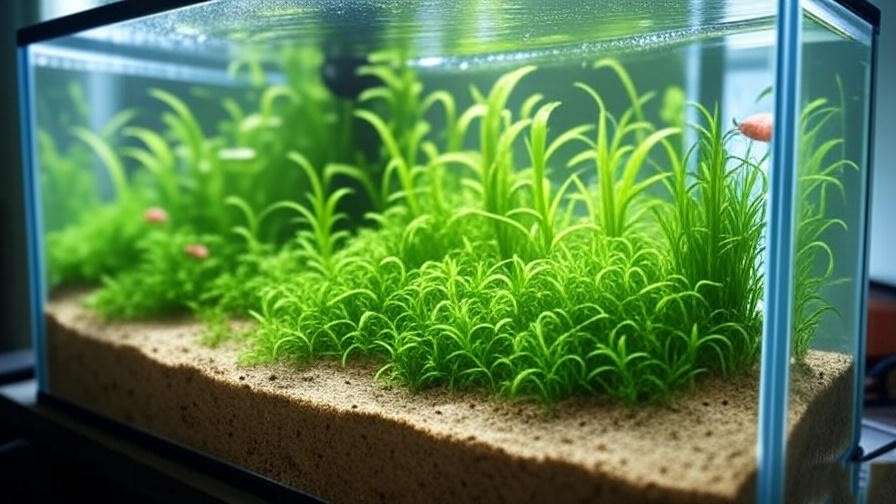
Water temperature is a cornerstone of hydroponic success. The ideal range of 65–75°F ensures optimal dissolved oxygen levels, crucial for root respiration, and supports efficient nutrient absorption. Temperatures below 60°F slow metabolism, while above 80°F foster harmful bacteria and reduce oxygen availability, leading to root rot and stunted growth. For example, lettuce thrives at 68°F, while cannabis prefers 70–75°F. A hydroponic bucket chiller stabilizes this range, protecting your investment in a Deep Water Culture (DWC) or Nutrient Film Technique (NFT) system.
Common Temperature Challenges
Warm climates, indoor grow lights, or poorly ventilated spaces often push water temperatures into the danger zone. A grower in Texas reported losing a basil crop when summer heat raised reservoir temps to 85°F, despite excellent nutrient mixes. Similarly, indoor setups with high-wattage LEDs can add 5–10°F to water, necessitating active cooling. These challenges underscore the need for a reliable hydroponic bucket chiller to maintain consistent conditions.
Expert Insight: Hydroponics researcher Dr. Howard Resh states, “Water temperature control can increase yield by 15–20% in controlled environments, making chillers a worthwhile investment.”
Types of Hydroponic Bucket Chillers: Finding the Right Fit
Active vs. Passive Cooling Systems
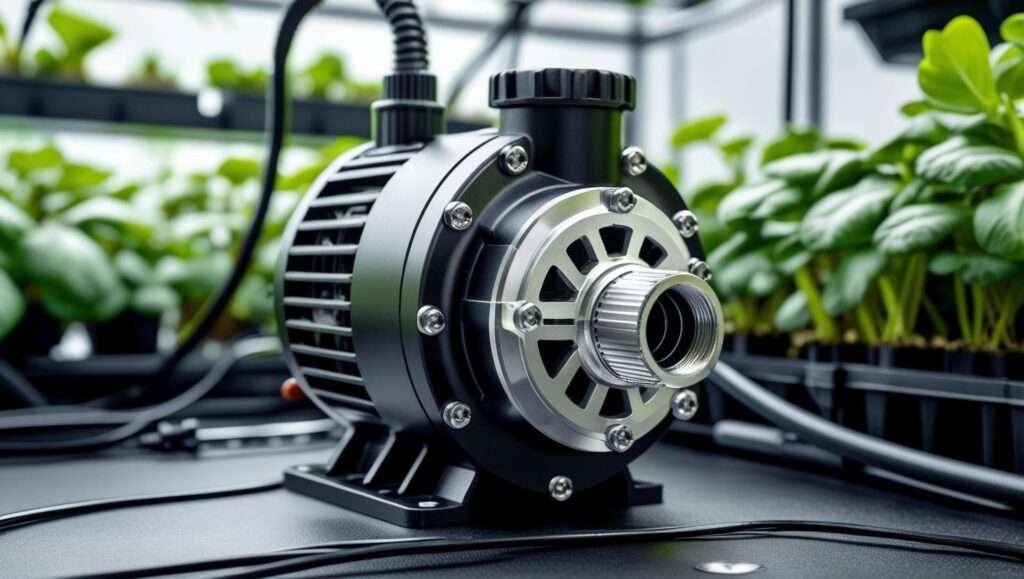
Active hydroponic bucket chillers, like refrigeration units, use compressors to actively lower water temperature, offering precise control for large reservoirs. Passive methods, such as ice packs or water circulation through cool pipes, are cheaper but less effective for sustained cooling. Active chillers suit year-round growers, while passive options work for temporary heat spikes. For instance, a 1/10 HP active chiller can handle 10–20 gallons, far outpacing ice packs.
Inline Chillers vs. Submersible Chillers

Inline chillers, installed outside the reservoir, cool water as it circulates, ideal for DWC systems with multiple buckets. Submersible chillers, submerged directly in the water, are compact and perfect for single-bucket setups. Inline units (e.g., EcoPlus 1/3 HP) excel in scalability, while submersible models (e.g., Active Aqua 1/10 HP) suit beginners. Choose based on your system’s layout and expansion plans.
Size and Capacity Options
Chiller capacity depends on reservoir size. A 1/10 HP unit cools 10–20 gallons, 1/3 HP handles 50–100 gallons, and 1/2 HP suits 100+ gallons. Calculate needs by adding 20% to your reservoir size to account for heat gain. For a 30-gallon DWC, a 1/3 HP chiller ensures efficiency, especially in a 90°F room.
Tip: Compare chiller types with this table:
| Type | Capacity (Gallons) | Best For | Pros | Cons |
|---|---|---|---|---|
| Active (Inline) | 20–100+ | Large systems | Precise, scalable | Higher cost |
| Active (Submersible) | 10–30 | Small setups | Easy install | Limited capacity |
| Passive | 5–15 | Temporary use | Low cost | Inconsistent |
Key Features to Look for in a Hydroponic Bucket Chiller
Cooling Power and Efficiency

Cooling power, measured in BTUs, determines a chiller’s effectiveness. A 1/10 HP chiller offers 1,000–1,500 BTUs, sufficient for small setups, while 1/3 HP units provide 3,000–4,000 BTUs for larger systems. Look for energy-efficient models with digital thermostats, which adjust cooling dynamically, saving 10–15% on electricity. In 2025, brands like EcoPlus lead with eco-friendly designs.
Durability and Build Quality
Durability is critical in the humid hydroponic environment. Opt for chillers with titanium or stainless-steel coils to resist corrosion, outlasting copper models by years. A 2–3 year warranty signals manufacturer confidence. For example, the JBJ Arctica Titanium chiller is praised for its robust build in coastal grows.
Noise Levels and Installation Ease
Noise can disrupt indoor grows. Choose units with sound-dampening features, keeping decibels below 50. Installation ease varies—inline chillers require plumbing, while submersible units need minimal setup. Check compatibility with your bucket system’s hoses and pumps.
Expert Insight: A 2025 review by Hydroponics Journal emphasizes, “Titanium-coil chillers withstand humidity 30% better than standard models, ensuring longevity.”
How to Choose the Right Hydroponic Bucket Chiller for Your Setup
Assessing Your Hydroponic System
Evaluate your setup to match a chiller. Measure reservoir size, note plant types (e.g., herbs need 65–70°F, fruiting plants 70–75°F), and assess ambient temperature. Calculate cooling needs: for a 50-gallon reservoir in a 85°F room, aim for a 1/3 HP chiller with a 20% buffer (60 gallons). This ensures stability across seasons.
Budget Considerations
Chillers range from $100 (1/10 HP) to $500+ (1/2 HP), with hobbyists favoring Active Aqua ($120) and commercial growers opting for JBJ Arctica ($400). Initial costs offset long-term savings from healthier crops and reduced water waste. In 2025, energy-efficient models offer the best return on investment.
Brand and Model Recommendations
- Active Aqua 1/10 HP: $120, ideal for 10–20 gallons, user-friendly.
- EcoPlus 1/3 HP: $250, suits 50–100 gallons, energy-efficient.
- JBJ Arctica Titanium: $450, perfect for 100+ gallons, premium durability.
User reviews from August 2025 hydroponics forums praise EcoPlus for reliability.
Tip: Consult r/hydroponics or local hydro stores for setup-specific advice.
Installation and Maintenance of Hydroponic Bucket Chillers
Step-by-Step Installation Guide

- Prepare Space: Place the chiller near the reservoir, ensuring ventilation.
- Connect Plumbing: For inline units, attach hoses to inlet/outlet ports; for submersible, submerge per manual.
- Power Up: Plug into a grounded outlet, set the thermostat to 68°F, and check water flow.
- Test: Monitor temperature for 24 hours, adjusting as needed.
Safety note: Use a GFCI outlet to prevent electrical hazards.
Routine Maintenance Tips
Clean condenser coils monthly with a soft brush to remove dust. Check refrigerant levels biannually (professional service recommended) and inspect hoses for leaks. For winter, drain and store in a dry place. Regular care extends chiller life by 2–3 years.
Troubleshooting Common Issues
- Insufficient Cooling: Check for clogged coils or high ambient heat; clean or relocate.
- Leaks: Tighten connections or replace worn hoses.
- Motor Failure: Unplug, inspect for overheating, and contact support.
Checklist: Monthly: Clean coils; Biannually: Check refrigerant; Annually: Full inspection.
Maximizing Efficiency with Your Hydroponic Bucket Chiller
Pairing with Insulation and Ventilation

Insulate reservoirs with foam sleeves or reflective tape to reduce heat gain by 5–10°F. Improve ventilation with exhaust fans, easing the chiller’s workload. A DIY solution: wrap buckets with bubble wrap for a low-cost boost.
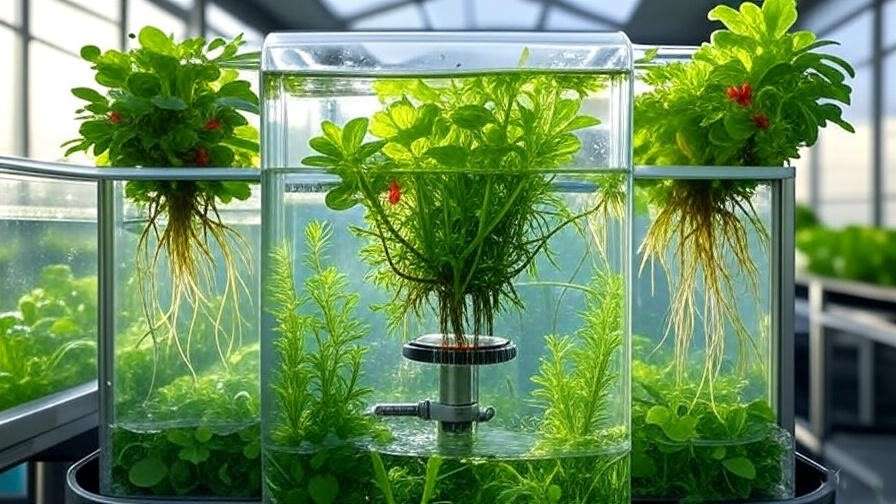
Integrating with Nutrient Delivery Systems
Pair chillers with nutrient pumps and air stones to maintain oxygen levels. Adjust pH (5.5–6.5) after cooling, as temperature shifts can affect acidity. This synergy enhances root health and nutrient uptake.
Monitoring and Automation
Use temperature sensors ($20–$50) to track water conditions. Automated controllers, like the Inkbird ITC-308, adjust chiller settings remotely, saving time. In 2025, smart hydroponic systems integrate chillers with apps for real-time data.
Environmental and Cost Benefits of Using a Chiller
Energy Efficiency and Sustainability
Hydroponic bucket chillers with energy-efficient designs, like those with variable-speed compressors, reduce power consumption by up to 20% compared to older models. Pairing with solar panels, increasingly viable in 2025, enhances sustainability, aligning with eco-conscious gardening trends. This reduces your carbon footprint while maintaining optimal growth conditions.
Long-Term Cost Savings
While initial costs range from $100 to $500, efficient chillers save money through healthier crops and lower water waste. A break-even analysis for a 1/3 HP unit shows a $250 investment recovering within 12–18 months via increased yields (e.g., 20% more lettuce per cycle). Reduced plant loss from overheating further justifies the expense.
Tip: Check for government rebates on energy-efficient hydroponic equipment, available through USDA programs as of August 2025.
Top Hydroponic Bucket Chiller Picks for 2025
Best Budget-Friendly Options
- Active Aqua 1/10 HP: Priced at $120, this chiller cools 10–20 gallons with a reliable titanium coil. Users on r/hydroponics rate it 4/5 for small DWC setups.
- EcoPlus Eco 1/10 HP: At $110, it offers similar capacity with a quieter operation, ideal for beginners.
Best for Medium to Large Systems
- EcoPlus 1/3 HP: $250, handles 50–100 gallons with energy-saving features. A 2025 review praises its durability for mid-sized grows.
- Active Aqua 1/4 HP: $300, suitable for 30–50 gallons, with adjustable thermostat settings.
Premium Choices for Professionals
- JBJ Arctica Titanium 1/2 HP: $450, cools 100+ gallons with top-tier corrosion resistance. Commercial growers laud its performance in humid climates.
- AquaticLife 1/2 HP: $480, offers advanced digital controls, perfect for large-scale operations.
Note: Performance data from August 2025 hydroponics forums highlights JBJ’s edge in longevity.
FAQs About Hydroponic Bucket Chillers
What size chiller do I need for my hydroponic system?
Match chiller HP to reservoir size: 1/10 HP for 10–20 gallons, 1/3 HP for 50–100 gallons, 1/2 HP for 100+. Add 20% buffer for heat gain.
Can I use a chiller with a small bucket setup?
Yes, a 1/10 HP submersible chiller works for 5–10 gallon buckets, ensuring precise temperature control.
How often should I maintain my chiller?
Clean coils monthly, check refrigerant biannually, and inspect annually for optimal performance.
What if my chiller stops working?
Unplug, check for overheating or leaks, and contact the manufacturer. Have a backup plan (e.g., ice packs) for critical grows.
Are chillers worth it for indoor hydroponics?
Yes, they prevent heat-related losses, boost yields, and pay off within 12–18 months through healthier plants.
Conclusion
A hydroponic bucket chiller is your key to unlocking optimal growth, solving the persistent problem of water temperature control in hydroponics. From understanding its importance to selecting the right model, installing it correctly, and maximizing efficiency, this guide equips you with expert knowledge. Choose your chiller, apply these techniques, and share your thriving hydroponic success in the comments or on social media. Subscribe for more advanced agricultural tips or join a hydroponics community to keep your garden flourishing!