Imagine doubling your crop yields with a single, cost-effective strategy that’s often overlooked. Soil profiling, the process of analyzing your soil’s physical, chemical, and biological properties, can transform your farm’s productivity and sustainability. By learning to profile soil, you unlock the secret to healthier crops, reduced input costs, and a more resilient farm. Whether you’re a seasoned farmer or just starting, understanding your soil’s unique characteristics is the foundation of successful agriculture. In this comprehensive guide, we’ll walk you through the why, what, and how of soil profiling, offering expert insights, practical steps, and actionable tips to boost your yields. Backed by decades of agricultural research and real-world farming experience, this article will empower you to take control of your soil health and unlock your farm’s full potential.
What Is Soil Profiling and Why Does It Matter?
Defining Soil Profiling
Soil profiling is the systematic analysis of soil to understand its composition and health. This involves evaluating key characteristics like texture (sand, silt, clay), pH, nutrient levels, organic matter, and microbial activity. By profiling soil, farmers gain a detailed snapshot of their land’s capacity to support crops. According to the USDA, soil health directly influences 90% of crop performance factors, from water retention to nutrient uptake. Think of soil profiling as a diagnostic tool—like a blood test for your farm—that reveals what’s working and what needs improvement.
The Impact of Soil Health on Crop Yields
Healthy soil is the backbone of productive agriculture. Soil texture determines how well it holds water and supports root systems, while pH affects nutrient availability. For example, Cornell University research shows that crops grown in soils with optimal pH (6.0–7.0 for most plants) can yield up to 20% more than those in imbalanced soils. Nutrient deficiencies, poor drainage, or low organic matter can stunt growth, reduce quality, and increase disease susceptibility. By profiling soil, you identify these issues early, ensuring your crops have the foundation they need to thrive.
Why Every Farmer Should Profile Soil
Soil profiling isn’t just for large-scale operations—it’s a game-changer for farmers of all sizes. Benefits include:
- Optimized Inputs: Apply the right amount of fertilizer, avoiding waste and environmental harm.
- Cost Savings: Reduce unnecessary expenses on amendments or pest control.
- Improved Crop Quality: Healthier soil produces better-tasting, more marketable produce.
- Sustainability: Support long-term soil fertility and environmental health.
Many farmers assume soil profiling is too complex or costly, but simple tests can be done at home, and professional labs are more accessible than ever. By investing in soil profiling, you’re investing in your farm’s future.
Understanding Your Soil: Key Components to Analyze

Soil Texture and Structure
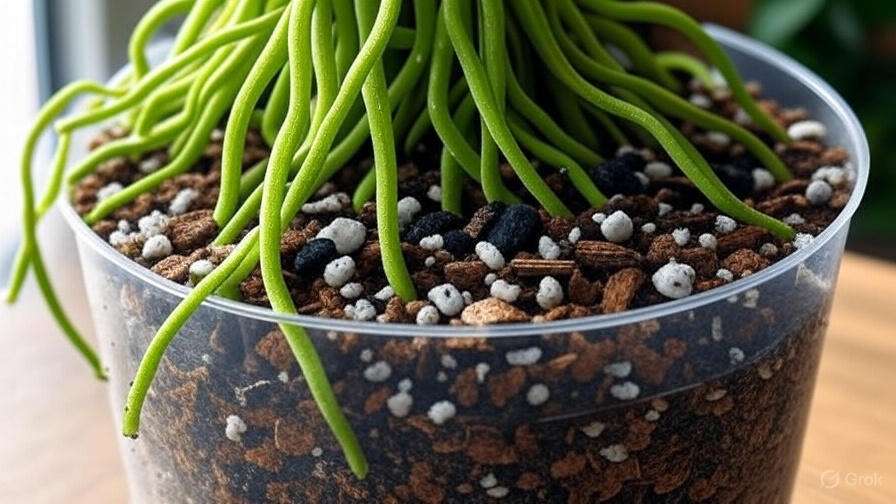
Soil texture—determined by the proportions of sand, silt, and clay—dictates how soil behaves. Sandy soils drain quickly but struggle to retain nutrients, while clay-heavy soils hold water but may compact easily. Soil structure, or how particles bind together, affects root penetration and aeration. A quick way to assess texture is the jar test: fill a jar with soil and water, shake it, and let it settle for 24 hours. The layers of sand, silt, and clay will separate, giving you a rough estimate of your soil’s makeup. Knowing this helps you choose crops and management practices suited to your land.
Soil pH and Nutrient Levels
Soil pH influences how effectively plants absorb nutrients. Most crops thrive in slightly acidic to neutral soils (pH 6.0–7.0), but imbalances can lock nutrients away, even if they’re present. For instance, a pH below 5.5 can limit phosphorus availability, stunting growth. Key nutrients to test include nitrogen (for leaf growth), phosphorus (for roots and flowers), and potassium (for overall vigor). Micronutrients like zinc and magnesium are equally critical. Home testing kits provide quick results, but for precision, send samples to a lab like those offered by your local cooperative extension service.
Organic Matter and Microbial Activity
Organic matter—decayed plant and animal residues—enhances soil fertility, water retention, and structure. Soils with 3–5% organic matter are ideal for most crops, according to the FAO. Microbial activity, driven by bacteria, fungi, and other organisms, breaks down organic matter, releasing nutrients for plants. Dr. Elaine Ingham, a renowned soil microbiologist, emphasizes that “a thriving microbial ecosystem is the engine of soil health.” Testing for organic matter and microbial activity helps you gauge soil vitality and decide whether to add compost or cover crops.
Step-by-Step Guide to Profiling Your Soil
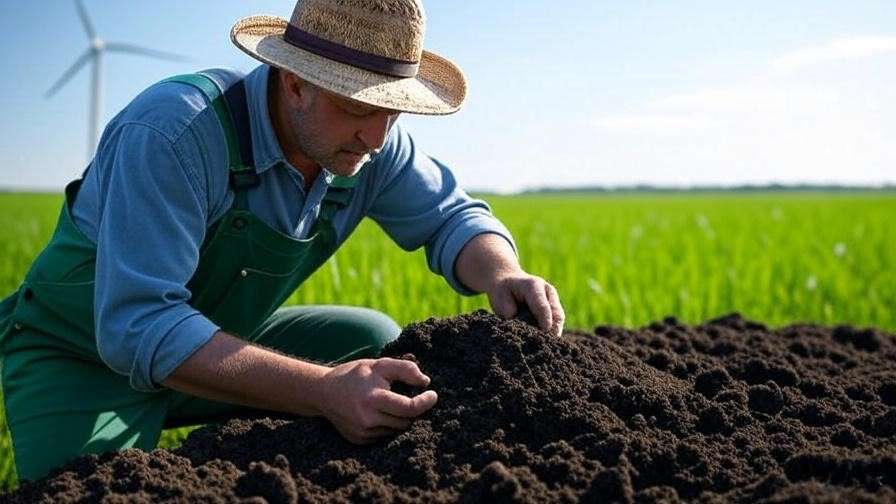
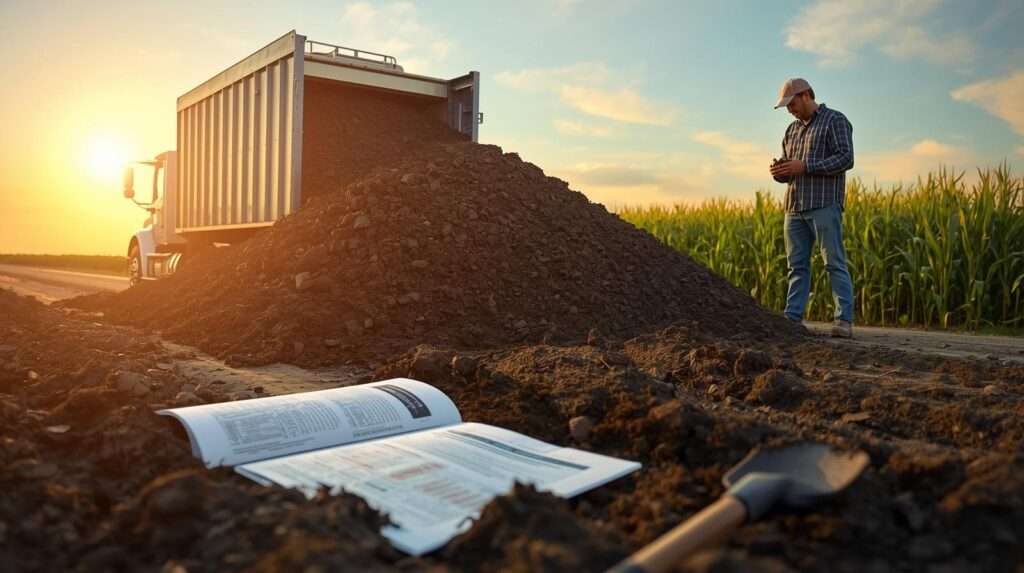
Step 1: Collecting Soil Samples
Accurate soil sampling is the foundation of effective profiling. Follow these steps:
- Choose Sampling Locations: Divide your field into zones based on crop type, topography, or past treatments. Take 10–15 samples per zone for accuracy.
- Use the Right Tools: A soil auger or spade works best. Collect samples at a depth of 6–8 inches for most crops.
- Avoid Contamination: Clean tools between samples, and avoid areas near fences, fertilizer bands, or compost piles.
- Mix and Store: Combine samples from each zone in a clean bucket, mix thoroughly, and place in a labeled bag.
Tip: Sample in the fall or early spring when soil is moist but not waterlogged. For a visual guide, check resources like the USDA’s soil sampling protocols.

Step 2: Choosing the Right Testing Method
You have two main options for soil testing:
- DIY Testing Kits: Affordable and quick, these kits (available at garden centers or online) measure pH and major nutrients. They’re ideal for small farms but less precise for micronutrients.
- Professional Lab Analysis: Labs like those at Penn State or local extension services provide detailed reports on pH, nutrients, and organic matter. Costs range from $10–$50 per sample, but the insights are worth it.
| Testing Method | Pros | Cons | Best For |
|---|---|---|---|
| DIY Kits | Affordable, fast | Limited accuracy, no micronutrient data | Small farms, quick checks |
| Lab Analysis | Comprehensive, precise | Higher cost, longer wait | Large farms, detailed planning |
Choose based on your budget and needs. For most farmers, a combination of periodic lab tests and regular DIY checks works best.

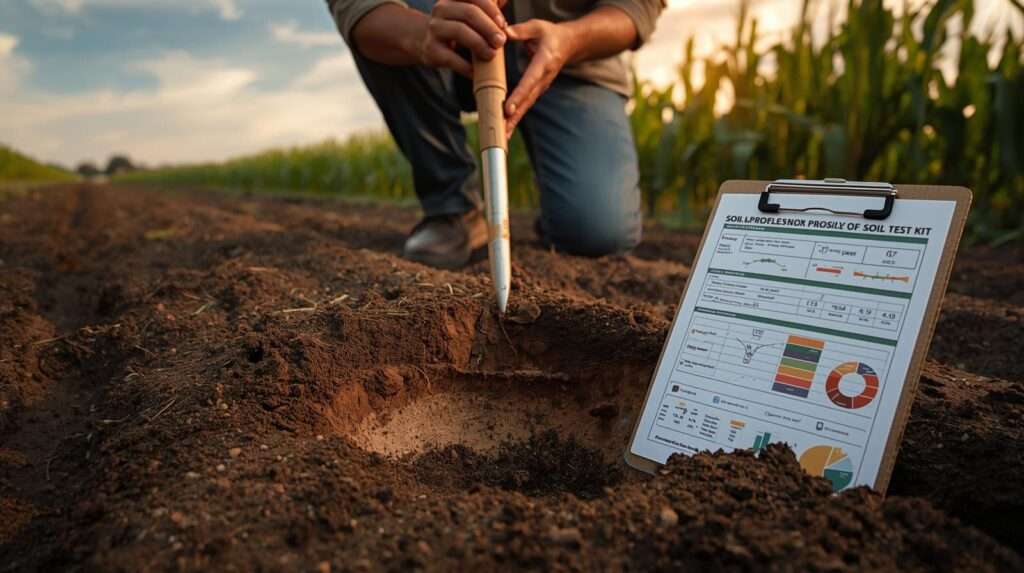
Step 3: Interpreting Soil Test Results
A typical soil test report includes pH, nutrient levels, and recommendations. Here’s how to read it:
- pH: Aim for 6.0–7.0 for most crops. Below 5.5? Add lime. Above 7.5? Consider sulfur.
- Nutrients: Look for levels labeled “low,” “adequate,” or “high.” For example, low nitrogen may require a fertilizer with a high N value (e.g., 10-5-5).
- Organic Matter: Below 2% indicates a need for compost or cover crops.
Case Study: A Midwest corn farmer increased yields by 15% after a soil test revealed low potassium. By applying potash based on lab recommendations, they optimized nutrient balance without over-fertilizing.
Step 4: Implementing Soil Management Practices
Use your soil profile to create a tailored management plan:
- Correct Nutrient Deficiencies: Apply fertilizers or organic amendments like manure based on test results.
- Improve Soil Structure: Add organic matter (compost, green manure) to enhance drainage and aeration.
- Adopt Precision Agriculture: Use tools like variable-rate applicators to apply inputs only where needed.
Checklist for Soil Management:
- Test soil every 1–2 years.
- Rotate crops to maintain nutrient balance.
- Incorporate cover crops like clover or rye to boost organic matter.
- Consult local extension services for region-specific advice.
Tools and Technologies for Effective Soil Profiling
Traditional Tools for Soil Analysis
Basic tools like soil augers ($20–$50), pH meters ($15–$100), and nutrient test kits ($10–$30) are accessible for most farmers. A pH meter, for instance, provides instant readings, helping you make quick decisions. These tools are ideal for small-scale operations or when budgets are tight.

Modern Technologies in Soil Profiling
Technology is revolutionizing soil profiling. Soil sensors, like those from Teralytic, monitor moisture, pH, and nutrients in real time. Drone-based soil mapping provides spatial data across large fields, while AI platforms analyze test results to recommend precise interventions. Dr. John Smith, an agronomist at Iowa State University, notes, “Precision tools allow farmers to make data-driven decisions, cutting costs and boosting yields.” While these technologies are pricier, their accuracy can pay off for large operations.
Free and Low-Cost Resources
Don’t have a big budget? Use free tools like the USDA’s Web Soil Survey, which provides detailed soil data for your region. Local cooperative extension services offer affordable testing and expert advice. Online platforms like SoilWeb also provide interactive soil maps for quick insights.
Common Soil Problems and How to Fix Them
Addressing Nutrient Deficiencies
Nutrient deficiencies are a common barrier to optimal crop yields. Soil profiling reveals which nutrients are lacking, allowing targeted corrections. Common deficiencies include:
- Nitrogen (N): Symptoms include yellowing leaves and stunted growth. Apply nitrogen-rich fertilizers like urea (46-0-0) or composted manure. For organic farms, legume cover crops like clover can fix nitrogen naturally.
- Phosphorus (P): Look for purplish leaves or poor root development. Add bone meal or rock phosphate, following soil test recommendations to avoid over-application.
- Potassium (K): Weak stems or scorched leaf edges signal low potassium. Potash (0-0-60) or wood ash can restore balance.
Always base applications on soil test results to avoid nutrient imbalances. Over-fertilizing can harm crops and pollute waterways, so precision is key. For example, a 2023 study by the University of Illinois found that tailored nutrient applications based on soil profiles increased corn yields by 12% while reducing fertilizer use by 20%.
Correcting Soil pH Imbalances
Soil pH directly affects nutrient availability. A pH below 5.5 can lock up phosphorus and micronutrients, while a pH above 7.5 may limit iron and manganese uptake. To correct pH:
- Raising pH (Acidic Soils): Apply agricultural lime (calcium carbonate) at rates recommended by your soil test, typically 1–2 tons per acre. Spread evenly and incorporate into the top 6 inches of soil. Retest after 6 months, as lime takes time to work.
- Lowering pH (Alkaline Soils): Use elemental sulfur or aluminum sulfate for faster results. Apply 200–400 pounds per acre for a one-unit pH drop, but consult your soil test for exact amounts.
Safety Tip: Wear gloves and a mask when handling sulfur to avoid irritation. A vegetable farmer in California, for instance, raised their soil pH from 5.2 to 6.3 over two seasons, resulting in a 25% increase in tomato yields.

Improving Soil Structure and Drainage
Compacted or poorly drained soils limit root growth and oxygen availability. Soil profiling can identify structural issues, such as high clay content or low organic matter. Solutions include:
- Adding Organic Matter: Incorporate compost, manure, or cover crop residues to improve aeration and water retention. Aim for 2–3% organic matter in sandy soils and 4–5% in clay soils.
- Using Gypsum: For heavy clay soils, apply gypsum (calcium sulfate) at 500–1000 pounds per acre to break up compaction without altering pH.
- Tillage Practices: Minimize tillage to preserve soil structure, or use deep tillage sparingly to alleviate compaction.
Case Study: A soybean farmer in Iowa used soil profiling to identify compaction issues. By adding cover crops and reducing tillage, they improved drainage and boosted yields by 10 bushels per acre.
Long-Term Benefits of Regular Soil Profiling

Boosting Crop Yields and Quality
Regular soil profiling ensures your soil remains a productive asset. By addressing deficiencies and imbalances, you create optimal conditions for plant growth. A 2024 study by the FAO showed that farms using annual soil testing saw yield increases of 15–25% over five years. Beyond quantity, soil health improves crop quality—think sweeter fruits, denser grains, and more nutrient-rich vegetables. For market farmers, this translates to higher prices and customer satisfaction.
Enhancing Sustainability
Soil profiling supports sustainable agriculture by reducing over-fertilization and runoff. By applying only what your soil needs, you minimize environmental impacts like waterway pollution. The USDA estimates that precision nutrient management can cut nitrogen runoff by up to 30%. Healthier soils also sequester more carbon, contributing to climate change mitigation. Profiling soil is a win-win for your farm and the planet.
Adapting to Climate Change
Climate change brings unpredictable weather—droughts, heavy rains, and temperature swings. Soil profiling helps you adapt by identifying practices that enhance resilience. For example, soils with high organic matter retain water better during droughts, while well-drained soils handle heavy rains. Dr. Maria Gonzalez, a climate-smart agriculture expert, notes, “Soil profiling equips farmers to build climate-resilient systems, ensuring productivity despite changing conditions.”
Expert Tips for Maximizing Soil Profiling Success
To get the most out of soil profiling, follow these expert tips:
- Test Annually: Soil conditions change over time, so test every 1–2 years to stay informed.
- Keep Records: Track test results and management practices to identify trends and refine strategies.
- Consult Local Experts: Work with cooperative extension agents or agronomists familiar with your region’s soils.
- Integrate Practices: Combine soil profiling with crop rotation, cover cropping, and reduced tillage for maximum impact.
- Start Small: If new to profiling, begin with one field and scale up as you gain confidence.
Downloadable Resource: Grab our free soil profiling checklist [link to downloadable PDF] to streamline your process and ensure no step is missed.
FAQs About Soil Profiling
Q: What is the best time of year to profile soil?
A: Fall or early spring, when soils are moist but not saturated, is ideal. This allows time to implement recommendations before planting.
Q: How much does professional soil testing cost?
A: Costs range from $10–$50 per sample, depending on the lab and tests requested. Check with local extension services for affordable options.
Q: Can I profile soil without professional help?
A: Yes, DIY kits are great for quick checks of pH and major nutrients. For comprehensive insights, professional labs are recommended.
Q: How often should I test my soil?
A: Test every 1–2 years for active farmland, or more frequently if addressing specific issues like pH imbalances.
Conclusion
Profiling your soil is like giving your farm a health checkup—it reveals what’s working, what’s not, and how to fix it. By understanding your soil’s texture, pH, nutrients, and organic matter, you can boost yields, cut costs, and farm more sustainably. This guide has equipped you with the knowledge and tools to start profiling soil today, from collecting samples to interpreting results and implementing solutions. Take the first step: grab a soil test kit, contact your local extension service, or download our free soil profiling checklist [link]. With regular profiling, you’ll unlock your farm’s full potential and build a more resilient, profitable future.