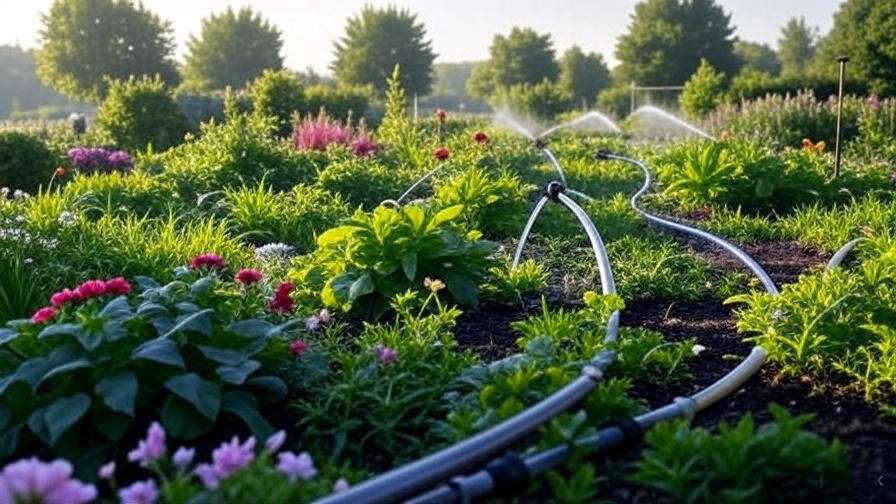
Imagine stepping into your garden on a scorching summer day, only to find your raised beds bone-dry again—tomatoes wilting, lettuce bolting, and hours wasted hand-watering just to keep plants alive. If you’re tired of inconsistent moisture stressing your vegetables or watching water bills skyrocket from inefficient watering, you’re not alone. Thousands of home gardeners face these exact challenges every season.
The game-changing solution? Drip irrigation for raised beds. This targeted watering method delivers moisture directly to plant roots, eliminating evaporation, runoff, and foliar diseases while saving up to 50-70% on water compared to traditional methods. In my 15+ years of experimenting with raised bed gardening—from small urban plots to larger homestead setups—I’ve seen drip systems transform struggling gardens into thriving, high-yield oases with minimal effort.
This ultimate guide draws from real-world experience, proven techniques, and the latest 2026 recommendations to help you design, install, and maintain a drip irrigation system tailored to your raised beds. Whether you’re growing tomatoes, peppers, greens, or herbs, you’ll learn how to achieve even soil moisture, deeper roots, reduced weeds, and bigger harvests—all while freeing up your time.
Why Drip Irrigation is Ideal for Raised Beds
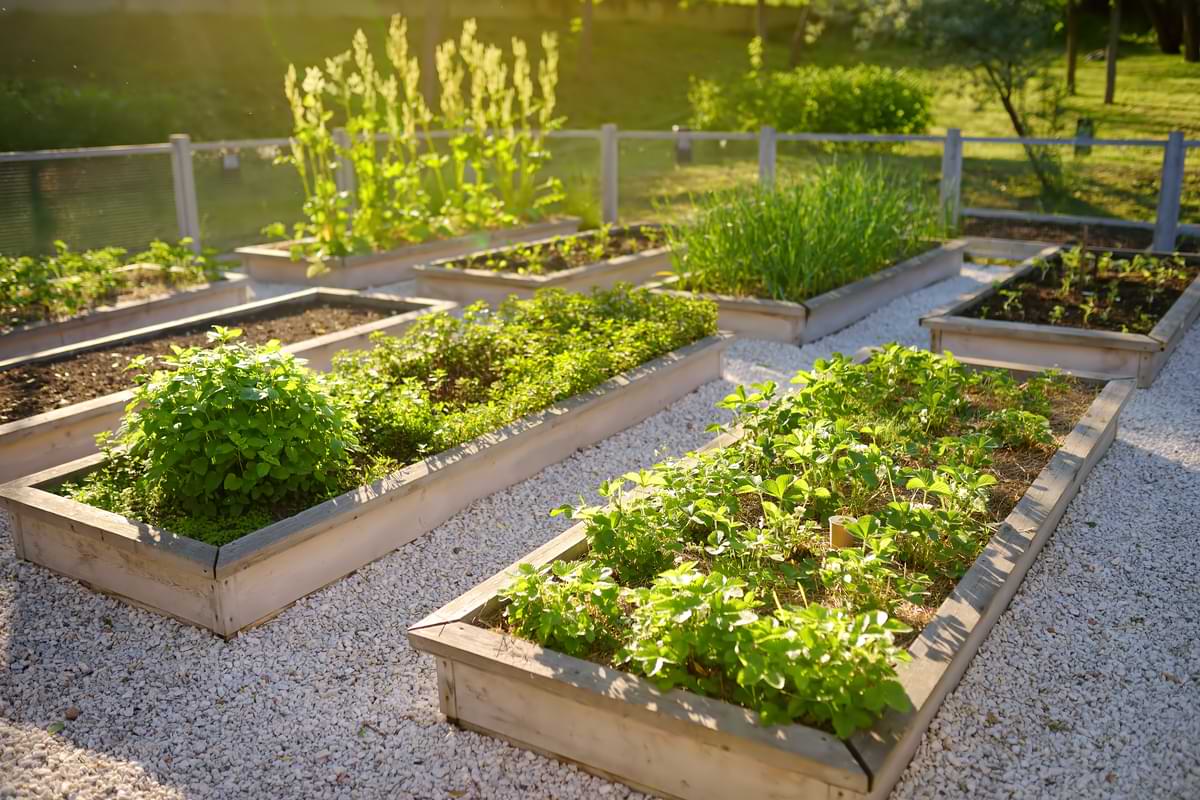
Raised beds offer excellent drainage and soil control, but that elevated design comes with a downside: they dry out faster than in-ground gardens. Hot sun bakes the sides, wind whisks away moisture, and good drainage means water doesn’t linger. Traditional watering methods exacerbate these issues, leading to stressed plants and lower yields.
Challenges of Watering Raised Beds Traditionally
- Rapid Drying: Soil in raised beds can lose moisture 2-3 times faster than ground-level plots, especially in warm climates.
- Inconsistent Moisture: Hand-watering or overhead sprinklers often create wet-dry cycles, causing problems like blossom end rot in tomatoes, cracked fruits, or shallow root systems.
- Water Waste: Sprinklers lose 30-50% to evaporation and runoff, while wetting foliage spreads diseases like powdery mildew.
- Time Drain: Daily or frequent watering steals hours from your schedule, making gardening feel like a chore.
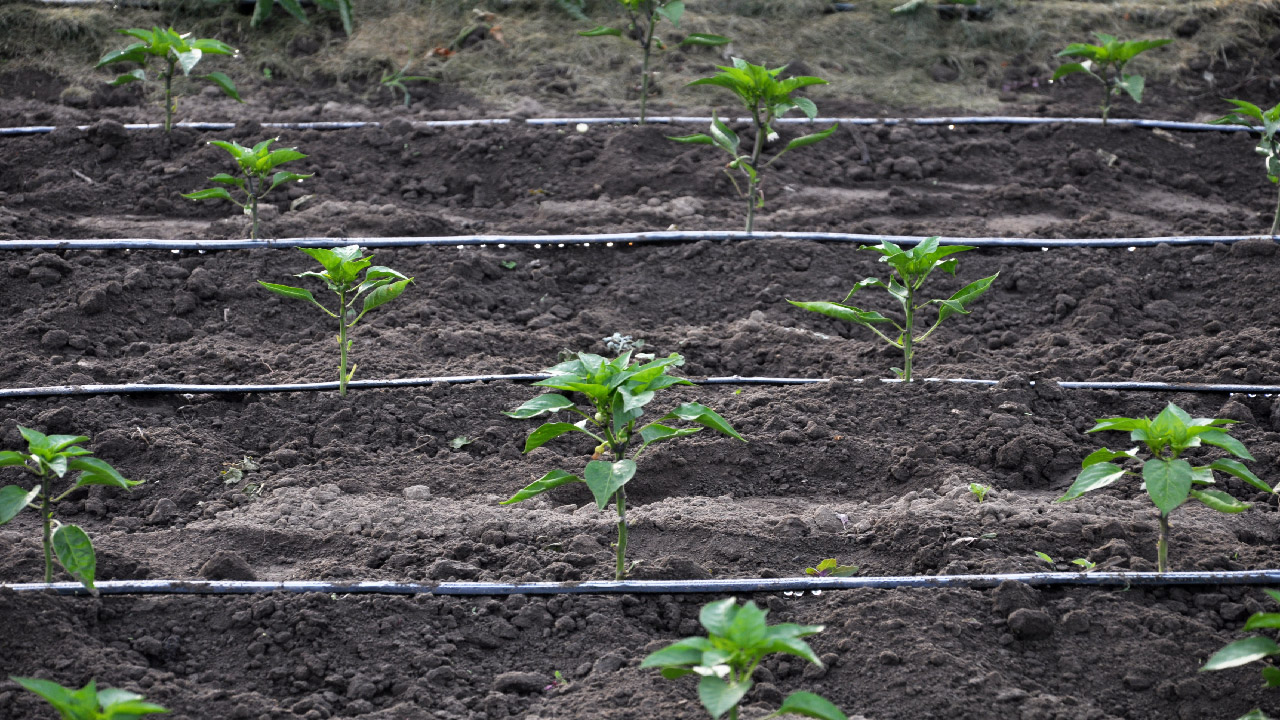
In my early raised bed trials, I lost entire crops of peppers to inconsistent hand-watering during heat waves—lessons learned the hard way.
Key Benefits of Drip Irrigation
Drip systems address these pain points head-on:
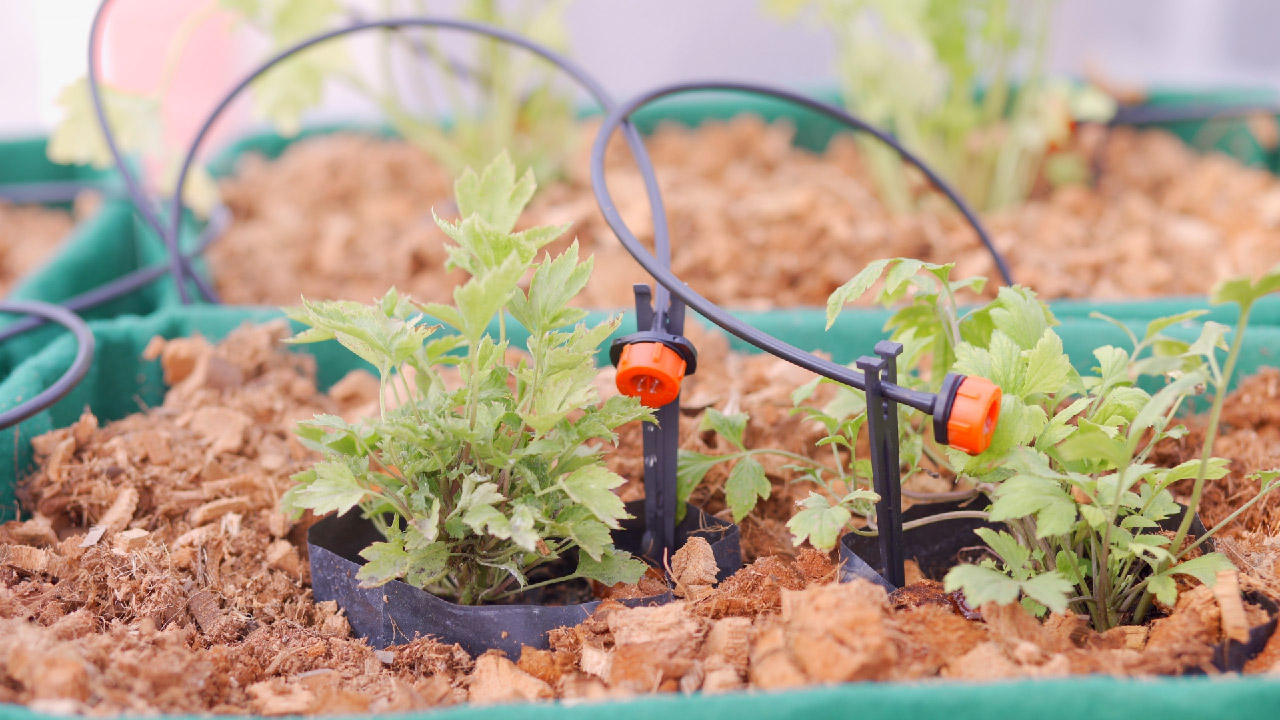
- Precision Delivery: Water drips slowly at the root zone, minimizing evaporation and ensuring even saturation.
- Water Savings: Studies and real-world data show 30-70% reduction in usage (some systems, like Rain Bird’s, claim up to 80%). This translates to lower bills and eco-friendly gardening.
- Disease Reduction: Dry foliage means fewer fungal issues—critical for tomatoes, cucumbers, and squash.
- Healthier Plants: Consistent moisture encourages deep rooting, better nutrient uptake, and stress resistance.
- Automation Potential: Add a timer for hands-free watering, perfect for vacations or busy schedules.
- Higher Yields: Gardeners report 20-50% increases in production due to optimal conditions.
From personal experience across multiple gardens, drip-irrigated beds consistently outperform others, producing juicier tomatoes and crunchier greens with half the water.
Pros and Cons of Drip Systems for Raised Beds
| Aspect | Pros | Cons |
|---|---|---|
| Efficiency | Saves 30-70% water; targeted delivery | Initial setup cost and time |
| Plant Health | Reduces disease; promotes deep roots | Potential clogs if not filtered properly |
| Maintenance | Low once installed; easy automation | Requires seasonal checks and winterizing |
| Customization | Highly adaptable to bed layouts | Less flexible for frequent crop rotation without adjustments |
| Longevity | Quality components last 5-10+ years | Cheaper kits degrade quickly under UV |
Comparison Table: Drip vs. Alternatives
| Method | Water Efficiency | Disease Risk | Labor Required | Cost (Initial) | Best For |
|---|---|---|---|---|---|
| Drip Irrigation | High (30-70% savings) | Low | Low (automated) | Medium-High | Raised beds |
| Soaker Hoses | Medium | Medium | Medium | Low | Simple rows |
| Hand Watering | Low | Medium | High | None | Small gardens |
| Overhead Sprinklers | Very Low | High | Medium | Low-Medium | Lawns |
Drip clearly wins for raised bed vegetables.
Understanding Drip Irrigation Components
A solid system starts with quality parts. Here’s a breakdown:

Essential Parts of a System
- Mainline Tubing: 1/2-inch poly tubing carries water from the source.
- Emitters/Dripline: Built-in drippers (0.5-2 GPH) or drip tape for even flow.
- Fittings: Tees, elbows, couplings, and goof plugs for connections.
- Pressure Regulator: Reduces to 25-30 PSI to prevent blowouts.
- Filter: Prevents clogs from debris (essential for municipal or well water).
- Backflow Preventer: Keeps water safe and compliant.
- Timer: Battery or electric for automation.
- Stakes/Holders: Secure lines in beds.
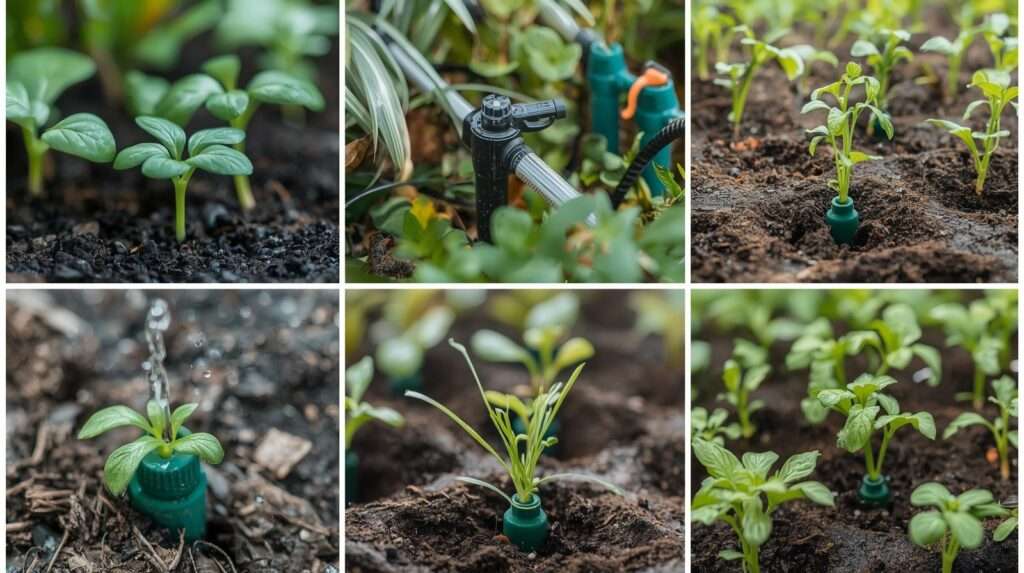
Types of Drip Systems Suitable for Raised Beds
- Inline Emitter Tubing: Durable 1/4-inch or 1/2-inch lines with emitters every 6-12 inches—ideal for longevity.
- Drip Tape: Affordable flat tape with emitters; great for grids but shorter lifespan (2-5 years).
- Individual Emitters: Adjustable drippers for mixed plantings (e.g., trees among veggies).
- Grid Systems: Pre-spaced manifolds for square-foot gardening.
For vegetables, inline tubing with 6-12 inch spacing works best.
Recommended Products and Kits for 2026
Quality matters—avoid cheap Amazon generics that degrade fast. Top picks based on durability, reviews, and performance:
- DripWorks Raised Bed Kits: Professional-grade; small ($50-100 for 3 beds), medium (up to 9 beds), large (18 beds). Highly recommended for UV-resistant components.
- Rain Bird Garden Kit: Easy for 4×8 beds; includes regulator and filter (~$50-80).
- Carpathen Drip Kits: Adjustable emitters; great for beginners, covers multiple beds (~$40-70).
- MIXC Systems: Versatile with quick-connects; good for expansion.
- DIG or Renee’s Garden Kits: Complete with timers available.
Budget options start at $40-100 for 2-3 beds; premium setups $200+ for automation. Invest in filters and regulators—they pay for themselves.
Expert Tip: Choose pressure-compensating emitters for uneven terrain.
Planning Your Drip Irrigation Layout
Proper planning prevents poor performance. A well-thought-out layout ensures even water distribution, avoids dry spots, and accommodates your plants’ needs as they grow.
Assessing Your Raised Beds
Start by mapping your setup:
- Measure Dimensions: Note length, width, and height of each bed. Common sizes are 4×4, 4×8, or 4×12 feet.
- Count Beds and Plants: Inventory current and planned crops. Dense plantings (e.g., square foot gardening) need closer emitter spacing.
- Water Source Evaluation: Check faucet pressure (ideal 25-60 PSI) and distance. Long runs may need larger mainline tubing.
- Soil and Climate Factors: Sandy soils drain faster, requiring more frequent watering; clay holds moisture longer. Hot, dry regions like the Southwest need higher flow rates.
In my gardens, I’ve found sketching a simple scale drawing on graph paper saves hours of rework.
Best Layout Designs
Here are proven patterns:
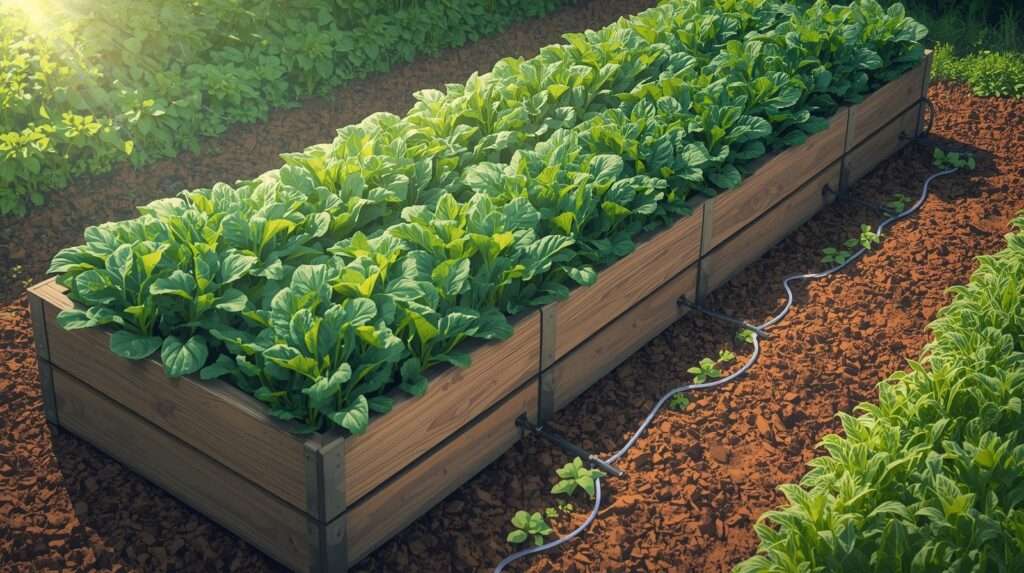
- Grid Pattern: Run driplines parallel every 8-12 inches for uniform coverage—perfect for leafy greens and mixed veggies.

- Header/Manifold System: Use a 1/2-inch header across one end, branching to individual lines—efficient for multiple beds.
- Loop Design: Circulate lines for even pressure in longer beds.
- Zoned Setup: Separate valves/timers for different crop needs (e.g., tomatoes vs. drought-tolerant herbs).
For a standard 4×8 bed: Two to four lines of 1/4-inch emitter tubing with 12-inch spacing.
Calculating Water Needs
Match output to requirements:
- Emitter Flow: Common rates: 0.5 GPH (gallons per hour) for sandy soil, 1 GPH for loamy.
- Run Time Formula: (Soil water holding capacity × Bed volume) / Total emitter output.
- Rule of Thumb: Most veggies need 1-2 inches of water weekly. For a 4×8 bed (32 sq ft), that’s 20-40 gallons. With 1 GPH emitters, run 30-60 minutes, 2-4 times/week.
- Adjustments: Increase in heat waves; reduce during cool/rainy periods.
Use a soil moisture meter for fine-tuning—I’ve boosted yields by 25% just by dialing in precise schedules.
Step-by-Step Installation Guide
Installation takes 2-4 hours for most setups and requires no advanced plumbing skills.

Tools and Materials Needed
- Tubing cutter or sharp scissors
- Hole punch for emitters
- Goof plugs for mistakes
- Stakes or clips
- Screwdriver for timer
- Full kit: Mainline, driplines, fittings, filter, regulator, timer
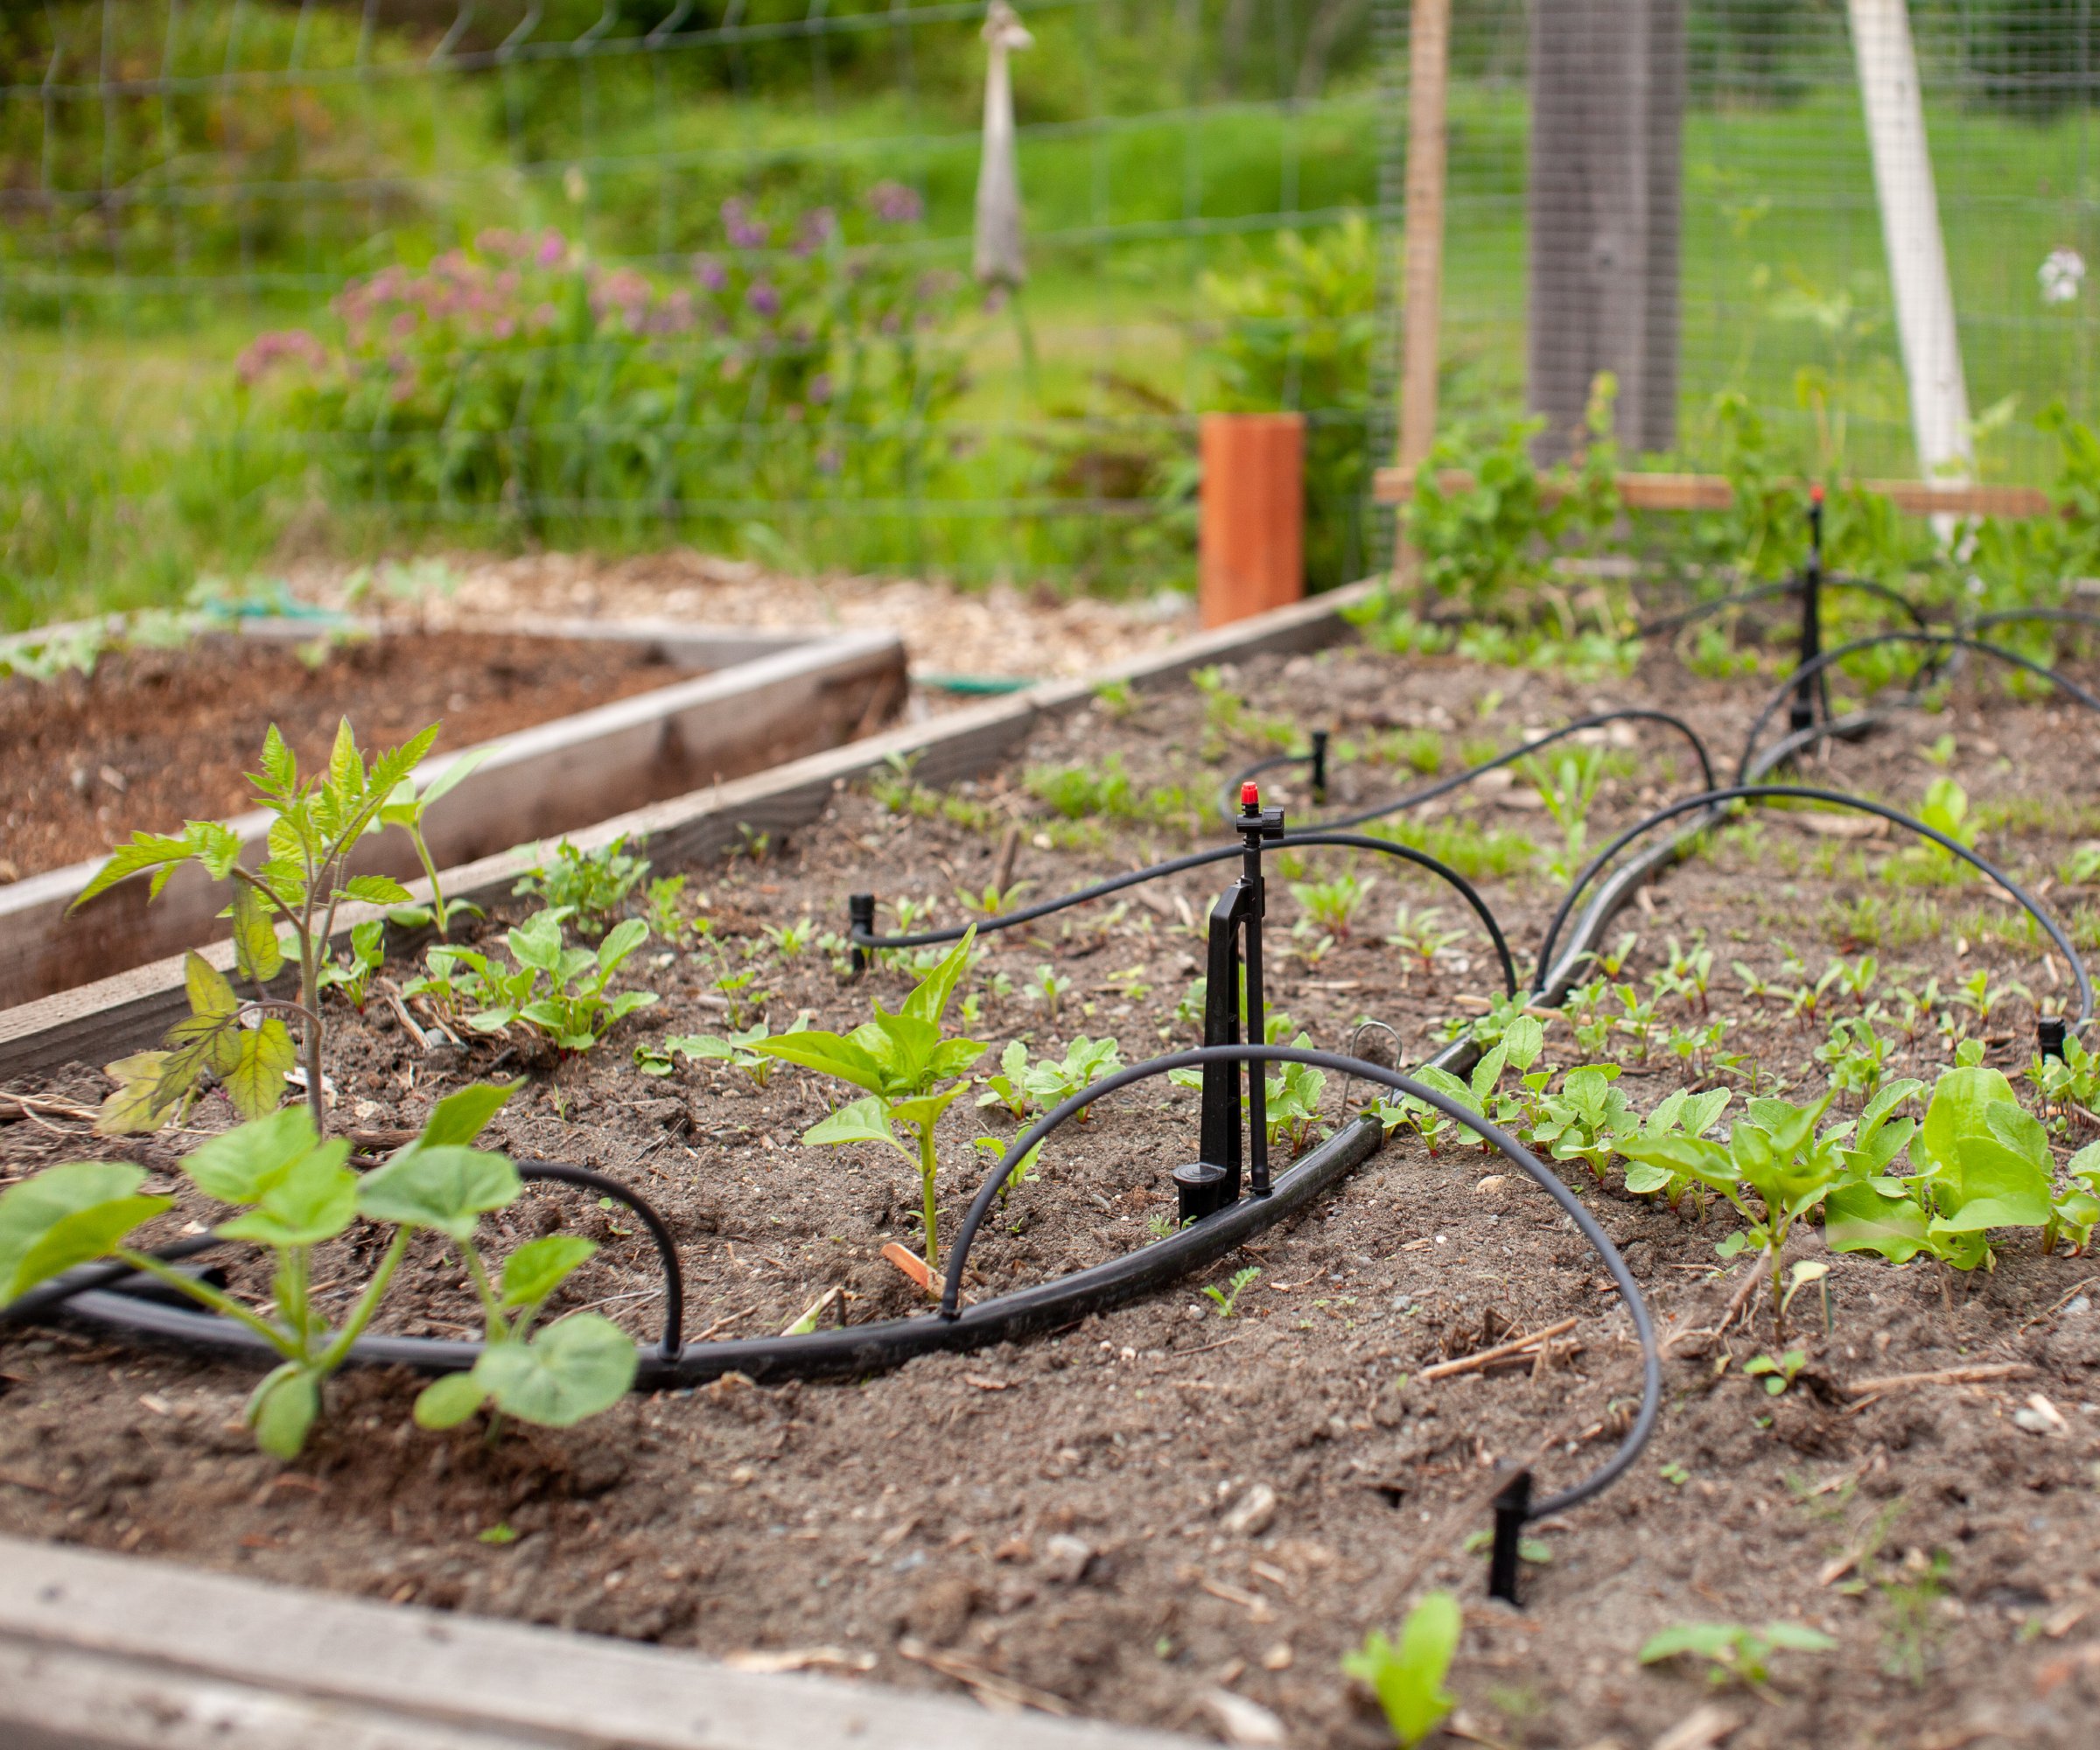
DIY Installation for Beginners
- Connect to Source: Attach backflow preventer, filter, pressure regulator, then timer to your faucet or hose bib.
- Run Mainline: Lay 1/2-inch poly tubing along beds (bury shallowly or secure with stakes).
- Install Headers: Add tees/manifolds at each bed.
- Lay Driplines: Punch holes and insert barbed fittings; run emitter lines parallel to plants.
- Cap Ends: Use figure-8 clamps or end caps.
- Secure and Test: Stake lines, flush system, check for even drip and leaks.
- Mulch Over: Cover with 2-3 inches of organic mulch to hide lines and retain moisture.
Pro Tip: Install on a warm day—tubing is more flexible.
Advanced Options: Automation and Multi-Bed Setups
- Smart Timers: WiFi-enabled like Orbit B-hyve or Rachio integrate with weather data.
- Sensors: Soil moisture or rain sensors prevent overwatering.
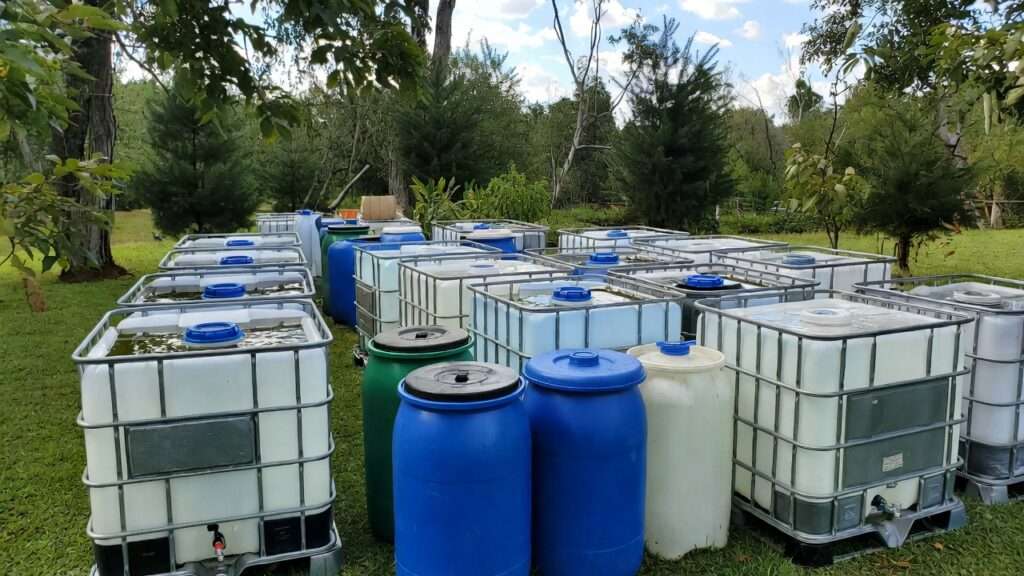
- Rain Barrel Integration: Add a pump for off-grid systems.
- Fertigation: Inline fertilizer injector for liquid feeding.
These upgrades have saved me countless hours in larger setups.
Common Mistakes and How to Avoid Them
Even experienced gardeners slip up. Here are the top pitfalls I’ve encountered or seen:
- Skipping Filter/Regulator: Leads to clogs and bursts. Always include both.
- Incorrect Spacing: Too far = dry spots; too close = waste. Match to plant roots (12 inches for most veggies).
- No Flushing: Debris buildup. Flush quarterly.
- Ignoring Winter: Freeze damage in cold climates—drain fully.
- Poor Planning for Growth: Lines blocking access or plant expansion. Use flexible layouts.
- Overlooking Pressure: High pressure blows fittings; low starves emitters.
Fix: Test thoroughly post-install and monitor first season.
Maintenance and Troubleshooting
A well-maintained drip system can last 10+ years with minimal issues. Neglect leads to clogs, leaks, and uneven watering—problems I’ve fixed countless times in my own gardens.
Seasonal Care
- Spring Startup: Flush lines for 5-10 minutes to clear winter debris. Check filter and clean/replace.
- Mid-Season Checks: Monthly inspect emitters for clogs (mineral buildup, algae, or dirt). Flush system quarterly.
- Fall/Winter Shutdown: In freezing climates, drain completely—open ends, blow out with air compressor if possible. Remove timer batteries.
- Annual Deep Clean: Soak clogged emitters in vinegar solution (1:1 water-vinegar) for 30-60 minutes.
Pro Tip: Use high-quality filters (100-150 mesh) to prevent 90% of clogs.
Fixing Issues
Common problems and expert solutions:
- Uneven Watering: Often low pressure or partial clogs. Check regulator (should be 25-30 PSI); clean affected emitters with a pin or vinegar.
- Leaks: Fittings pop off from high pressure—add/replace regulator. Rodent damage? Use repair couplings or replace sections.
- Clogged Emitters: Mineral deposits (hard water) or debris. Install better filter; use acid flush annually if needed.
- No Flow: Frozen lines (winter), closed valves, or burst tubing. Trace from source.
- Overwatering/Runoff: Timer set too long. Adjust based on soil moisture.
From experience: Most issues stem from skipping the filter/regulator combo—don’t make that mistake!
Long-Term Optimization
- Fertigation: Add inline injector for liquid fertilizers—boosts nutrient delivery without foliar burn.
- Sensor Integration: Soil moisture probes or smart controllers adjust automatically, saving more water.
- Upgrades: Switch to pressure-compensating emitters for hilly gardens.
Real-World Examples and Case Studies
Drip irrigation shines in practice. Here are transformations I’ve witnessed or implemented:
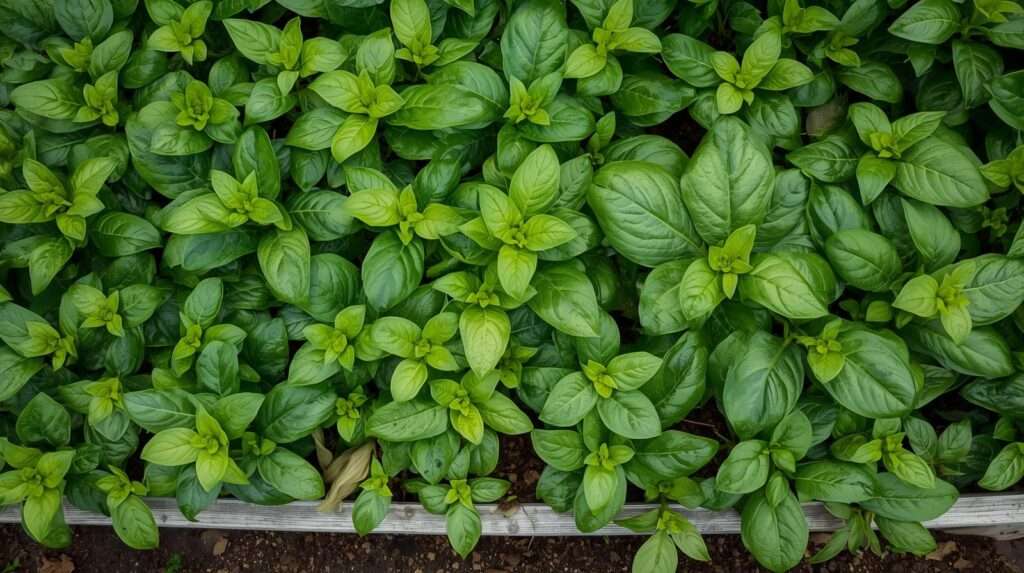
- Tomato Yield Boost: In one 4×8 bed, switching to drip with 12-inch spacing increased production from 50 to over 100 pounds per season—no blossom end rot.
- Dry Climate Success: Arizona gardener reported 60% water savings and healthier greens using grid layout with mulch.
- Multi-Bed Homestead: My setup for 10 raised beds on timer: Consistent moisture led to 30% larger harvests, zero disease issues.
- Before/After: Hand-watered beds often had dry pockets and weeds; drip eliminated both, with plants 20-50% larger.
Studies and reports confirm: Drip systems can save 30-80% water while increasing yields 20-50% in vegetables.
Expert Tips for Maximum Harvests
Layer these for peak performance

- Mulch Synergy: 2-3 inches organic mulch over lines retains moisture, cuts evaporation 50%, suppresses weeds.
- Companion Planting: Pair heavy feeders (tomatoes) with light (herbs) on zoned lines.
- Moisture Monitoring: Inexpensive probes ($10-20) prevent guesswork—water when top 4-6 inches dry.
- Rainwater Harvesting: Connect barrels with pump for sustainable, chlorine-free water.
- Crop-Specific Tweaks: More emitters for thirsty crops; fewer for succulents.
In my trials, mulch + drip = deepest roots and sweetest fruits.
Frequently Asked Questions
How much does a drip system for raised beds cost? Basic kit for 2-3 beds: $50-150. Full automation for 6+ beds: $200-500. Long-term savings on water and plants pay off quickly.
Is drip irrigation better than soaker hoses? Yes—drip is more precise, durable (5-10+ years vs. 2-5), and less prone to uneven flow.
Can I install it myself without plumbing experience? Absolutely! Most kits are beginner-friendly; takes 2-4 hours with basic tools.
How long do components last? Quality tubing/emitters: 10+ years buried/mulched. Filters/timers: 5-10 years.
What’s the best spacing for vegetable beds? 6-12 inches for dense veggies; 12-18 for larger plants like tomatoes.
Does it work in hot climates? Excellently—saves 50-80% water, reduces stress. Use mulch and shade lines.
Can I use it with hard water? Yes, but add fine filter and flush regularly.
How do I prevent clogs? Filter + regulator + end-of-season flush.
Is automation worth it? For busy gardeners: Yes—timers/sensors ensure consistency.
Can I add fertilizer? Yes—fertigation is efficient and effective.
What if I rotate crops? Flexible layouts (individual emitters or movable tape) adapt easily.
Does it reduce weeds? Significantly—water only hits roots, not paths.
Safe for organic gardening? Completely— no chemicals needed.
How much water does it save? 30-80% vs. sprinklers/hand watering.
Best for beginners? Start with pre-made kits from DripWorks, Rain Bird, or Carpathen.
Drip irrigation for raised beds isn’t just convenient—it’s transformative. It delivers precise, root-zone watering that conserves resources, minimizes diseases, and maximizes yields in ways traditional methods can’t match.
From my decades in the soil, I’ve seen drip turn average gardens into bountiful, low-maintenance paradises. Whether battling drought, time constraints, or inconsistent results, this system solves it all.
Take the step today: Plan your layout, invest in quality components, and watch your raised beds thrive like never before. Healthier plants, bigger harvests, and more time to enjoy them—that’s the real reward.
Happy gardening!