Imagine turning your everyday kitchen scraps, coffee grounds, and yard trimmings into free, nutrient-rich “black gold” that transforms your garden soil, boosts plant growth, and saves you hundreds of dollars on fertilizers each year—all while significantly Starting a Simple Compost Pile reducing the amount of waste you send to landfills.
Starting a simple compost pile is one of the easiest, most rewarding, and environmentally friendly practices any gardener or homeowner can adopt. Yet many beginners hesitate, worried that composting is complicated, smelly, or requires expensive equipment. The truth? You can start a highly effective compost pile today with almost no cost and minimal effort.
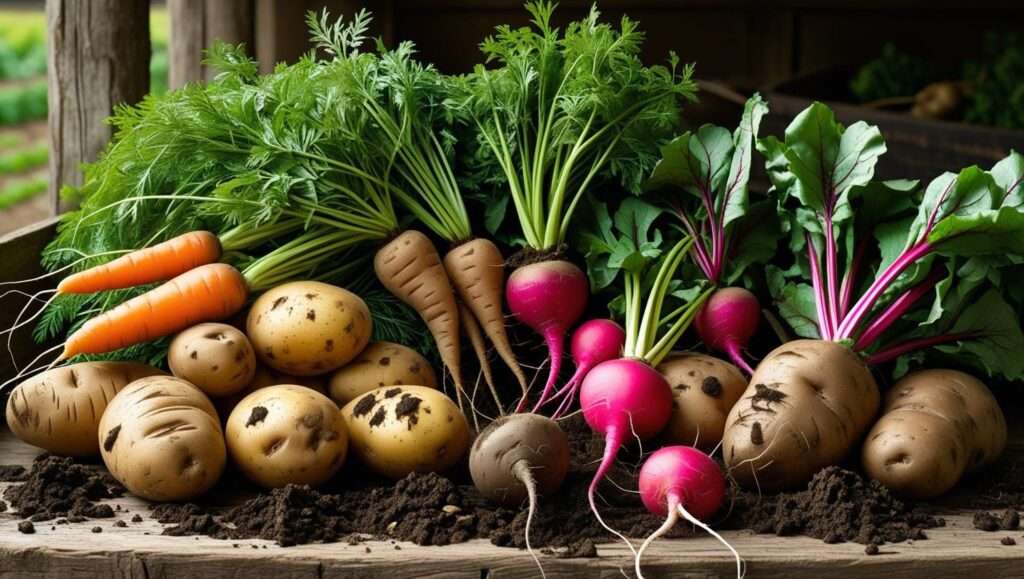
In this comprehensive beginner’s guide, you’ll learn exactly how to build, maintain, and harvest a thriving simple compost pile using just the materials you already have at home. Whether you have a large backyard in Barishal or a small urban plot, this step-by-step method will help you create rich, dark compost that will supercharge your vegetables, flowers, fruit trees, and lawn—naturally and sustainably.
By the end of this article, you’ll have the confidence and knowledge to start composting successfully. Let’s dive in!
Why Start a Simple Compost Pile? The Real Benefits
Environmental Advantages
Home composting is one of the most powerful actions individuals can take to fight climate change. Organic waste in landfills produces methane—a greenhouse gas 25 times more potent than carbon dioxide. By composting at home, you can divert up to 30% of your household waste from landfills (EPA estimate), dramatically reducing these harmful emissions.
Compost also improves soil structure, helping it retain more water and reducing the need for irrigation—especially important in regions with hot, dry seasons. Healthier soil sequesters more carbon, supporting global efforts to combat climate change.
Gardening & Soil Benefits
Finished compost is nature’s perfect fertilizer. It:
- Improves soil structure — making heavy clay soils more workable and sandy soils better at holding moisture and nutrients.
- Increases microbial activity — feeding the billions of beneficial organisms that make nutrients available to plants.
- Enhances nutrient availability — slowly releasing essential elements like nitrogen, phosphorus, and potassium.
- Suppresses plant diseases and pests — through beneficial microbes and improved plant health.
- Reduces the need for chemical fertilizers — saving money and protecting waterways from runoff.
Many experienced gardeners report that once they start regularly adding compost, their plants become noticeably healthier, more drought-resistant, and more productive.
Personal & Practical Benefits
- Saves money — No more buying expensive bagged compost or synthetic fertilizers.
- Reduces household trash — Many families cut their garbage volume by 25–50%.
- Provides a satisfying, sustainable hobby — Watching kitchen scraps transform into rich soil is incredibly rewarding.
- Creates self-sufficiency — You produce your own high-quality soil amendment year after year.
What You Need to Get Started (Minimal Materials & Tools)
The beauty of a simple compost pile is how little you actually need.
Essential Ingredients: Greens & Browns
Compost requires a balance of two main types of materials:
- Greens (nitrogen-rich, moist materials) — provide the nitrogen microbes need to break down organic matter quickly.
- Kitchen scraps: vegetable peels, fruit scraps, coffee grounds, tea bags
- Fresh grass clippings (untreated)
- Fresh garden trimmings
- Manure from herbivores (cow, horse, chicken, rabbit)
- Seaweed and aquatic plants (if available)
- Browns (carbon-rich, dry materials) — provide the carbon structure and energy source.
- Dry leaves
- Shredded cardboard and newspaper (avoid glossy pages)
- Straw or hay
- Wood chips and small branches
- Sawdust (untreated)
- Paper egg cartons and paper towels
Golden rule: Aim for roughly 2–3 parts browns to 1 part greens by volume for balanced decomposition.
Optional Simple Setups
You don’t need a fancy bin. Many successful composters simply make an open pile. However, these easy DIY enclosures help keep things tidy:
- Three-sided pallet bin — Use free or inexpensive wooden pallets.
- Wire fencing circle — Bend a length of chicken wire or hardware cloth into a circle.
- Trench composting — Dig a shallow trench directly in the garden and bury kitchen scraps.
Tools
- Pitchfork or garden fork (for turning)
- Shovel (for moving materials)
- Optional: Compost thermometer (helps monitor hot composting)
- Watering can or hose with gentle nozzle
Space & Location Requirements
- Ideal size: At least 3 feet × 3 feet × 3 feet (1 cubic meter) for efficient heat buildup and decomposition.
- Location: Choose a spot that is:
- Well-drained (avoid low-lying wet areas)
- Partially shaded (full sun can dry out the pile too quickly)
- Conveniently accessible from both your kitchen and garden
- At least a few feet away from your house to avoid any potential odors
Step-by-Step Guide to Building Your Simple Compost Pile
Step 1: Choose the Perfect Location
Pick a level, well-drained spot with easy access. Avoid placing the pile directly against a wooden fence or your house foundation to prevent moisture damage or unwanted pest attraction.
Pro tip: If your soil is very heavy clay, place a few coarse branches or small logs at the base to improve initial airflow.
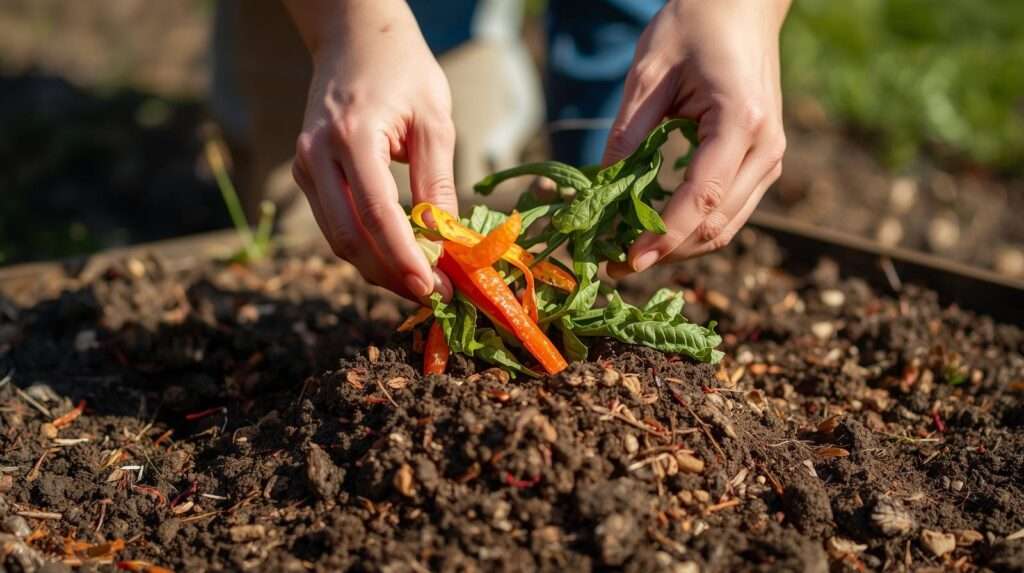
Step 2: Gather Your Materials (Greens & Browns)
Collect a good mix before you start building:
- Stockpile browns (dry leaves, shredded cardboard) in advance—especially in fall.
- Keep a countertop compost bucket or bag in your kitchen for daily greens.
- Have a small pile of finished compost or garden soil ready to add (helps introduce beneficial microbes).
What NOT to compost:
- Meat, fish, dairy, oils, or bones (attract pests and smell)
- Diseased or pesticide-treated plants
- Pet waste (dogs/cats)
- Weeds that have gone to seed
- Glossy or colored paper
- Coal ash or treated wood
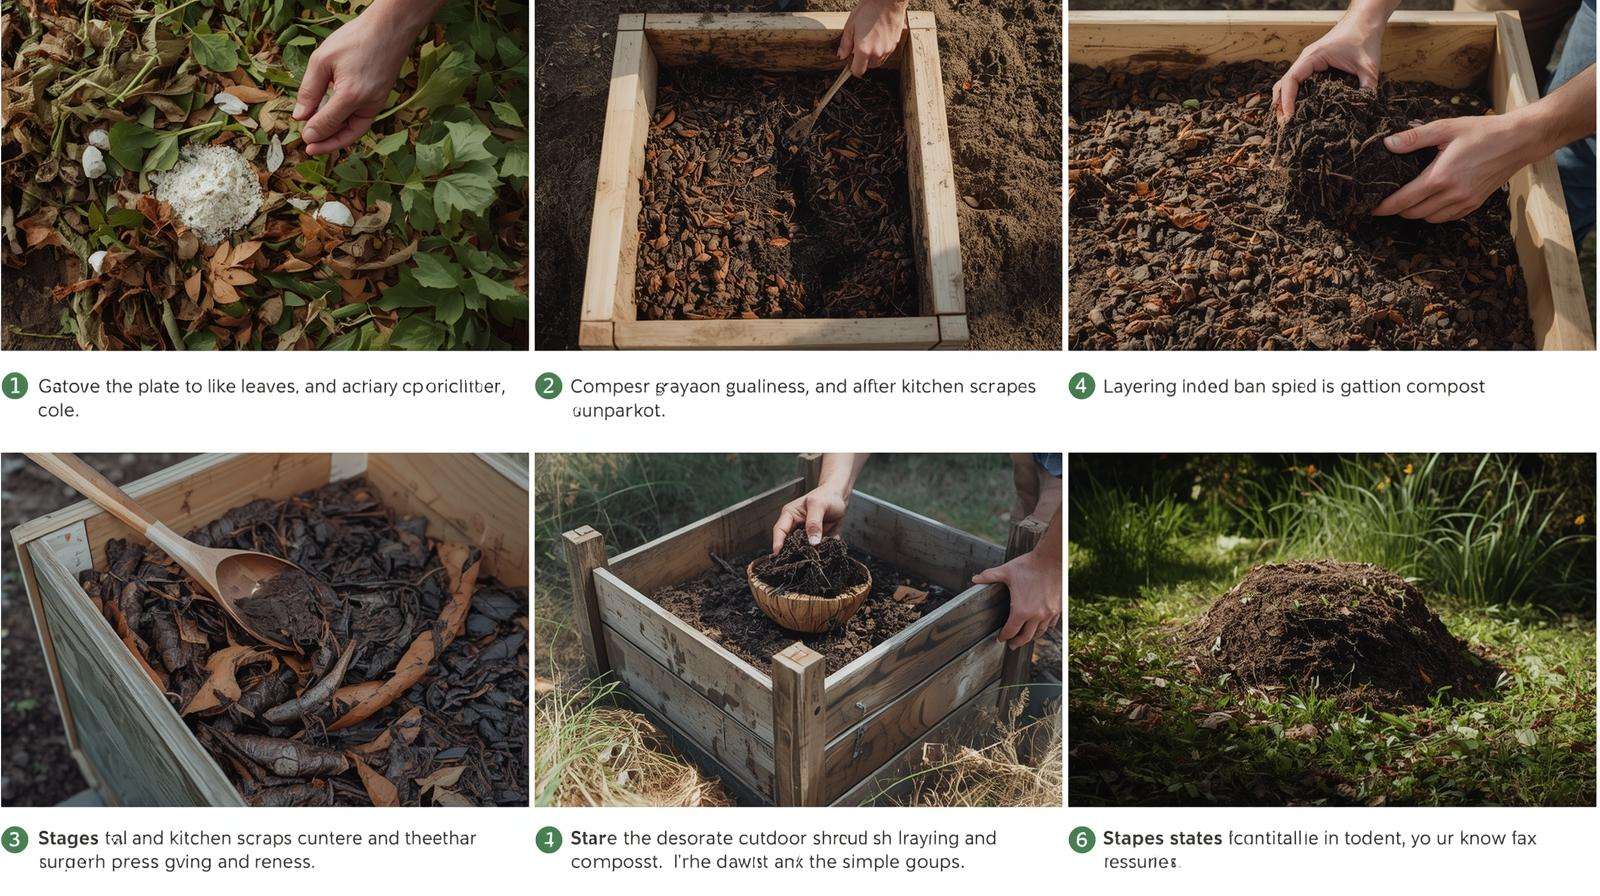
Step 3: Build the Pile – Layering Like a Lasagna
- Start with a base layer (4–6 inches) of coarse browns (twigs, straw, or small branches) for airflow and drainage.
- Add a layer of greens (3–4 inches).
- Cover with browns (twice as thick as the greens layer).
- Sprinkle a thin layer of garden soil or finished compost between layers to introduce microbes.
- Repeat layering until the pile reaches at least 3 feet tall.
- Moisten each layer as you go—aim for the consistency of a wrung-out sponge.
Step 4: Maintain Your Compost Pile
- Turning/Aeration: Turn the pile every 1–2 weeks with a pitchfork to introduce oxygen and speed decomposition.
- Moisture: Check weekly. Add water if too dry; add more browns if too wet.
- Temperature Monitoring (optional but helpful): A hot compost pile should reach 130–160°F (55–70°C) in the center within a few days.
- Troubleshooting:
- Bad odor → Add more browns and turn more frequently.
- Slow decomposition → Add more greens, turn more often, or shred materials smaller.
- Pests → Bury food scraps deeper and cover with browns.
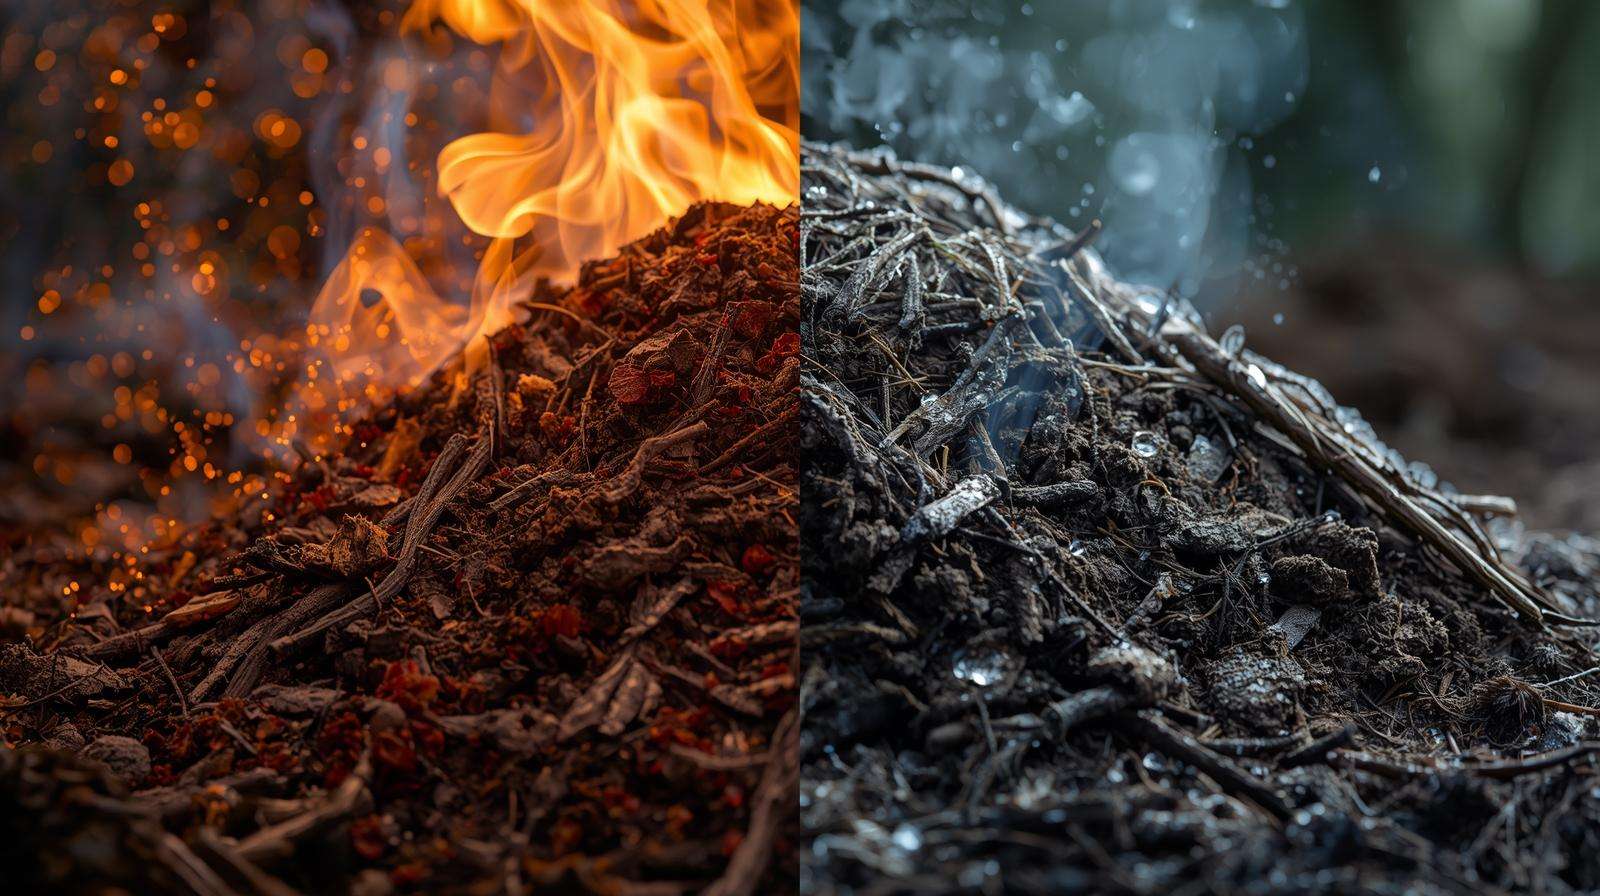
Hot vs. Cold Composting: Which Method Is Right for You?
Composting happens in two main styles: hot composting and cold composting. Understanding the differences will help you choose the best approach for your time, space, and goals—especially in a hot, humid climate like Barishal, where decomposition can happen quickly but moisture management is key.
Hot Composting (Active Method)
- How it works: You build the entire pile at once with the right balance of greens and browns, then manage it to reach high internal temperatures (130–160°F or 55–70°C). Beneficial aerobic bacteria thrive in this heat, breaking down materials rapidly.
- Timeframe: Finished compost in 2–6 months.
- Advantages:
- Kills most weed seeds, plant pathogens, and harmful bacteria.
- Produces richer, more uniform compost.
- Faster results—ideal if you want to use compost in the same growing season.
- Requirements:
- Pile must be at least 3×3×3 feet.
- Regular turning (every 3–7 days).
- Careful moisture and ratio monitoring.
- Best for: Gardeners who have plenty of materials at once (e.g., fall leaves) and want to actively manage the process.
Cold Composting (Passive Method)
- How it works: You simply add materials gradually over time—no special layering or frequent turning. Decomposition happens slowly through natural microbial activity.
- Timeframe: 6–12 months or longer.
- Advantages:
- Extremely low-maintenance—perfect for true beginners.
- No need to worry about exact ratios or temperatures.
- Works well in small spaces.
- Disadvantages:
- May not kill all weed seeds or pathogens.
- Slower process.
- Best for: Busy homeowners or those starting small with kitchen scraps only.
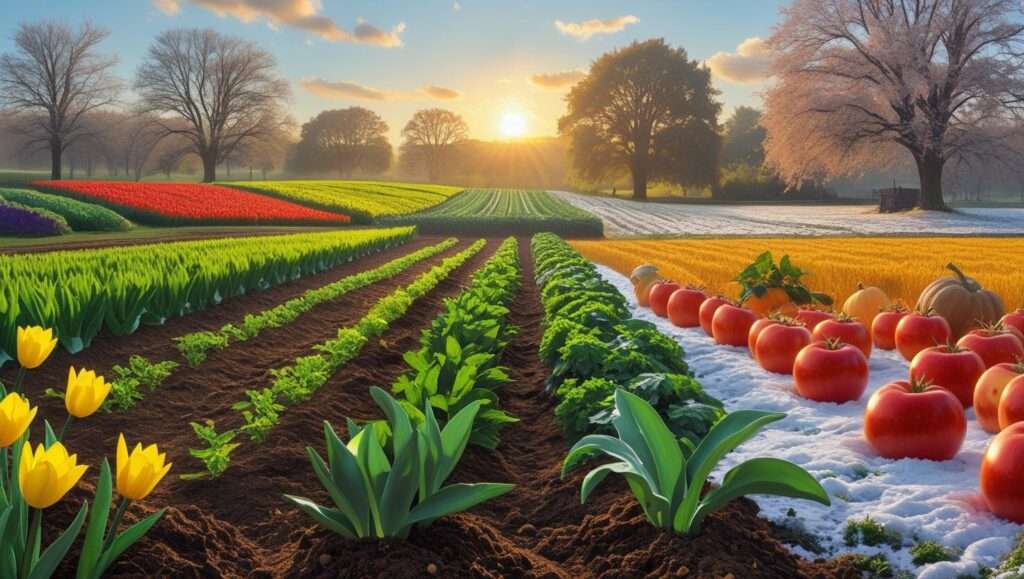
Recommendation for Barishal’s hot, humid climate: Start with cold composting to build confidence. Once comfortable, experiment with hot composting during drier months (winter) when heat buildup is easier to control. In summer, hot piles can overheat and dry out quickly, while cold piles handle excess moisture better.
Common Beginner Mistakes & How to Avoid Them
Even experienced gardeners make mistakes—here are the most common ones beginners encounter, with proven fixes:
- Imbalanced greens-to-browns ratio Too many greens → smelly, slimy pile (ammonia odor). Too many browns → slow or stalled decomposition. Fix: Stick to 2–3 parts browns to 1 part greens. Add browns if it smells bad.
- Pile too wet or too dry Too wet → anaerobic conditions, foul odors (rotten eggs smell). Too dry → microbes go dormant, decomposition stops. Fix: Maintain “wrung-out sponge” moisture. In humid Barishal summers, add more browns and turn frequently. In dry spells, water lightly.
- Not turning the pile Lack of oxygen leads to slow breakdown and odors. Fix: Turn every 1–2 weeks with a pitchfork. In hot composting, turn more often.
- Adding prohibited items Meat, dairy, oils, diseased plants, or pet waste attract pests and create bad smells. Fix: Follow the “no” list strictly. Bury food scraps deep under browns.
- Starting too small Small piles don’t generate enough heat and decompose slowly. Fix: Aim for at least 3 cubic feet. Build up gradually if needed.
- Expecting instant results Composting takes time—patience is key. Fix: Track progress with photos and notes. Celebrate small wins like rising temperatures.
How to Know When Your Compost Is Ready
Finished compost is often called “black gold” because it’s dark, crumbly, and rich. Here’s how to tell:
- Visual signs:
- Dark brown to black color.
- No recognizable food scraps or leaves.
- Crumbly texture (breaks apart easily).
- Smell test: Earthy, forest-floor aroma (not sour or ammonia-like).
- Squeeze test: Grab a handful—if it holds shape but crumbles when poked, it’s ready.
- Temperature test: If the pile has cooled to ambient temperature (no heat in the center), decomposition is complete.
- Seed germination test (advanced): Plant a few radish seeds in a pot of your compost. If they sprout well within a week, it’s mature.
Tip: If some larger pieces remain, sift them out and return to the pile. In hot climates, compost can finish faster—check every 2–3 months.
Using Your Finished Compost in the Garden
Once ready, your homemade compost is incredibly versatile:
- As a soil amendment: Mix 1–2 inches into the top 6–8 inches of garden beds before planting. Improves structure, fertility, and water retention—perfect for Barishal’s often heavy clay soils.
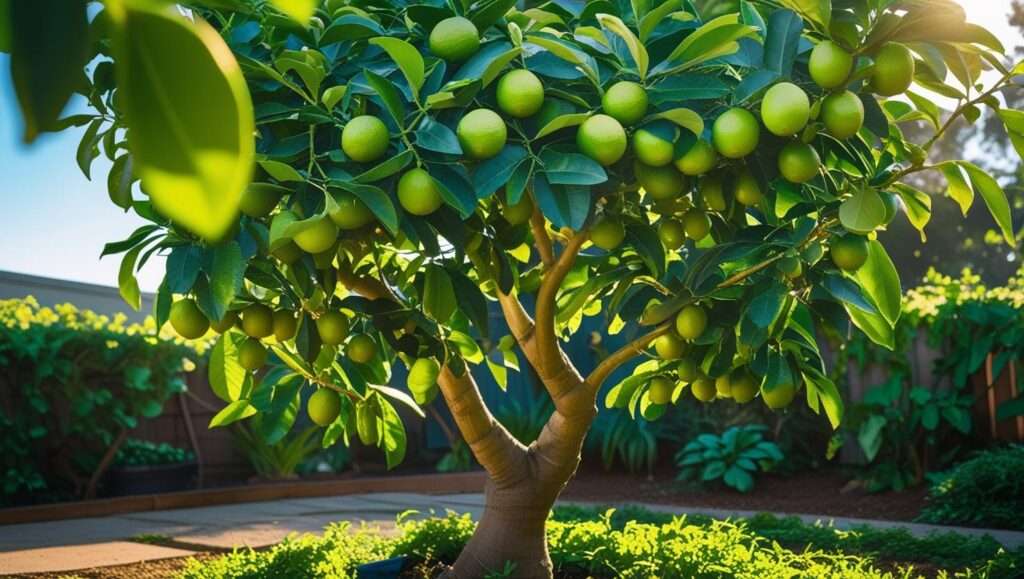
- Top dressing: Spread a ½–1 inch layer around vegetables, flowers, and fruit trees. Water in gently.
- Potting mix: Blend 20–30% compost with garden soil, sand, or coco coir for containers.
- Mulch: Apply 2–3 inches around plants to suppress weeds and retain moisture.
- Lawn care: Spread thinly over grass in spring/fall for natural feeding.
- Compost tea: Steep a shovelful in water for 3–7 days to make a nutrient-rich liquid fertilizer.
How much to use? Start with 1–2 inches per year for most gardens. Over time, build up to richer soil. Always use mature compost to avoid burning young plants.
Advanced Tips for Faster, Better Results
- Natural accelerators: Add a handful of finished compost, manure, or comfrey leaves to jumpstart microbes.
- Seasonal adjustments: In Barishal’s rainy season, cover the pile with a tarp to prevent waterlogging. In dry heat, water more and use larger browns for airflow.
- Scaling up: Start a second pile while the first matures—rotate between them.
- Compost tea recipe: Fill a bucket 1/3 with compost, top with water, let steep 3–5 days, strain, and dilute 1:10 for watering plants.
- Pest prevention: Bury food scraps deep and keep the pile covered with browns.
Expert Insights & Real-Life Success Stories
Agricultural extension services (like those from Bangladesh Agricultural University) emphasize that home composting can reduce household waste by 30–50% while improving soil fertility in tropical climates. Local gardeners in Barishal often report doubling vegetable yields after just one season of regular composting.
One experienced farmer shared: “I started with a simple pile of kitchen waste and rice straw. Within six months, my okra and brinjal plants were stronger and more productive than ever—without chemical fertilizers.”
Frequently Asked Questions (FAQs)
How long does it take to make compost? Cold: 6–12 months. Hot: 2–6 months. In Barishal’s warm climate, expect faster results.
Is my compost pile supposed to smell? A healthy pile smells earthy. Bad odors mean too wet or imbalanced—add browns and turn.
Can I compost in a small yard or apartment? Yes! Use a small bin, trench method, or even a balcony bucket system with Bokashi.
What if I only have kitchen scraps? Add cardboard, dry leaves, or shredded paper as browns. Start small and build up.
How do I keep pests away? Bury food scraps, keep pile covered, avoid meat/dairy, and turn regularly.
Is composting worth it in a hot, humid climate? Absolutely! It reduces waste, improves soil, and saves money—ideal for Bangladesh’s growing conditions.
Conclusion: Start Small, Grow Big
Starting a simple compost pile is one of the most impactful steps you can take for your garden, your wallet, and the planet. With just a few kitchen scraps, some dry leaves or cardboard, and a little patience, you’ll soon have rich, homemade compost that transforms your plants.
Gather your materials today—start layering that first pile! In a few months, you’ll be harvesting your own “black gold” and wondering why you didn’t start sooner.
Have questions or progress to share? Drop a comment below—I’d love to hear how your composting journey goes!