Picture opening the door to your root cellar in the dead of winter and finding crisp carrots, firm potatoes, and fragrant apples that taste as fresh as the day they were harvested—monitoring and tuning a root cellar properly can turn a damp basement or buried barrel into a year-round food preservation powerhouse, but small fluctuations in temperature or humidity can spoil everything you worked all season to store. As a homesteader and food preservation expert with more than 20 years of experience building, maintaining, and troubleshooting root cellars across different U.S. climates—from the humid Southeast to the arid West—I’ve learned through trial, error, and collaboration with extension services and agricultural researchers that success comes down to consistent monitoring and targeted adjustments rather than hoping for perfect conditions.
This comprehensive guide covers everything you need to know about monitoring and tuning a root cellar: how to achieve and maintain the ideal 40–60°F temperature and 85–95% humidity range, the tools and techniques that actually work, and exactly which crops store best (and worst) in those conditions. We’ll go far beyond generic advice with detailed troubleshooting, seasonal checklists, DIY modifications, real-world case studies, and data-backed insights to help you minimize spoilage and maximize shelf life. Whether you’re starting with a new root cellar or trying to salvage an underperforming one, this article is designed to solve the most common frustrations homesteaders face when their stored food doesn’t last as long as expected.
Why 40–60°F Is the Magic Range (and Why Most Cellars Miss It)
The 40–60°F window is the sweet spot for most root vegetables and fruits because it balances slowing respiration (to extend shelf life) with preventing freezing or rapid spoilage. Below 40°F, many crops suffer chilling injury (potatoes turn sweet and blacken, apples get mealy). Above 60°F, respiration accelerates, shortening storage life dramatically.
Most backyard root cellars struggle to stay in this range because of poor insulation, airflow issues, or seasonal temperature swings. The goal of monitoring and tuning is to stabilize conditions year-round.
Key Factors That Affect Temperature and Humidity
- Ground temperature (lags behind air temperature by weeks)
- Insulation and ventilation
- Moisture sources (soil, evaporating produce)
- External heat/cold intrusion
Expert Insight: Research from Cornell University’s post-harvest studies shows that every 18°F increase in storage temperature roughly doubles respiration rate, cutting storage life in half.
Tip: Use a simple thermometer test: Place one inside and one outside (in shade)—consistent 10–15°F cooler inside indicates good baseline tuning.
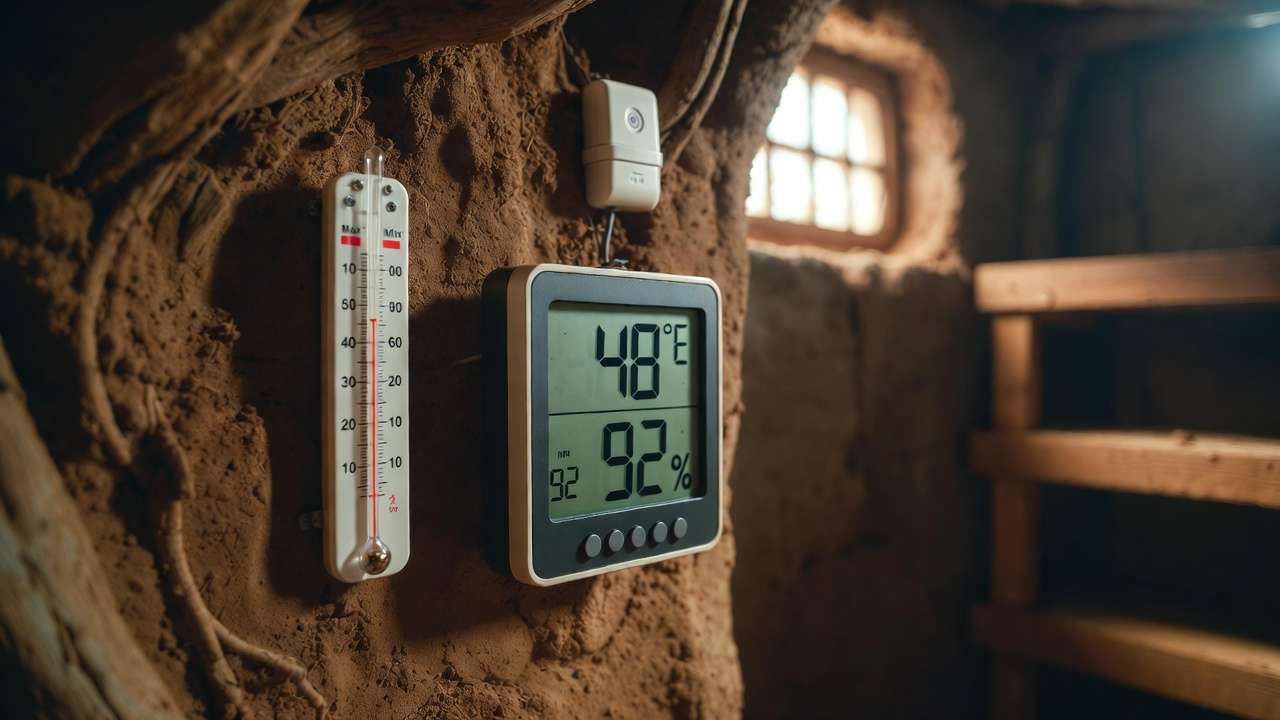
Essential Tools for Monitoring Temperature and Humidity
You can’t tune what you don’t measure. Here’s what actually works in real homestead root cellars.
Choosing Accurate Devices
- Digital hygrometer/thermometer combo (Inkbird or similar, $15–30)
- Analog max-min thermometer (for tracking extremes)
- Wireless remote sensors (for multi-zone cellars)
Placement and Setup Best Practices
- One sensor at eye level in the center
- One near the floor (coldest spot)
- One near the ceiling (warmest spot)
- Avoid direct contact with produce or walls
Recording and Logging
- Daily checks during first month
- Weekly once stable
- Use a simple spreadsheet or notebook
Table: Recommended Tools Comparison
| Tool Type | Cost Range | Features | Best For |
|---|---|---|---|
| Digital Combo | $15–40 | App connectivity, alerts | Daily monitoring |
| Analog Max-Min | $10–20 | No batteries needed | Backup in outages |
| Data Logger | $30–60 | Long-term graphing | Advanced analysis |
Tuning Temperature: Achieving and Maintaining 40–60°F
Temperature is usually the easiest parameter to stabilize once you understand your cellar’s behavior.
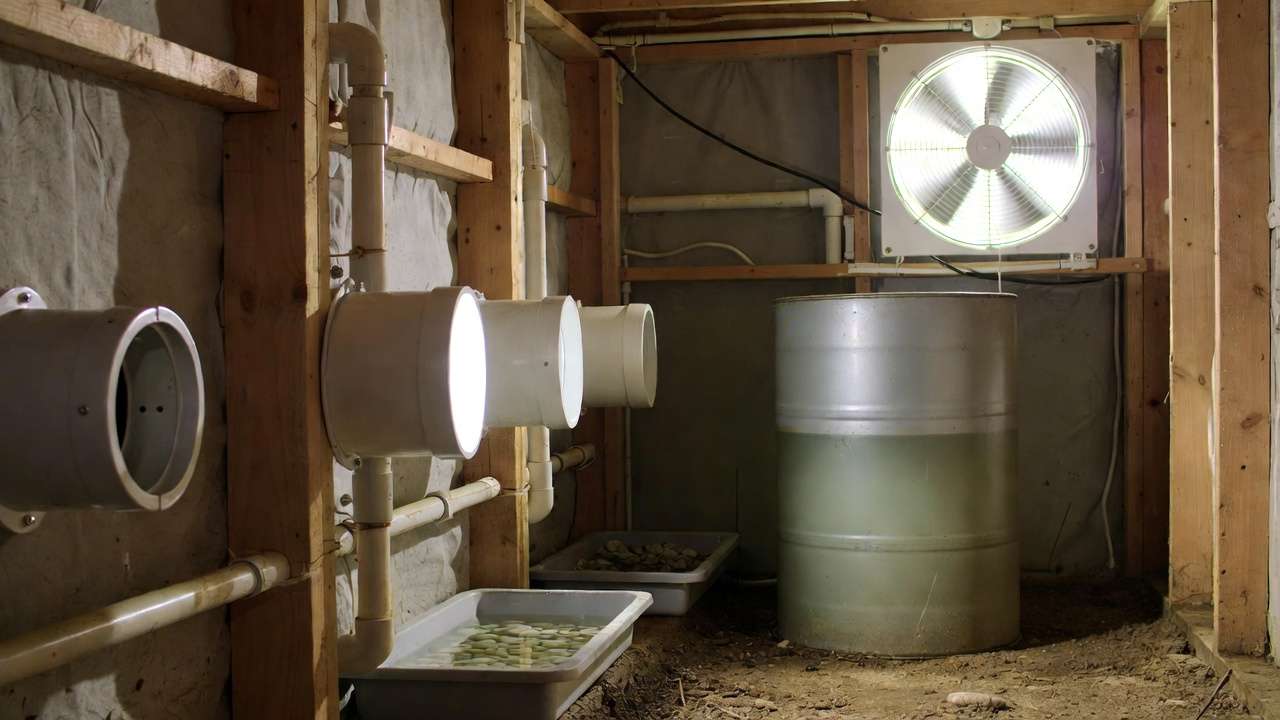
Cooling Strategies
- Increase ventilation during cool nights
- Add shade cloth or earth berms over above-ground cellars
- Use ice blocks or frozen water jugs in hot weather (short-term)
Warming Strategies
- Insulate exterior walls more heavily
- Reduce ventilation in early winter
- Add a small safe heat source (incandescent bulb on timer) for sub-freezing climates
Common Temperature Problems and Fixes
- Too cold: Seal air leaks, reduce vents
- Too warm: Add more insulation, increase night ventilation
- Swings: Improve thermal mass (barrels of water, stone walls)
Expert Insight: Post-harvest specialists at Washington State University recommend aiming for a daily fluctuation of no more than 5°F to prevent condensation and sprouting.
Tip: Seasonal Temperature Tuning Calendar
- Fall: Seal drafts, add insulation.
- Winter: Monitor for freezes, use minimal heat.
- Spring: Increase ventilation to release built-up heat.
- Summer: Maximize cooling with fans/evaporation.
Tuning Humidity: Balancing 85–95% for Crisp Produce
High humidity is essential for crisp root vegetables, but excess moisture causes mold and rot.
Raising Humidity in Dry Cellars
- Wet burlap over vents
- Shallow trays of water (with lids to control evaporation)
- Damp (not wet) floor or gravel layer
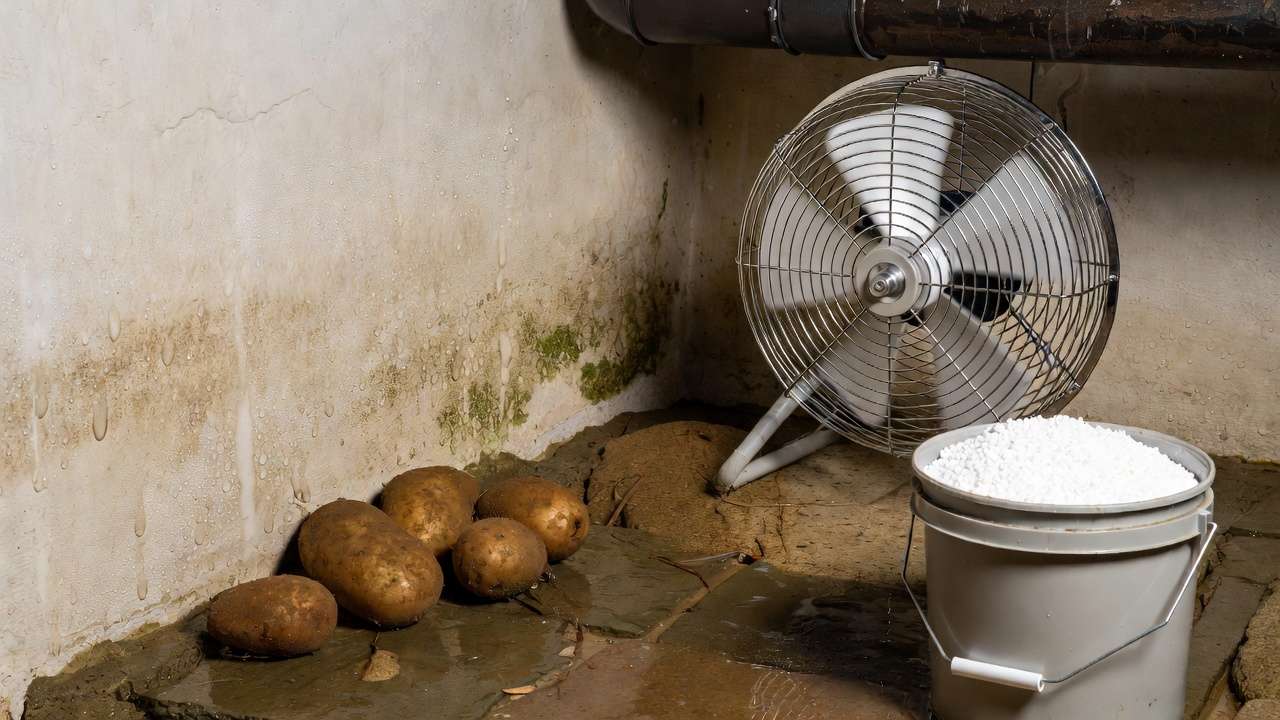
Lowering Humidity in Damp Cellars
- Increase ventilation (but not so much that temperature drops)
- Add moisture-absorbing materials (calcium chloride in buckets)
- Remove overly wet produce immediately
Condensation Problems
- Caused by temperature differences between air and walls/produce
- Fix: Improve insulation, equalize temperature zones
Tip: Use a simple “wet towel test”—hang a damp towel; if it dries quickly, humidity is too low; if moldy, too high.
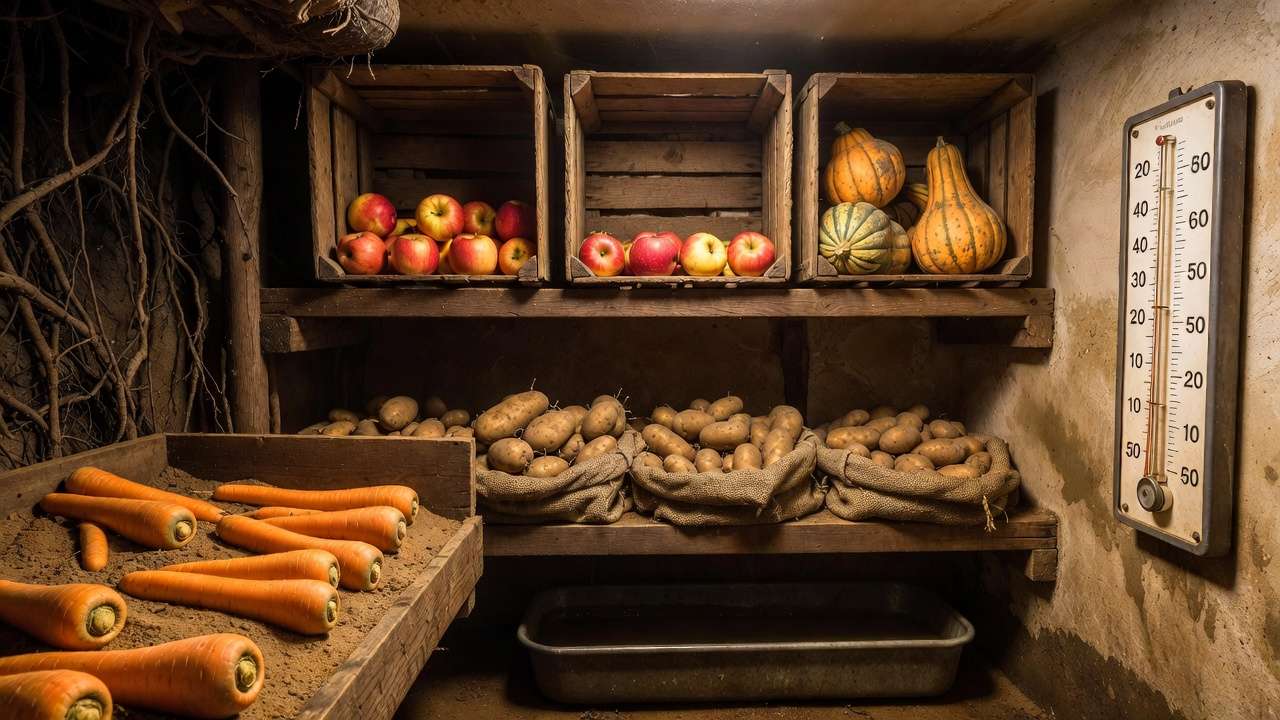
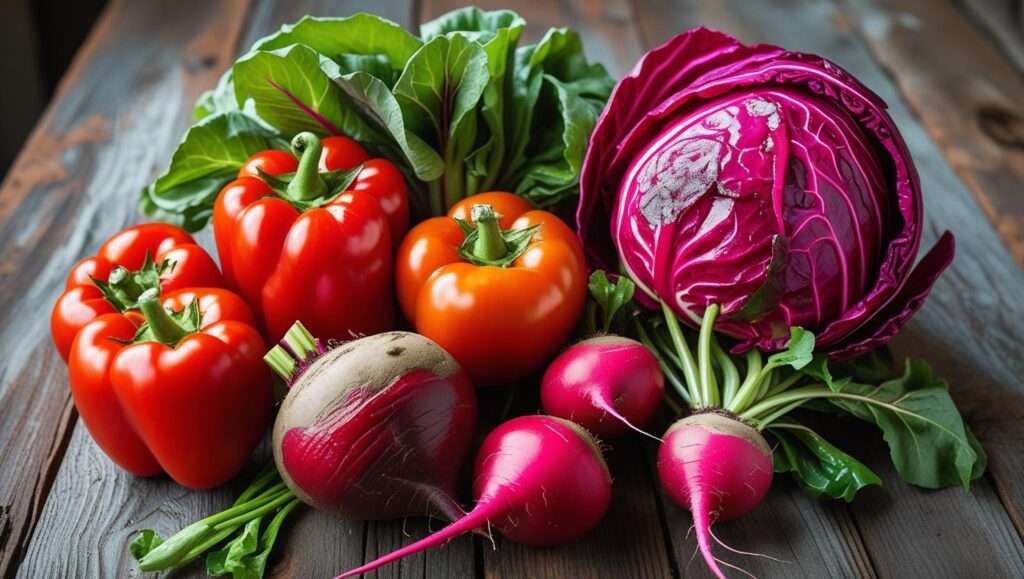
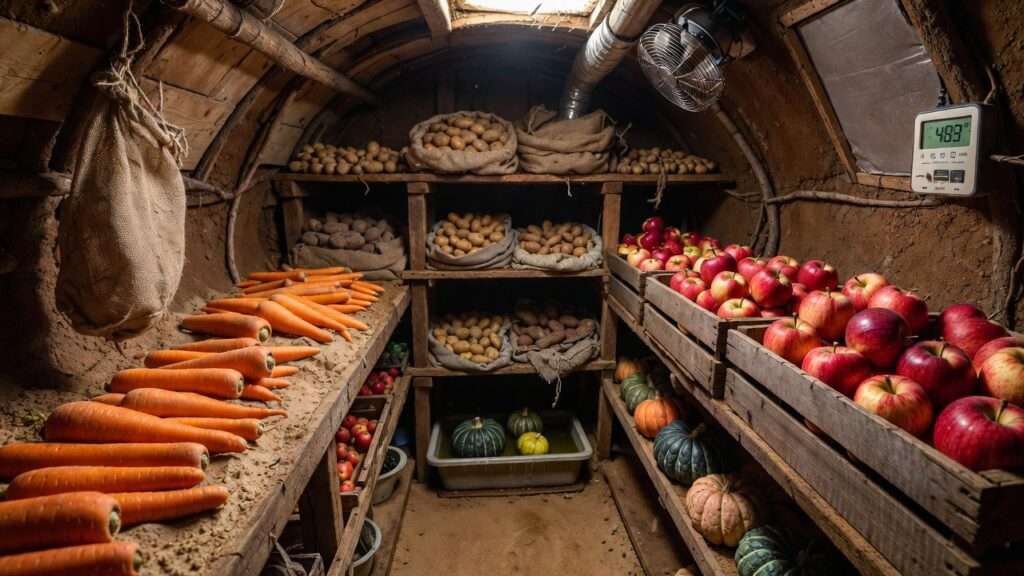
What Really Stores Well at 40–60°F (and What Doesn’t)
Not all crops thrive in the same conditions—grouping them properly prevents cross-contamination and spoilage.
Excellent Long-Term Storage (3–12 months)
- Potatoes (45–50°F, 90–95% RH)
- Carrots, beets, turnips (32–40°F if possible, or 40–45°F)
- Winter squash, pumpkins (50–55°F, 50–70% RH)
- Onions, garlic (32–40°F, 60–70% RH)
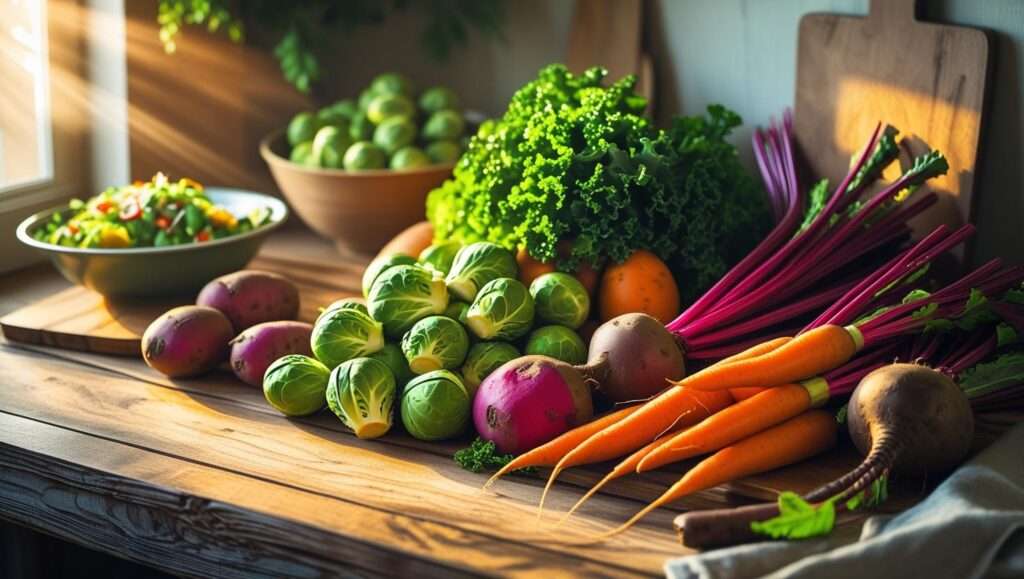
Good Medium-Term Storage (1–4 months)
- Apples (32–40°F, 90% RH)
- Cabbage (32–40°F, 95% RH)
- Pears (30–35°F, 90–95% RH)
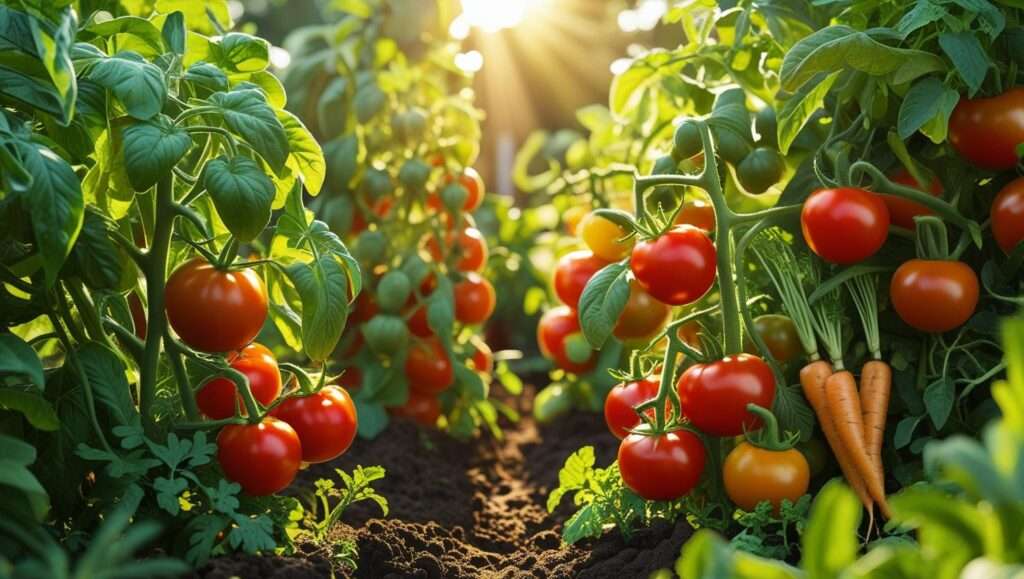
Short-Term or Problematic Crops
- Tomatoes (above 55°F or they lose flavor)
- Peppers, eggplants (45–55°F, but short life)
- Sweet potatoes (55–60°F, very sensitive to cold)
Tip: Create storage zones — cooler floor for roots, warmer upper shelves for squash/apples.
Troubleshooting Common Root Cellar Problems
Root cellars aren’t set-it-and-forget-it—address issues promptly to save your harvest.
Mold and Mildew
- Cause: High humidity + poor airflow
- Fix: Increase ventilation, remove affected items, add fans
Condensation on Produce
- Cause: Temperature differences
- Fix: Even out temp with fans, insulate cold spots
Sprouting
- Cause: Too warm or light exposure
- Fix: Lower temp, keep dark
Shriveling
- Cause: Low humidity
- Fix: Add water trays, group moist produce
Case Study: A Midwest homesteader fixed chronic mold by installing a small exhaust fan and calcium chloride buckets—humidity stabilized at 90%, saving 85% of winter storage.
Expert Insight: Cornell Food Science Lab recommends weekly inspections during first month to catch issues early.
Tip: Emergency Fix Kit
- Fan for airflow.
- Desiccant buckets.
- Thermometer/hygrometer spares.
- Vinegar for cleaning.

Advanced Tips for Optimal Root Cellar Performance
Go beyond basics for a high-efficiency cellar.
DIY Modifications for Better Control
- Ventilation upgrades: PVC pipes with dampers for adjustable airflow.
- Insulation hacks: Straw bales or reflective foil for walls.
- Humidity boosters: Automatic misters on timers for dry climates.
Seasonal Tuning Strategies
- Fall: Stock and seal for winter.
- Winter: Monitor for freezes, add heat if needed.
- Spring: Vent excess moisture as temps rise.
- Summer: Cool with night air exchange.
Tech Upgrades
- Smart sensors (Wi-Fi enabled) for app alerts.
- Solar-powered fans for off-grid homesteads.
Tip: Root Cellar Upgrade Calculator
- Current conditions vs ideal.
- Estimated cost for fixes (e.g., $50 fan, $20 desiccant).
Common Mistakes to Avoid When Monitoring and Tuning
- Ignoring initial setup logs — Miss patterns.
- Over-ventilating — Drops humidity too low.
- Mixing incompatible crops — Ethylene spoils others.
- No backups for tools — Power failure blinds you.
- Storing wet produce — Instant mold risk.
- Neglecting seasonal adjustments — Winter cold, summer heat.
- Poor organization — Hard to inspect.
- Skipping cleaning — Builds pathogens.
Tip: Mistake-Proof Monitoring Checklist
- Weekly logs? Sensors calibrated? Produce grouped? Vents adjusted?
Expert Insights and Real Gardener Stories
Research Perspective A Journal of Food Science study shows 40–60°F with 85–95% RH extends apple storage from 1 to 4 months.
Extension Advice Penn State Extension: “Humidity is the silent killer—tune it first for crispness.”
Real Stories
- Midwest success: A family tuned a basement cellar with fans—stored 200 lbs potatoes 6 months mold-free.
- Southwest adaptation: A dry-climate grower added water trays—humidity rose from 60% to 90%, saving shriveled carrots.
- Lesson learned: A Northeast homesteader ignored temp swings—lost half harvest to sprout. Added loggers, perfect next year.
2026 Trends Rising smart cellars with IoT sensors per USDA home preservation reports.
Conclusion
Monitoring and tuning a root cellar transforms a simple storage space into a reliable food bank—maintain 40–60°F and 85–95% humidity, choose compatible crops, and troubleshoot proactively for minimal waste. With these strategies, your harvest lasts longer, saving money and effort.
Start monitoring today—grab a hygrometer and log your cellar’s baseline.
Share in comments: Your root cellar setup? Best-storing crop?
Final Tip Group produce by needs—high-humidity bins for roots, drier shelves for onions.
Frequently Asked Questions (FAQs)
How do I monitor temperature in a root cellar? Use digital thermometers with max-min; place at multiple heights.
What’s the best humidity for a root cellar? 85–95%—use hygrometers and adjust with vents or trays.
What stores well at 40–60°F? Potatoes, carrots, apples, onions—group by humidity needs.
How to lower humidity in a root cellar? Increase ventilation, use desiccants like calcium chloride.
How to raise temperature in a cold root cellar? Seal drafts, add safe heat sources like bulbs on thermostats.
Why is my root cellar moldy? High humidity + poor air—vent more, remove wet items.
Can I use a basement as a root cellar? Yes—with insulation and vents; monitor closely.
What if my root cellar is too dry? Add water trays or damp burlap for evaporation.
How often should I check my root cellar? Weekly for established; daily during tuning.
What doesn’t store well in a root cellar? Tomatoes, peppers, sweet potatoes—too cold-sensitive.