Imagine waking up during a summer drought, watching your garden wilt while your water bill climbs higher, or relying on a well that runs dry after a few dry months. For homesteaders, water security isn’t a luxury—it’s survival. Now picture tapping into free, abundant rainwater that falls right on your roof, providing soft, chemical-free water for your vegetables, livestock, and even household needs. Rainwater harvesting through small and large rainwater systems for homesteads can deliver exactly that: true water independence, dramatic cost savings, and resilience against unpredictable weather.
In 2025 and beyond, with climate patterns shifting, municipal water rates rising, and more families embracing off-grid or semi-off-grid living, rainwater collection has become a practical necessity rather than a niche hobby. Whether you’re starting with a modest vegetable patch and a few chickens or running a full livestock operation with extensive gardens, the right system scales to your needs. This ultimate guide walks you through everything—from calculating your potential harvest and sizing storage to installation steps, maintenance, treatment options, and real-world examples—so you can build a reliable rainwater system that pays for itself over time.
Why Rainwater Harvesting Is Ideal for Homesteads
Rainwater offers distinct advantages over wells, municipal supplies, or hauled water, especially for sustainable agriculture and self-reliant living.
Key Benefits for Self-Sufficiency
Rainwater is naturally soft, low in salts and minerals that can build up in soil from groundwater or treated city water. This makes it superior for irrigation—plants often show better growth and fewer issues with leaf burn or nutrient lockout. For livestock, it’s a clean, fresh source that reduces health risks from high-mineral well water.
Cost savings are substantial. Depending on your location and usage, a well-installed system can offset hundreds to thousands of dollars annually in water bills or pumping costs. In drought-prone areas, it provides backup when other sources fail, turning a vulnerability into strength.
Environmental and Homestead Advantages
Collecting rainwater reduces runoff that erodes soil and carries pollutants into streams. On a homestead, this supports permaculture principles by keeping water on-site to recharge the land. It’s especially valuable for off-grid setups where drilling a new well or extending utility lines is prohibitively expensive.
Is Rainwater Harvesting Legal and Practical Where You Live?
Rainwater harvesting is legal in all 50 U.S. states as of 2025–2026, though some have restrictions. The so-called “Big 8” states (including Colorado, Utah, and a few others like parts of Nevada and Washington) impose limits on collection volume or require permits for larger systems to protect prior water rights. Most states encourage it with no restrictions or even offer rebates and tax incentives.

Always check your local county or state regulations—many areas now include rainwater systems in building codes for non-potable use. In arid regions, incentives can cover a portion of installation costs.
Understanding Your Rainwater Harvesting Potential
Before buying a single barrel or tank, calculate what your land can realistically provide.
Calculating Collection Area and Yield
The basic formula for potential harvest is:
Roof area (square feet) × annual rainfall (inches) × 0.623 (gallons per square foot per inch) × collection efficiency (typically 0.75–0.85 to account for losses).
A common shortcut: 1 inch of rain on a 1,000 sq ft roof yields about 623 gallons. For a typical 2,000 sq ft homestead roof with 30 inches of annual rain and 80% efficiency:
2,000 × 30 × 0.623 × 0.8 ≈ 29,904 gallons per year.
In humid regions (40+ inches rain), yields soar; in semi-arid areas (15–20 inches), you still collect meaningful amounts from larger roofs or outbuildings.
Assessing Your Water Needs
Estimate daily and annual demand to size properly.
- Household basics (conservative off-grid): 50–100 gallons per person per day for drinking, cooking, bathing, laundry.
- Garden irrigation: Varies widely—small veggie plots might need 50–200 gallons/day in peak summer; larger gardens or orchards can require 1,000–4,000+ gallons/day.
- Livestock: Chickens/ducks ~0.5–1 gal/bird/day; goats/sheep 2–5 gal/head; cows/horses 10–30 gal/head.
A family of four with a quarter-acre garden and small livestock might aim for 200–500 gallons/day average, spiking higher in dry spells. Plan storage for at least 30–90 days of dry weather backup.
Matching System Size to Your Homestead
Small systems (<5,000 gallons storage) suit supplemental use—garden boost, chicken watering, or reducing municipal reliance. Large systems (10,000+ gallons) support primary irrigation, livestock, or even partial household supply.
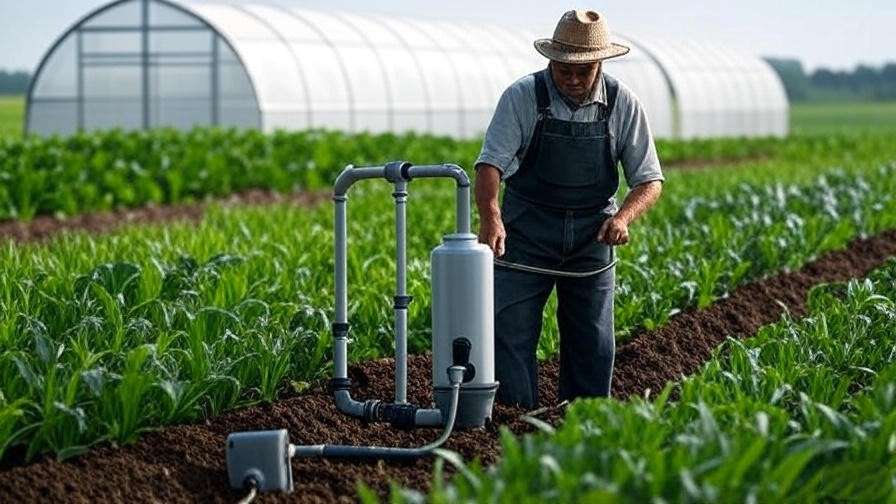
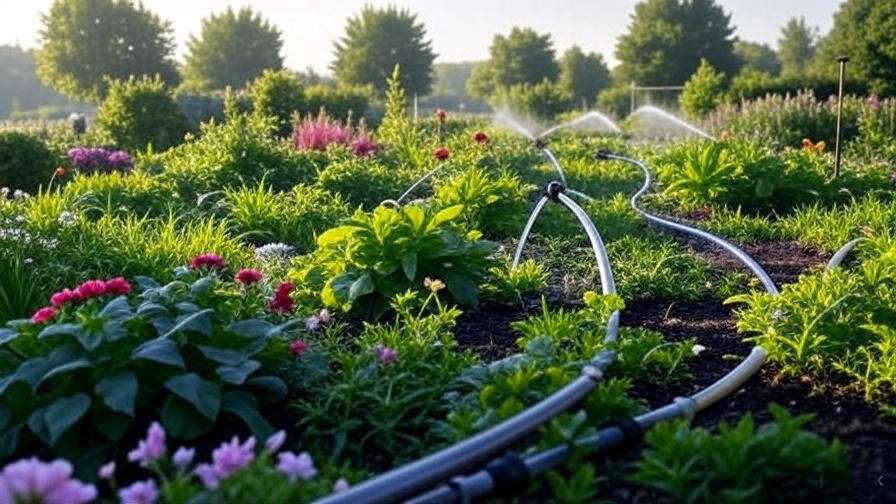
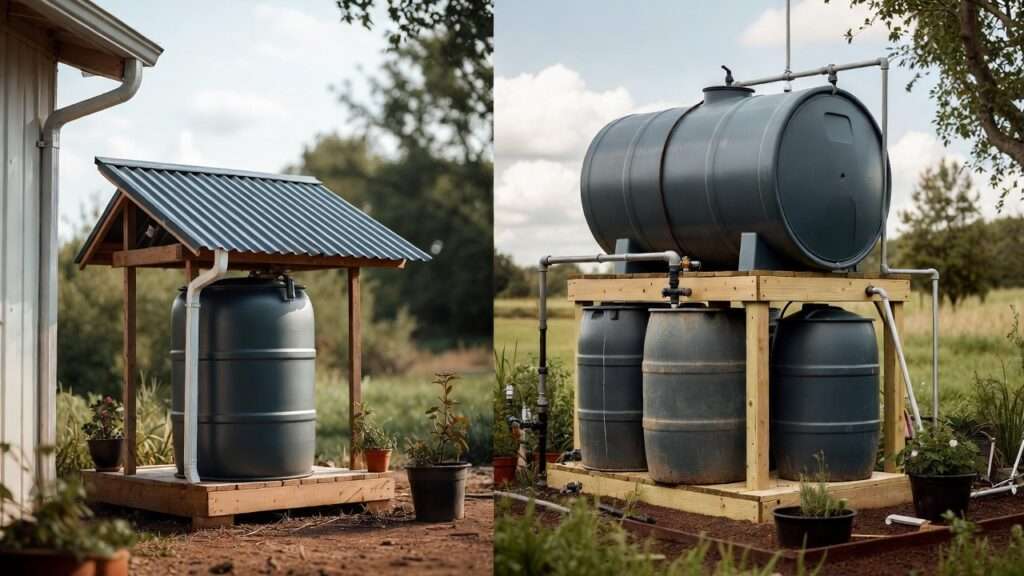
Small Rainwater Systems: Simple, Affordable Starts for Beginners
Small systems are perfect entry points: low cost, minimal complexity, and easy to expand.
Ideal For
Supplemental irrigation for raised beds, small orchards, poultry, or washing tools/vehicles. Great for urban homesteads or those testing the concept.
Core Components
- Gutters and downspouts (clean, screened).
- Leaf screens and first-flush diverter (diverts initial dirty runoff).
- Storage: Food-grade 55-gallon rain barrels (single or manifolded for 200–1,000+ gallons).
- Overflow pipe and basic mosquito-proofing (screens or oil film).
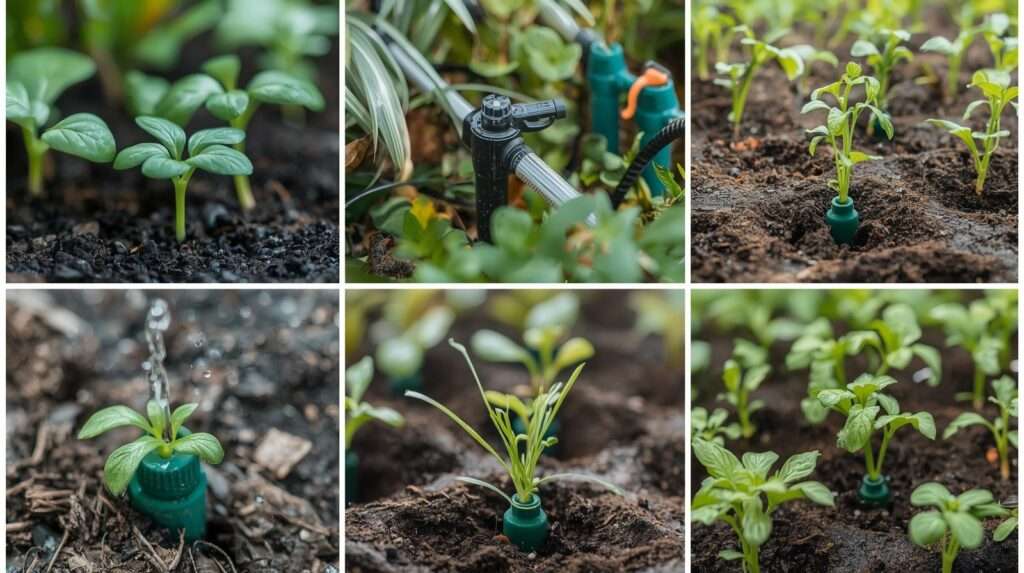
Step-by-Step DIY Installation
- Select roof catchment (avoid asphalt shingles if possible; metal is best).
- Install gutter guards and first-flush diverter (~$50–150).
- Position barrels on stable, elevated cinder blocks for gravity feed.
- Connect with food-grade hoses and spigots.
- Add overflow to direct excess away from foundation.
Total cost: $100–$800 for a basic 4-barrel setup (200–300 gallons).
Real-World Examples and Costs
A beginner homesteader with a 1,200 sq ft roof in a 35-inch rain area collects ~20,000 gallons/year. A 4-barrel system covers peak garden needs, saving $200–400/year on city water. Pros: Quick setup, expandable. Cons: Limited capacity during dry spells.
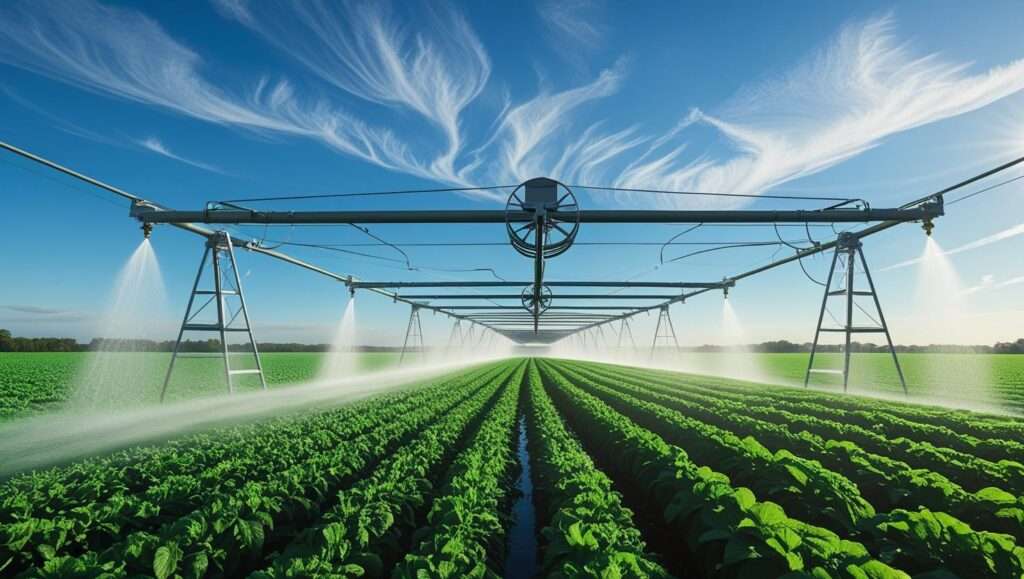
Large Rainwater Systems: Scaling Up for Full Homestead Independence
For serious self-sufficiency, large systems become the backbone.
Ideal For
Full-season irrigation, livestock watering, greenhouse support, or off-grid household use (non-potable or treated potable).
Core Components
- Expanded catchment (main house + barns, sheds).
- Advanced pre-filtration (first-flush, vortex filters).
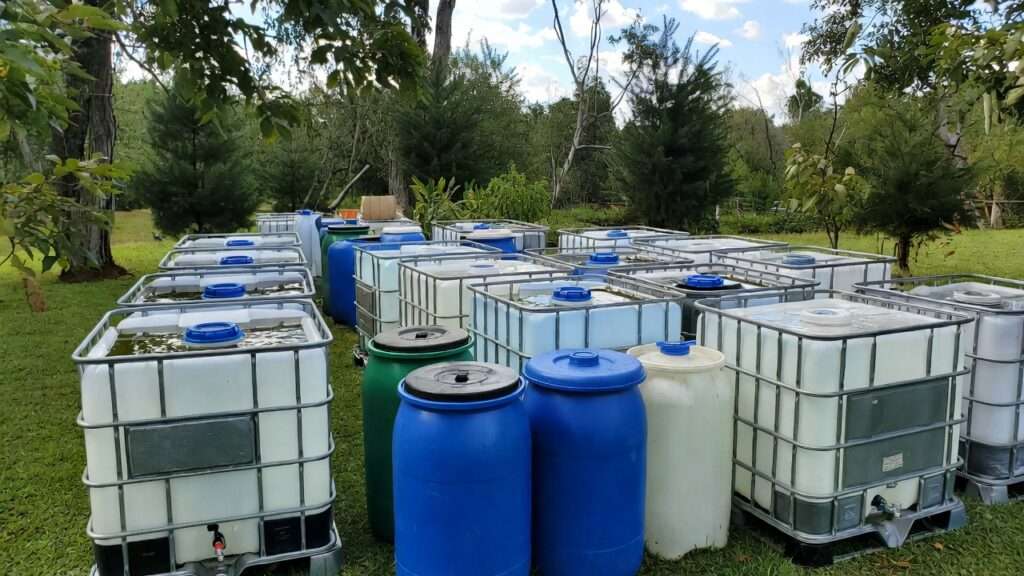
- Storage: Polyethylene/plastic tanks (1,000–10,000+ gallons), ferrocement cisterns, or corrugated steel for durability.
- Pumps (solar-powered or gravity), piping, and overflow to recharge ponds/swales.
Step-by-Step Planning and Installation
- Calculate needs and yield (use online calculators for precision).
- Choose site: Above-ground for ease, underground for aesthetics/freeze protection.
- Install professional-grade gutters, screens, and large first-flush.
- Select tank (poly tanks popular for cost/durability; 5,000-gal ~$1,500–$4,000).
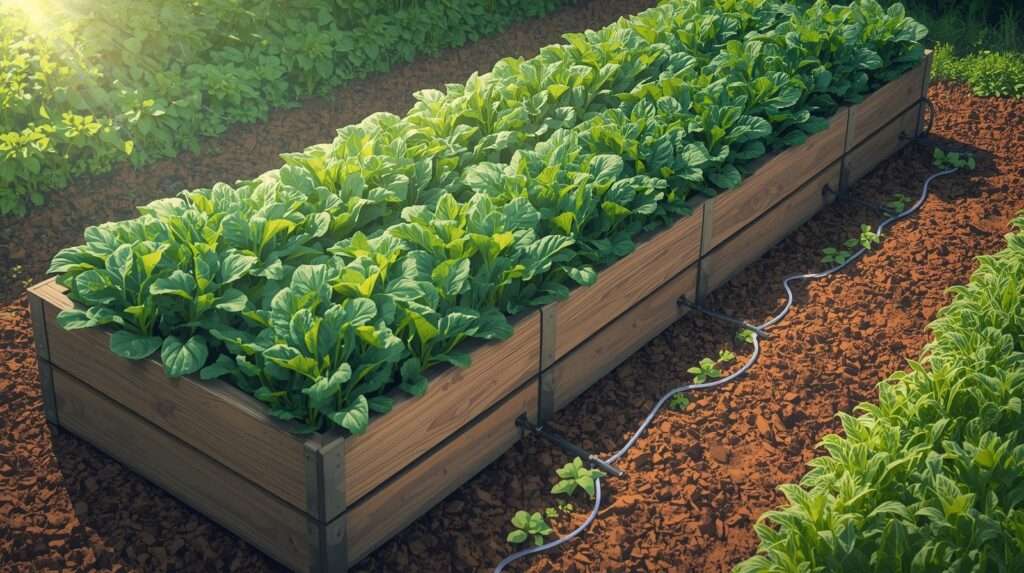
- Add pump/filtration if needed; integrate with drip irrigation.
- Professional help recommended for excavation/large tanks.
Costs: $2,000–$20,000+ depending on size/features (e.g., 10,000-gal system ~$5,000–$12,000).
Advanced Features for Efficiency
Solar pumps, level sensors, greywater integration, and automated valves maximize use.
Advanced Features for Efficiency
Modern large systems often incorporate:
- Solar-powered booster pumps for moving water to elevated gardens or distant livestock troughs without grid electricity.
- Float valves and level sensors connected to simple controllers that automate pump operation or alert you via smartphone apps.
- Integration with greywater systems (from laundry or showers) to extend non-potable supply.
- Swale or pond overflow routing to passively recharge soil moisture downhill.
These upgrades can increase overall water-use efficiency by 20–40% compared to basic gravity-fed setups.
Small vs. Large Rainwater Systems: Side-by-Side Comparison
Choosing between small and large depends on your goals, budget, rainfall reliability, and land size. Here’s a clear comparison:
| Feature | Small System | Large System |
|---|---|---|
| Storage Capacity | 100–5,000 gallons | 5,000–50,000+ gallons |
| Typical Cost | $100–$2,000 | $3,000–$25,000+ |
| Complexity / Skill Level | Beginner / DIY-friendly | Intermediate to advanced (some pro help) |
| Primary Uses | Garden irrigation, small livestock, washing | Full irrigation, livestock, household non-potable, partial potable |
| Installation Time | 1–3 days | 1–4 weeks |
| Maintenance Effort | Low (monthly checks) | Moderate (quarterly deep cleaning) |
| Scalability | Easy to add more barrels | Designed for future expansion |
| Drought Resilience | Supplemental (1–4 weeks backup) | Primary source (2–12+ months backup) |
| ROI Timeline | 2–6 years | 5–15 years (faster with high water costs) |
Quick Decision Guide
- Choose small if: You’re new to homesteading, have reliable municipal/well backup, or want to test rainwater first.
- Choose large if: You aim for near-complete water independence, live in a drought-prone area, raise significant livestock, or want to eliminate well-pumping electric bills.
Water Quality, Treatment, and Safe Use
Rainwater starts clean but can pick up contaminants from roofs, gutters, and storage.
Contaminants and Risks
Common concerns include:
- Bird droppings, pollen, dust, and leaves
- Roof materials (asphalt shingles leach hydrocarbons; avoid for potable)
- Bacteria (E. coli, Legionella) from stagnant water or animal access
- Mosquito breeding in uncovered tanks
Filtration and Treatment Options
Layered approach works best:
- Pre-collection — Leaf screens, gutter guards, first-flush diverter (removes 90%+ of initial debris).
- Post-collection — Vortex or mesh pre-filters before tank entry.
- Storage — Dark tanks reduce algae; regular circulation prevents stagnation.
- Use-specific treatment
- Non-potable (irrigation/livestock): Basic screen + occasional shock chlorination sufficient.
- Potable: Add multi-stage filtration (sediment → carbon → UV or ceramic filter) + final disinfection (UV, ozone, or boiling). Reverse osmosis removes any remaining taste/odor issues.
Many homesteaders successfully use rainwater for drinking after proper treatment—lab testing every 6–12 months confirms safety.
Best Practices for Non-Potable vs. Potable Use
- Label all taps clearly (“Rainwater – Not for Drinking” unless treated).
- Never connect rainwater directly to municipal plumbing without backflow prevention and approval.
- For livestock: Ensure troughs are cleaned regularly; rainwater is often preferred over hard well water.
Mosquito and Algae Prevention
- Install tight-fitting, screened lids.
- Use Bacillus thuringiensis israelensis (BTI) dunks in barrels.
- Paint tanks dark or bury them to block light and limit algae.
Maintenance and Troubleshooting Tips
A well-maintained system lasts decades with minimal effort.
Seasonal Checklist
- Spring: Clean gutters, inspect screens, flush first-flush diverter.
- Summer: Check overflow paths, monitor water levels, clean tank inlet filters.
- Fall: Remove leaves, prepare for winter (drain above-ground lines in freeze zones).
- Winter: Insulate exposed pipes; consider tank heaters in cold climates.
Common Issues & Fixes
- Low yield → Check gutter flow, clean screens, verify roof area calculation.
- Bad taste/odor → Shock chlorinate storage, improve pre-filtration.
- Leaks → Inspect fittings annually; use food-grade silicone sealant.
- Freezing → Drain lines or use heat tape on critical sections.
Long-term ROI Example A 10,000-gallon system costing $8,000 that replaces $1,200/year in municipal water or well electricity pays for itself in ~6–7 years—then delivers “free” water for decades.
Real Homestead Case Studies and Expert Insights
Case 1: Small System Success (Midwest Beginner Homesteader) Sarah, a first-year homesteader in Missouri (38 inches annual rain), started with six 55-gallon barrels connected under her 1,800 sq ft roof. Cost: ~$450. The system supplies 90% of her ¼-acre vegetable garden irrigation and chicken watering during summer. She reports healthier tomato plants (no blossom-end rot from soft water) and saved ~$380 on city water last year.
Case 2: Large System Off-Grid Family (Pacific Northwest) The Martinez family in Oregon built a 22,000-gallon underground cistern fed by house + barn roofs (combined ~4,200 sq ft catchment). With 55 inches of rain, they collect over 100,000 gallons annually. A solar pump feeds drip irrigation, livestock troughs, and greenhouse. They reduced well use by 85%, eliminated $1,100/year in electric pumping costs, and now have water security even during multi-year dry spells.
Expert Insight “Start small, learn your actual rainfall pattern, then scale,” advises permaculture designer and rainwater specialist Jenna Ruiz. “Most people underestimate how much water a mature garden or livestock herd consumes in July and August. Plan storage for at least 60–90 days of no rain—that’s where the real independence comes from.”
Frequently Asked Questions (FAQs)
How much rain do I need to make rainwater harvesting worthwhile? Even 15–20 inches annually can be viable with a large roof and efficient storage. Areas with 30+ inches make it very cost-effective.
Can I drink rainwater from my homestead system? Yes, with proper treatment (multi-stage filtration + UV or boiling). Many do so safely; test regularly.
What’s the best material for large storage tanks? Food-grade polyethylene is the most popular—durable, affordable, UV-resistant when dark-colored. Ferrocement cisterns excel for very large underground storage.
Do I need permits for a large system? Usually only for systems over a certain size (e.g., 5,000–10,000 gallons) or if used for potable supply. Check local codes.
How do I prevent my barrels from becoming mosquito breeding grounds? Use tight screens, BTI dunks, or add a thin layer of vegetable oil (breaks surface tension).
What if I live in a very dry climate? Maximize catchment area (include sheds, greenhouses), add large storage for multi-year carryover, and combine with greywater and mulch to stretch every gallon.
How long do rainwater systems last? Gutters and barrels: 10–20 years. Quality poly tanks and cisterns: 25–50+ years with proper care.
Rainwater harvesting isn’t just about collecting water—it’s about reclaiming control over one of the most critical resources on your homestead. Small systems let you dip your toes in with minimal investment and immediate benefits. Large systems deliver the full promise of water independence, turning your roof into a year-round lifeline for gardens, animals, and family.
The beauty is in the scalability: start small, measure your real usage and rainfall, then expand as confidence and budget allow. With basic math, quality components, and consistent maintenance, you can build a system that saves money, protects the land, and gives you peace of mind through droughts and rising costs.
Ready to begin? Grab a tape measure, check your roof area, pull your local rainfall data, and calculate your potential harvest today. Your future homestead self will thank you.