Have you ever planted a few seed potatoes in a pot on your balcony or small patio, only to harvest a handful of tiny tubers that barely fill a dinner plate? You’re not alone. Many gardeners with limited space dream of homegrown potatoes—fresh, flavorful, and free from store-bought chemicals—but struggle to get more than a modest return. The good news? Boosting potato harvests in pots is entirely achievable with targeted techniques that encourage more tuber formation, better plant health, and efficient use of space.
In my years of experimenting with container gardening (and drawing from proven practices shared by experienced growers worldwide), I’ve seen yields double—or even triple—simply by optimizing variety selection, container size, hilling methods, and nutrient timing. Potatoes are one of the most productive crops for small spaces when grown right: a single large pot can produce 10+ pounds of delicious spuds, providing enough for family meals and storage. This in-depth guide walks you through every step to maximize your container potato yield, helping you overcome common frustrations like low output, small sizes, or disease issues. Whether you’re a beginner in urban gardening or an intermediate grower aiming higher, these evidence-based strategies will help you harvest abundantly this season.
Why Grow Potatoes in Pots? Benefits and Realistic Expectations
Container potato growing offers unique advantages, especially for those without traditional garden beds. First, it saves space—perfect for balconies, patios, or urban rooftops. You control the soil completely, avoiding compacted ground, soil-borne diseases like scab or blight common in open plots, and pests such as wireworms or voles. Harvesting is effortless: tip the pot and collect your crop without digging.
Realistic expectations set the foundation for success. In basic setups, yields often hover around 2–5 pounds per large pot (roughly 1–2 pounds per plant). With optimized methods—like proper hilling, balanced fertilization, and variety choice—many gardeners report 8–15 pounds or more from a single 20-gallon container. Compared to in-ground growing, container yields per plant can be similar or even higher in controlled conditions due to better drainage and warmth, though total output per square foot favors denser in-ground planting. The key difference? Pots allow precise management, turning modest space into productive mini-farms.
This guide targets gardeners seeking higher productivity: if your current pots yield disappointingly, these steps address root causes and deliver measurable improvements.
Choosing the Best Potato Varieties for Container Success
Variety selection is the foundation of high yields in limited space. Not all potatoes perform equally in pots—some produce compact plants with abundant tubers, while others sprawl or yield sparsely.
Key Factors for High Yield in Pots Indeterminate varieties (those that continue growing upward) excel for layering and hilling, encouraging more tuber sets along stems. Determinate types stop at a set height and form tubers in one layer, suiting smaller pots but often lower overall output.
Top recommendations for container success and high yields include:
- Yukon Gold: Creamy yellow flesh, excellent flavor, reliable high yielder—often 8–12+ pounds per large pot with good care.
- Red Norland or Red Pontiac: Early-maturing reds with good production and disease resistance.
- Kennebec: White-fleshed, heavy producer ideal for maincrop harvests.
- Fingerlings (e.g., Russian Banana): Compact, high-yield in smaller pots, great for “new” potatoes.
- Baltic Rose or Rose Gold: Praised by container growers for consistent, impressive yields and flavor. Avoid very late-maturing russets unless you have a long season; they need more time and space.
Always use certified seed potatoes—not grocery store ones—to prevent disease and ensure vigor. Chitting (pre-sprouting) gives a head start: place tubers in a cool, light spot for 4–6 weeks until sturdy sprouts form. This boosts early growth, leading to stronger plants and higher final harvests.
Selecting the Right Containers and Setup for Maximum Yield
Container choice directly impacts tuber development—too small, and roots compete, yielding tiny potatoes.
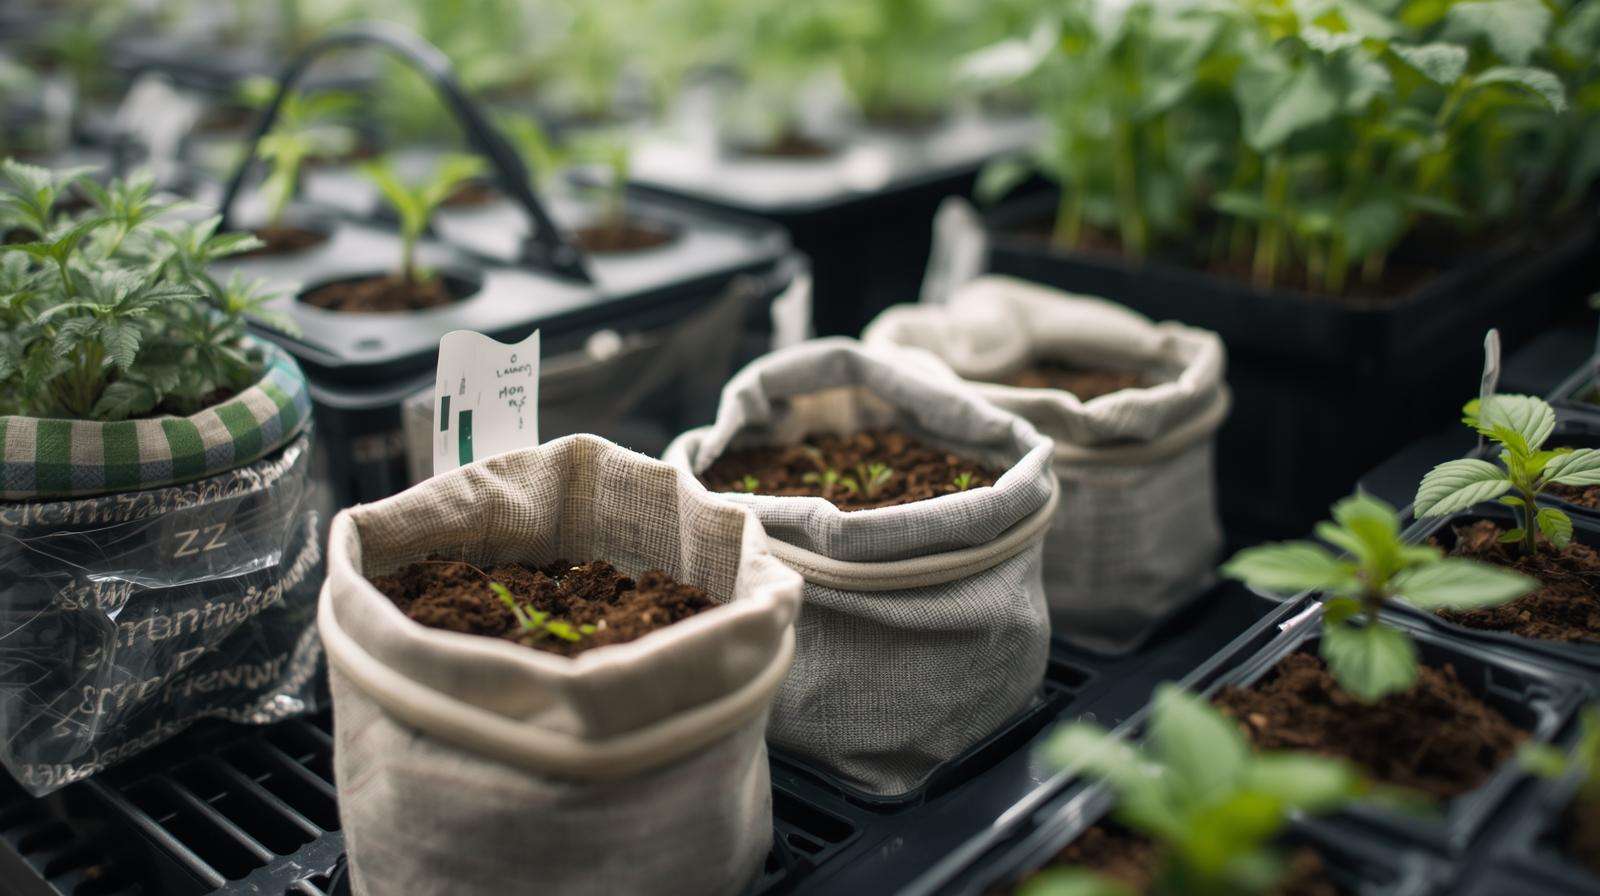
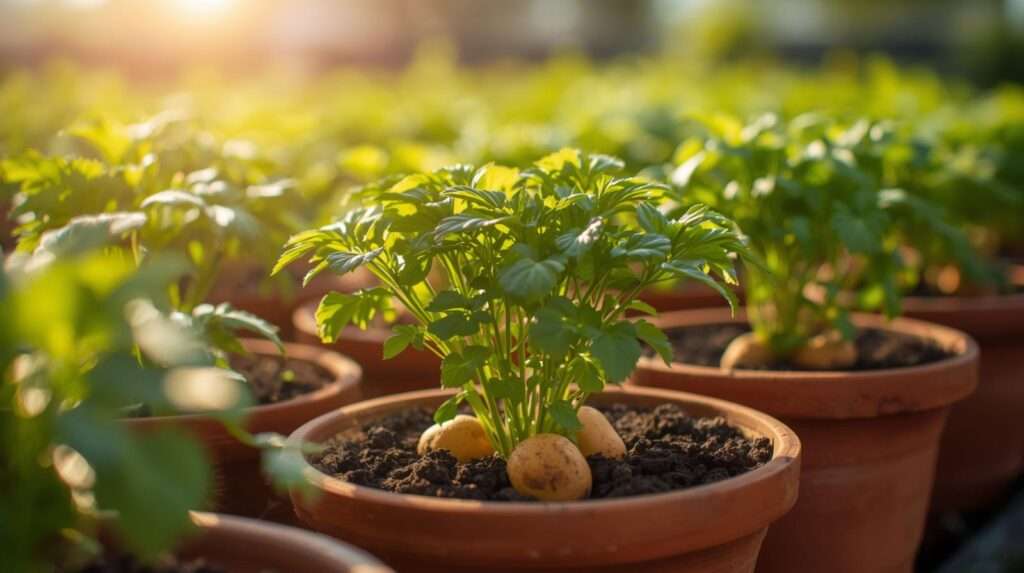
Ideal specs: 10–20+ gallons (30–50+ liters) for best results. A 5-gallon bucket suits 1–2 plants but limits output (2–5 pounds typical). Step up to 10–15 gallons for 2–4 plants, or 20 gallons for 4–6, often producing 8–15+ pounds with optimization. Fabric grow bags or smart pots offer superior aeration and drainage, reducing rot risk. Buckets or plastic bins work if you drill multiple drainage holes (at least 1/2-inch diameter, 4–6 per bottom).
Bigger containers win for yield: more soil volume supports deeper roots and extra hilling layers. Opaque materials prevent greening from light exposure. Creative options include stacked tires (use food-safe liners), potato towers, or vertical systems for even higher density.
Placement matters: full sun (6–8+ hours daily) is essential—potatoes crave warmth. Choose a stable, wind-protected spot to avoid tipping heavy pots.
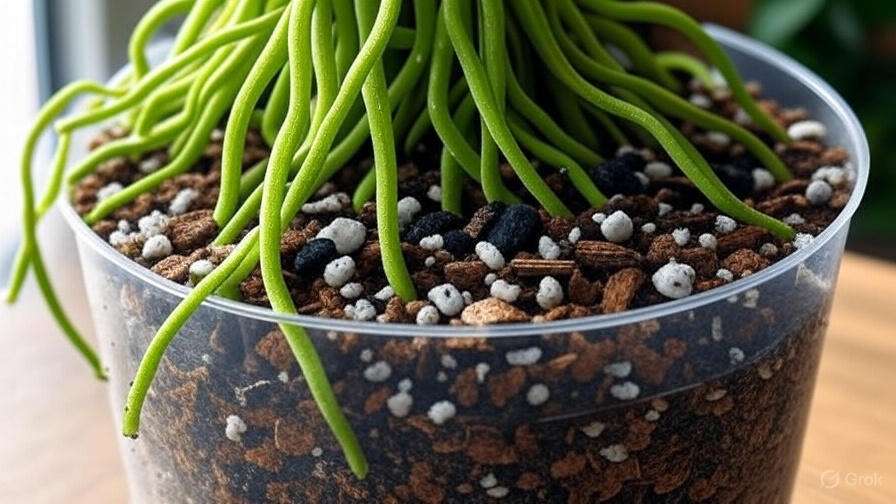
Preparing the Perfect Growing Medium
Potatoes thrive in loose, fertile, well-draining soil—dense or waterlogged mixes cause rot and stunted growth.
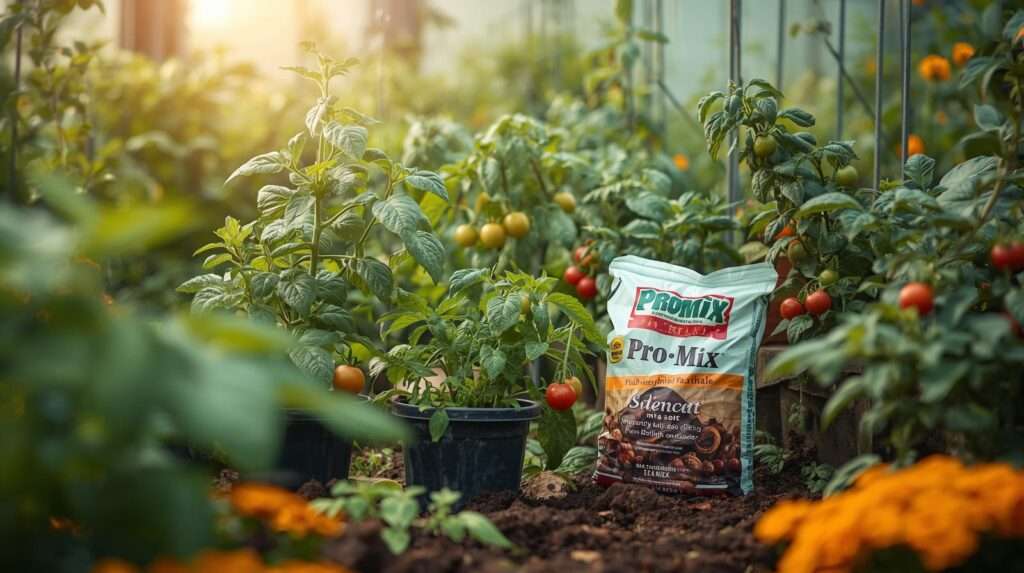
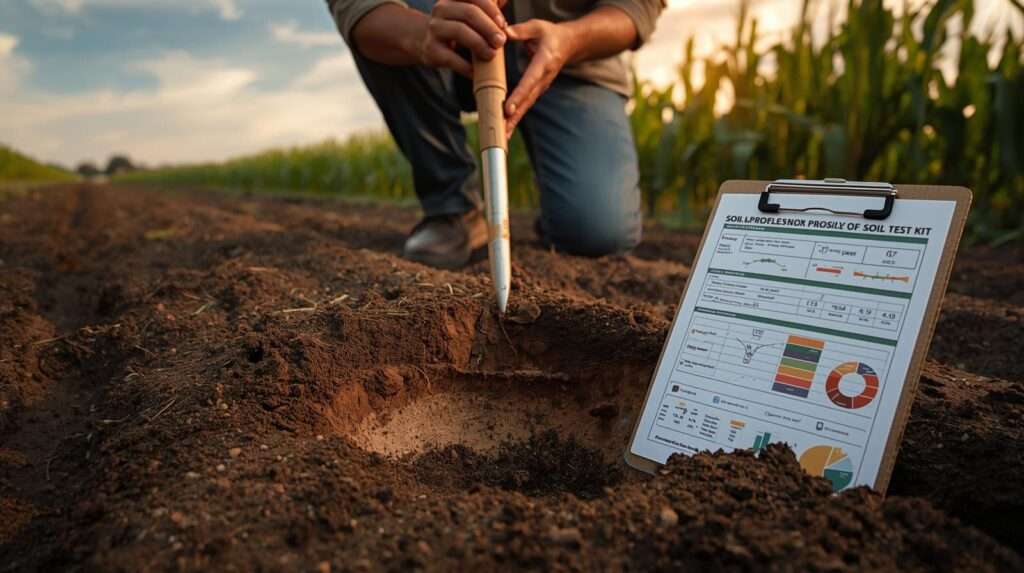
Recommended mix: 50% high-quality potting soil + 50% compost or aged manure for nutrient richness and structure. Avoid heavy garden soil; it compacts and harbors pathogens. Aim for slightly acidic pH (5.5–6.5)—test with a kit and amend with sulfur if needed.
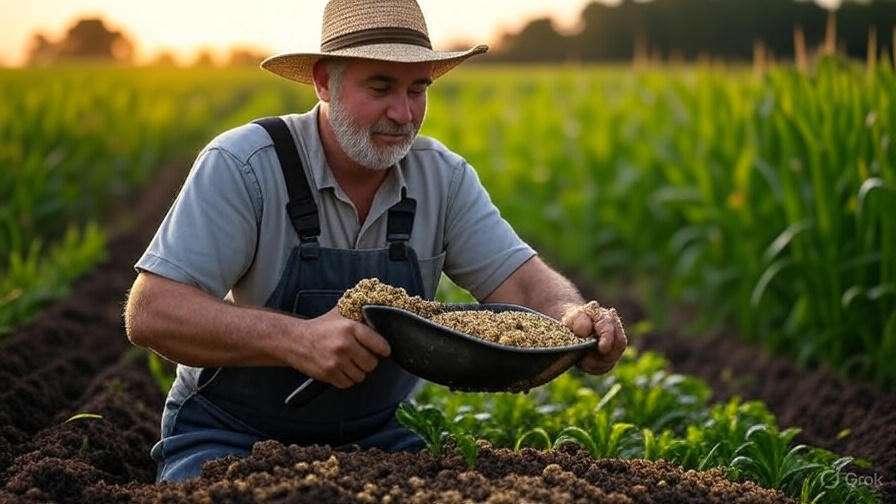
Incorporate slow-release amendments: bone meal or rock phosphate for phosphorus (tuber initiation), and wood ash or kelp meal for potassium (tuber size and quality). Start with low nitrogen to favor roots over foliage.
Step-by-Step Planting Guide
Chitting and Preparing Seed Potatoes Chit 4–6 weeks ahead in indirect light. Cut large tubers into pieces with 2–3 eyes each; let callus 1–2 days.
Initial Planting and Spacing Fill pot 1/3 with mix. Plant seed pieces 4–6 inches deep, eyes up, spacing 8–12 inches apart (e.g., 2–3 in 10-gallon, 4 in 20-gallon). Cover with 4 inches soil; water gently.
Layering Technique for Higher Yields As stems reach 6–8 inches, hill by adding 4–6 inches compost/straw around stems, leaving top leaves exposed. Repeat 2–3 times as plants grow—this encourages tubers along buried stems, dramatically boosting output.
Water thoroughly after planting to settle soil.
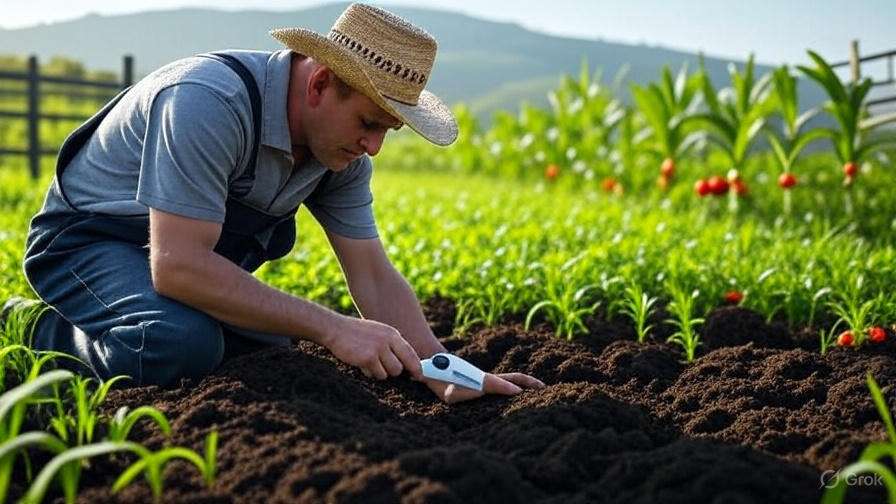
Essential Care Throughout the Growing Season
Once your potato plants are in the ground (or rather, in the pot), consistent care becomes the difference between average and exceptional harvests. Potatoes are relatively forgiving, but they respond dramatically to attention in watering, feeding, and hilling—three pillars that directly influence tuber number, size, and quality in containers.
Watering Best Practices Potatoes need steady, even moisture—about 1–2 inches of water per week, adjusted for weather and pot size. In containers, soil dries out faster than in-ground beds due to higher surface area and exposure, so check daily by sticking a finger 2–3 inches deep. Water when the top inch feels dry, but never let pots sit in standing water.
Early growth (first 4–6 weeks) requires moderate watering to encourage deep roots. Once plants begin flowering and tubers start forming (around 60–70 days), consistent moisture prevents issues like knobby or cracked potatoes. In hot weather, you may need to water every 2–3 days, especially in fabric pots that breathe more. Use room-temperature water to avoid shocking roots, and water at the base to keep foliage dry (reducing blight risk). Mulch the surface after hilling to retain moisture and stabilize soil temperature.
Signs to watch: Wilting leaves in the morning indicate underwatering; yellowing lower leaves or soggy soil point to overwatering. Inconsistent moisture is one of the top reasons container potato yields stay small—steady hydration can easily add 20–40% more weight to your harvest.
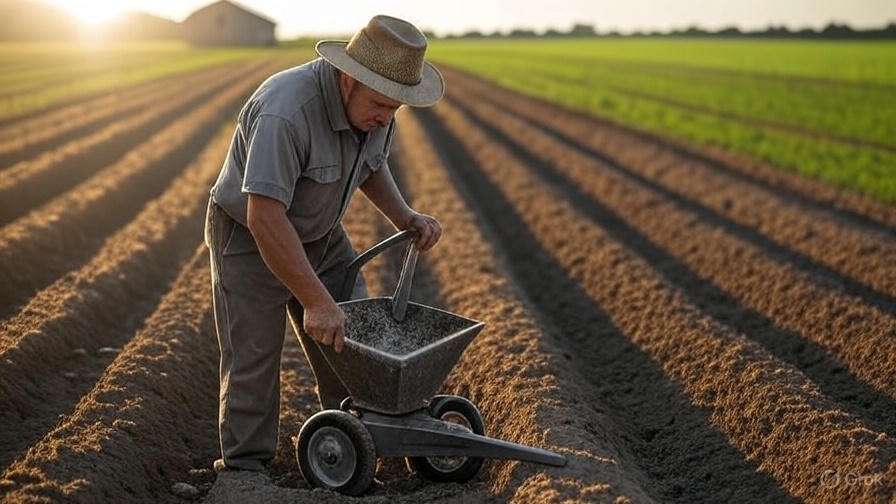
Fertilizing for Bigger Tubers Potatoes are heavy feeders, but the nutrient balance matters more than sheer quantity. Too much nitrogen produces lush green foliage at the expense of tubers; too little starves the plant.
Start with a balanced, slow-release organic fertilizer worked into the initial soil mix (e.g., 5-10-10 or similar NPK ratio favoring phosphorus and potassium). After the first hilling (when plants are 8–12 inches tall), side-dress with a low-nitrogen, high-potassium formula—think compost tea, fish emulsion diluted 1:10, wood ash (lightly, as it raises pH), or kelp meal. Apply every 3–4 weeks until flowering stops.
Potassium is especially critical for tuber size and storage quality; aim for 150–200 ppm in soil tests if possible. Avoid fresh manure (burns roots and increases disease risk). Many experienced container growers swear by a weekly foliar feed of diluted seaweed extract during tuber bulking—it supplies trace minerals that boost overall vigor and yield.
Hilling Up – The Yield-Boosting Secret Hilling is the single most powerful technique for doubling potato harvests in pots. As stems grow, new tubers form along the buried portions of the stem. By gradually covering the lower stems with soil or mulch, you create additional layers for tuber production.
How to do it right:
- When plants reach 6–8 inches tall, gently mound 4–6 inches of loose compost, straw, or a soil-compost blend around the base, leaving only the top leaves exposed.
- Repeat every 10–14 days (or when stems grow another 6–8 inches), up to 3–4 times or until the pot is nearly full.
- Use light, airy materials—straw or shredded leaves work especially well in hot climates as they keep soil cooler and prevent greening if light reaches tubers.
In 15–20 gallon containers, you can hill 3–4 layers comfortably, often resulting in 2–3 distinct tuber bands instead of just one. Gardeners using this method routinely report 10–20+ pounds per large pot, compared to 3–6 pounds without hilling.
Supporting Plants Tall indeterminate varieties can become top-heavy, especially when loaded with tubers or in windy locations. Insert 3–4 sturdy bamboo stakes or a tomato cage around the pot early, loosely tying stems as they grow. This prevents lodging (falling over), which damages stems and reduces photosynthesis.
Mulching and Temperature Management After final hilling, add 2–4 inches of organic mulch (straw, grass clippings, or shredded bark) to conserve moisture, suppress weeds (minimal in pots anyway), and moderate soil temperature. Potatoes prefer 60–70°F (15–21°C) soil; in hot summers (>85°F/29°C+), mulch prevents heat stress that halts tuber growth. In cooler climates, black pots or dark fabric absorb heat to extend the season.
Monitor for early blight (brown spots on lower leaves) or late blight (dark lesions, especially in humid weather). Remove affected foliage promptly and improve air circulation. Organic controls like copper-based sprays or neem oil can help prevent spread.
Common Mistakes That Kill Yields – And How to Fix Them
Even experienced gardeners can fall into traps that sabotage container potato production. Identifying and correcting these common errors often delivers the biggest yield jumps without adding extra work or cost.
- Using Containers That Are Too Small The #1 yield killer: Cramming too many seed pieces into undersized pots (e.g., 5 gallons or less) forces competition for space, water, and nutrients. Result: Small, few tubers. Fix: Stick to 10+ gallons minimum; 15–20 gallons is ideal for serious production. If space forces smaller pots, plant only 1–2 seed pieces and focus on hilling aggressively.
- Inconsistent or Incorrect Watering Fluctuating moisture causes “hollow heart,” cracking, or knobby growth; chronic dryness stunts tuber bulking. Overwatering in poorly drained pots leads to rot. Fix: Establish a routine—check soil daily in warm weather. Water deeply but infrequently to encourage deep roots. Install a simple moisture meter or use the finger test. Mulch heavily after hilling to buffer fluctuations.
- Excess Nitrogen Fertilization High-nitrogen feeds (common lawn fertilizers or fresh manure) produce tall, leafy plants with minimal tubers—“all top, no bottom.” Fix: Use balanced or low-N, high-PK fertilizers from the start. Switch to potassium-focused feeds (e.g., kelp, wood ash, banana peel tea) after initial growth. Test soil if possible to confirm nutrient balance.
- Poor Drainage Leading to Rot Waterlogged soil suffocates roots and invites soft rot or blackleg. Many store-bought pots lack sufficient holes. Fix: Drill 6–10 half-inch drainage holes in solid containers. Elevate pots on bricks or pot feet for airflow. Use a well-draining mix (at least 30–40% perlite, vermiculite, or coarse sand if needed).
- Skipping or Insufficient Hilling Without hilling, tubers form only in the original planting layer, and any exposed to light turn green and toxic. Yield stays low. Fix: Commit to 3–4 hilling sessions. Use loose, light materials (straw excels here). Hill earlier rather than later—plants recover quickly from gentle covering.
- Planting Too Many Seed Pieces per Pot Overcrowding (e.g., 6+ in a 15-gallon pot) reduces individual plant vigor and tuber size. Fix: Follow spacing guidelines: 8–12 inches between seed pieces. In larger pots, 3–5 plants maximum for balanced growth.
- Ignoring Early Disease or Pest Signs Potato beetles, blight, or aphids can devastate yields if unchecked. Containers concentrate problems if not monitored. Fix: Inspect weekly. Hand-pick beetles (they’re easy to spot). Use row covers early season or neem oil sprays preventively. Remove and destroy any blighted foliage immediately.
Correcting even two or three of these issues frequently turns a 3–5 pound harvest into 10+ pounds.
Harvesting for Maximum Quantity and Quality
Knowing when and how to harvest maximizes both yield and flavor while preserving your hard work.
- “New” Potatoes (Early Harvest): 60–80 days after planting, when plants are still flowering or just past. Gently reach in and feel for marble- to golf-ball-sized tubers. Harvest a few, leaving the plant to continue producing. These have thin skins and delicate flavor—ideal for immediate use.
- Full Mature Harvest: Wait until foliage naturally yellows and dies back (90–120+ days depending on variety). This signals tubers have reached maximum size and set skins for storage. Tip: Stop watering 1–2 weeks before harvest to toughen skins and reduce bruising.
Harvesting Methods The easiest: Tip the entire pot onto a tarp, gently shake soil away, and collect tubers. For grow bags, roll down sides and dig carefully. Avoid forking or stabbing—bruised potatoes store poorly.
Curing and Storage Brush off loose soil (don’t wash until use). Cure in a dark, cool (50–60°F / 10–15°C), well-ventilated spot for 1–2 weeks to heal skins. Store long-term in perforated boxes or paper sacks in the same conditions—check periodically for sprouting or rot. Properly cured potatoes last 4–8 months.
With optimized care, expect 8–15+ pounds per 15–20 gallon pot (roughly 2–4 pounds per plant), often double what casual methods produce.
Pro Tips and Advanced Techniques to Push Yields Even Higher
- Companion Planting in Pots: Grow shallow-rooted herbs (dill, basil) or flowers (marigolds, nasturtiums) around the edges to deter pests and attract pollinators. Avoid deep-rooted companions that compete.
- Vertical / Layered Systems: Build DIY potato towers with stacked wire mesh, wooden frames, or repurposed pallets. Add soil layers as stems grow—some growers achieve 20–30+ pounds from one structure.
- Season Extension: Start chitting indoors in late winter under grow lights. Use cloches or frost blankets to protect early plants. In warm climates, plant a second crop in late summer for fall harvest.
- Organic Pest & Disease Defense: Release ladybugs for aphids. Spray compost tea weekly for foliar health. Plant garlic or chives nearby (in separate small pots) as natural repellents.
- Experiment & Track: Keep a simple log: variety, pot size, hilling dates, fertilizer schedule, final weight. Small tweaks year to year compound into impressive results.
Frequently Asked Questions (FAQs)
How many potatoes can I realistically expect per plant in pots? With good care and hilling, 8–20+ medium-large tubers per plant (2–5+ pounds). Indeterminate varieties in large pots often hit the higher end.
Can I reuse the potting soil for potatoes next season? Yes, but refresh it: Remove old roots, add 30–50% fresh compost, and amend with potassium/phosphorus. Rotate crops (grow beans or greens next) to prevent disease buildup.
What if my plants flower very early or don’t flower at all? Early flowering usually means stress (heat, drought)—increase water and shade slightly. No flowers can still produce good tubers; some modern varieties are bred to flower less.
What are the best organic fertilizers for container potatoes? Composted manure (well-aged), fish emulsion, kelp meal, bone meal, wood ash (sparingly), and worm castings. A 4-6-8 or 5-10-10 organic blend works well initially.
How do I deal with Colorado potato beetles in containers? Hand-pick adults and larvae daily (they’re bright orange/yellow and easy to spot). Use row covers until flowering. Neem oil or Bt (Bacillus thuringiensis) sprays are effective and safe.
Boosting potato harvests in pots comes down to three essentials: generous container size, consistent hilling to multiply tuber sites, and balanced care that prioritizes potassium, steady moisture, and plant health. Follow this step-by-step approach, avoid the common pitfalls outlined, and you’ll likely double—or exceed—your previous yields, turning limited space into a productive potato patch.
This season, try one new technique (deeper hilling or a larger pot) and track the difference. Homegrown potatoes taste infinitely better than store-bought, and the satisfaction of a heavy harvest from a single container is unmatched. Have you tried container potatoes before? Share your results, questions, or variety favorites in the comments—I’d love to hear how these methods work for you. Happy planting, and here’s to an abundant harvest!