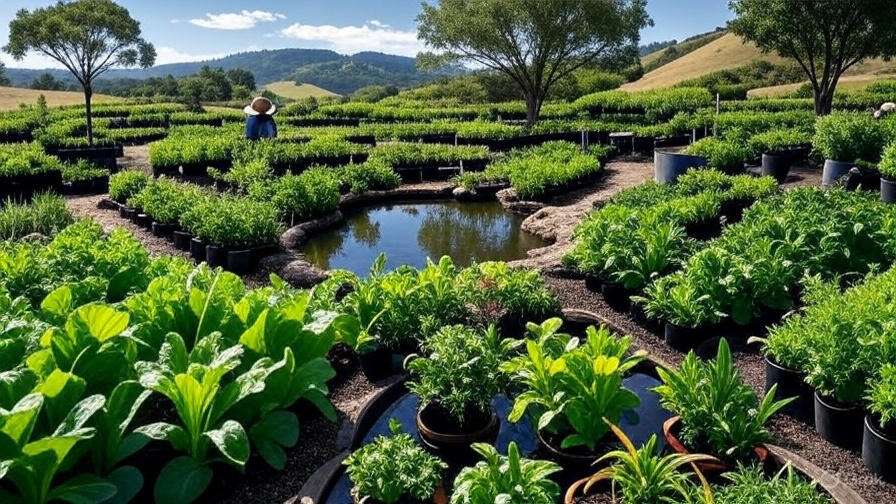
Standing on your newly acquired land for the first time stirs a powerful mix of excitement and overwhelm. The raw soil, unkempt vegetation, and open space represent a blank canvas for self-sufficiency and regeneration — yet the questions flood in: Where do I even begin? What should I prioritize in the first 12 months? How can I avoid wasting time, money, or energy on mistakes that set me back years?
If you’re searching for practical guidance on first-year permaculture on a new property, you’re not alone. Many new landowners dream of creating a thriving, low-maintenance edible landscape but feel paralyzed by the scale of the task. The good news? Your first year doesn’t require perfection or massive investment. It demands smart observation, foundational systems, and small, strategic actions that build resilience from day one.
In this comprehensive guide — drawn from core permaculture principles developed by Bill Mollison and David Holmgren, plus real-world experience guiding homesteaders on raw or neglected land — I’ll walk you through a realistic, step-by-step roadmap. By focusing on observation, soil health, water management, and zoned design rather than rushing into full-scale planting, you’ll establish a strong foundation. By the end of Year 1, you’ll have healthier soil, basic water systems, initial harvests, and the confidence to expand sustainably in Year 2 and beyond. Let’s turn your new property into a productive, regenerative system without the common pitfalls of burnout or costly errors.
Understanding Permaculture Basics Before You Dig In
Permaculture, short for “permanent agriculture” or “permanent culture,” is a design system that mimics natural ecosystems to create abundant, resilient human landscapes. Coined in the 1970s by Australians Bill Mollison and David Holmgren, it rests on three core ethics:
- Earth Care: Regenerate soil, water, and biodiversity.
- People Care: Meet human needs fairly and support community well-being.
- Fair Share: Limit consumption and redistribute surplus.
For first-year permaculture on a new property, the most relevant principles include “Observe and Interact,” “Catch and Store Energy,” “Use Small and Slow Solutions,” and “Design from Patterns to Details.” Rushing straight into large plantings or infrastructure often leads to failure because every site is unique — climate, topography, soil, and microclimates all interact differently.
Many beginners make the mistake of treating their land like a conventional garden plot, tilling aggressively or planting expensive trees immediately. Instead, Year 1 is about listening to the land. As Mollison famously advised, spend significant time observing before making permanent changes. This patient approach prevents expensive rework and sets up long-term success.
Step 1: Thorough Site Observation and Assessment — The Foundation of Success
Observation is the cornerstone of effective permaculture design. On a new property, resist the urge to “do something” right away. Ideally, dedicate the first season (or full year if possible) to watching how the land behaves across seasons.
Why Observation Comes First (and How Long to Do It)
Without understanding your site’s patterns, even well-intentioned actions can create more problems — erosion from poorly placed paths, plants dying in frost pockets, or wasted water. Observation reveals opportunities you might otherwise miss, such as natural water flows or wind-protected microclimates. Many successful homesteaders report that a full year of observation saved them thousands in labor and materials.
Aim for at least three to four seasons of notes, but even two to three months of focused observation provides valuable insights if you’re eager to start implementing.
Key Elements to Observe and Record
Create a simple journal or digital folder and visit your property regularly (weekly if possible). Document these factors:
- Climate and Microclimates: Track sun paths (use a sun chart or apps), frost pockets (low areas where cold air settles), wind directions and intensity, rainfall patterns, and temperature swings.
- Topography, Slope, and Aspect: Note slopes, ridges, valleys, and how they affect drainage and sun exposure. South-facing slopes (in the Northern Hemisphere) often stay warmer and drier.
- Water Flow and Drainage: After rain, walk the land and mark where water runs, pools, or erodes. Simple tests include the “hose test” (run water from a hose and observe flow) or using an A-frame level for contour lines.
- Soil Types and Quality: Perform a basic jar test — fill a jar with soil and water, shake, and let it settle to see layers of sand, silt, and clay. Test pH with inexpensive kits. Note compaction, color, smell, and existing vegetation as indicators of fertility.
- Existing Vegetation, Wildlife, and Biodiversity: Identify native plants, weeds (many are beneficial pioneers), trees, insects, birds, and mammals. These reveal soil health and ecosystem services already present.
- Sectors: External energies or influences such as prevailing winds, fire risk, neighbor views/noise, roads, or utility lines. Sectors help place elements like windbreaks or privacy screens effectively.
Use free tools: Google Earth historical imagery for past land use, a compass or phone app for directions, and a basic weather station or notebook.
Creating Your Base Map
Sketch a simple base map on paper or use free software like Inkscape, Google Drawings, or QGIS. Mark boundaries, existing structures, slopes (with arrows), water flows, and key observations. This map becomes your living design document — update it as you learn more.
Step 2: Defining Your Goals and Priorities for Year 1
Before any physical work, clarify what you want from the land. Realistic goals prevent overwhelm.
Ask yourself:
- What are my main needs? (e.g., fresh food, soil regeneration, wildlife habitat, future income)
- How much time and budget can I commit weekly?
- What constraints exist? (e.g., local regulations, water rights, soil limitations)
Use the SMART framework: Specific, Measurable, Achievable, Relevant, Time-bound. Example Year 1 goals:
- Build and maintain compost systems that produce 2–3 cubic meters of finished compost.
- Establish a small Zone 1 kitchen garden yielding herbs and salad greens.
- Implement basic water-harvesting features on at least one slope.
- Complete a full seasonal observation log.
Prioritize needs over wants. Water and soil systems almost always come before extensive planting on new land.
Step 3: Applying Permaculture Zones and Sectors on Your New Property
Zones and sectors bring efficiency to your design by matching human energy input with element placement.
Understanding the 5–6 Zones of Use
Zones organize the property by frequency of use (not strict circles — they follow your actual movement patterns):
- Zone 0: Your home — the center of activity, where you manage energy, waste, and daily needs.
- Zone 1: Intensive, daily-use area closest to the house — kitchen garden, herbs, small livestock (chickens/rabbits), compost, propagation area. High maintenance, high yield.
- Zone 2: Semi-intensive — orchards, larger berry patches, main compost, beehives. Visited several times per week.
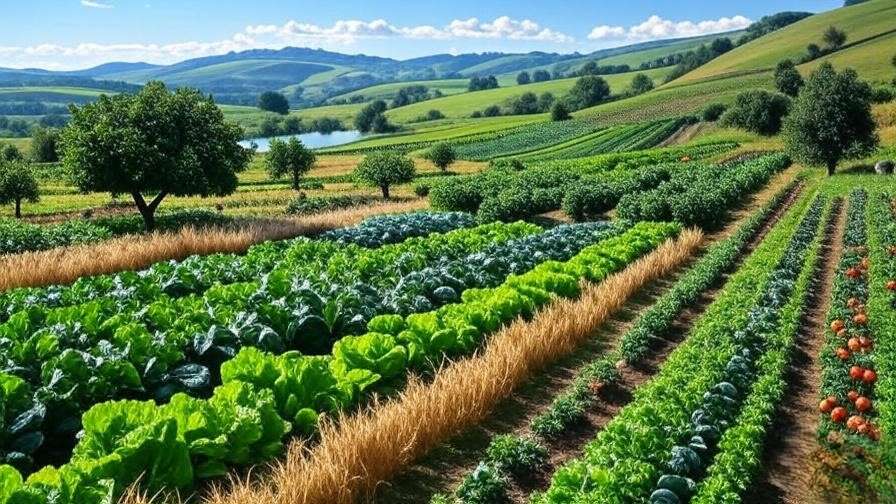
- Zone 3: Productive but lower maintenance — main crops, pasture, larger orchards. Visited weekly or less.
- Zone 4: Semi-wild — forage, timber, nut trees, managed woodland.
- Zone 5: Wild zone — untouched nature for observation, biodiversity, and inspiration.
On a new property, start by developing Zone 0 and 1 intensively, then expand outward. This “small and slow” approach conserves energy and builds success momentum.
Sector Analysis for Efficient Design
Sectors account for uncontrollable energies flowing onto or across your site (sun, wind, fire, water, views, wildlife). Map them on your base map and use them to guide placement:
- Place windbreaks in wind sectors.
- Use sunny sectors for solar gain or heat-loving plants.
- Position fire-resistant elements in fire-prone sectors.
Practical Zoning Tips for Beginners on Raw Land
Begin with a modest Zone 1 near your access point or temporary dwelling. Use movable elements (raised beds, portable coops) in Year 1 so you can adjust as observations continue.
Step 4: Building Soil and Preparing the Ground — Your Most Important Year 1 Investment
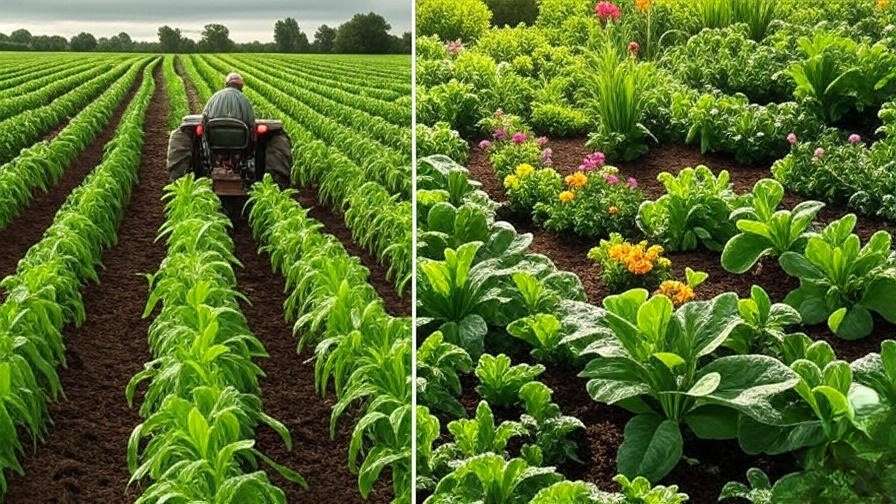
Healthy soil is the engine of any permaculture system. On new or degraded land, focus on building rather than depleting it. Avoid tillage, which disrupts soil life.
Key no-till techniques for beginners:
- Sheet Mulching (Lasagna Gardening): Layer cardboard or newspaper to smother weeds, then add alternating “green” (nitrogen-rich: grass clippings, kitchen scraps) and “brown” (carbon-rich: leaves, straw) layers, topped with compost and mulch. This builds soil quickly while suppressing weeds.
- Hügelkultur (Hügel Beds): Bury woody debris (logs, branches) in mounds or trenches, cover with soil and organic matter. These beds retain moisture, provide long-term nutrients as wood decomposes, and warm up faster in spring. Ideal for using on-site brush.
- Compost Systems: Start multiple piles or bins immediately. Aim for hot composting to kill weed seeds. Vermicomposting (worm bins) works well near the house.
- Cover Crops and Green Manures: Sow quick-growing options like buckwheat, clover, or rye to protect bare soil, add biomass, and improve structure. Chop and drop before they set seed.
Test soil early and amend based on results (e.g., add lime for acidity). Mulch generously everywhere you’re not actively planting — it protects soil life, retains moisture, and feeds microbes.
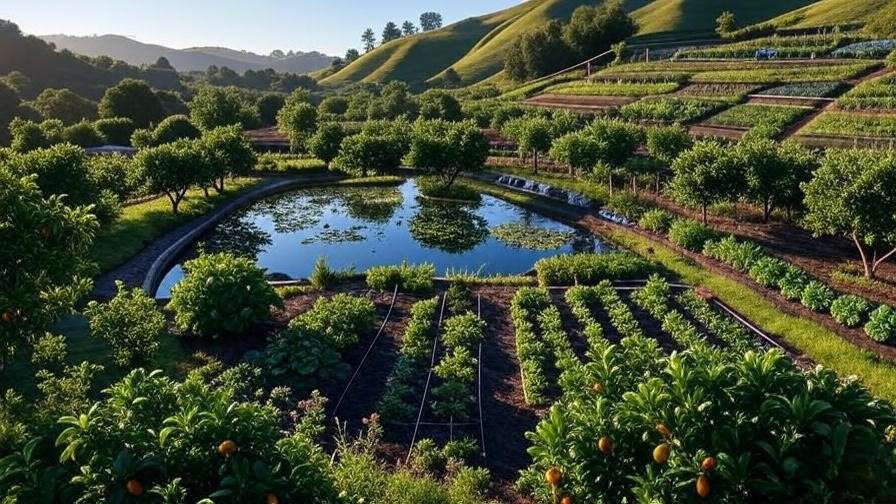
Step 5: Harvesting and Managing Water from Day One
“Plant the water first” is a permaculture mantra. Healthy soil holds water, but strategic earthworks amplify this on new properties.
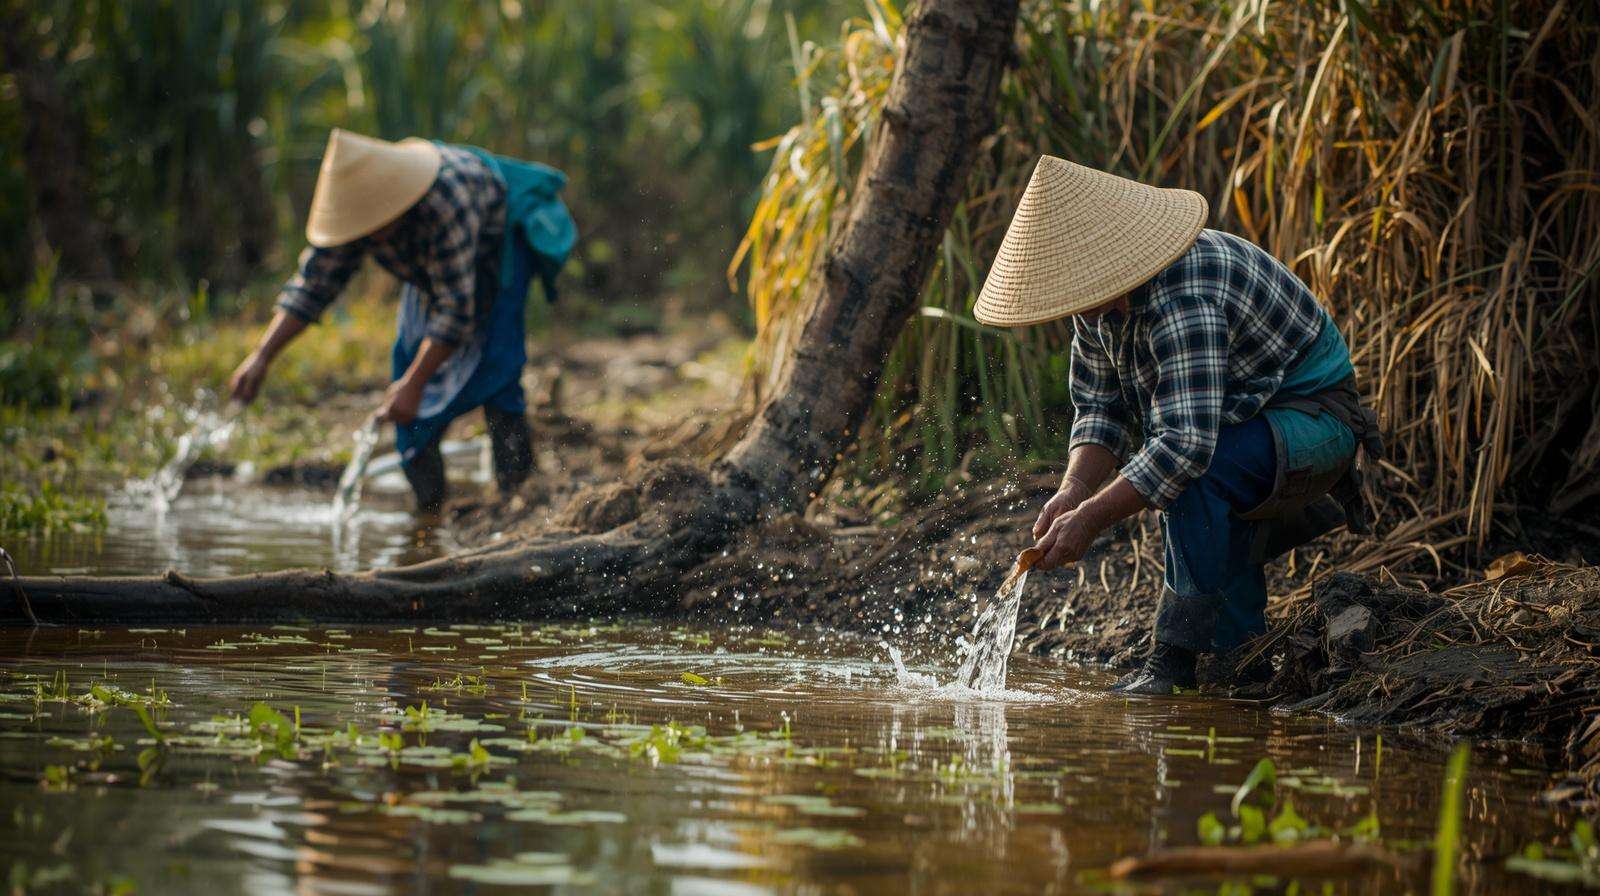
- Swales and Berms: On gentle to moderate slopes, dig level swales (shallow ditches on contour) with a downhill berm. They slow, spread, and sink runoff, recharging soil moisture and reducing erosion. Start small and high in the landscape.
- Keyline Design Basics: For larger properties, keyline plowing or subsoiling follows the natural “keypoint” where slope flattens, creating subtle ridges that distribute water evenly.
- Rainwater Catchment: Install gutters and tanks on any structures. Simple ponds or contour basins can store water for later use.
- Greywater Systems: Divert safe household water to mulch basins around trees or garden beds.
- Erosion Control: Use living barriers (deep-rooted plants) and mulch on bare areas immediately.
Even on flat land, small basins or raised beds can capture and infiltrate water effectively.
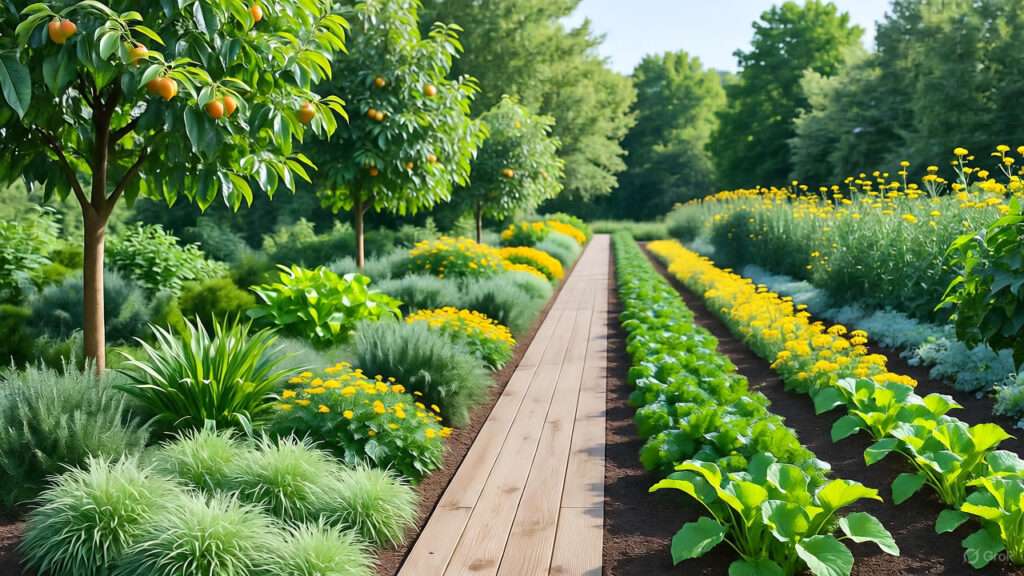
Step 6: What to Plant and Build in Your First Year
With observation, goals, zones, soil, and water foundations in place, you can now introduce plants and infrastructure thoughtfully. The mantra remains: start small and slow. Focus on high-yield, low-maintenance elements in Zone 1 and 2 while using pioneer species to improve the broader site.
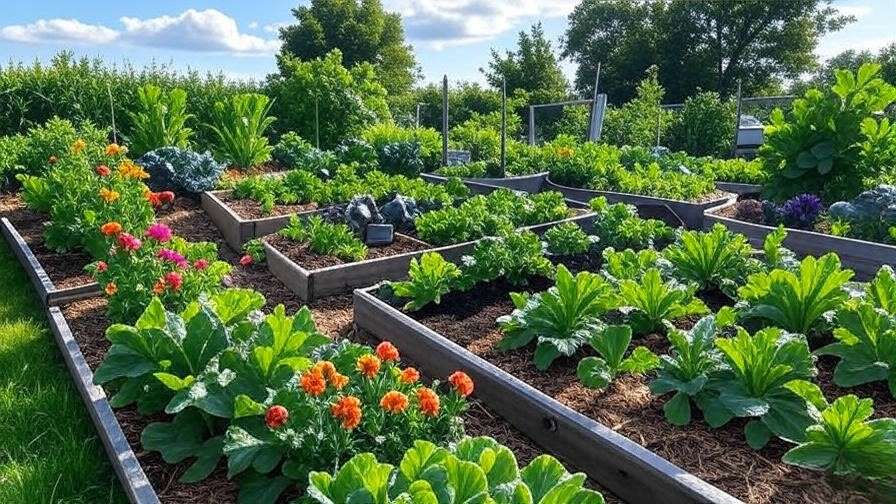
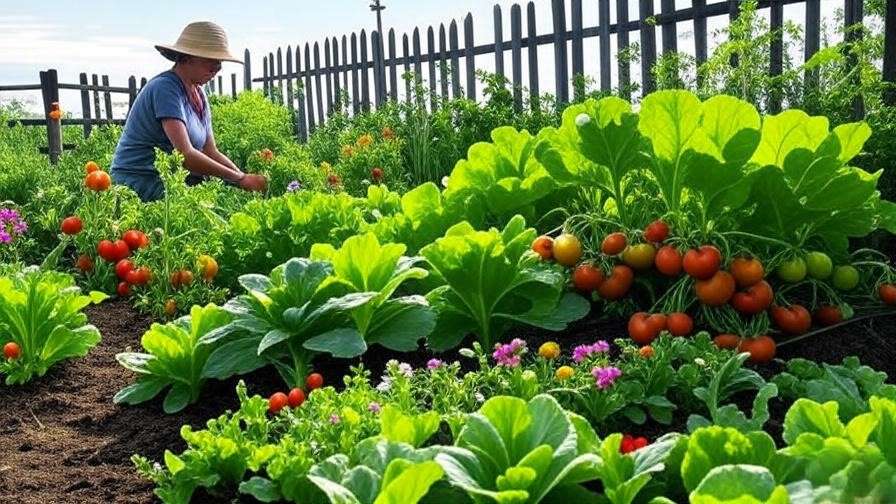
Starting Small – Zone 1 Intensive Garden and Kitchen Herbs
Zone 1 deserves your daily attention and should deliver quick wins. Create a compact kitchen garden using sheet-mulched beds or raised beds filled with imported compost and on-site soil.
Prioritize:
- Herbs: Perennial favorites like rosemary, thyme, oregano, sage, chives, and mint (contained to prevent spreading). These provide flavor, medicine, and pollinator support with minimal care.
- Salad greens and quick annuals: Lettuce, spinach, kale, radishes, and bush beans for harvests within weeks.
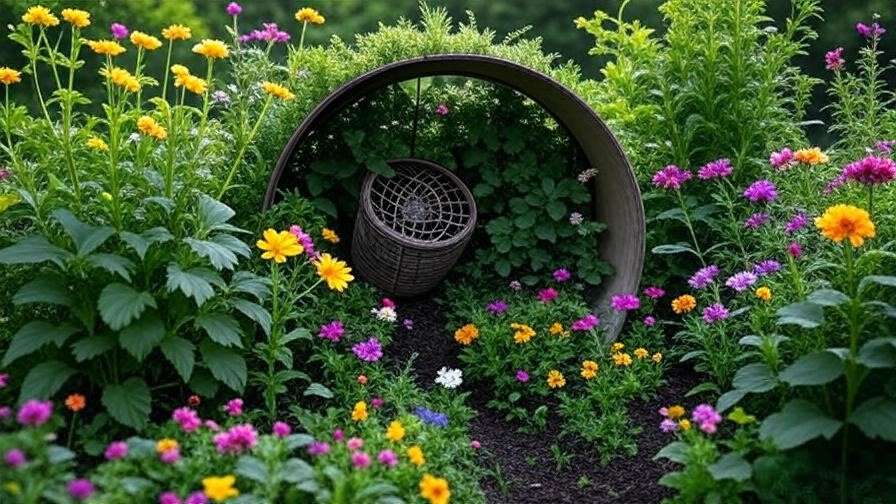
- Guild planting: Combine a central fruit tree or shrub (e.g., dwarf apple or currant) with nitrogen-fixers (clover or beans), dynamic accumulators (comfrey or yarrow for nutrient mining), and ground covers (strawberries or creeping thyme).
Use polycultures — diverse plantings that mimic nature — to reduce pest issues and build soil naturally. In many climates, you can realistically harvest fresh produce within 4–8 weeks of planting if started in the right season.
Establishing Your First Food Forest or Orchard Elements
Don’t plant a full food forest in Year 1. Instead, establish “nurse” or pioneer plants that prepare the ground for future layers.
Recommended starters:
- Fast-growing nitrogen-fixers: Alder, acacia, or tagasaste (in suitable climates) to build fertility.
- Support species: Comfrey, borage, and daffodils for pest control and biomass.
- Early fruit trees or berries: Plant 3–5 hardy, disease-resistant varieties suited to your microclimate (e.g., apples, plums, blueberries). Space them according to mature size and mulch heavily.
Use the “chop and drop” technique: Grow biomass plants and cut them regularly to feed the soil and young trees.
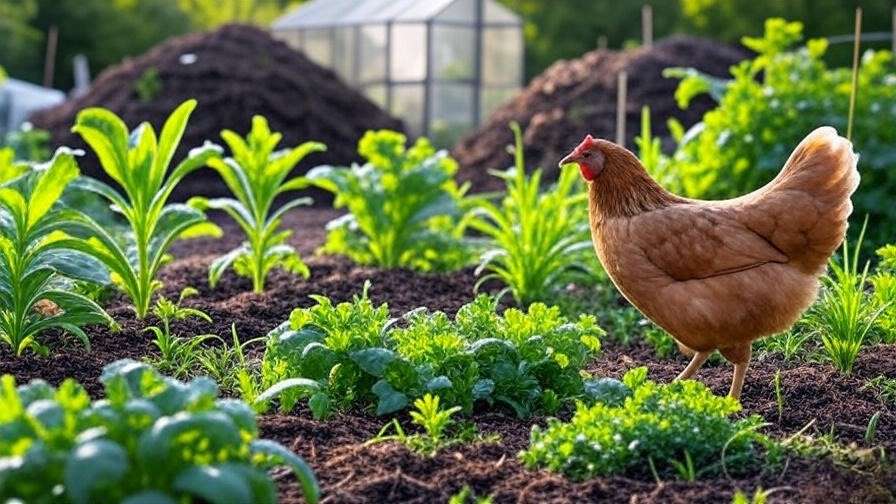
Integrating Animals Responsibly (Chickens, etc.)
Animals accelerate nutrient cycling but add complexity. In Year 1, consider only small-scale systems:
- Chickens or ducks in a movable tractor or secure run within Zone 1–2. They provide eggs, manure, and pest control while tilling soil lightly.
- Start with 4–6 birds maximum. Ensure predator protection and a reliable water source.
Delay larger livestock (goats, pigs, cows) until Year 2 or later, once forage and fencing are established. Always match animal systems to your observed carrying capacity to avoid overgrazing or nutrient overload.
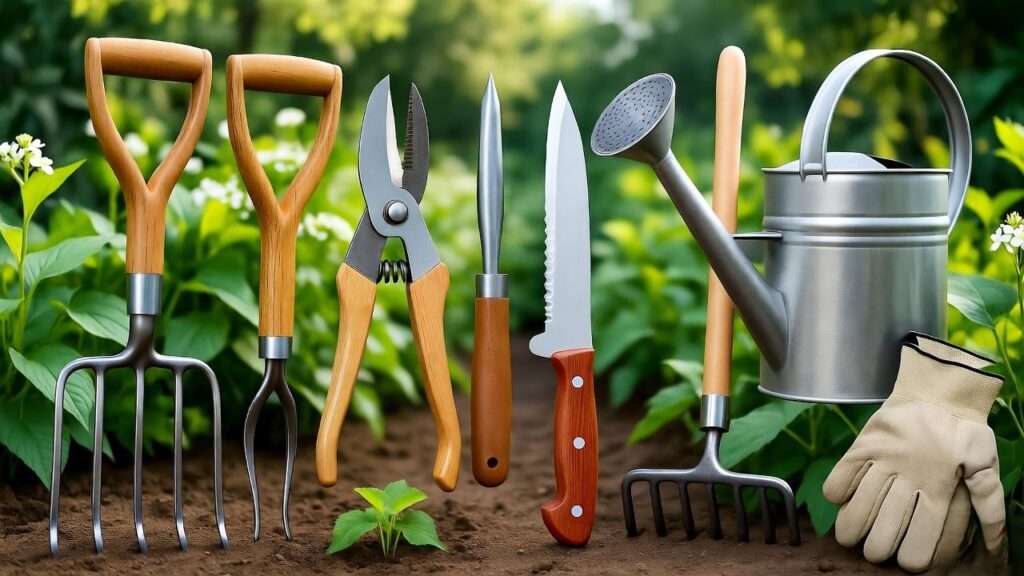
Infrastructure Priorities
Build only what serves immediate needs:
- Simple paths using wood chips or gravel to reduce compaction.
- Compost bays or tumblers near Zone 1.
- Basic tool storage and a propagation nursery (cold frame or shade house made from recycled materials).
- Rain barrels or small tanks connected to any existing roofs.
Propagation and Nursery Setup
Save money and increase resilience by starting your own plants. Set up a small nursery area with seed trays, potting mix (made from your own compost + sand + coco coir), and protection from extremes. Propagate perennials from cuttings and divisions as you observe what thrives on-site.
Step 7: Timeline and Monthly Action Plan for First-Year Permaculture
A flexible seasonal timeline helps you stay on track without rigidity. Adapt to your local climate (temperate, subtropical, arid, etc.) and microclimates.
Spring (Months 1–3 if starting then):
- Complete base map and initial observations.
- Build compost systems and begin sheet mulching in Zone 1.
- Plant cool-season greens, herbs, and cover crops.
- Install first small swales or basins after rain events.
- Start a propagation nursery.
Summer (Months 4–6):
- Monitor water flow and expand mulching.
- Harvest early crops and chop-and-drop biomass.
- Plant heat-loving annuals and pioneer trees/shrubs.
- Maintain young plantings with deep, infrequent watering.
- Observe insect and bird activity for natural pest control insights.
Fall (Months 7–9):
- Plant main orchard elements and perennial guilds.
- Sow overwintering cover crops on bare areas.
- Collect and store seeds, leaves, and woody material for mulch/compost.
- Assess soil improvements and adjust amendments.
- Begin planning windbreaks or privacy screens based on sector observations.
Winter (Months 10–12):
- Deepen observation: Track sun angles, frost patterns, and dormant-season water movement.
- Maintain compost (turn piles, add carbon).
- Prune existing trees if any and plan future ones.
- Review your journal; refine the base map.
- Rest, read permaculture books (e.g., Permaculture: A Designer’s Manual by Mollison), and reflect on successes and adjustments.
This timeline emphasizes small and slow solutions. In colder climates, shift planting windows; in tropical or arid zones, prioritize water and shade from the start. Many homesteaders add a 30–50% time buffer to every task to account for learning curves and weather surprises.
Step 8: Common Mistakes to Avoid in Your First Year
Learning from others prevents painful and expensive errors. Here are the most frequent pitfalls reported by new permaculture practitioners on raw land, along with proven fixes:
- Trying to Do Too Much Too Soon (“Eating with your eyes”) Enthusiasm leads to over-planting or building oversized systems. Result: Burnout, neglected areas, and wasted resources. Fix: Limit Year 1 to Zone 1 development plus 2–3 strategic earthworks or trees. Scale everything else for Year 2.
- Skipping or Shortchanging Observation Planting without understanding frost pockets, wind, or water flow causes high mortality. Fix: Commit to weekly walks and journaling for at least one full season before major planting.
- Poor Soil and Water Management Tilling compacted soil or planting without mulch leads to erosion and nutrient loss. Ignoring water first creates drought stress. Fix: Prioritize sheet mulching, hugelkultur, and swales. Mulch every bare inch.
- Underestimating Time, Cost, and Labor Projects always take longer and cost more. Many add only 10–20% buffer when 30–50% is realistic. Fix: Double your initial estimates and build in rest days to prevent burnout.
- Introducing Animals or Complex Systems Prematurely Too many chickens or goats before adequate forage and fencing results in escapes, overgrazing, or predator losses. Fix: Start microscopic (a few birds in a secure tractor) and expand only after systems prove stable.
- Ignoring Local Conditions and Regulations Planting species unsuited to your climate or ignoring zoning/water rights creates legal or ecological issues. Fix: Consult local extension services, soil tests, and experienced neighbors early.
Real-world example: One homesteader in a sloped, semi-arid area rushed into a large orchard without swales. The first dry summer killed most trees, requiring expensive replanting and extra irrigation. Had they observed water flow and built small contour features first, the system would have been far more resilient.
Recovery tip: Permaculture is iterative. Document failures honestly in your journal — they become your best teachers.
Step 9: Measuring Success and Adapting Your Design
Success in first-year permaculture on a new property isn’t measured by a full harvest or Instagram-perfect food forest. Look for these indicators:
- Improved soil structure and organic matter (darker color, better crumb, earthworm activity).
- Reduced erosion and better water infiltration after rains.
- Initial yields from Zone 1 (even a handful of herbs counts as a win).
- Increased biodiversity (more birds, beneficial insects, pollinators).
- Your own growing confidence and reduced overwhelm.
Keep a detailed journal with photos, dated notes, and simple metrics (e.g., compost volume produced, plants surviving). Review quarterly and adjust. Permaculture design is never “finished” — it evolves with the land and your needs.
At the end of Year 1, celebrate small victories and plan modest expansions. Many practitioners find their systems become largely self-managing by Year 3 if foundations were laid thoughtfully.
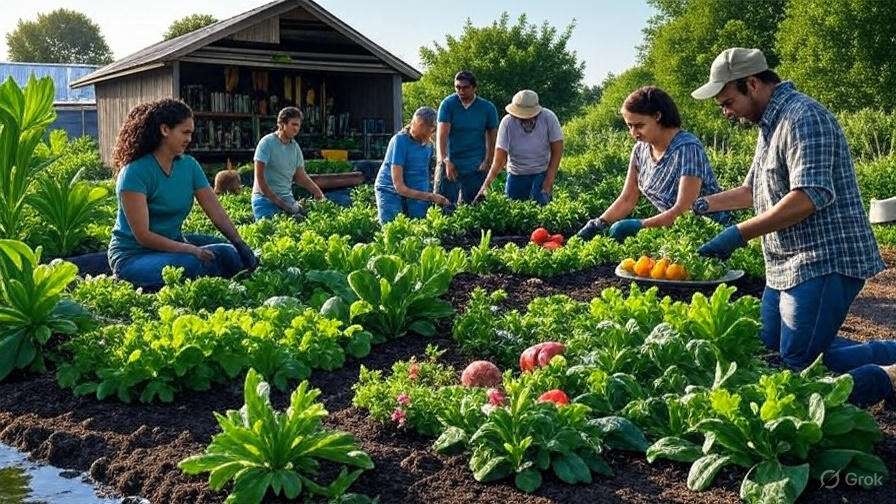
Expert Insights and Real-World Case Studies
Drawing from decades of collective experience (including guidance from PDC-trained designers and homesteaders in varied climates), the consistent theme is patience. Bret, a Sierra Nevada homesteader, documented his first year developing raw land: unexpected costs, weather delays, and burnout taught him to add substantial time buffers and prioritize water/soil over aesthetics. His advice: “Focus on systems that work despite your input, not because of constant labor.”
Another common insight from forums and practitioners: Diversity beats monoculture even in Year 1. Planting polycultures from the beginning reduces pest pressure naturally and builds ecosystem redundancy.
Quotes worth remembering:
- Bill Mollison: “The problem is the solution.” (Turn apparent liabilities like weeds or slopes into assets via observation.)
- David Holmgren: “Use small and slow solutions.” Year 1 is the perfect time to embody this.
These stories underscore that every property is unique — your observations trump generic advice. Consult local permaculture groups or extension services for region-specific tweaks.
Frequently Asked Questions (FAQ)
How long should I observe before planting on a new property? Ideally one full year for seasonal patterns, but you can begin small Zone 1 implementations after 1–3 months of focused observation if conditions allow.
Can I practice first-year permaculture on poor, sloped, or compacted land? Absolutely. Techniques like sheet mulching, hugelkultur, and swales are designed for degraded or challenging sites. They rebuild soil and manage water effectively.
What’s the cheapest way to start permaculture on new land? Use on-site materials: cardboard/newspaper for sheet mulching, branches for hugelkultur, leaves and grass clippings for compost. Source free wood chips from arborists and propagate from cuttings or seed swaps.
Do I need a Permaculture Design Certificate (PDC) to succeed? No. Many successful homesteaders are self-taught through books, online resources, and hands-on trial. A PDC provides structured knowledge and community, but practical observation and small experiments matter more in Year 1.
How much can I realistically harvest in the first year? Expect modest but meaningful yields — fresh herbs, salads, and some berries or quick annual vegetables. Soil-building efforts pay dividends in Year 2+ with significantly higher production.
What if I make mistakes? View them as data. Most issues (plant death, erosion) are fixable by adjusting placement, adding mulch, or tweaking water management. Document and iterate.
Embarking on first-year permaculture on a new property is both challenging and deeply rewarding. By prioritizing thorough observation, building healthy soil, harvesting water wisely, and applying zones and sectors thoughtfully, you create a resilient foundation rather than a fragile garden that demands constant rescue.
Remember the core ethics: Care for the Earth by regenerating rather than extracting. Care for People by designing systems that meet your needs without burnout. Take your fair share while leaving surplus for wildlife and future abundance.
Your first year sets the trajectory for decades of productivity and joy. The land will teach you if you listen. Start today — even a single sheet-mulched bed or a detailed observation walk moves you forward.
Patience and small, consistent actions compound into remarkable abundance. Many who followed this measured approach now enjoy low-maintenance food forests, abundant harvests, and thriving ecosystems on land that once looked daunting.
Take the next step: Grab a notebook, walk your property, and begin your base map this week. Share your progress or specific site questions in the comments — I’m happy to offer tailored insights where possible. For more in-depth guides on food forests, livestock integration, or advanced water systems, explore the related articles on this site.
You’ve got this. The journey from raw land to regenerative paradise begins with thoughtful first-year permaculture — and the rewards are well worth the patient effort.