If you’ve got a family milk cow or a handful of dairy goats on your homestead, you know the spring and summer “milk flood” all too well. One day you’re thrilled with those full udders, and the next you’re staring at gallons of fresh, creamy milk wondering how on earth to use it all before it spoils. Pouring it out feels like wasting liquid gold—nutrient-dense, farm-fresh dairy that’s too valuable to lose.
Using extra milk on homestead doesn’t have to be overwhelming. With a few simple techniques, you can transform surplus milk into delicious, shelf-stable products that feed your family for weeks or even months. From quick fresh cheeses and creamy yogurt to classic homemade butter and properly aged hard cheeses that last a year or longer, these methods help reduce waste, boost self-sufficiency, and embrace sustainable organic farming practices.
In this comprehensive guide, we’ll walk through beginner-friendly processes that use basic kitchen tools—no fancy cheese cave required at first—while scaling up for serious homesteaders. Whether you’re in the US dealing with Jersey cow abundance or managing Saanen goats in a global smallholding, these recipes build real skills and deliver real value.
Why Homesteaders Need Smart Ways to Handle Surplus Milk
Dairy animals are seasonal producers. A single family cow can easily give 4–8 gallons per day at peak lactation, far more than most households drink fresh. Goats might yield 1–2 gallons daily from a small herd. Without a plan, excess leads to spoilage, extra chores, or feeding it away to livestock (which is useful but not always ideal).
Turning surplus into value-added products like cheese, yogurt, and butter aligns perfectly with organic principles: minimal waste, no synthetic preservatives, and full use of natural resources. Plus, homemade dairy often tastes superior—richer flavor from raw or low-heat methods, better digestibility from culturing, and control over quality.
Common challenges include:
- Limited fridge space
- Time constraints for daily processing
- Fear of “failing” at cheesemaking
- Need for preservation without electricity-heavy freezing
This guide solves those by prioritizing easy entry points and progressing to long-term storage options.
Getting Started: Essential Tools and Safety Basics
You don’t need a full dairy setup to begin. Start small and invest as you gain confidence.
Basic Equipment (Most Already in Your Kitchen):
- Large stainless steel stockpot (at least 2–5 gallons)
- Thermometer (candy or digital)
- Long spoon or curd knife
- Colander and cheesecloth/muslin
- Glass jars for storage
- Instant Pot or yogurt maker (optional but helpful)
For Advanced Steps:
- Cheese press (DIY with cans/weights or buy basic)
- Cheese molds/forms
- Aging mats/boards
- Wax or cheese paper for rind protection
Safety First (Especially with Raw Milk):
- Use clean, sanitized equipment—boil or sanitize with Star San.
- If using raw milk, source from healthy, tested animals.
- For vulnerable groups (pregnant, elderly, young children), consider pasteurizing first by heating to 145°F (63°C) for 30 minutes.
- Store products properly: refrigerate fresh items, age hard cheeses in cool (50–55°F), humid (80–85%) spot.
Milk Types: Raw is ideal for flavor and enzymes, but low-temp pasteurized works. Avoid ultra-pasteurized (UHT) as it won’t set properly for cheese.
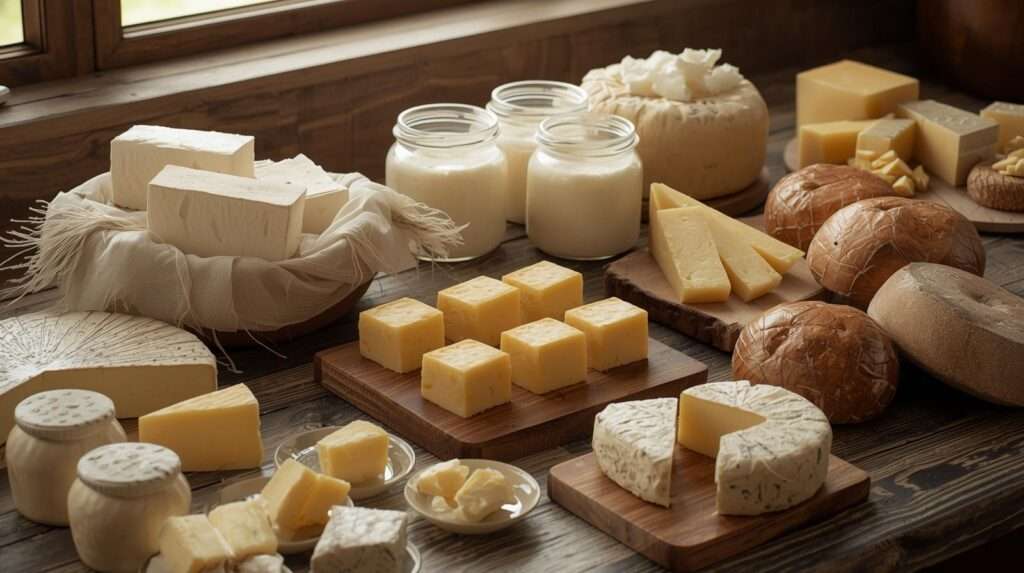
Simple Fresh Cheeses: Quick Wins for Beginners
These use acid (vinegar/lemon) or minimal culture—no rennet needed initially. Ready in hours, use 1–2 gallons.
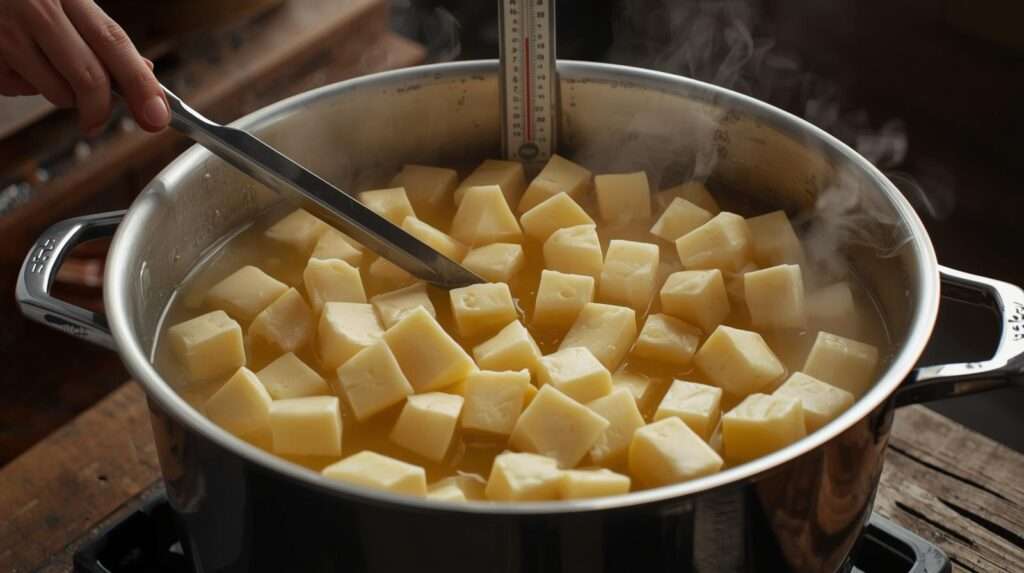
1. Easy Farmhouse Paneer-Style Cheese (Vinegar Method) Great for curries, salads, or snacking. Yield: ~1–1.5 lbs from 1 gallon.
- Heat 1 gallon milk to 185–195°F.
- Remove from heat, stir in ¼–½ cup white vinegar or lemon juice until curds form (clear whey separates).
- Let sit 10–15 min.
- Strain through cheesecloth, rinse curds under cool water (reduces acidity).
- Press lightly in cloth with weight (books/plate) for 1–2 hours.
- Salt to taste, store refrigerated up to 1 week.
Pro tip: Use whey in bread, soup, or for plants.
2. Ricotta from Whey (Bonus from Other Cheeses) After making mozzarella or paneer, heat whey to 200°F, add splash vinegar—ricotta floats up. Strain, salt, enjoy fresh.
3. Simple Cottage Cheese Heat milk to 190°F, add mesophilic culture or buttermilk, hold 1 hour. Cut curds, drain, rinse, salt. Creamy and mild.
These build confidence fast and use milk quickly.
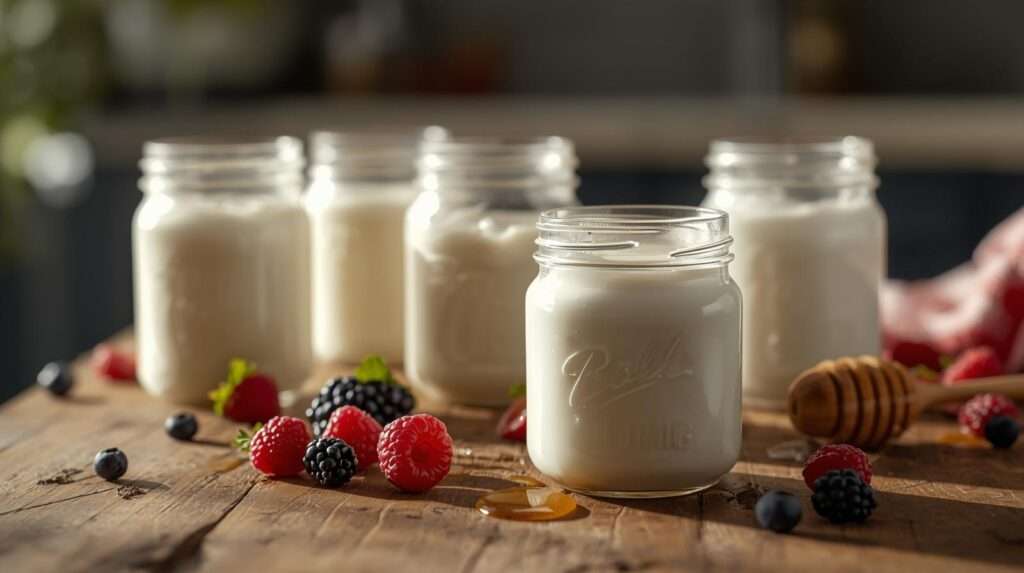
Homemade Yogurt: Probiotic Powerhouse
Yogurt is a homestead staple—uses ½–1 gallon per batch, stores 2–3 weeks refrigerated.
Easy Raw or Low-Heat Yogurt (Instant Pot Method) Preserves enzymes better than high-heat versions.
- Whisk 2–3 Tbsp plain yogurt (with live cultures) into ½ gallon room-temp milk.
- Pour into Instant Pot jars or liner.
- Use “Yogurt” setting 8–24 hours (longer = tangier, thicker).
- Refrigerate to set fully.
Stovetop Version: Heat milk to 110°F, stir in starter, incubate in cooler with hot water bottles or oven light 6–12 hours.
Strain for Greek-style (save whey for smoothies). Add fruit, honey, or vanilla post-ferment.
Benefits: Probiotics for gut health, uses surplus efficiently.
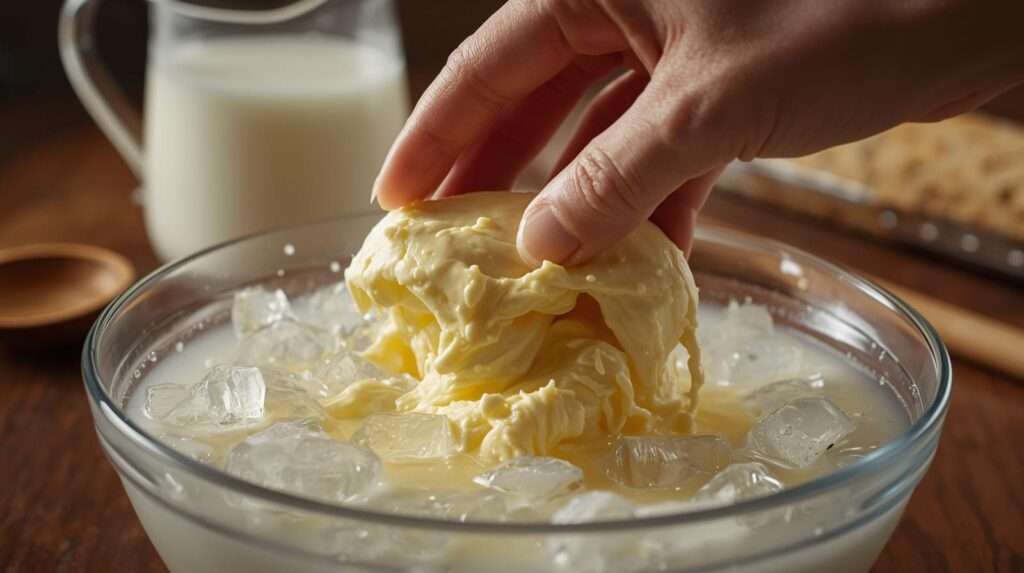
Classic Homemade Butter: From Cream to Gold
Separate cream (let milk sit or use separator), culture optional for tangy flavor.
Simple Sweet Cream Butter
- Let 1–2 quarts cream warm to room temp.
- Churn in stand mixer, blender, or jar (shake 10–20 min) until butter solids separate from buttermilk.
- Rinse solids in ice water, knead out moisture.
- Salt optional (1 tsp per lb).
- Yield: ~1 lb from 1 quart heavy cream.
Cultured Butter: Let cream sit 12–24 hours at room temp before churning—deeper flavor.
Uses: Spread, baking, cooking. Buttermilk for pancakes or biscuits.
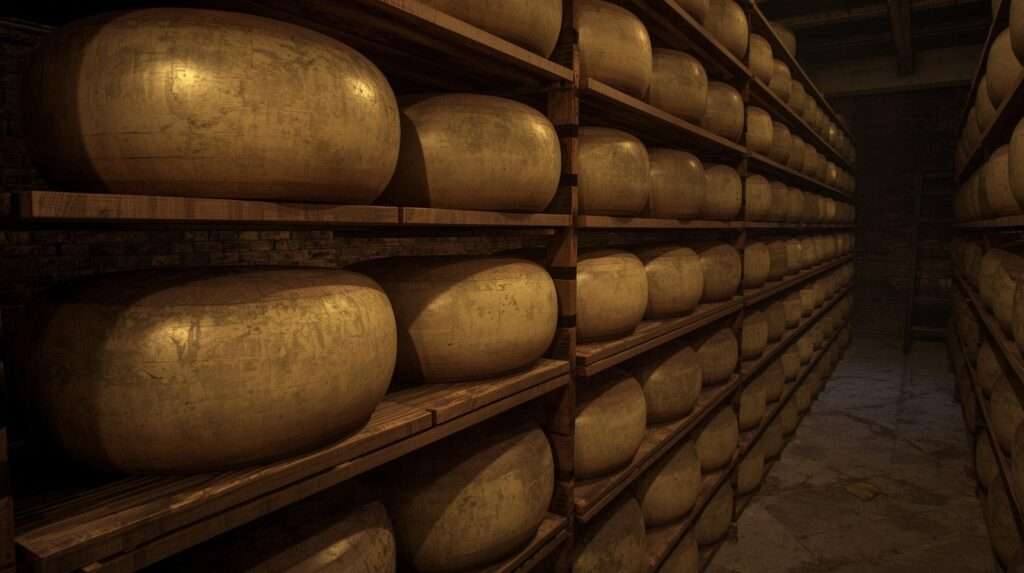
Long-Keeping Hard Cheeses: The Ultimate Preservation
These use 2–5+ gallons, age 1–12+ months for sharp, grating cheeses that store without refrigeration long-term.
Beginner Farmhouse Cheddar (Yogurt-Cultured) Adapted from homestead favorites—minimal equipment.
- 2–4 gallons milk, warm to 88–90°F.
- Stir in ¼–½ cup plain yogurt (diluted) as culture, ripen 45–60 min.
- Add diluted rennet (follow package), set 45 min.
- Cut curds ½-inch, stir gently, heat slowly to 100–102°F over 30 min.
- Drain whey, cheddar (stack slabs) 1–2 hours.
- Mill/salt curds (2–2.5% salt), press overnight.
- Age 4–12 weeks (mild to sharp) at 50–55°F, flip daily. Wax or bandage for longer.
Advanced Parmesan-Style (Long-Aging) For 6–24+ months storage.
- Use 4+ gallons partly skimmed milk.
- Culture with thermophilic starter (or yogurt + heat).
- Rennet, cook curds hotter (115°F), press heavily.
- Brine, air-dry rind, age 10–24 months, rub with oil/butter if moldy.
These create shelf-stable nutrition—perfect for off-grid or abundance seasons.
Bonus Tips for Maximum Use and Zero Waste
- Feed whey to pigs, chickens, or garden (diluted fertilizer).
- Freeze milk/cream in portions.
- Make kefir, ice cream, or soap with extras.
- Seasonal planning: Process heavily in peak flow, stockpile aged cheeses.
Frequently Asked Questions
Can I use goat milk? Yes—all recipes adapt well; goat cream is whiter, lower yield butter.
What if milk is pasteurized? Works fine, but raw gives better flavor/enzymes.
How long do hard cheeses last? 6–24+ months properly aged.
Beginner mistakes? Overheating curds (rubbery), poor sanitation (off flavors).
With practice, using extra milk on homestead becomes second nature—turning potential waste into family treasures. Start with one recipe this week; your homestead (and taste buds) will thank you.
Conclusion: Turn Surplus into Sustainability
Mastering using extra milk on homestead transforms a seasonal challenge into year-round abundance. Start with simple fresh cheeses or yogurt this week—no rennet needed. Progress to butter for daily use, then hard cheeses for long-term storage. Each batch builds skills, reduces waste, and deepens your connection to self-sufficient, organic living.
Your homestead dairy becomes a true resource—nutritious, delicious, and resilient. Experiment, note what works for your milk and climate, and soon you’ll have shelves of homemade treasures. Happy cheesemaking!