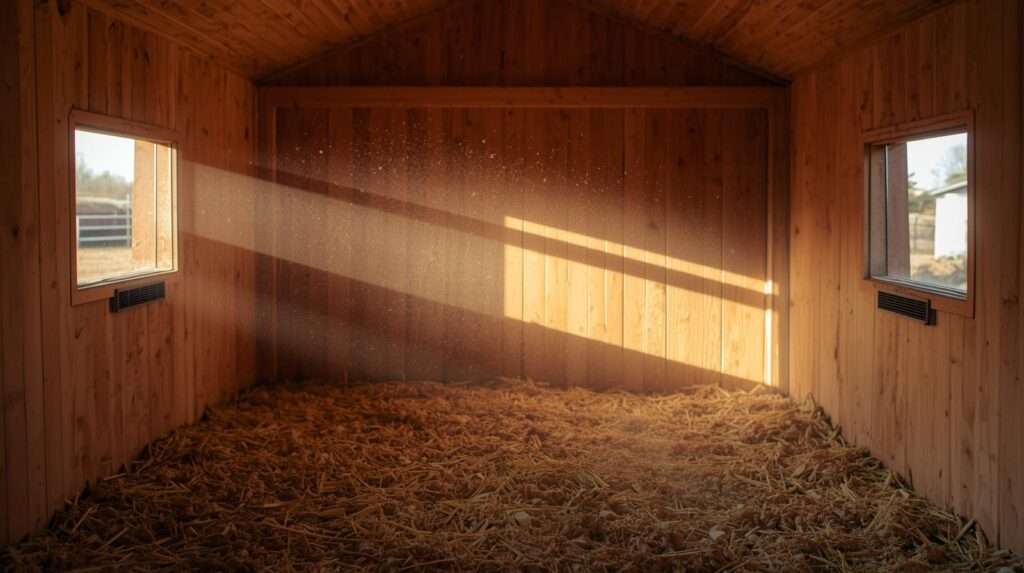
Imagine stepping into your chicken coop on a crisp winter morning only to be hit by a strong ammonia smell, damp bedding, and a few hens showing signs of sneezing or watery eyes. You’ve followed every “keep them warm” tip you could find—sealing gaps, adding extra insulation, even considering a heater—but your flock still seems uncomfortable. The truth is, many backyard chicken keepers face this exact frustration because they’ve been given conflicting advice about airflow. Some swear by “seal it tight in winter,” while others push for maximum openings year-round.
How much ventilation a coop really needs isn’t a one-size-fits-all number—it’s about achieving the right balance of fresh air exchange to remove moisture, ammonia, and stale air while protecting your birds from harmful drafts. Proper chicken coop ventilation is one of the most important yet misunderstood aspects of poultry management. Get it right, and you’ll enjoy healthier chickens, drier bedding, fewer respiratory issues, better egg production, and lower risk of frostbite or heat stress. Get it wrong, and even the best-built coop can become a breeding ground for problems.
With over a decade of hands-on experience raising backyard flocks in varying climates, consulting with small-scale farmers, and helping hundreds of keepers troubleshoot coop issues, I’ve seen firsthand how ventilation makes or breaks a flock’s success. This comprehensive guide cuts through the myths, provides clear calculations, practical examples, and seasonal strategies tailored to real-world conditions. Whether you’re managing a small urban coop for 6 hens or a larger homestead setup for 25+ birds, you’ll walk away with actionable steps you can implement today.
Why Proper Ventilation Is Critical for Your Chicken Coop
Chickens are remarkably hardy birds, but they produce a surprising amount of moisture and waste every day. A single adult hen can exhale significant water vapor through respiration and contribute moist droppings that break down into ammonia gas. Without adequate airflow, this moisture and ammonia build up quickly inside an enclosed space, creating a humid, toxic environment.
The Science Behind Chicken Respiration and Waste Chickens do not sweat like mammals; they pant to regulate body temperature and release moisture with every breath. Combined with droppings (which contain high levels of uric acid that converts to ammonia when wet), a coop can quickly reach unhealthy humidity levels—often above 70-80% if ventilation is insufficient. Ammonia, being lighter than air, rises and accumulates near the ceiling before spreading. Prolonged exposure irritates respiratory tracts, weakens immune systems, and can lead to serious conditions like infectious bronchitis or sinusitis.
Health Risks of Inadequate Ventilation Poor chicken coop ventilation directly contributes to:
- Respiratory diseases and reduced oxygen intake
- Frostbite in winter (moisture on combs and wattles freezes more easily than dry tissue)
- Heat stress in summer (humid air prevents effective cooling)
- Lower egg production and poorer feed conversion
- Increased fly and mite problems due to damp bedding
- Higher overall mortality, especially among younger or older birds
In contrast, well-ventilated coops stay drier, smell fresher, and support stronger immunity. Studies and practical poultry husbandry consistently show that good airflow correlates with fewer vet visits and more consistent laying cycles.
Benefits of Balanced Ventilation When done correctly, proper coop ventilation:
- Removes excess moisture and ammonia
- Regulates internal temperature more effectively
- Keeps bedding drier for longer (reducing cleaning frequency and costs)
- Minimizes condensation, mold, and mildew growth
- Promotes overall flock welfare and productivity
From my experience, keepers who prioritize ventilation often report 10-20% better laying rates during stressful seasons and far fewer health interventions.
Common Myths About Chicken Coop Ventilation Debunked
Misinformation spreads easily in online chicken communities, leading to costly mistakes. Here are the most persistent myths—and the reality based on real-world poultry management.
Myth 1: “Chickens don’t need much ventilation in winter—keep it sealed tight.” This is one of the most dangerous beliefs. Sealing the coop traps moisture from breath and droppings, raising humidity and ammonia levels dramatically. A dry, well-ventilated coop at 15°F (–9°C) is far safer than a damp, “warm” one at 30°F (–1°C). Excess moisture is the real culprit behind frostbite, not cold air itself.
Myth 2: “You need exactly 1 square foot of ventilation per chicken.” While 1 sq ft per bird can serve as a rough summer guideline in some setups, it’s not universally accurate. Needs vary widely by climate, coop size, bedding type, and flock density. Rigid rules often lead to over- or under-ventilation.
Myth 3: “Any draft will kill your birds.” There’s a critical difference between drafts (direct, cold air blowing on roosting birds) and ventilation (controlled air exchange, ideally high above bird level). Drafts at roost height are problematic; gentle overall airflow is essential for health.
Myth 4: “Ventilation is only important in hot weather.” Winter ventilation is often more critical because cold air holds less moisture, but birds still produce it. In humid or cold climates, inadequate winter airflow frequently causes more long-term damage than summer heat.
Understanding these distinctions helps you design a coop that works with nature rather than against it.
How Much Ventilation Does a Chicken Coop Really Need?
The honest answer: It depends—but there are reliable starting points and adjustment principles that experienced keepers use successfully.
General Rules of Thumb (and Their Limitations)
- Warm/hot climates or summer months: Aim for as much ventilation as possible—often 1 square foot of vent space per 10 square feet of floor area, or more. This can mean large windows, hardware cloth walls, or fully openable sections while maintaining predator protection.
- Cold climates or winter months: A minimum of about 3–4 square feet of total ventilation (including the pop door contribution) is often sufficient for many small-to-medium coops, provided vents are placed high and protected. Focus on quality over quantity—high outlets for moist air to escape.
These are guidelines, not absolutes. A coop with deep litter bedding will need more ventilation than one with sand, for example, because organic bedding generates additional moisture and gases as it decomposes.
Key Factors That Influence Ventilation Requirements Several variables affect how much airflow your coop truly needs:
- Flock size and density: More birds mean more moisture and ammonia production.
- Coop size and layout: Larger volume coops may need proportionally different vent placement.
- Climate and humidity: Humid regions demand more aggressive moisture removal.
- Bedding type: Sand requires less ventilation than deep litter or fresh shavings.
- Bird breed and age: Larger breeds or chicks may have different tolerances.
- Management practices: Frequent cleaning reduces ventilation demands.
Here’s a helpful comparison table for quick reference:
| Coop/Flock Scenario | Winter Minimum Ventilation (approx.) | Summer/ Warm Season Target | Key Considerations |
|---|---|---|---|
| Small coop (4×6 ft, 6-8 hens) | 3-4 sq ft total (high vents + pop door) | As much as possible (windows open) | Focus on high placement |
| Medium coop (8×10 ft, 15-20 hens) | 4-6 sq ft minimum | 10+ sq ft or cross-ventilation | Adjustable vents essential |
| Hot/humid climate | Higher year-round baseline | Maximum + fans if needed | Prioritize moisture control |
| Cold/dry climate | 3-4 sq ft sufficient | Moderate additional openings | Protect against wind-driven snow |
Always err on the side of more ventilation when in doubt, especially in summer, while ensuring winter vents stay above roost level.
Calculating Ventilation for Your Specific Coop
Don’t guess—measure and plan. Here’s a straightforward step-by-step process.
Step-by-Step Calculation Guide
- Measure your coop’s floor area (length × width in square feet).
- Determine baseline needs: Start with 1 sq ft of ventilation per 10 sq ft of floor for warm conditions; scale down for cold but never eliminate high vents.
- Factor in flock size: Add extra if you exceed standard density (typically 3-4 sq ft per bird inside the coop).
- Account for seasonal adjustability: Include permanent high vents plus openable windows or panels.
- Include the pop door as part of winter calculations but plan to close it at night.
Practical Examples
- Example 1: Small 4×6 ft coop (24 sq ft floor) for 6-8 hens in a temperate climate Winter: Aim for ~3-4 sq ft total (e.g., two 1.5 sq ft high gable vents + pop door contribution). Summer: Open additional side windows totaling 6-8 sq ft or more for cross-flow.
- Example 2: Larger 8×10 ft coop (80 sq ft) for 20+ birds in a cold, humid area Winter minimum: 5-7 sq ft high ventilation. Use adjustable panels to fine-tune based on humidity readings. Summer: Maximize to 15+ sq ft with multiple openings and consider a small solar fan for stagnant days.
- Example 3: Hot climate setup Design with at least one wall partially covered in hardware cloth for constant but predator-safe airflow, plus roof vents.
Create a simple checklist: Measure vents, note placement height, test for drafts at roost level, and monitor humidity with an inexpensive hygrometer (ideal range: 40-60%).
This calculation method has helped many keepers transform problematic coops into healthy environments without expensive overhauls.
Best Practices for Coop Ventilation Design and Placement
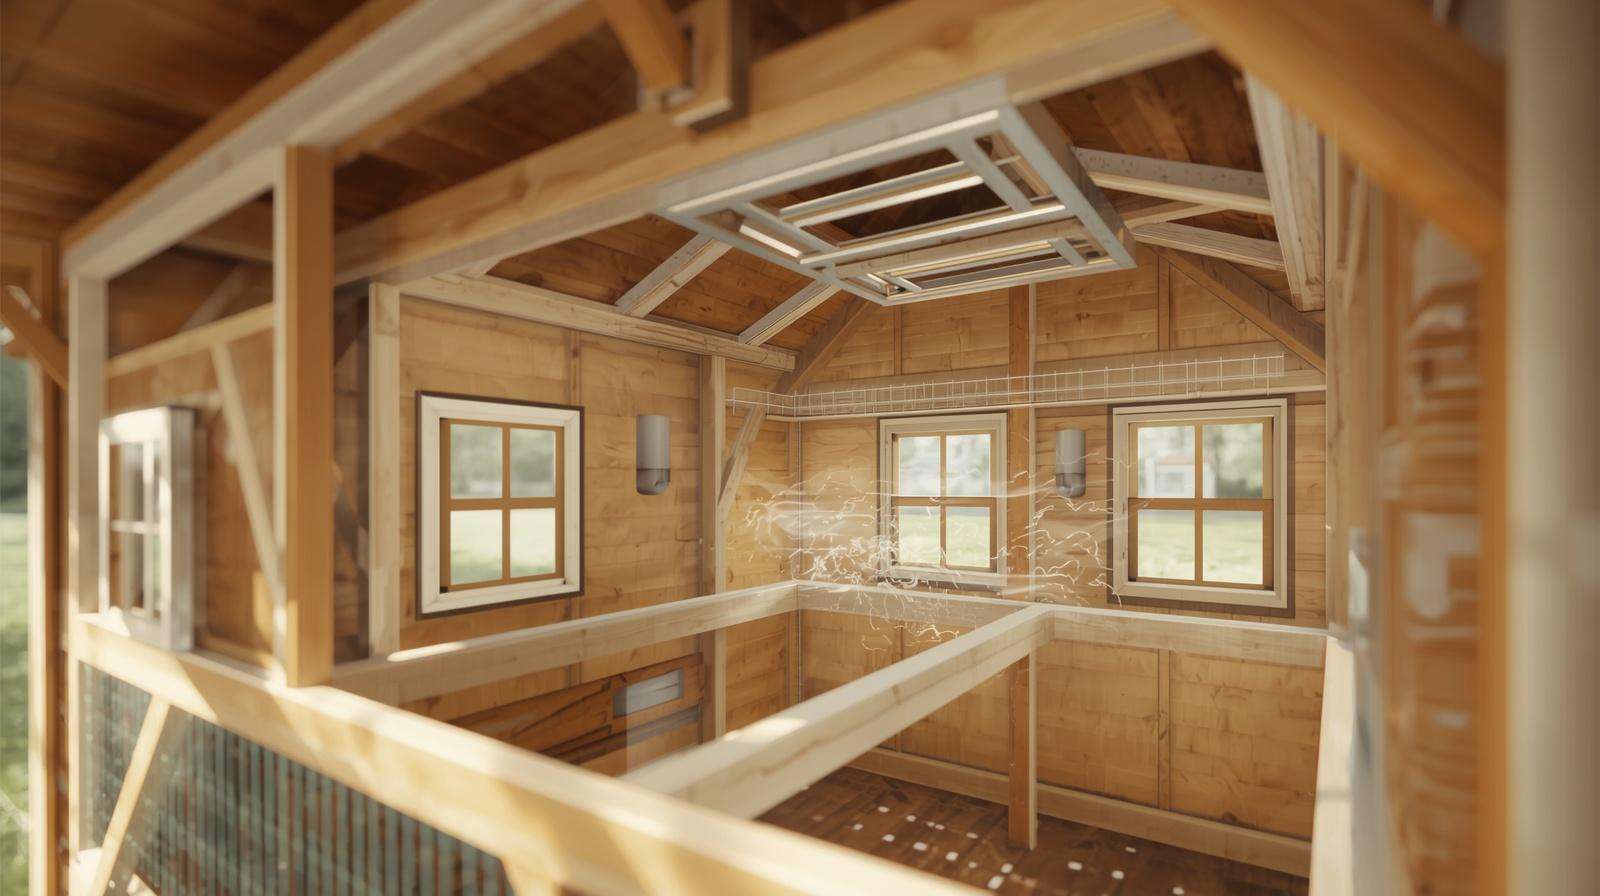
Effective chicken coop ventilation relies more on smart placement and airflow principles than on hitting an exact square footage number. The goal is continuous, gentle air exchange that removes rising warm, moist, ammonia-laden air while introducing fresh air without directing cold drafts onto roosting birds.
The Golden Rules of Ventilation Placement
- High outlets are non-negotiable: Warm, moist air naturally rises. Place permanent vents, gaps, or windows high on walls, in gable ends, or along the roofline (ideally under eaves for weather protection). These should remain open year-round in most climates.
- Lower intakes for fresh air: Position adjustable or protected intakes lower on walls, but never at roost level or where wind can blow directly on birds. In winter, these can often stay mostly closed.
- Cross-ventilation where possible: Openings on opposite sides promote better air movement, especially helpful in summer.
- Above roost height in cold weather: All winter-active vents must sit at least 12–18 inches above the highest roost to prevent direct drafts.
- Predator-proof every opening: Use ½-inch hardware cloth (not chicken wire) on all vents and windows. Secure it firmly to withstand determined predators like raccoons or weasels.
Types of Ventilation Options Common effective solutions include:
- Gable-end or ridge vents: Excellent for passive, high-level exhaust.
- Adjustable windows or panels: Allow seasonal fine-tuning.
- Eave or soffit gaps: Protected natural airflow.
- Pop door: Contributes to winter ventilation during the day but should close securely at night.
- Roof vents or cupolas: Great for larger coops or hot climates.
- Hardware cloth sections: Whole wall panels in mild or hot areas for maximum summer flow while maintaining security.
Avoiding Drafts While Maximizing Airflow Drafts occur when cold air blows directly onto chickens, chilling them and stressing their systems. Ventilation, by contrast, is the overall replacement of stale air. Test your setup on a windy day: If you feel noticeable breeze at roost height in winter, adjust vents higher or add windbreaks. Many successful keepers use burlap or adjustable covers over lower openings in cold months to diffuse incoming air.
Seasonal Ventilation Strategies
Ventilation needs shift dramatically with the seasons. A flexible, adjustable system gives you the best control.
Winter Ventilation – Keep It Draft-Free but Functional In cold weather, focus on moisture and ammonia removal without excessive heat loss. Maintain a minimum of high vents (3–4+ sq ft total for small-to-medium coops, including pop door contribution during daylight). Keep lower openings mostly closed or covered. Monitor for condensation on walls or windows—if you see it, increase high ventilation immediately. A dry coop at lower temperatures is healthier than a humid “warm” one. Use deep litter carefully, as it generates extra moisture and may require more airflow than sand bedding.
Summer Ventilation – Maximize Cooling and Air Exchange Open everything safely possible—windows, doors, and vents—to create cross-breezes. In hot or humid areas, aim for significantly more than winter minimums (often 1 sq ft per 10 sq ft of floor space or greater). Consider adding a small solar-powered fan for stagnant days, but ensure it’s rated for dusty, moist environments. Shade the coop and provide ample outdoor run access to reduce indoor heat buildup.

Spring and Fall Transitions These shoulder seasons benefit most from adjustable vents. Gradually open more as temperatures rise and close lower ones as nights cool. Watch weather forecasts and use a hygrometer to guide daily adjustments—target 40–60% relative humidity inside the coop for optimal comfort.
Signs Your Coop Ventilation Needs Improvement
Don’t wait for health problems. Check these reliable indicators regularly:
- Strong ammonia odor (even a mild smell signals issues—no level is truly safe).
- Condensation, frost, or dampness on walls, ceiling, or windows.
- Wet, caked, or overly smelly bedding that requires frequent changes.
- Chickens showing respiratory signs: sneezing, nasal discharge, watery eyes, or labored breathing.
- Increased flies, mites, or mold growth.
- Frostbite on combs/wattles (often linked to high humidity rather than cold alone).
- Birds avoiding the coop or appearing restless at night.
Simple test: On a calm day, observe smoke or lightweight dust movement inside—if air feels stagnant, improve airflow. A basic digital hygrometer is one of the best low-cost investments for any poultry keeper.
Practical Solutions and DIY Ventilation Ideas
Most coops can be upgraded without a full rebuild.
Easy Upgrades for Existing Coops
- Cut and frame high gable vents covered with hardware cloth.
- Install adjustable hinged panels or sliders on side walls.
- Add a ridge vent or eave gaps if roofing allows.
- Replace solid sections with framed hardware cloth panels.
Advanced Options For larger or challenging setups, consider automatic vent openers (thermostat-driven) or low-power solar fans. These work well in hot climates but should supplement, not replace, passive design.
Predator-Proofing and Weather Protection Tips Always overlap hardware cloth and screw it securely. Use metal flashing or overhangs to keep rain and snow out of high vents. In windy areas, position vents away from prevailing winds or add baffles.
Complementary Management Practices That Support Good Ventilation
Ventilation works best alongside smart daily practices:
- Choose appropriate bedding—sand needs less airflow than deep litter.
- Maintain proper flock density (at least 3–4 sq ft per bird indoors).
- Turn or refresh bedding regularly to reduce moisture generation.
- Provide generous outdoor access so birds spend less time producing waste inside.
- Clean waterers and feeders daily to minimize spills and humidity.
These habits reduce the ventilation load and create a more resilient system overall.
Common Ventilation Mistakes to Avoid
- Completely sealing the coop in winter (traps moisture and ammonia, increasing frostbite risk).
- Placing vents or windows at roost level, creating direct drafts.
- Using chicken wire instead of hardware cloth (predators can tear through it).
- Ignoring local climate—humid areas need more aggressive moisture control than dry ones.
- Relying solely on the pop door without dedicated high vents.
- Failing to adjust seasonally, leading to either stagnant air or excessive heat loss.
Expert Tips for Long-Term Success
From years of observing flocks in diverse conditions:
- Install a hygrometer and check it weekly—adjust vents based on readings rather than temperature alone.
- Prioritize high vents as permanent features; make lower ones easily adjustable.
- In deep litter systems, turn the bedding frequently and increase ventilation during active composting phases.
- Observe your birds’ behavior—they often show discomfort before obvious symptoms appear.
- Combine ventilation with good insulation (on walls/ceiling, not vents) for better year-round performance.
- Consult local extension services for climate-specific advice if your area has extreme conditions.
- Start conservative with additions—you can always add more ventilation, but reducing it is harder once cut.
Conclusion
How much ventilation a coop really needs comes down to balance: enough fresh air exchange to keep moisture and ammonia in check year-round, tailored to your flock size, bedding, and local climate, without exposing birds to harmful drafts. When you get it right, you’ll notice drier bedding, cleaner air, fewer health issues, stronger immunity, and more consistent egg production.
Investing time in proper chicken coop ventilation design and management is one of the highest-ROI decisions you can make as a poultry keeper. It prevents expensive vet bills, reduces daily maintenance, and supports a thriving, natural flock environment.
Take a few minutes today to inspect your coop using the signs and guidelines in this guide. Measure your current vents, note placement, and identify one or two improvements you can make this weekend. Your chickens will thank you with better health and productivity.
If you have questions about your specific setup or want to share photos of your coop’s ventilation, feel free to comment below—I or fellow readers may offer tailored suggestions. For more practical agricultural tips on backyard poultry, coop building, and flock management, explore the other guides on this site and subscribe for updates.
FAQs About Chicken Coop Ventilation
How much ventilation does a chicken coop need in winter? In cold weather, focus on a minimum of 3–4 square feet of high-level ventilation (including daytime pop door use) for most small-to-medium coops. Prioritize quality high outlets over quantity, keeping them above roost height to avoid drafts while removing moisture and ammonia.
Can a coop have too much ventilation? Yes, in winter—if excessive openings create strong drafts directly on birds, it can cause stress or frostbite. In summer, more is generally better as long as predator protection and security are maintained.
What’s the best way to add ventilation without drafts? Install permanent high vents well above roost level and use adjustable lower intakes that can be covered or closed in cold months. Test airflow and observe birds for comfort.
Do I need fans in my chicken coop? Fans are optional but helpful in hot, humid, or stagnant conditions. Use agricultural-rated or solar models cautiously to avoid blowing dust everywhere. Passive design usually suffices for most backyard setups.
How do I predator-proof vents? Cover every opening with sturdy ½-inch hardware cloth, secured with screws or staples. Avoid chicken wire, which offers little protection.
How often should I check my coop’s ventilation? Inspect monthly and after major weather changes. Use a hygrometer regularly and watch for ammonia smell or dampness as daily cues.