Imagine watching your precious seeds struggle on a sunny windowsill, resulting in tall, spindly, leggy seedlings that flop over the moment you transplant them outdoors. Or worse — entire trays lost to damping-off disease because of inconsistent warmth, poor airflow, or overly wet soil. For many home gardeners, especially those in regions with short growing seasons or limited outdoor space like apartments and balconies, starting seeds indoors feels more like guesswork than a reliable process.DIY Indoor Seed Starting Station
That’s exactly why a dedicated DIY indoor seed starting station changes everything. In my years of hands-on experience growing vegetables, herbs, and flowers from seed in various home setups, I’ve found that a simple, well-designed station dramatically improves germination rates, produces stockier plants with robust root systems, and saves hundreds of dollars compared to buying nursery transplants each season.
This comprehensive guide walks you through building your own space-saving DIY indoor seed starting station using affordable or repurposed materials. You’ll gain full control over light, temperature, humidity, and airflow — the key factors for stronger, healthier seedlings ready to thrive in your garden. Whether you’re a beginner or an experienced grower looking to scale up, this setup delivers professional-level results without breaking the bank.
By the end of this article, you’ll have a complete, customizable plan tailored to your space and budget. Let’s get started turning your indoor seed starting challenges into consistent success.
Why Start Seeds Indoors with a Dedicated Station?
Starting seeds indoors extends your growing season significantly, allowing you to sow warm-season crops like tomatoes, peppers, and eggplants weeks or even months before the last frost date in your area. It also gives you access to a wider variety of heirloom, organic, or hard-to-find seeds that garden centers rarely stock as transplants.
Without a proper setup, however, indoor seed starting often leads to disappointment. Windowsills provide uneven light, causing seedlings to stretch toward the sun (a condition known as etiolation or legginess). Temperatures fluctuate with household heating and cooling, and humidity can swing wildly, inviting fungal issues.
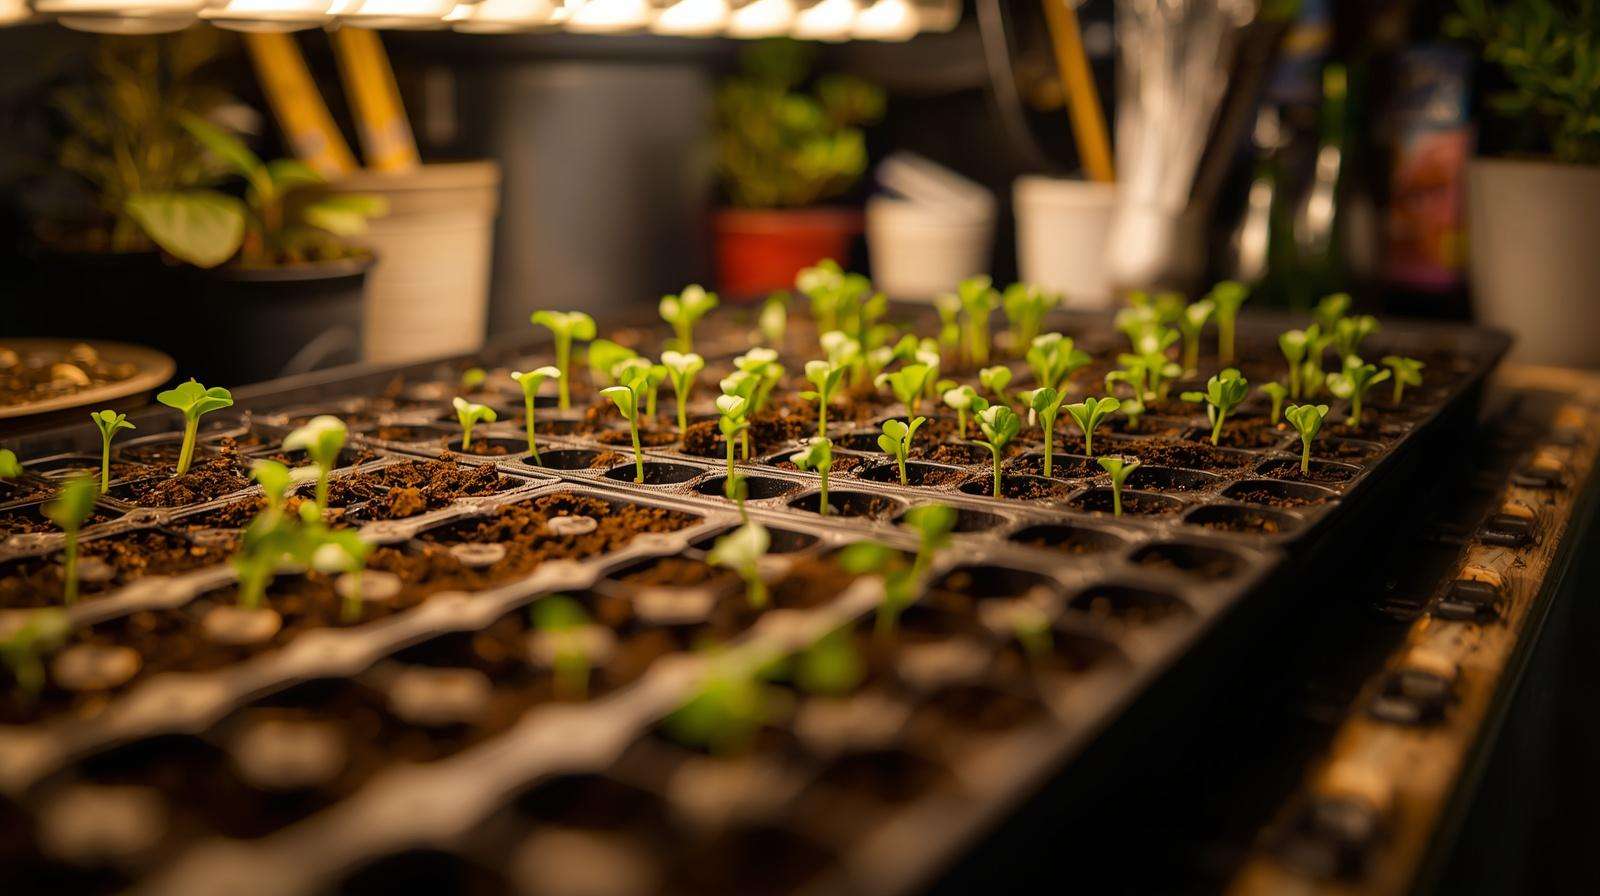
A dedicated DIY indoor seed starting station solves these problems by creating a controlled micro-environment. Consistent full-spectrum lighting promotes compact, sturdy growth. Adjustable heat mats ensure optimal soil temperatures for germination. Gentle airflow from small fans strengthens stems and reduces mold risk. The result? Seedlings with thicker stems, deeper roots, and better transplant success — often 20-50% higher germination and survival rates based on repeated real-world testing across seasons.
Compared to a basic windowsill approach, a proper station offers reliability. It protects young plants from drafts, pests, and temperature swings while letting you start hundreds of seedlings in a compact footprint. For urban gardeners or those with small plots, this means bigger harvests from healthier starts — all while keeping costs low through reusable components.
Planning Your DIY Indoor Seed Starting Station
Before gathering materials, assess your available space and goals. Measure the area you can dedicate — a spare closet, basement corner, garage shelf, or even a rolling cart that tucks away when not in use. Consider power outlet access, proximity to a water source, and ventilation to manage any heat or humidity buildup.
Decide on scale based on your needs:
- Small setup (countertop or single shelf): Ideal for 50–100 seedlings, perfect for beginners or apartment dwellers.
- Medium multi-tier station: A rolling wire shelving unit holding 4–8 standard 1020 trays (10×20 inches), suitable for most home gardeners.
- Larger system: Multiple units or custom-built shelving for serious growers starting 500+ plants.
Budget plays a key role. A basic station can cost under $100 using household items and basic shop lights, while a more robust LED-equipped version might run $150–300 initially — but pays for itself quickly through reusable parts and avoided transplant purchases.
Timing matters greatly. Use your local last frost date (easily found via online calculators or extension services) as the anchor. Most vegetables and herbs need 4–12 weeks indoors before transplanting. For example:
- Tomatoes and peppers: 6–8 weeks before last frost.
- Broccoli and cabbage: 6–10 weeks.
- Lettuce and herbs: 4–6 weeks.
Create a simple sowing calendar to avoid overcrowding your station. Factor in your climate — gardeners in cooler zones like those with late frosts benefit most from an early indoor head start.
Safety first: Choose a stable, level location away from pets and children. Ensure good ventilation to prevent overheating, and use surge-protected power strips near lights and heat mats. Fire safety is essential with any electrical setup — never leave lights on unattended without timers.
Essential Materials and Tools for Your Seed Starting Station
A successful DIY indoor seed starting station relies on a few core components that work together to mimic ideal growing conditions. Here’s a breakdown of must-haves, nice-to-haves, and budget-friendly alternatives, drawn from extensive practical testing.
Core Components
Shelving Options Wire shelving units (e.g., 18–24 inches deep by 36–48 inches wide) are excellent because they allow airflow and light penetration from multiple angles. Rolling carts with wheels add mobility, making it easy to move the entire station for cleaning or seasonal storage. Standard 1020 trays fit perfectly on 18×48-inch shelves, often accommodating 4 trays per level. Budget alternative: Repurpose sturdy bookshelves or build simple wooden frames. Reinforce shelves if using heavier soil-filled trays.
Lighting Systems Insufficient light is the #1 cause of weak seedlings. Full-spectrum LED grow lights or high-output fluorescent shop lights (T5 or T8) provide the blue-heavy spectrum seedlings need for compact growth. Aim for lights delivering 100–300 µmol/m²/s PPFD (Photosynthetic Photon Flux Density) at the canopy level for seedlings — roughly equivalent to strong indoor lighting without burning tender leaves. Position lights 18–24 inches above trays initially, then lower to 12–18 inches as plants grow, or raise them to maintain distance. Use adjustable chains, S-hooks, or ratchet hangers for easy height changes. Timers automate a 14–16 hour daily light cycle. Avoid cheap “purple” grow lights; prioritize affordable full-spectrum LEDs (around 20–40 watts per fixture) or cool-white fluorescents. Reflectors made from white paint, aluminum foil, or mylar sheets boost efficiency by 20–30%.
Trays and Containers Use standard 1020 flat trays with drainage holes, paired with cell packs (72-cell for small seeds, 32- or 50-cell for larger ones). Humidity domes help maintain moisture during germination. For a plastic-free option, try soil blockers that create dense, root-pruning blocks. Bottom-watering trays reduce foliar disease risk.
Growing Medium Never use garden soil — it’s too heavy, may contain pathogens, and compacts easily. Instead, create a lightweight, sterile seed starting mix. A reliable DIY peat-free recipe includes:
- 2 parts coco coir (excellent water retention, sustainable alternative to peat).
- 1 part perlite (improves drainage and aeration).
- 1 part vermiculite (holds moisture and nutrients).
Optional additions: A handful of worm castings or finely screened compost for mild nutrition, plus a bit of horticultural sand for extra drainage in heavier mixes. Pre-moisten the mix to a damp-sponge consistency before filling containers. This recipe promotes strong root development while minimizing damping-off.
Heat and Humidity Control Seedling heat mats with thermostats keep soil at 70–85°F (21–29°C) for optimal germination of most crops. Small oscillating fans provide gentle airflow to strengthen stems and prevent stagnant, humid air that fosters mold. Digital thermometers/hygrometers help monitor conditions — ideal ranges are 65–75°F air temperature and 60–70% humidity after germination.
Additional Helpful Tools
- Mechanical or digital timers for lights and optional fans.
- Bottom-watering cans or spray bottles.
- Plant labels and waterproof markers.
- Small trowel or dibber for sowing.
- Dilute organic fertilizer (e.g., fish emulsion or seaweed) for feeding after true leaves appear.
Cost Comparison Table (Approximate, based on current affordable options):
| Setup Level | Estimated Cost | Key Features | Best For |
|---|---|---|---|
| Basic | <$100 | Wire shelf, shop lights, basic trays | Beginners, small batches |
| Mid-Range | $150–250 | Rolling cart, full-spectrum LEDs, heat mats | Most home gardeners |
| Enhanced | $300+ | Multiple tiers, smart timers, soil blockers | Serious or larger-scale |
Reusable components mean your investment drops sharply in year two and beyond.
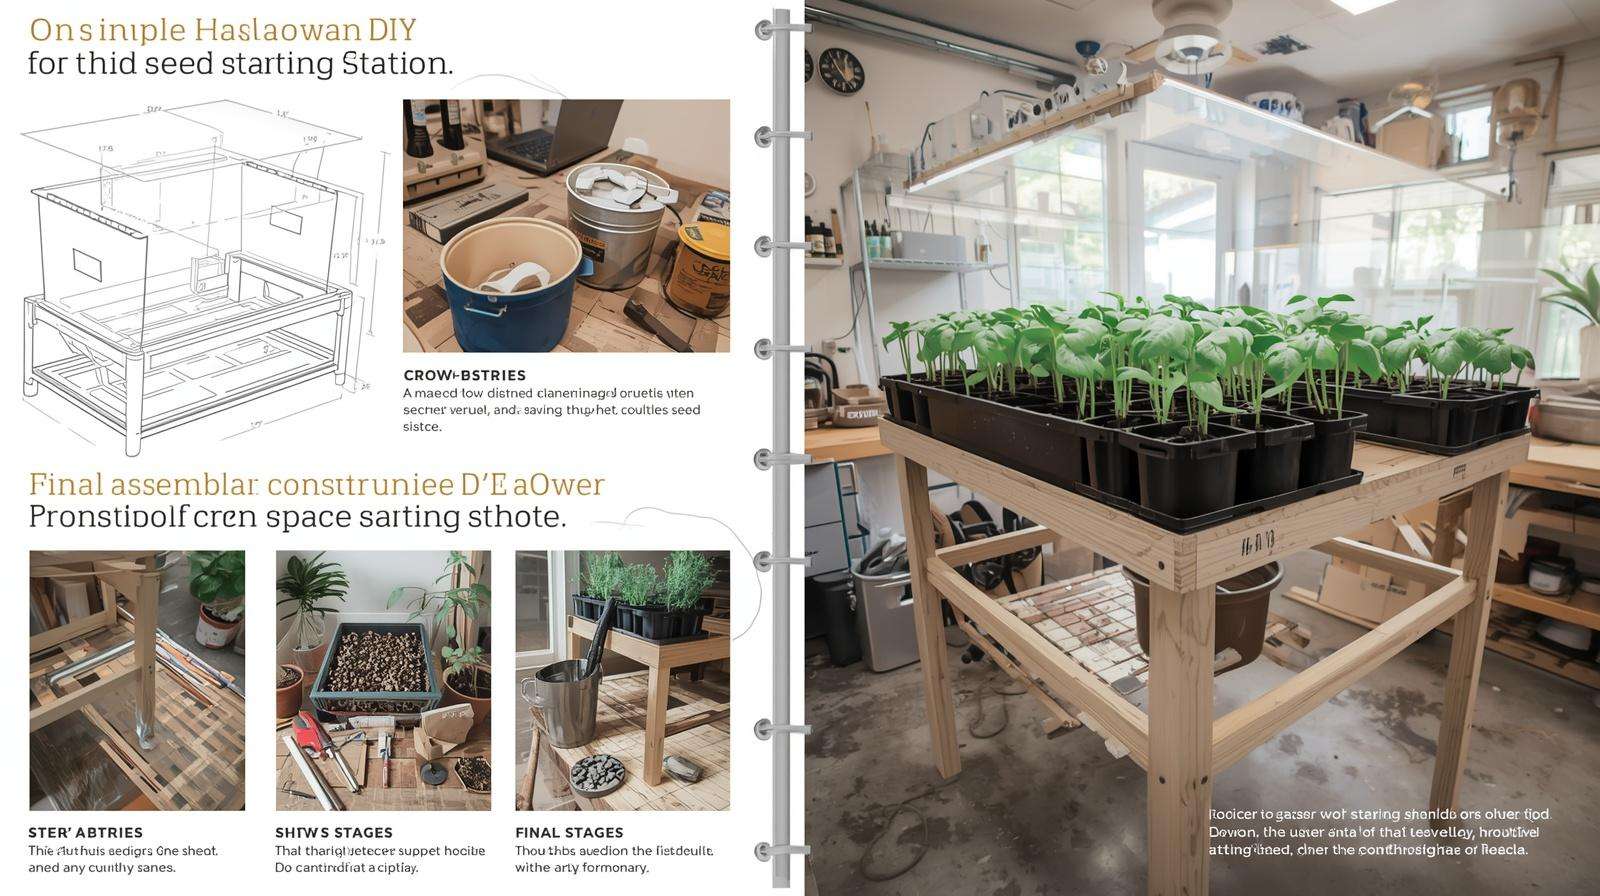
Step-by-Step: How to Build Your Simple, Space-Saving DIY Indoor Seed Starting Station
Building the station is straightforward and can usually be completed in a weekend. Here’s a detailed, tested process:
Step 1: Assemble and Prepare the Shelving Unit Choose a sturdy wire or metal shelving unit. Assemble according to instructions, adding caster wheels for easy movement. Reinforce shelves with cross-bracing if needed for heavier loads. Clean thoroughly to remove any manufacturing residues.
Step 2: Install Adjustable Lighting Mount lights under each shelf (except the bottom one). Use chains or adjustable hangers so you can raise/lower fixtures easily — critical as seedlings grow. Space lights to ensure even coverage across trays; overlap slightly for uniformity. Add reflective material to shelf undersides or walls to maximize light bounce. Plug into a timer set for 14–16 hours on.
Step 3: Set Up Power and Safety Use a heavy-duty surge protector or power strip rated for the total wattage. Route cords neatly and secure them to avoid tripping hazards. Test all connections before adding trays.
Step 4: Add Environmental Controls Place heat mats on shelves where germination trays will sit, connected to thermostats. Position a small fan at one end for cross-flow air movement — aim for a gentle breeze that rustles leaves lightly without knocking seedlings over. Install your thermometer/hygrometer in a central spot for accurate readings.
Step 5: Organize Trays and Workflow Line shelves with drip trays or plastic sheeting to contain messes. Arrange cell packs in 1020 flats. Create a labeling system (e.g., date + variety) and leave space between trays for airflow. For ultra-compact spaces, consider vertical stacking with appropriate support or a narrow rolling cart design.
Space-Saving Variations
- Apartment-friendly: A single tall narrow shelf or over-the-door options with supplemental clip-on lights.
- No-shelf version: Suspend lights from ceiling hooks over a table, using reflective curtains around the area.
- Mobile hack: Build or buy a rolling utility cart modified with light bars.
Expert tip from repeated builds: Paint interior surfaces white or line with reflective mylar to increase light intensity without extra electricity. Ensure at least 2–4 inches of clearance around lights for heat dissipation.
How to Use Your Indoor Seed Starting Station: From Sowing to Hardening Off
Once built, sanitize all trays and tools with a dilute bleach solution or hydrogen peroxide to prevent disease carryover.
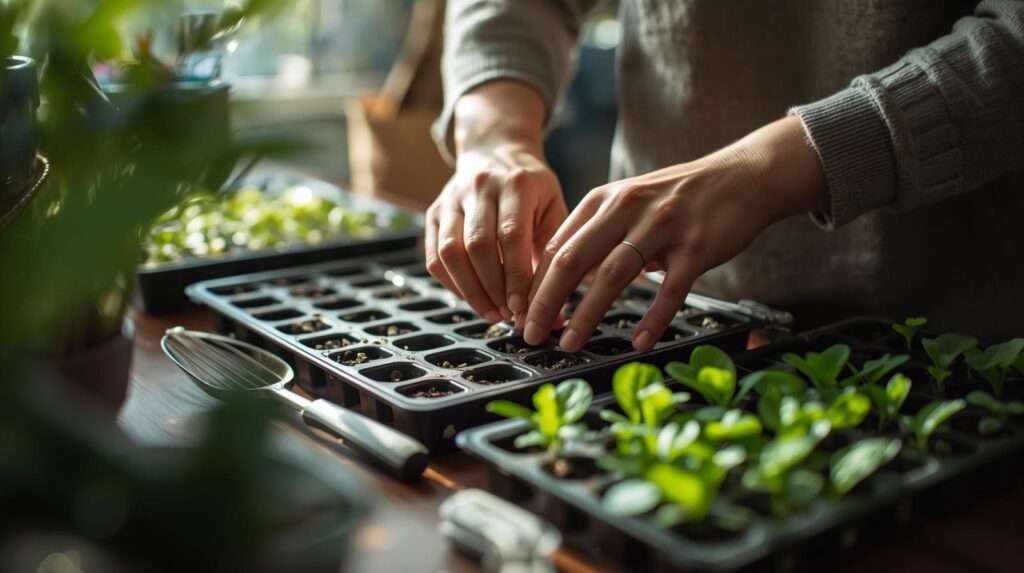
Sowing Seeds Fill containers with pre-moistened mix, leaving a small gap at the top. Sow seeds at the recommended depth (usually 2–3 times the seed diameter). Label clearly. Cover with a humidity dome or plastic wrap until germination. Bottom water by placing trays in a shallow pan of water until the surface feels moist.
Daily and Weekly Care Maintain the light schedule religiously. Monitor soil moisture — the mix should feel like a wrung-out sponge; overwatering is a common beginner mistake. After true leaves emerge, remove domes and begin gentle fertilizing with a half-strength organic solution every 1–2 weeks. Thin seedlings to the strongest one per cell. As plants grow, raise lights to keep them 2–4 inches above foliage and adjust heat mats downward (many crops prefer slightly cooler air temps post-germination).
Transition to Outdoors Hardening off is crucial for success. Over 7–14 days, gradually expose seedlings to outdoor conditions: start with 1–2 hours of shade, increasing time and direct sun daily while reducing indoor protection. Watch for wind and temperature drops.
Common Problems with Indoor Seed Starting and How to Fix Them
Even with a good station, issues can arise. Here’s how to troubleshoot effectively:
Leggy Seedlings Cause: Insufficient light intensity/duration or excessive heat. Fix: Lower lights closer (while monitoring for burn), extend light hours, or improve spectrum with more blue light. Increase airflow to strengthen stems.
Damping-Off Cause: Fungal pathogens thriving in overly wet, poorly ventilated, or contaminated conditions. Fix: Improve sanitation, ensure excellent drainage and airflow, avoid overhead watering, and maintain slightly lower humidity after germination. Use sterile mix and clean tools.
Yellowing or Stunted Growth Often due to nutrient deficiency, cold roots, or overwatering. Address with appropriate feeding, consistent warmth, and proper moisture levels.
Fungus Gnats Prevent with bottom watering and a thin layer of sand or diatomaceous earth on the soil surface. Sticky traps help monitor and control adults.
Troubleshooting Quick Reference
- Symptom: Tall, weak stems → More/intenser light + airflow.
- Symptom: Mold on soil → Reduce watering, increase fan time, improve drainage.
- Symptom: No germination → Check soil temp, seed freshness, and moisture consistency.
Preventive best practices — consistent bottom watering, proper spacing, and daily monitoring — have proven highly effective in minimizing losses across multiple seasons.
Advanced Tips and Optimizations for Even Stronger Seedlings
For superior results, experiment with soil blocking instead of cell trays. The air-pruning effect creates denser root systems that transplant with less shock.
Incorporate organic amendments sparingly in the initial mix, then top-dress or water in dilute fertilizers as needed. Consider energy-efficient LEDs with dimmers for fine-tuning intensity.
Sustainability enhancements include reusing trays (after thorough cleaning), choosing peat-free mixes, and selecting low-wattage LEDs. The station can also support microgreens or herb cuttings year-round.
From years of trial and error, maintaining lights at the right height and ensuring gentle but consistent air movement consistently yields the stockiest, most resilient seedlings — far outperforming windowsill methods.
Maintenance, Cleanup, and Long-Term Use of Your Station
At season’s end, disassemble and clean every component. Scrub trays with disinfectant, wipe down shelves and lights, and store in a dry place. Most parts last multiple seasons with proper care.
Over time, upgrade based on performance — perhaps adding more tiers or smarter controls as your gardening expands.
Building a DIY indoor seed starting station is one of the most rewarding investments for any home gardener. It delivers stronger seedlings, extends your season, reduces costs, and brings the joy of growing from seed under your complete control — all within a simple, space-saving design.
Start small if you’re new, follow the steps outlined here, and adjust based on your results. You’ll soon enjoy healthier transplants and more abundant harvests.
Ready to build yours? Share your setup ideas or questions in the comments below. For more agricultural tips and guidelines, explore our guides on selecting quality seeds, organic soil recipes, or successful transplanting techniques. Happy growing!
Frequently Asked Questions (FAQ)
How much does a basic DIY indoor seed starting station cost? A functional basic setup typically costs $50–100, while a well-equipped mid-range version runs $150–250. Reusability makes it very economical long-term.
What is the best light for seed starting indoors? Full-spectrum LED grow lights or T5 fluorescent shop lights providing 100–300 µmol/m²/s PPFD. Position 12–24 inches above seedlings depending on intensity.
Can I build one without grow lights? Yes, but results will be limited unless you have a very bright south-facing window supplemented with reflectors. Dedicated lights produce far stronger, more uniform seedlings.
How tall should the shelves be? Allow at least 18–24 inches between shelves to accommodate lights and growing seedlings. Adjustable systems offer the most flexibility.
How long do seedlings stay in the station? Typically 4–12 weeks depending on the crop, until they are large enough to harden off and transplant.
Do I need a heat mat? Highly recommended for consistent germination, especially for warm-season crops. Thermostat-controlled mats prevent overheating.
What’s the best seed starting mix for beginners? A simple 2:1:1 mix of coco coir, perlite, and vermiculite (peat-free options preferred). Pre-moisten thoroughly.
How to prevent leggy seedlings? Provide adequate light intensity and duration, maintain proper temperatures, and ensure good airflow from the start.
Is this setup suitable for apartments/small spaces? Absolutely. Compact rolling carts or single-shelf designs work well in limited areas while still delivering excellent results.
How often should I water seedlings? Use bottom watering when the top inch of mix feels dry. Avoid constant wetness to prevent disease.