Filling raised beds on a tight budget often feels overwhelming when you calculate the volume of soil needed for even a single deep bed. A standard 4×8-foot raised bed that’s 18 inches deep can require nearly 2 cubic yards of material—easily costing $100–$300 or more if you rely solely on bagged raised bed mix or premium compost from garden centers. Many new gardeners and homesteaders abandon the idea after seeing the price tags, yet productive raised beds remain one of the most effective ways to grow abundant vegetables, herbs, and flowers in limited space with better drainage and fewer weeds.
The good news? You don’t need to fill the entire depth with expensive soil. By using smart layering techniques inspired by hugelkultur (mound culture) and lasagna gardening (sheet mulching), you can fill most of the volume with free or very low-cost organic materials while reserving quality soil or compost only for the top planting zone where roots do the majority of their work. These methods not only slash costs by 50–80% but also build living, nutrient-rich soil that improves year after year, retains moisture better, and reduces watering needs.
With over a decade of hands-on experience building and managing budget-friendly raised beds in various climates and soil conditions, I’ve refined these approaches to deliver reliable results without compromising plant health or yields. In this comprehensive guide to filling raised beds on a tight budget, you’ll discover exactly how to calculate your needs, source materials locally (often for free), layer them effectively, and maintain beds that produce vigorously from the first season onward. Whether you’re a beginner homesteader, urban gardener, or someone simply looking to stretch your gardening dollars, these 12 practical methods will help you create fertile raised beds fast—without breaking the bank.
Why Filling Raised Beds Can Get Expensive (And How Layering Saves You Money)
The sticker shock is real. A typical 4 ft x 8 ft x 12 in raised bed holds about 32 cubic feet (roughly 1.2 cubic yards) of material. At $40–$60 per cubic yard for bulk garden mix or $5–$8 per 1.5–2 cu ft bag, filling even one bed with purchased soil can exceed $150–$250 when you factor in delivery or multiple trips. Deeper beds (18–24 inches) common for root crops or perennial vegetables push costs even higher.
Most vegetable and herb roots concentrate in the top 6–12 inches of soil. The lower layers primarily provide structure, drainage, and long-term nutrient release rather than immediate root support. This is where layering shines: bulk up the bottom and middle with slow- or medium-decomposing organic matter (logs, branches, leaves, clippings), then cap with 6–12 inches of a quality topsoil-compost blend. The organics break down over time, feeding soil microbes, improving aeration, and acting like a sponge for water and nutrients—creating a self-sustaining system that often outperforms uniform bagged mixes.
Cost-comparison example (approximate for a 4x8x18-inch bed):
- Traditional full fill with bagged mix: $200–$350+
- Layered budget method: $20–$80 (mostly for top layer + any bulk topsoil), with many materials sourced free.
Beyond savings, layered beds offer superior moisture retention (reducing irrigation by up to 50% in dry spells), gradual nutrient release (less need for frequent fertilization), and better drainage to prevent root rot. As materials decompose, they foster earthworm activity and microbial life, leading to healthier plants and higher yields over seasons. This approach aligns perfectly with sustainable, regenerative gardening principles—turning “waste” into resources while minimizing landfill contributions and plastic bag use.
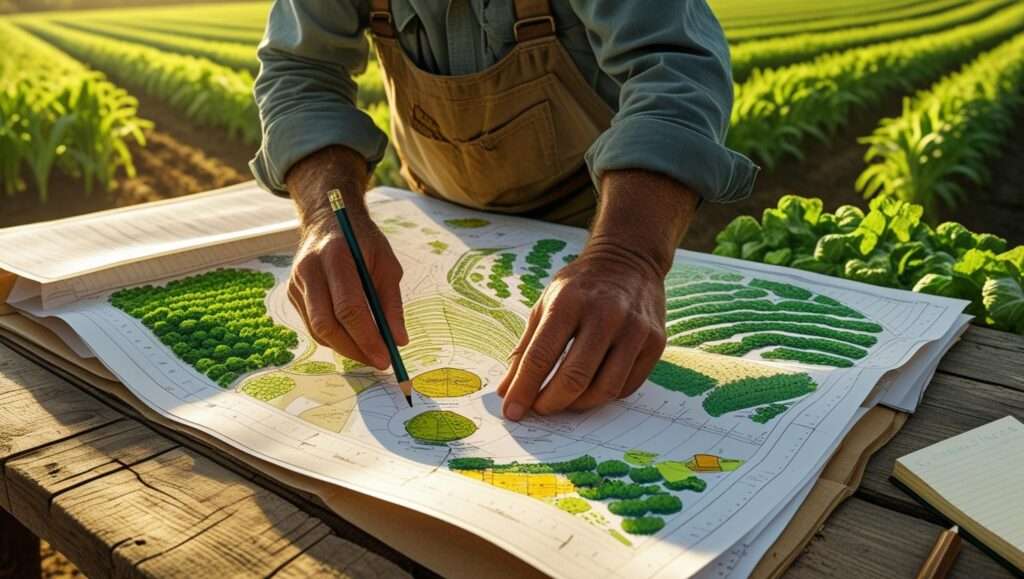
Essential Planning Before You Fill Your Raised Beds
Successful budget filling starts with smart planning rather than rushing to dump materials.
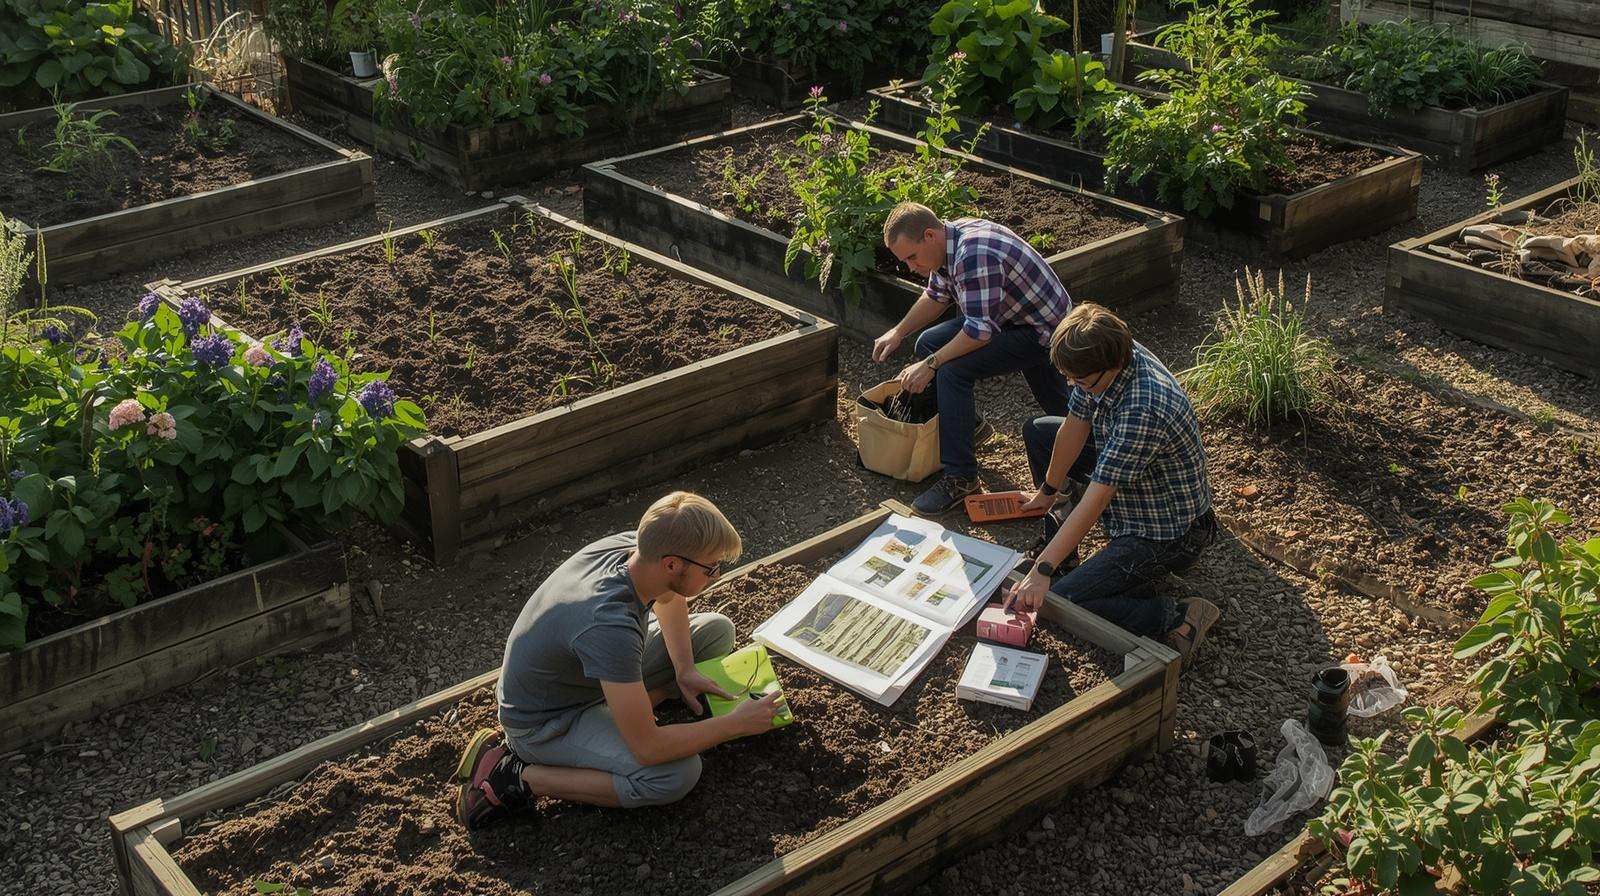
Calculate How Much Material You Actually Need
Use this simple formula: Volume (cubic feet) = Length (ft) × Width (ft) × Depth (ft) Then convert to cubic yards by dividing by 27.
Example: A 4 ft × 8 ft × 1.5 ft (18 in) bed = 48 cubic feet ≈ 1.78 cubic yards total. In a layered system, you might fill the bottom 8–10 inches with bulk organics (nearly free) and only need 0.6–0.9 cubic yards of quality mix for the top.
Free online calculators or simple spreadsheets make this easy. Always plan for 10–20% settling as organics break down—overfill slightly and top-dress later.
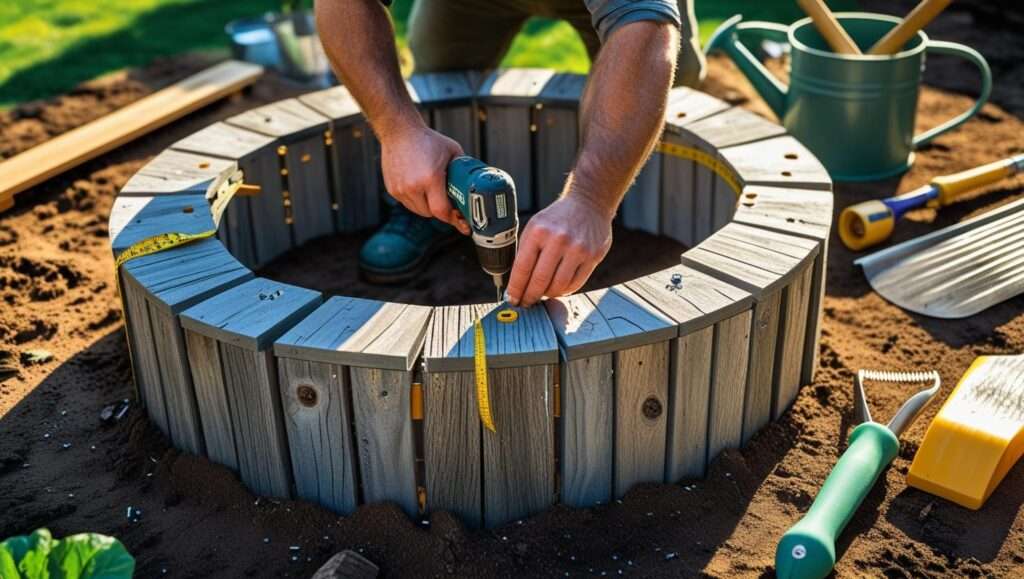
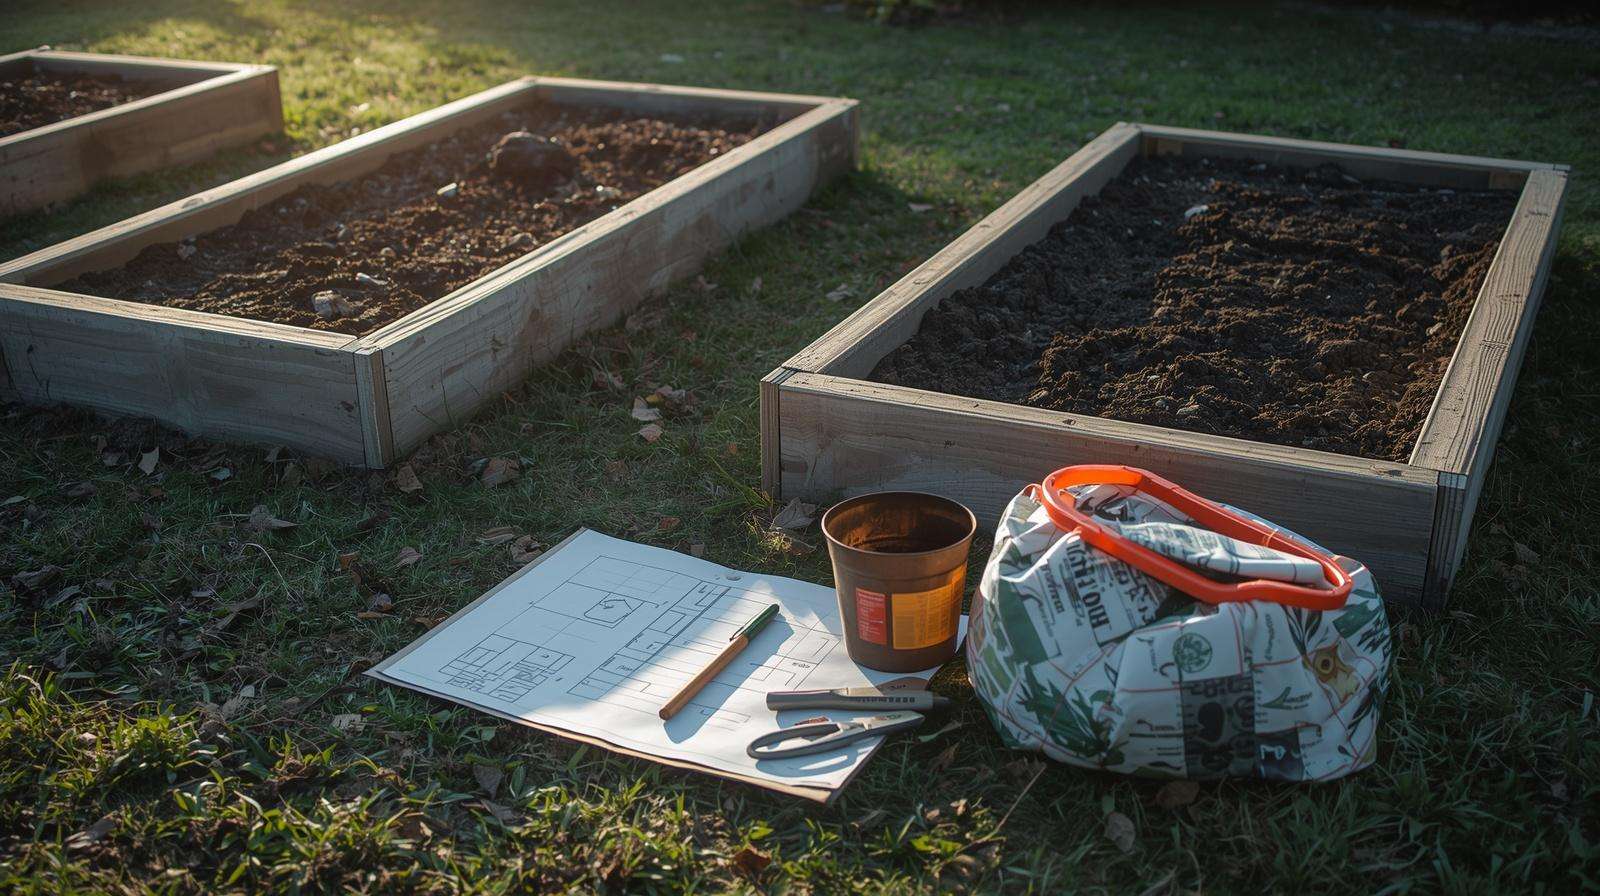
Choose the Right Depth and Structure
For most vegetables, 12–18 inches total height works well. Deeper beds (up to 24–30 inches) benefit most from heavy bottom fillers like logs. Ensure your raised bed frames use untreated or naturally rot-resistant wood (cedar, locust) or safe alternatives like stone or composite to avoid chemical leaching. Good drainage holes or gaps at the base prevent waterlogging.
Safety and Site Considerations
- Line the bottom with cardboard or newspaper to suppress weeds and grass without landscape fabric (which can hinder earthworm movement).
- Avoid pressure-treated wood or unknown painted materials.
- Test or observe native soil drainage; raised beds excel in heavy clay or poor-draining areas.
- Choose a sunny, level site with easy water access.
Timing Your Project
Fall is ideal—layers have all winter to begin decomposing, so beds are ready for early spring planting. You can also fill in spring, but water layers thoroughly and wait 1–2 weeks before planting if using fresh greens.
Core Techniques for Cheap Filling – Hugelkultur and Lasagna Gardening
Two proven no-dig methods form the foundation of budget-friendly raised bed filling.
Hugelkultur (German for “hill culture”) involves burying woody debris at the base. Large logs and branches form the core, covered by smaller twigs, leaves, and nitrogen-rich materials. As the wood slowly decomposes over 10–20+ years, it releases nutrients, generates mild heat (extending the season), and holds significant water—like a built-in reservoir. In raised beds, this creates a stable, moisture-retentive base that reduces watering dramatically.
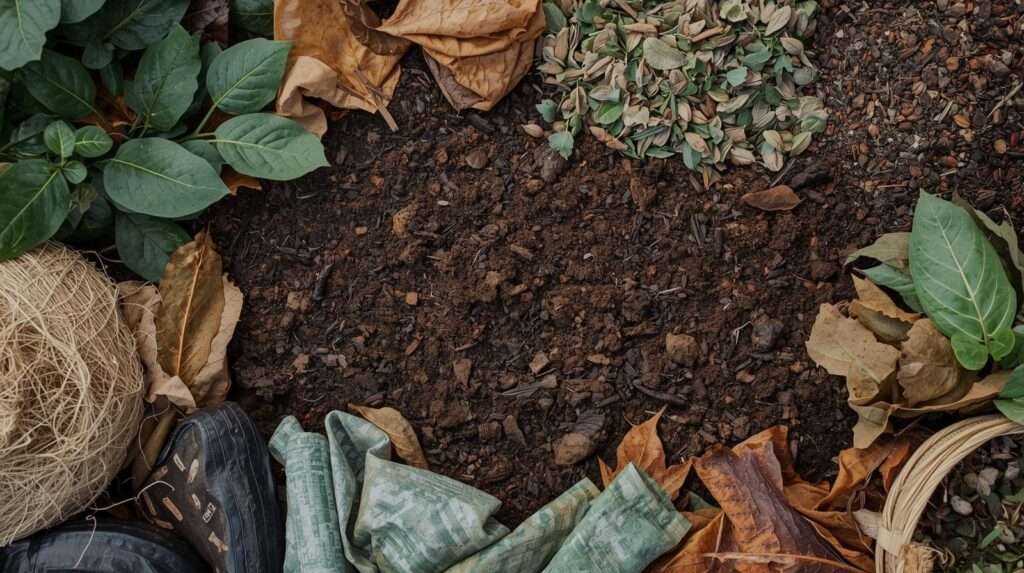
Lasagna gardening (sheet mulching) mimics a compost pile in layers: alternating “browns” (carbon-rich: cardboard, leaves, straw) and “greens” (nitrogen-rich: grass clippings, kitchen scraps, manure). It breaks down faster than pure hugelkultur and builds rich humus quickly.
Many gardeners combine both—woody hugelkultur base followed by lasagna-style layers. Both methods turn yard “waste” into garden gold, improve soil structure, and minimize the need for purchased inputs. Pros include cost savings, weed suppression, and long-term fertility; cons include initial settling (add more material yearly) and potential temporary nitrogen tie-up if too much fresh wood is used without balancing greens.
12 Cheap Ways to Fill Raised Beds Fast
Here are 12 practical, proven materials and methods. Use them in combination, prioritizing free local sources. Aim for a mix of carbon and nitrogen materials for balanced decomposition.
- Logs, Branches, and Twigs (Hugelkultur Base) Start with the largest pieces at the very bottom for structure and long-term water storage. Source from your property, storm cleanup, or neighbors trimming trees (avoid black walnut, which is allelopathic). Soak dry wood before layering. Benefits: decades of slow nutrient release and excellent aeration. Use for the bottom 6–12 inches.
- Free Wood Chips from Arborists Contact local tree services or use apps like ChipDrop. Many deliver loads for free to avoid landfill fees. Use partially aged chips (not fresh) to avoid severe nitrogen draw. Layer 4–8 inches; they break down into excellent humus while suppressing weeds when used as paths too. Caution: fresh chips need extra nitrogen sources nearby.
- Cardboard and Newspaper as Weed Barrier Base Flatten cardboard boxes (remove tape/staples) or stack wet newspaper 4–6 sheets thick. This smothers existing vegetation and provides a slow carbon source that worms love. Overlap generously; it decomposes in 6–12 months.
- Dried Leaves and Leaf Mold Collect fall leaves in bags or piles—neighbors often give them away. Leaves are perfect carbon material; partially rotted “leaf mold” is even better. Mix with greens to speed breakdown. One large bag of leaves can fill significant volume cheaply.
- Grass Clippings Use dried clippings to avoid matting and heat buildup. Fresh clippings work as a nitrogen layer but should be thin (1–2 inches) and mixed with browns. Source from your lawn or neighbors who bag theirs. Excellent for quick decomposition.
- Kitchen Scraps and Compostable Waste Bury vegetable peels, coffee grounds, eggshells, and fruit scraps (no meat, dairy, or oils to avoid pests). These add quick nitrogen and micronutrients. Layer thinly in the middle sections.
- Straw or Hay Bales Often inexpensive at feed stores or farm co-ops (look for spoiled or end-of-season bales). Straw breaks down cleanly; hay adds more nutrients but may contain seeds (use carefully). Fluff and layer 4–6 inches.
- Old Potting Soil or Spent Container Mix Reuse soil from previous containers or pots instead of discarding it. Refresh with compost. This recycles nutrients and saves disposal hassle.
- Yard Waste and Garden Debris Chopped plant stalks, seed-free weeds (pulled before seeding), prunings, and spent crops. Avoid diseased material. This keeps your garden tidy while building the next bed.
- Animal Manure (Well-Rotted) Source from local farms, stables, or neighbors with chickens/rabbits (ask about feed to avoid herbicide residues like aminopyralid). Compost or age at least 6–12 months for safety. Provides excellent nitrogen; use in middle layers.
- Local Free Compost or Municipal Resources Many cities offer free or low-cost leaf compost or yard waste programs. Check community gardens, landfills, or parks departments. Some deliver.
- Mixed Bulk Topsoil + Homemade Compost Blend (Top Layer Only) For the final 6–12 inches, blend 40–60% bulk topsoil with mature compost (homemade or purchased in smaller quantities). Add light amendments like worm castings or bone meal if needed. This creates an ideal planting mix without filling the whole bed expensively.
Combine these for best results—e.g., logs at bottom, wood chips and leaves in middle, manure and kitchen scraps for nitrogen boosts, topped with your soil-compost blend.
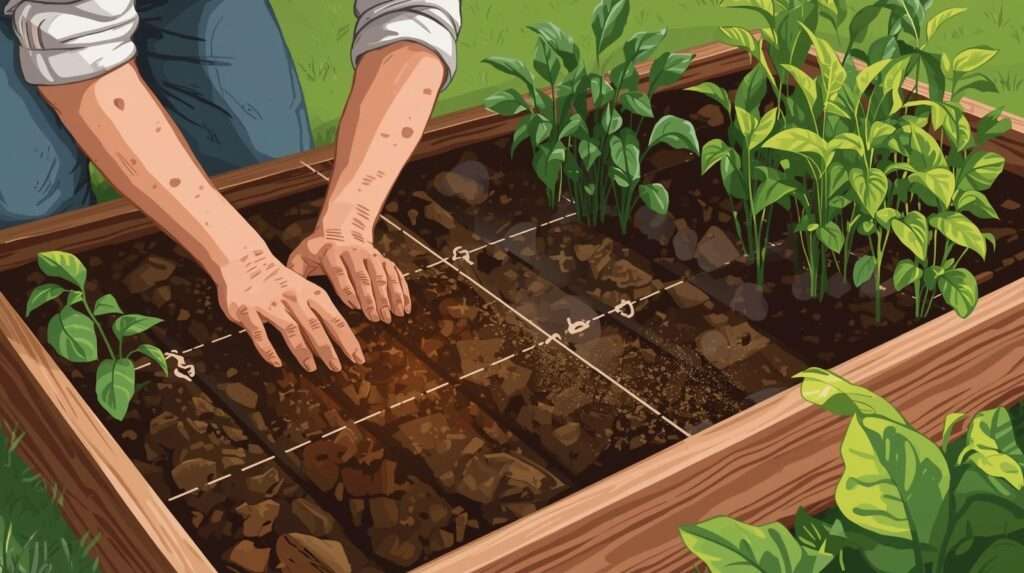
Step-by-Step Guide to Layering Your Raised Beds on a Budget
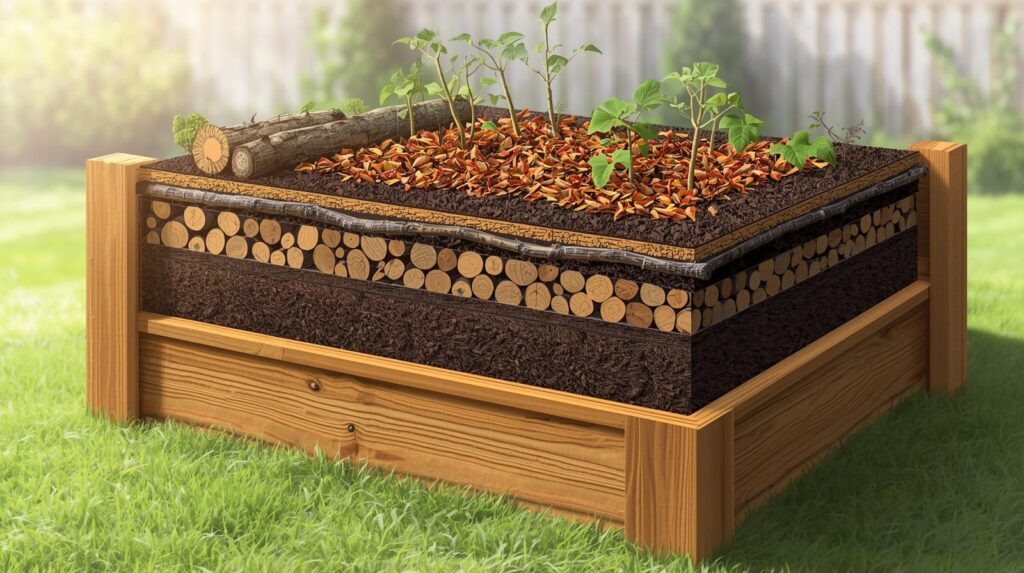
Follow this cross-section approach for reliable results:
Bottom Layer (Drainage & Bulk – 6–12 inches): Largest logs/branches, cardboard, bulky twigs. Water thoroughly to start decomposition and prevent air pockets.
Middle Layer (Nitrogen & Decomposition – 4–8 inches): Smaller twigs, wood chips, leaves, grass clippings, kitchen scraps, straw, and aged manure. Alternate browns and greens; wet each layer.
Top Layer (Planting Zone – 6–12 inches): Quality mix of topsoil and mature compost. Aim for a loose, crumbly texture. Rake level and water deeply.
Water the entire filled bed thoroughly after layering—moisture activates microbes. Expect 10–30% settling over the first year; top-dress with compost annually.
Sample recipe for a 4x8x18-inch bed (estimated cost <$50):
- Bottom: logs/branches + cardboard (free)
- Middle: wood chips (free), leaves (free), grass/straw (~$10–20)
- Top: 0.7–0.9 cu yd bulk topsoil/compost blend (~$30–40)
Sourcing Free and Low-Cost Materials Locally
Success depends on resourcefulness. Post on community apps (Facebook Marketplace, Nextdoor, Craigslist) with “ISO free wood chips/leaves/manure.” Call arborists directly—many prefer dropping loads at homes. Visit farms early morning or off-season for manure/straw deals. Municipal compost sites often provide free material. Start with your own yard waste first to minimize transport.
In various regions, adapt to local abundance: rice straw, coconut coir/husks, or banana leaves where available can substitute effectively for traditional materials.
Common Mistakes to Avoid When Filling on a Budget
- Adding too much fresh wood without balancing nitrogen → temporary nutrient lockup (yellowing plants). Counter with extra greens or a light fertilizer boost initially.
- Poor layering order or insufficient watering → slow or anaerobic decomposition (bad smells).
- Ignoring settling → sunken beds after months.
- Introducing weed seeds or pathogens via uncomposted material.
- Using contaminated sources (herbicide-treated hay or unknown wood).
Always err on the side of more carbon if unsure, and monitor soil moisture and plant response the first season.
Maintaining and Improving Your Budget-Filled Beds Over Time
Layered beds thrive with minimal intervention:
- Top-dress with 1–2 inches of compost each spring or fall.
- Mulch the surface with straw, leaves, or wood chips to retain moisture and suppress weeds.
- Practice crop rotation and plant cover crops (clover, buckwheat) in off-seasons.
- Test soil pH and nutrients periodically with affordable home kits or local extension services.
- Add worm castings or compost tea for boosts.
Over 2–3 years, these beds often become darker, richer, and more productive than conventionally filled ones due to ongoing organic matter breakdown.
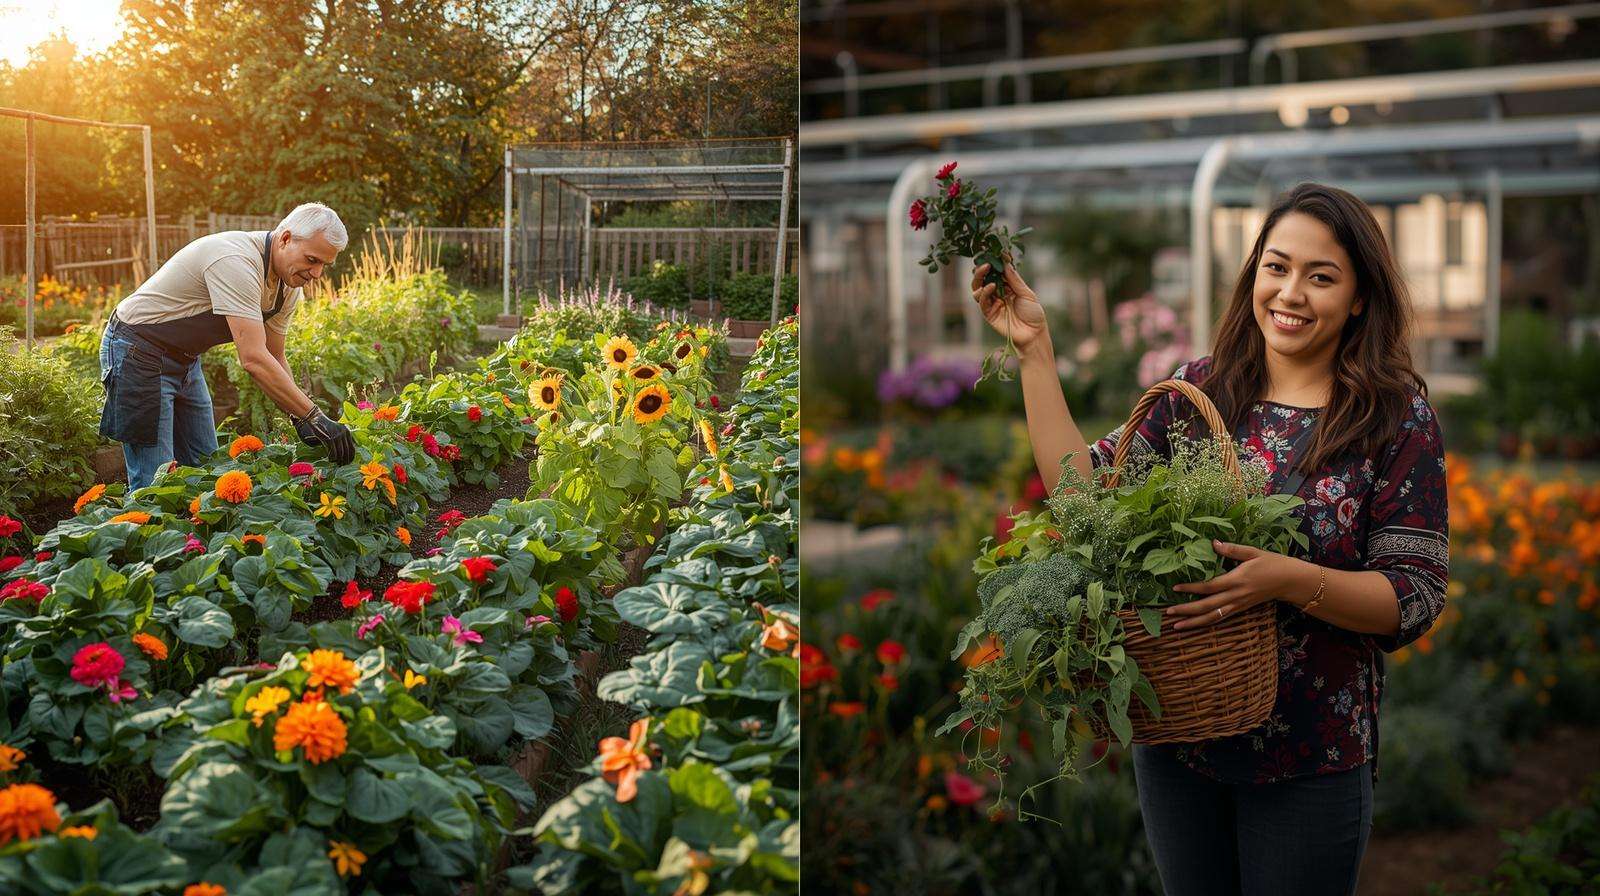
Real Gardener Success Stories and Expected Results
Gardeners using these methods routinely report filling multiple beds for under $50–$100 total while harvesting strong crops the first year. One common outcome: significantly reduced watering needs thanks to the sponge-like lower layers, plus fewer fertilizer inputs as nutrients release steadily. Plants often show better drought resistance and vigor. First-season yields may be slightly lower in heavy-wood beds while decomposition ramps up, but by year two, many gardeners see superior results compared to uniform soil fills.
Maintaining and Improving Your Budget-Filled Beds Over Time (continued for completeness)
Beyond the initial filling, consistent but light maintenance turns your budget beds into highly productive assets that get better every season.
Apply a 1–2 inch layer of finished compost or aged manure as a top-dressing each spring before planting. This replenishes nutrients without disturbing the lower layers. Mulch the surface generously with straw, shredded leaves, or wood chips to conserve moisture, regulate soil temperature, and further suppress weeds. In hot or windy climates, this mulch layer can cut watering frequency dramatically.
Incorporate cover crops during off-seasons—such as clover, buckwheat, or annual ryegrass—to prevent erosion, add biomass, and feed soil life. When you terminate the cover crop, simply chop and drop it on the surface or lightly incorporate into the top few inches.
Monitor soil health with simple tools: a basic pH test kit and visual cues (earthworm presence, crumbly texture, dark color). Many local agricultural extension offices offer free or low-cost soil testing services that provide tailored recommendations. Over time, the decomposing organic matter in the lower layers releases nutrients slowly, reducing the need for synthetic fertilizers and supporting a thriving soil food web.
If beds settle more than expected (common in the first 12–18 months), simply add another layer of compost and mulch rather than emptying and refilling. This “top-up” approach keeps costs minimal while continuously building fertility.
Real Gardener Success Stories and Expected Results
Across different climates and garden sizes, gardeners using these budget layering techniques consistently report impressive outcomes. One family with a small urban plot filled four 4×8 raised beds using mostly free wood chips, fall leaves, and grass clippings, spending less than $45 on topsoil and compost. In their first season they harvested more than 80 pounds of tomatoes, zucchini, and leafy greens—produce that would have cost far more at the market.
Another gardener in a region with heavy clay soil used hugelkultur-style logs at the base and noticed significantly better drainage and moisture retention during dry spells. By the second year, their beds required 40–50% less watering and showed fewer signs of nutrient deficiency compared to neighboring conventionally filled beds.
Expect slightly slower initial growth in beds with a high percentage of woody material as nitrogen is temporarily tied up during early decomposition. However, once the system stabilizes (usually by mid-to-late first season), plants often exhibit stronger root systems, better drought tolerance, and higher overall vigor. Many report that their layered beds become “living sponges” that hold water efficiently and release nutrients steadily, leading to healthier plants with fewer pest and disease issues over time.
These results come from years of real-world experimentation and observation: layering free and cheap organics doesn’t just save money—it creates superior soil biology that supports long-term garden success.
FAQs About Filling Raised Beds on a Tight Budget
How long does it take for the bottom layers to break down? Large logs and branches can take 5–20 years to fully decompose, providing sustained benefits throughout that period. Faster materials like leaves, grass clippings, and straw typically break down within 6–18 months, contributing quicker nutrient release.
Can I plant immediately after filling? Yes, in most cases. As long as the top 6–12 inches consist of mature compost and topsoil, you can plant right away. For beds with heavy fresh woody bases, start with nitrogen-fixing crops (beans, peas) or less demanding plants (squash family) and give the bed 2–4 weeks to settle and begin microbial activity.
Is it safe to use wood from unknown sources? Prioritize known, untreated hardwood from your yard or trusted neighbors. Avoid black walnut (due to juglone toxicity) and any pressure-treated or painted lumber. When in doubt, place questionable materials only in the very bottom layers and observe plant response closely the first season.
What if I have poor native soil? Raised beds with proper layering are one of the best solutions. They isolate your root zone from problematic clay, sand, or contaminated soil while gradually improving the ground beneath as materials break down and earthworms mix layers.
How does this compare to buying pre-mixed raised bed soil? Layered methods are significantly more economical for larger or multiple beds and usually produce better long-term soil structure and microbial activity. Pre-mixed bagged or bulk soil is convenient for very small projects or quick container-style fills but becomes expensive when scaling up.
Which plants perform best in newly filled budget beds? Heavy feeders like tomatoes, peppers, cucumbers, and squash often do well once the top layer is established. Leafy greens (lettuce, spinach, kale) and herbs are forgiving. Root crops such as carrots and beets prefer more settled beds and may perform better in the second season.
Will the beds smell or attract pests? Proper layering with balanced browns and greens, plus thorough watering, minimizes odors and pest issues. Avoid adding meat, dairy, or large amounts of fresh greens on the surface. A good mulch layer on top further deters pests.
Do I need to add fertilizer the first year? Often not heavily. If using plenty of aged manure or compost in the middle and top layers, most crops will grow well. Watch for signs of deficiency (yellowing leaves) and supplement lightly with compost tea or organic fertilizer only as needed.
Start Building Better Soil Without Breaking the Bank
Filling raised beds on a tight budget no longer has to be a barrier to successful gardening. By embracing layering techniques such as hugelkultur and lasagna gardening, and strategically using the 12 cheap, accessible materials outlined here, you can create deep, fertile raised beds for a fraction of the usual cost—often under $50 per large bed.
These methods don’t just save money; they build superior, living soil that retains moisture, releases nutrients gradually, improves drainage, and supports robust plant growth season after season. What starts as a budget solution quickly becomes a regenerative practice that turns yard waste, kitchen scraps, and community resources into garden abundance.