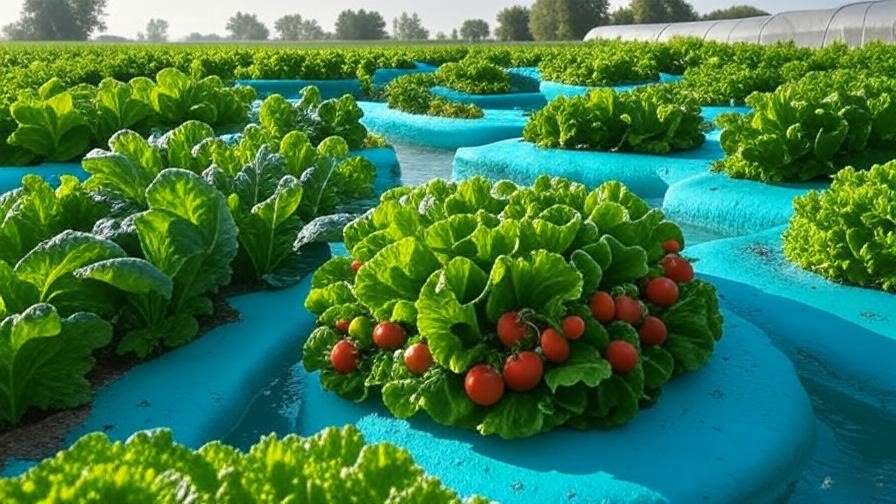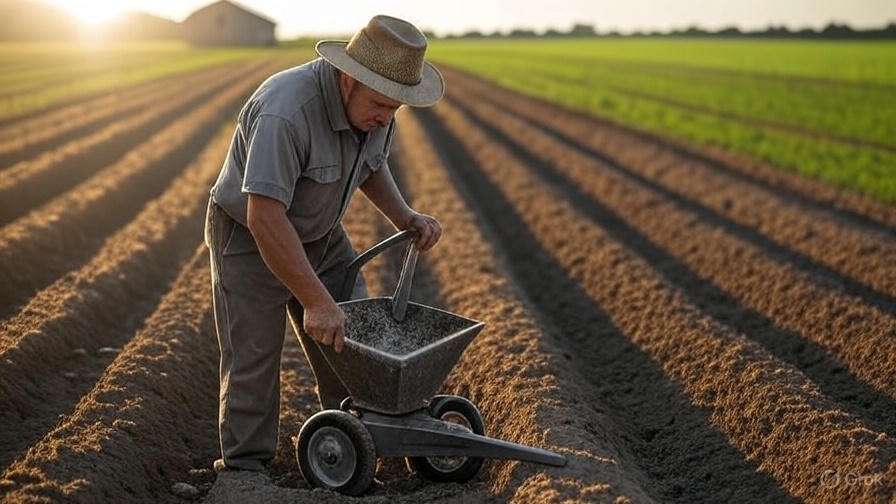
Rising fertilizer prices are squeezing smallholder farmers and home gardeners across regions like Bangladesh and beyond. Commercial liquid fertilizers promise quick results through fast nutrient absorption, yet many feel out of reach when every taka counts. The good news? You can create highly effective liquid fertilizers on a budget using materials you already have or can source locally for almost nothing.
Liquid fertilizers stand out because plants absorb them rapidly — often within hours — whether applied as a foliar spray on leaves or as a soil drench to roots. This speed helps correct deficiencies quickly, supports critical growth stages, and can deliver noticeable yield improvements without the slow release limitations of granular options.
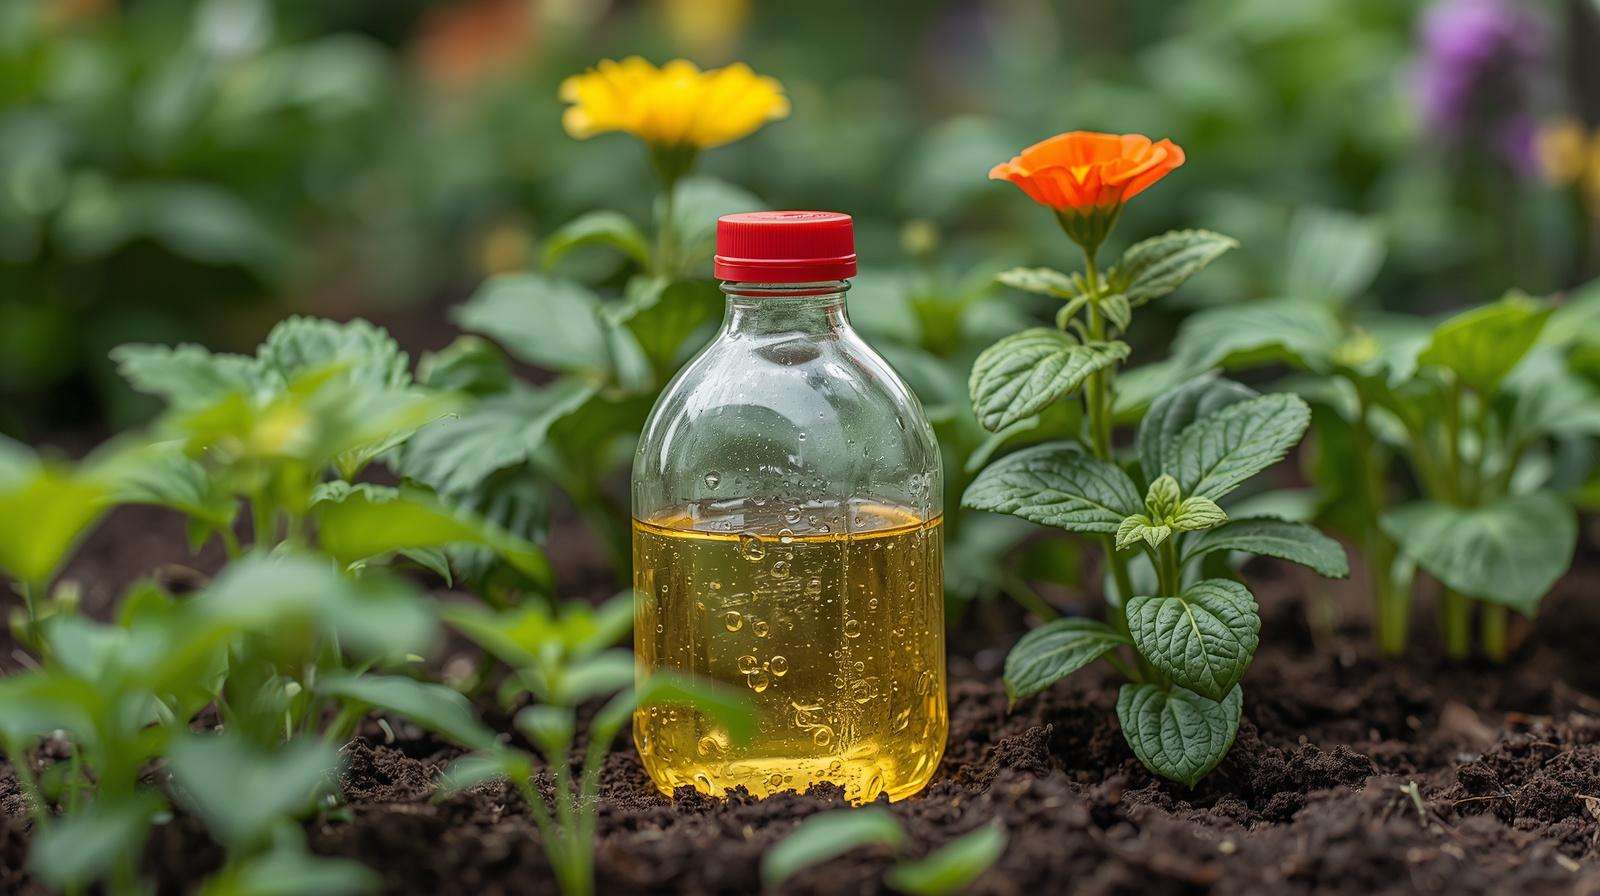
In this comprehensive guide, you’ll discover 10 practical, affordable ways to make or stretch liquid fertilizers. These methods draw from proven organic practices used by generations of farmers worldwide, adapted for budget-conscious growers. Expect step-by-step instructions, safe dilution ratios, target crops, expected benefits, and real-world tips to help you boost vegetable, rice, fruit, or flower production sustainably.
Whether you manage a small backyard plot, container garden, or a few bighas of land, these techniques reduce reliance on expensive inputs while building healthier soil and stronger plants over time. Let’s dive in and turn everyday waste into powerful plant food.
Why Choose Liquid Fertilizers for Budget-Friendly Farming?
Liquid fertilizers offer distinct advantages over traditional granular types, especially when working with limited resources.
Faster Nutrient Absorption Compared to Granular Fertilizers Plants take up liquid nutrients almost immediately through leaves (foliar feeding) or roots. Granular fertilizers must first dissolve in soil moisture, which can delay results and lead to losses through leaching, especially during heavy rains common in monsoon-prone areas. Studies and field observations show liquid applications can achieve up to 95% nutrient efficiency in some cases, versus much lower rates for soil-applied granules.
Versatility – Foliar Feeding vs. Soil Drench Use liquid fertilizers as a fine mist on leaves for quick uptake during stress periods (drought, nutrient lockup, or pest pressure). Or pour them around the root zone for longer-term feeding. This flexibility makes them ideal for vegetables like tomatoes, peppers, and leafy greens, as well as rice paddies or fruit trees.
Cost Savings and Reduced Waste Many homemade versions cost nearly zero after the initial bucket. You recycle kitchen scraps, garden weeds, and livestock waste instead of buying packaged products. Plus, precise application means less waste compared to broadcasting granules that may not reach every plant evenly.
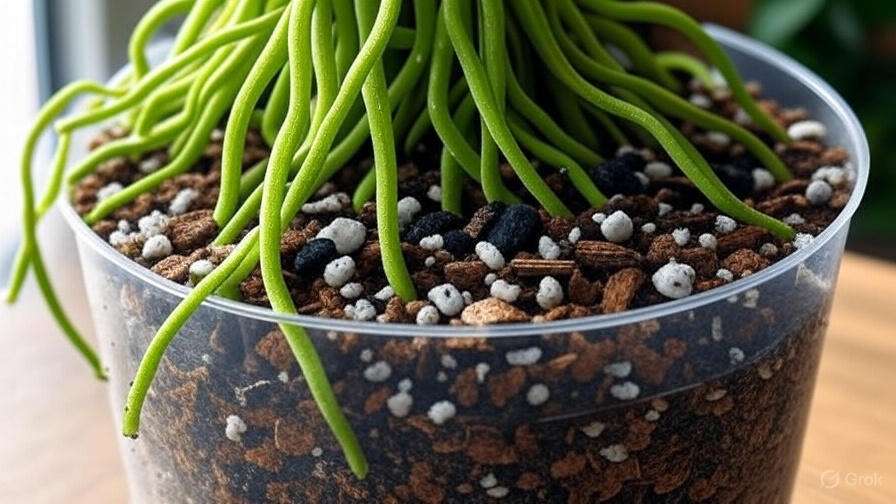
Suitability for Small Farms, Home Gardens, and Container Growing Small-scale growers benefit most. Liquid options require minimal equipment — a watering can, sprayer, or even a reused plastic bottle works. They suit raised beds, pots, and field crops alike, and integrate easily with organic or integrated nutrient management systems.
Comparison Table: Liquid vs. Granular Fertilizers
| Aspect | Liquid Fertilizers | Granular Fertilizers |
|---|---|---|
| Absorption Speed | Very fast (hours) | Slower (days to weeks) |
| Application Ease | Easy mixing and targeted use | Requires spreading equipment |
| Cost per Use (DIY) | Near zero for homemade | Higher upfront for commercial |
| Risk of Burn | Lower if properly diluted | Higher salt concentration possible |
| Storage | Needs careful handling (odor, shelf life) | Easier, longer shelf life |
| Best For | Quick fixes, foliar boosts, small areas | Pre-plant base feeding, large fields |
Liquid fertilizers shine during key growth phases — seedling establishment, flowering, or fruiting — or when soil tests reveal deficiencies that granules can’t address quickly enough.
Understanding the Basics of Liquid Fertilizers on a Budget
A good liquid fertilizer supplies essential macronutrients (Nitrogen for leafy growth, Phosphorus for roots and flowers, Potassium for fruit quality and stress resistance) plus micronutrients and beneficial microbes.
What Makes a Good Liquid Fertilizer? Look for balanced NPK profiles from natural sources. Organic versions often include humic acids, beneficial bacteria, and fungi that improve soil biology over time. Avoid over-reliance on any single nutrient; balanced feeding prevents imbalances.
Key Advantages for Resource-Limited Growers
- Targeted delivery reduces overall fertilizer needs.
- Improved drought and disease resistance through better plant health.
- Enhanced microbial activity in soil when using fermented teas.
Potential Drawbacks and How to Overcome Them Homemade liquids can smell during brewing — solve this by using aerobic methods (with air stones or frequent stirring) or brewing in a distant corner. Always dilute properly to prevent leaf or root burn. Store in shaded, cool spots and use within days to weeks for best results. Test on a small area first, especially with new batches.
Before applying any fertilizer, observe plant symptoms (yellowing leaves for nitrogen lack, purple stems for phosphorus) or perform a simple soil test if possible. This ensures you address real needs rather than guessing.
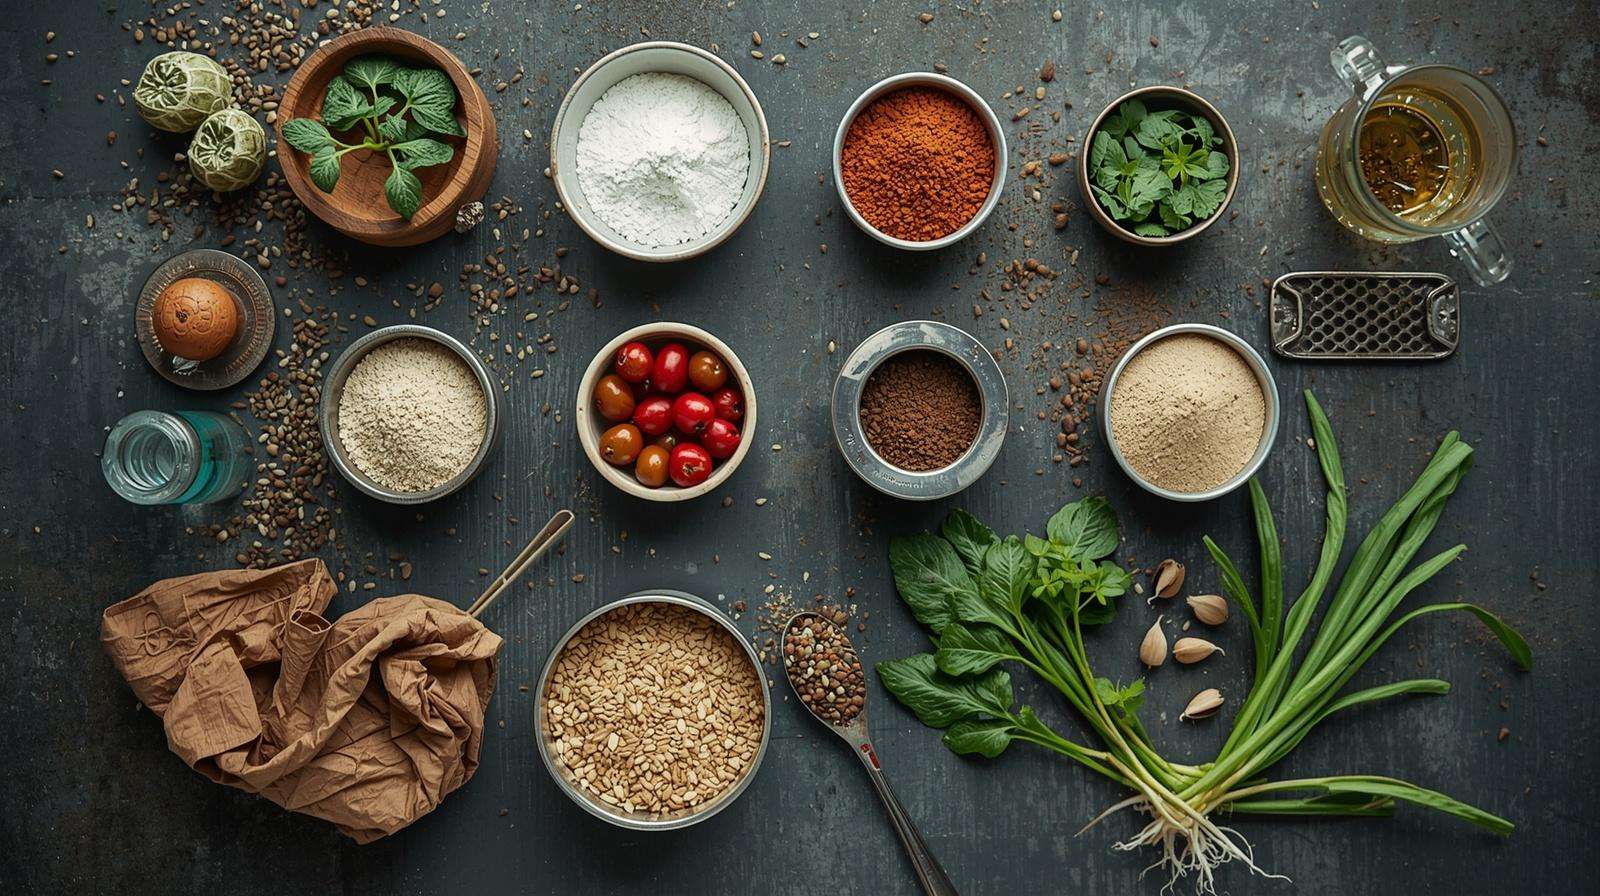
10 Affordable Ways to Get Liquid Fertilizers on a Budget
Here are 10 proven methods, ranked from simplest to more advanced. Most use free or very low-cost local materials. Each includes ingredients, step-by-step preparation, dilution, application tips, best crops, and expected benefits. Scale recipes based on your garden size.
1. Compost Tea – The Ultimate Free Liquid Fertilizer Compost tea extracts nutrients and multiplies beneficial microbes from finished compost.
Materials: Mature compost (1/3 bucket), rainwater or dechlorinated water, optional unsulfured molasses (1–2 tbsp per 5 gallons for microbial boost).
Step-by-Step:
- Fill a bucket 1/3 with sifted compost (remove large twigs).
- Add water to fill the bucket.
- Stir daily for 3–7 days (aerobic) or let steep longer for anaerobic tea.
- Strain the liquid.
Dilution: 1:10 (one part tea to 10 parts water) for general use; weaker (1:20) for seedlings. Application: Soil drench weekly or foliar spray every 10–14 days in early morning or evening. Best For: All vegetables, rice, flowers. Benefits: Boosts microbial life, improves nutrient uptake, and can increase yields by 20–30% in trials with consistent use. Many gardeners report darker green leaves and faster growth within a week. Cost: Essentially free if you maintain a compost pile.
2. Manure Tea from Livestock or Poultry Waste A classic nitrogen-rich option using aged animal manure.
Materials: Well-aged cow, goat, chicken, or rabbit manure (fresh manure must be composted first for safety), water.
Step-by-Step:
- Place a handful to 1/3 bucket of aged manure in a cloth bag or directly in the bucket.
- Fill with water.
- Stir or agitate daily for 3–7 days.
- Remove solids or strain.
Dilution: 1:10 to 1:20 depending on manure strength and plant sensitivity. Chicken manure is stronger, so dilute more. Application: Soil drench around base of plants; avoid direct leaf contact if strong. Best For: Leafy greens, corn, fruiting vegetables. Benefits: High in nitrogen for vigorous vegetative growth. Farmers often see quicker recovery from nutrient stress. Always age manure at least 3–6 months to reduce pathogens. Safety Note: Never use fresh manure on edible crops.
3. Weed or Grass Clipping Tea Turn “problem” weeds into free fertilizer.
Materials: Fresh weeds or grass clippings (chopped), water. Avoid seeding weeds if possible, or use anaerobic method to kill seeds.
Step-by-Step:
- Fill bucket halfway with chopped weeds/grass.
- Cover with water (rainwater preferred).
- Cover and stir every few days for 1–3 weeks until liquid turns dark and smelly.
- Strain.
Dilution: 1:10 ratio. Application: Soil drench or mild foliar spray. Best For: General garden use, especially nitrogen-hungry crops. Benefits: Releases nitrogen, potassium, and trace minerals as plant material breaks down. It’s completely free and recycles garden waste effectively.
4. Kitchen Scrap Ferments (Banana Peels, Eggshells, Coffee Grounds) Transform daily waste into targeted nutrient teas.
- Banana Peel Tea (Potassium Boost): Chop 4–6 peels, place in jar or bucket, cover with water. Steep 3–7 days. Dilute 1:5 to 1:10. Excellent for tomatoes, peppers, fruit trees — improves fruit size and sweetness.
- Eggshell Tea (Calcium): Crush clean, dried eggshells, soak in water for 1–2 weeks (add vinegar optionally to speed calcium release). Dilute and use for blossom-end rot prevention in tomatoes and squash.
- Coffee Grounds Tea (Nitrogen & Acidity): Steep used grounds in water 1–2 days. Dilute 1:10. Good for acid-loving plants or as a mild nitrogen source.
Benefits: Addresses specific deficiencies cheaply while reducing kitchen waste.
5. Comfrey or Green Manure Leaf Tea (or Local Leafy Plant Alternatives)
Comfrey is famous for its deep roots that mine potassium, phosphorus, and trace minerals, making a potent liquid feed. In regions like Bangladesh where true comfrey may not be widely available, substitute with locally abundant fast-growing leafy plants such as tithonia (Mexican sunflower), young bamboo leaves, or other nitrogen-rich green manures like sesbania or ipil-ipil.
Materials: Fresh chopped comfrey leaves or local equivalents (fill bucket halfway), rainwater or clean water.
Step-by-Step (Stink-Free Method):
- Chop leaves finely to speed breakdown.
- Pack tightly into a bucket or container (no added water for concentrated version — leaves release their own juices).
- Cover and let ferment 2–6 weeks in a shaded spot. For faster aerobic tea, add water and stir daily for 7–14 days.
- Strain the dark liquid.
Dilution: 1:10 to 1:20 for the watered version; 1:20 or weaker for the concentrated “black tea.” Many gardeners use 1 part concentrate to 20 parts water. Application: Soil drench around fruiting plants or mild foliar spray. Apply every 10–14 days during flowering and fruiting stages. Best For: Tomatoes, peppers, eggplants, cucumbers, fruit trees, and flowering plants. Benefits: High potassium promotes bigger, sweeter fruits and stronger stems. Farmers using similar green manure teas report improved disease resistance and higher yields in vegetables. The method recycles “weeds” into valuable fertilizer while improving soil biology over repeated use.
Safety Note: Comfrey contains compounds not suitable for human or animal consumption — use only on plants.
6. Urine-Based Liquid Fertilizer (Diluted Human or Animal Urine)
This is one of the most potent, nitrogen-rich options available at zero cost. Diluted properly, it acts as a fast-acting fertilizer similar to commercial urea but with added micronutrients.
Materials: Fresh urine (collected hygienically), clean water.
Step-by-Step:
- Collect urine in a separate container (avoid mixing with feces).
- Dilute immediately or store briefly in a sealed container.
- For animal urine (cow, goat), age slightly if strong-smelling.
Dilution: Start with 1:10 (1 part urine to 10 parts water) for established plants; use 1:20 or weaker for seedlings and sensitive crops. Test a small area first. Application: Soil drench at the base of plants, preferably after watering or during light rain. Avoid foliar use unless highly diluted. Apply every 2–3 weeks during vegetative growth. Best For: Leafy greens (spinach, amaranth, cabbage), rice, corn, and heavy feeders. Benefits: Supplies readily available nitrogen for lush green growth. Smallholder farmers worldwide have safely used this practice for generations, often seeing faster vegetative growth and better recovery from nutrient stress. In rice paddies, it can complement other organic inputs effectively. Safety & Hygiene: Always dilute well, wash hands thoroughly, and avoid applying to root crops or leafy edibles close to harvest (wait at least 30–60 days). Do not use if on medications that could pass into urine.
7. Seaweed or Algae Tea (Coastal or Pond Alternatives)
For coastal areas or ponds with abundant algae, this provides potassium, trace minerals, and growth hormones.
Materials: Fresh or dried seaweed/algae, water.
Step-by-Step:
- Rinse to remove excess salt if from seawater.
- Chop and soak in bucket (1:1 ratio by volume) for 1–3 weeks, stirring occasionally.
- Strain.
Dilution: 1:10 to 1:20. Application: Foliar or soil drench every 10–14 days. Best For: All crops, especially those needing stress resistance (drought, salinity). Benefits: Improves root development and overall plant vigor. Inland growers can use pond algae or substitute with ash from burned plant material for potassium.
8. Worm Casting Tea or Vermicompost Extract
If you maintain a worm bin (or can source worm castings locally), this creates a microbe-rich, balanced liquid fertilizer.
Materials: Worm castings (2–3 cups per 5-gallon bucket), water, optional 1–2 tbsp unsulfured molasses to feed microbes.
Step-by-Step:
- Place castings in a mesh bag or directly in bucket.
- Fill with dechlorinated water.
- Stir or aerate for 24–48 hours (or steep longer).
- Strain.
Dilution: Often usable at 1:5 to 1:10; some use undiluted on established plants. Application: Soil drench or gentle foliar spray. Excellent for seedlings. Best For: All garden plants, transplants, and container crops. Benefits: Introduces beneficial bacteria and fungi that enhance nutrient cycling and disease suppression. Many organic growers report healthier roots and higher yields with consistent use. In Bangladesh contexts, combining with rice straw vermicompost works particularly well.
9. Budget Store-Bought or Bulk Liquid Options + Dilution Hacks
When homemade supply runs short, stretch commercial products:
- Buy concentrated fish emulsion, seaweed extract, or water-soluble NPK crystals in bulk from agricultural stores or cooperatives.
- Dilute 20–50% more than label recommendations once plants show tolerance.
- Combine with homemade teas (e.g., 50% compost tea + 50% diluted commercial) for balanced feeding at lower cost.
Tips: Look for local cooperatives or government agricultural programs that sometimes subsidize or sell affordable inputs. Always read labels and test dilutions.
10. Hybrid or Advanced DIY Blends
Combine methods for customized NPK balance:
- Add molasses (1–2 tbsp per gallon) to any tea to boost microbial activity.
- Mix in a handful of wood ash (for potassium and calcium) or crushed eggshells.
- Example Balanced Blend: Compost tea base + banana peel potassium + diluted urine nitrogen + Epsom salt (1 tsp per gallon for magnesium).
Preparation: Brew base tea, then add supplements and steep 1–2 more days. Benefits: Creates a near-complete fertilizer tailored to your crop needs, reducing the guesswork in single-source teas.
These 10 methods give you flexibility. Start with 2–3 simplest ones (compost tea, kitchen scraps, weed tea) and expand as you gain confidence. Most cost under Tk 50–100 to set up initially and become essentially free thereafter.
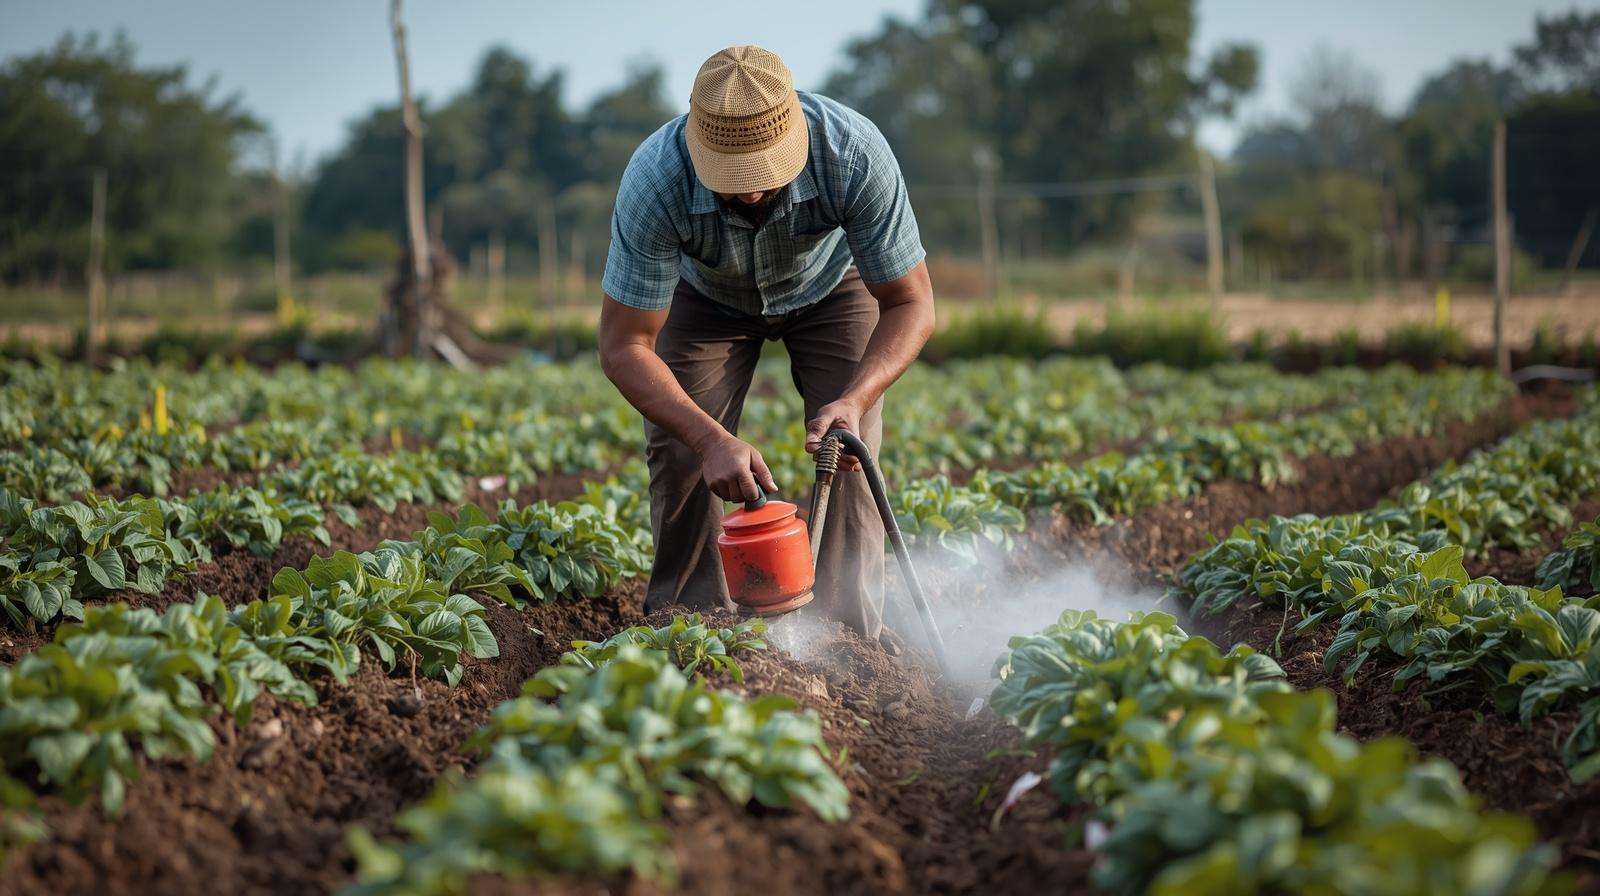
How to Properly Apply Liquid Fertilizers for Maximum Yield
Correct application maximizes benefits while minimizing risks.
Foliar Feeding Techniques Spray a fine mist on both sides of leaves until just before dripping. Best time: early morning (before 9 AM) or late afternoon/evening when stomata are open and temperatures are cooler. Avoid midday sun to prevent leaf burn from rapid evaporation. Use a clean sprayer; add a few drops of mild soap (or natural surfactant) if leaves are waxy for better coverage. Apply every 7–14 days during active growth.
Soil Drench Methods Pour diluted tea slowly around the root zone after regular watering. This ensures even distribution and reduces salt buildup. For rice or field crops, integrate during irrigation cycles.
Timing – Growth Stages, Frequency, and Weather Considerations
- Seedlings/Transplants: Weak solutions weekly.
- Vegetative stage: Nitrogen-rich teas (manure, urine, nettle) every 10 days.
- Flowering/Fruiting: Potassium-rich (banana, comfrey) every 7–14 days.
- Avoid application before heavy rain (wash-off) or during extreme heat/drought stress unless plants show clear deficiency.
Tools You Already Have Watering can for drench, recycled spray bottles or knapsack sprayer for foliar. Clean equipment after each use to prevent clogging or contamination.
Pro Tips: Combine with mulching to retain moisture and reduce evaporation. Integrate into integrated plant nutrient management for long-term soil health.
Common Mistakes to Avoid with Liquid Fertilizers
Even experienced growers make errors. Here are the top ones and fixes:
- Over-concentration — Causes leaf burn or root damage. Solution: Always dilute more than you think needed; test on one plant first.
- Applying in Hot Sun — Leads to rapid drying and scorch. Solution: Stick to morning/evening.
- Using Undiluted or Fresh Manure — Pathogen risk and burn. Solution: Age manure 3–6 months minimum.
- Ignoring Plant Symptoms or Soil Needs — Wastes resources. Solution: Observe yellowing, stunting, or purple leaves; adjust accordingly.
- Poor Timing/Frequency — Too much or too little. Solution: Follow growth-stage guidelines; less is often more.
- Storing Too Long — Tea becomes anaerobic or loses potency. Solution: Use within 1–2 weeks; brew smaller batches.
- Applying to Wet Foliage Before Rain — Ineffective. Solution: Check weather forecast.
- Neglecting Hygiene — Contamination risk. Solution: Use clean tools and water.
Following these practices keeps your crops safe and your efforts rewarding.
Real-World Results and Success Stories
Smallholder farmers using DIY liquid fertilizers consistently report positive outcomes. In similar tropical climates, gardeners replacing 30–50% of commercial inputs with compost and manure teas see 15–40% yield increases in vegetables like tomatoes and leafy greens, with better taste and shelf life. One common observation: faster recovery after transplant shock or monsoon nutrient leaching.
For rice growers, combining diluted urine or algae tea with organic base manures has supported healthier tillering and grain filling while cutting costs. Home gardeners in container setups often double harvest from the same pots by regular weak foliar feeds.
These results stem from improved nutrient availability and enhanced soil microbiology — benefits that compound over seasons as soil structure improves.
Scaling Up – From Backyard Garden to Small Farm
For larger areas:
- Use bigger barrels (50–200 liters) for brewing.
- Set up dedicated composting and vermicomposting systems using rice straw, kitchen waste, and crop residues.
- Schedule production weekly to maintain supply.
- Integrate with crop rotation and green manuring for balanced fertility.
Track results with simple notes on yield, plant health, and input costs. Over time, you’ll build a closed-loop system that reduces external dependency.
Frequently Asked Questions (FAQs)
How long does homemade liquid fertilizer last? Most teas keep 1–2 weeks in a cool, shaded spot. Use sooner for maximum microbial benefit. Aerobic teas spoil faster than anaerobic ones.
Can I use liquid fertilizers on rice or specific local crops? Yes — diluted manure or urine tea works well for rice during vegetative stages. Banana and comfrey alternatives suit vegetables and fruits common in Bangladesh.
Is DIY liquid fertilizer safe for organic certification? Generally yes if using only approved natural materials and following hygiene practices. Check local standards.
What’s the best dilution ratio for seedlings? Start at 1:20 or weaker and observe response. Seedlings are sensitive.
How do I reduce the smell of manure or weed tea? Use aerobic brewing (frequent stirring or air pump), add molasses sparingly, or brew in a distant location. The stink-free comfrey method (no added water) also helps.
Can these replace all commercial fertilizers? They can replace a large portion for many growers, but combine with good composting and soil testing for best long-term results on nutrient-demanding crops.
Final Word
Liquid fertilizers on a budget prove that high yields don’t require expensive commercial products. By harnessing compost tea, manure extracts, kitchen scraps, and local plant materials, you can deliver fast-absorbing nutrients exactly when and where your crops need them — saving money while building healthier soil and more resilient plants.
Start small: Pick one or two methods this season, apply consistently, and observe the difference in growth and harvest. Over time, these sustainable practices reduce costs, minimize environmental impact, and empower you with self-reliant farming skills.
Sustainable agriculture begins with simple, resourceful steps. Try these 10 affordable ways, share your results with fellow growers, and continue exploring related topics like advanced composting or natural pest management.