Tired of battling your lawn every weekend, only to dream of a thriving vegetable patch, colorful flower border, or productive herb garden in its place? What if you could transform that stubborn grass into rich, fertile soil — without harmful chemicals, back-breaking digging, or expensive machinery — all while recycling household waste and building long-term soil health?Killing Lawn with Cardboard for Future Beds
Killing lawn with cardboard for future garden beds is a proven, eco-friendly technique known as sheet mulching or lasagna gardening. It uses plain cardboard as a barrier to smother grass and weeds by depriving them of sunlight, while the decomposing layers feed beneficial microbes, earthworms, and fungi that improve soil structure naturally.
This no-dig method has helped countless gardeners — from urban backyard enthusiasts to small-scale farmers — convert unwanted turf into productive growing spaces. It saves time and labor compared to traditional sod removal, reduces landfill waste by repurposing cardboard, and creates conditions for healthier plants over time. In this comprehensive guide, you’ll discover exactly how to kill lawn with cardboard for future beds, the best timing and materials, a detailed step-by-step process, realistic timelines, common pitfalls with solutions, and tips for planting success. Whether you’re in a temperate climate, dealing with tropical conditions like those in Bangladesh, or facing aggressive grasses, this method can be adapted for real results.Killing Lawn with Cardboard for Future Beds
By the end, you’ll have a clear, actionable plan to create future garden beds that are more fertile, weed-resistant, and sustainable than ever before. Let’s turn your lawn problem into your garden opportunity.
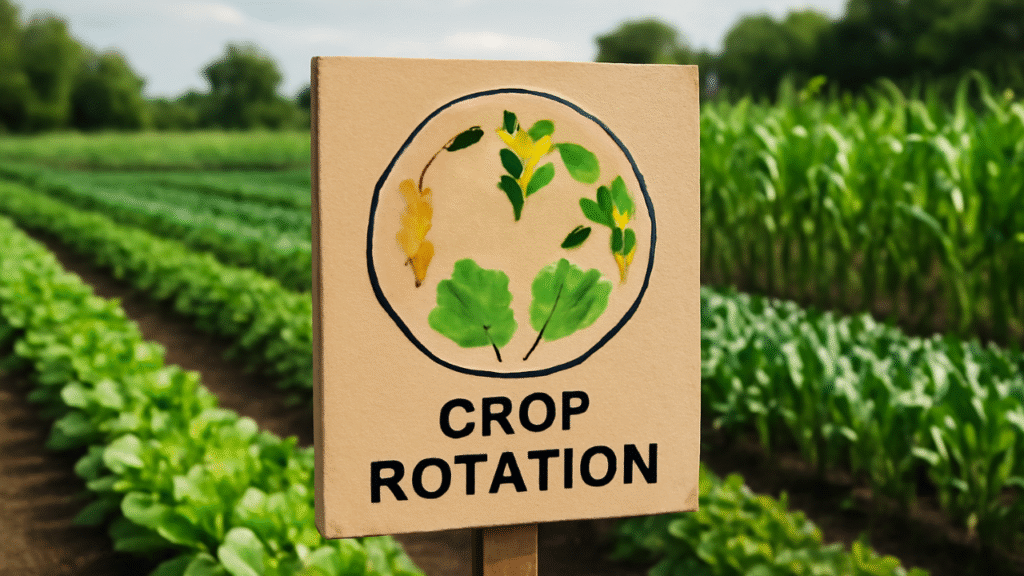
Why Kill Your Lawn with Cardboard? Understanding Sheet Mulching
Sheet mulching is more than just covering grass — it’s a regenerative practice rooted in permaculture and no-dig gardening principles. The cardboard acts as a physical and light-blocking barrier. Grass and weeds rely on photosynthesis; without sunlight reaching their leaves, they gradually starve and die. Meanwhile, the cardboard breaks down into organic carbon, and the layers above (compost or mulch) foster a thriving soil food web.
Unlike chemical herbicides, which can harm beneficial insects, soil life, and nearby plants (and may require repeated applications), cardboard is biodegradable and chemical-free when sourced properly. Compared to digging out sod, sheet mulching leaves the existing organic matter in place, prevents soil compaction from heavy machinery, and avoids disturbing the soil ecosystem. Solarization (using clear plastic) can kill grass but often bakes the soil and harms microbes; black plastic adds non-biodegradable waste. Cardboard strikes a better balance for most home gardeners.
Key benefits for your future garden beds:
- Chemical-free safety: Ideal for families with pets, children, or edible gardens.
- Soil building: Encourages earthworms and microbes that naturally aerate soil and cycle nutrients.
- Weed and grass suppression: Effective against many turfgrasses and broadleaf weeds when applied correctly.
- Water conservation and erosion control: The thick mulch layer reduces evaporation and runoff.
- Cost-effectiveness: Uses free or low-cost recycled materials instead of buying new soil or paying for lawn removal.
- Biodiversity support: Creates habitat as the system matures, attracting pollinators once planted.
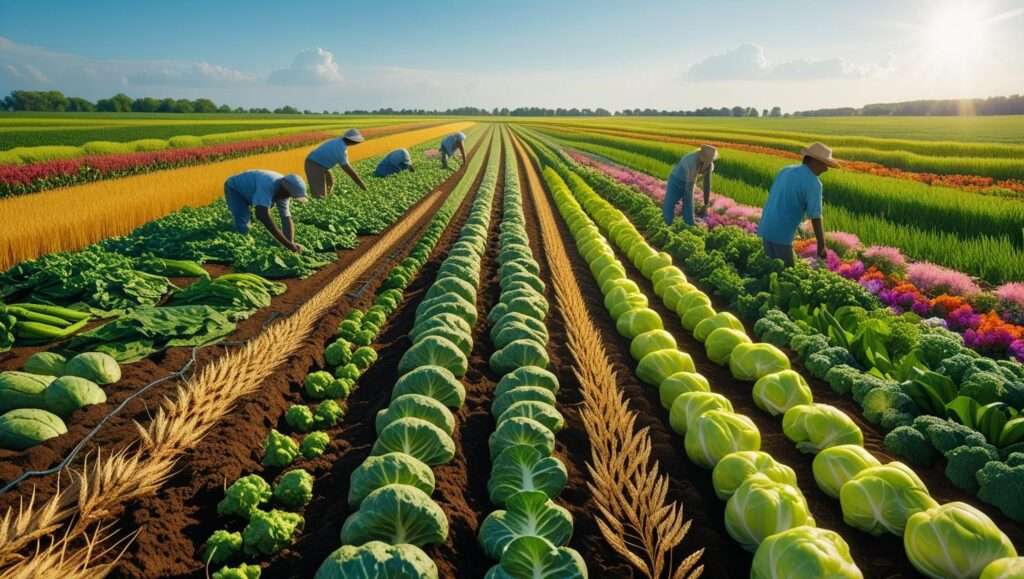
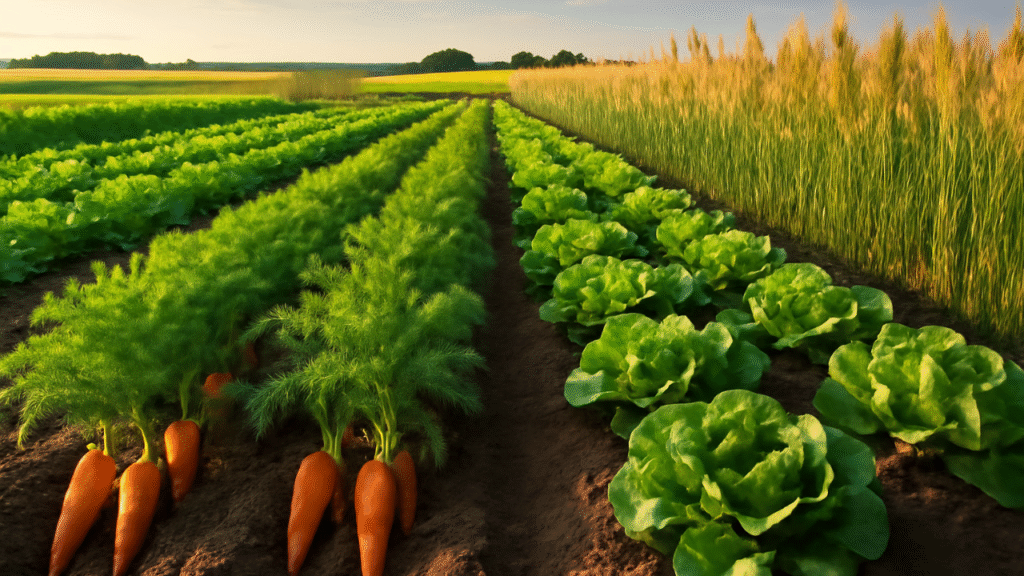
This approach aligns with sustainable agricultural tips practiced worldwide. University extensions and permaculture experts often recommend it for lawn-to-garden conversions because it mimics natural forest floor processes, where leaf litter builds rich topsoil over time.
When this method works best: It excels for flat or gently sloped areas intended for vegetable beds, raised beds (built on top), flower gardens, or pollinator habitats. It’s less ideal for steep slopes (where materials may shift) or areas with highly invasive rhizomatous grasses like Bermuda or quackgrass without extra vigilance. In warmer, humid climates, decomposition happens faster; in drier or cooler regions, it may take longer but still succeeds with consistent moisture.
Pros and Cons of Killing Lawn with Cardboard
As an expert in sustainable gardening, I always emphasize balanced advice. Sheet mulching with cardboard is highly effective for many, but it’s not instantaneous or foolproof.
Pros:
- Minimal physical labor — no heavy sod hauling.
- Recycles cardboard that would otherwise go to landfills, adding carbon to the soil.
- Improves soil structure and fertility over months as layers break down.
- Suppresses the existing seed bank when thick mulch is applied on top.
- Attracts earthworms, which create channels for air and water while depositing nutrient-rich castings.
- Long-term cost savings and reduced maintenance once established.
Cons and realistic considerations:
- Takes time — typically weeks to several months for full grass kill, depending on climate, grass type, and moisture.
- Requires patience; it’s not suitable if you need an instant garden.
- Potential for temporary nitrogen immobilization if fresh “brown” cardboard dominates without enough “green” nitrogen sources.
- If layers are too thick or poorly managed, it can temporarily limit gas exchange (oxygen to soil), though proper single-layer application and soaking minimize this.
- In some cases, aggressive perennial weeds may push through edges or gaps if overlap is insufficient.
- Not ideal for every situation — some gardeners report slower breakdown or minor pest activity (e.g., slugs under moist mulch), but these are manageable with good practices.
Overall verdict: For gardeners prioritizing long-term soil health over speed, killing lawn with cardboard for future beds is one of the most regenerative options available. Many report richer, darker soil after 6–12 months, with fewer weeds in subsequent seasons.
Materials and Tools You’ll Need
Success starts with quality materials. Here’s what you need for a typical 100–200 sq ft bed (scale up proportionally):
- Plain brown corrugated cardboard: The star of the show. Source free from appliance stores, recycling centers, grocery boxes, or online “free stuff” groups. Avoid glossy, heavily printed, waxed, or colored cardboard (e.g., pizza boxes with grease). Remove all tape, staples, labels, and plastic.
- Organic mulch: 4–6+ inches deep — wood chips (arborist chips are excellent and often free), straw, shredded leaves, or grass clippings. Aim for “brown” carbon-rich materials.
- Optional nitrogen layer: 2–3 inches of compost, well-rotted manure, grass clippings, or coffee grounds to balance carbon and speed decomposition while feeding worms.
- Water: Hose or access to plenty of water for thorough soaking.
- Tools: Lawn mower (to cut grass short), box cutter or utility knife, shovel or edger for borders, rocks/bricks/sod staples to weigh down edges, rake.
Sourcing tips: Many cities offer free wood chips from tree services. In regions like Bangladesh, use locally available materials such as rice straw, coconut coir, or dried leaves alongside cardboard. Always choose clean, untreated sources.
Safety note: Use only food-safe, plain cardboard for vegetable beds to ensure no contaminants leach into your future harvest.
Step-by-Step Guide: How to Kill Lawn with Cardboard for Future Garden Beds
This is the core actionable section. Follow these steps carefully for best results.
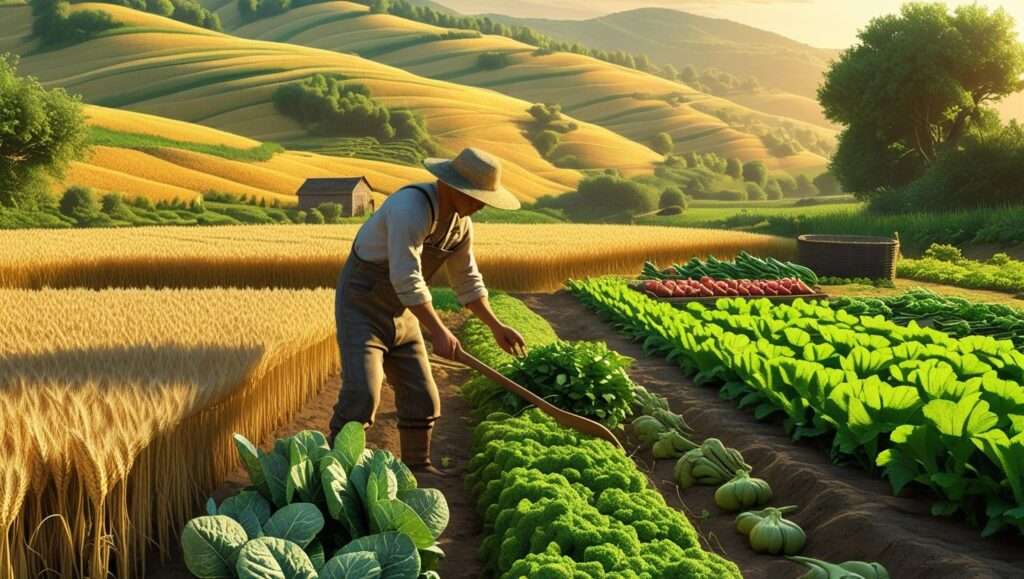
Step 1: Plan and Prepare the Area Choose the right timing. Late winter/early spring or fall works well in many climates, allowing winter rains or summer heat to aid breakdown. In tropical or monsoon areas, start before heavy rains or in drier periods when you can control moisture. Measure and mark your future beds with string or spray paint. Mow the grass as short as possible (scalping it helps). Remove large rocks, debris, or woody weeds. Optionally, water the area deeply a day or two before to jumpstart soil life.
Step 2: Optional Soil Amendment Layer For faster soil building, spread a thin 2–3 inch layer of compost or nitrogen-rich material (greens). This attracts earthworms and provides a buffer. Skip if you want simplicity, but it enhances results for nutrient-hungry vegetable beds.
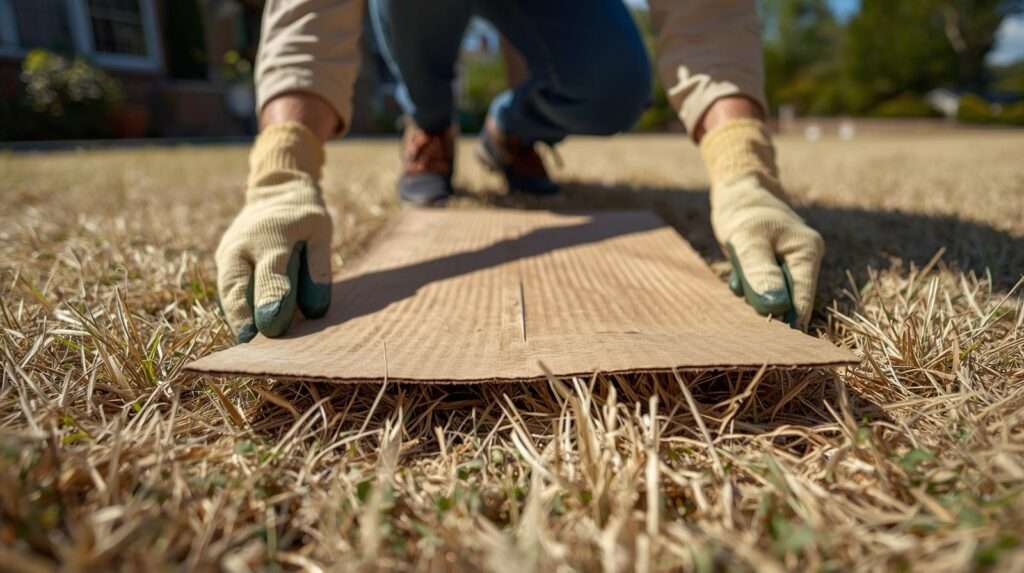
Step 3: Lay the Cardboard Barrier Flatten boxes and overlap pieces by at least 6–8 inches (more for aggressive grasses). Ensure 100% coverage — no gaps, especially at edges where grass can creep in. Use smaller pieces to fill holes. Soak the cardboard thoroughly with water until it softens and molds to the ground. This improves contact and starts decomposition. Weigh down edges with rocks or staples if windy.
Step 4: Top with Mulch Apply 4–6 inches (or more) of organic mulch evenly. Water again to settle everything. For “lasagna” style, alternate thin green and brown layers before the final mulch cap. The thick top layer prevents light from reaching any stray shoots and retains moisture.
Step 5: Maintain and Monitor Keep the area moist (not soggy) during dry spells — occasional watering helps microbes work. Check periodically for gaps or breakthroughs; patch with more cardboard and mulch. Avoid walking on it excessively at first. Over time, you’ll see grass yellow and collapse underneath.
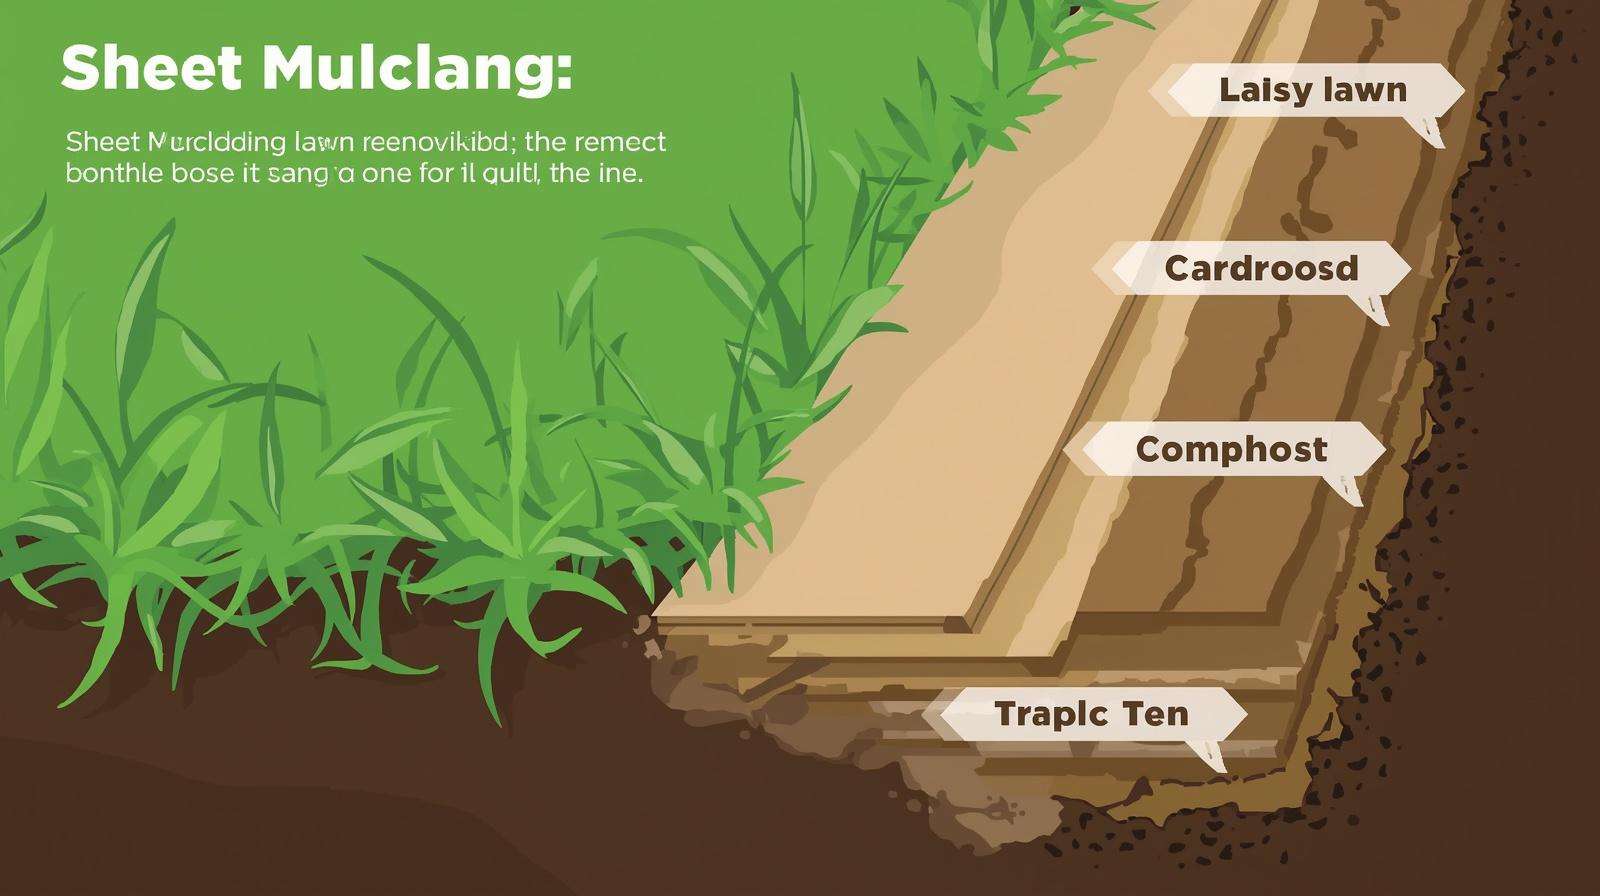
Visualize a cross-section: grass at bottom → cardboard → optional compost → thick mulch on top. This layered system smothers while composting in place.
How Long Does It Take? Timeline and Expectations
Results vary by climate, grass type, thickness, and maintenance:
- 2–4 weeks: Grass begins yellowing and weakening.
- 1–3 months: Most annual weeds and shallow-rooted grasses die; cardboard softens.
- 3–6+ months: Tougher perennial grasses are largely killed; cardboard mostly decomposes, leaving improved soil.
Warm, moist conditions speed things up; dry or cold weather slows them. In many cases, gardeners plant after 2–6 months, with best results after a full season. Factors like thick mulch and consistent moisture accelerate the process. Be patient — the reward is richer soil without the disruption of digging.
Planting in Your New Cardboard-Smothered Beds
Once grass is dead and cardboard has broken down sufficiently:
- Cut slits or X-shapes in remaining cardboard/mulch for transplants.
- Plant shallow-rooted crops first (lettuce, herbs) if planting early; deeper-rooted vegetables later.
- Add more compost around plants as needed.
- Maintain with annual top-dressing of compost and mulch for ongoing no-dig success.
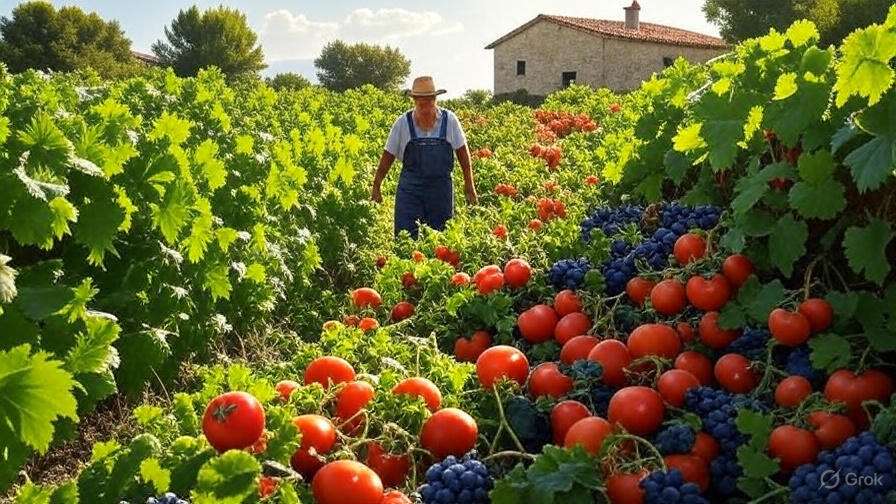
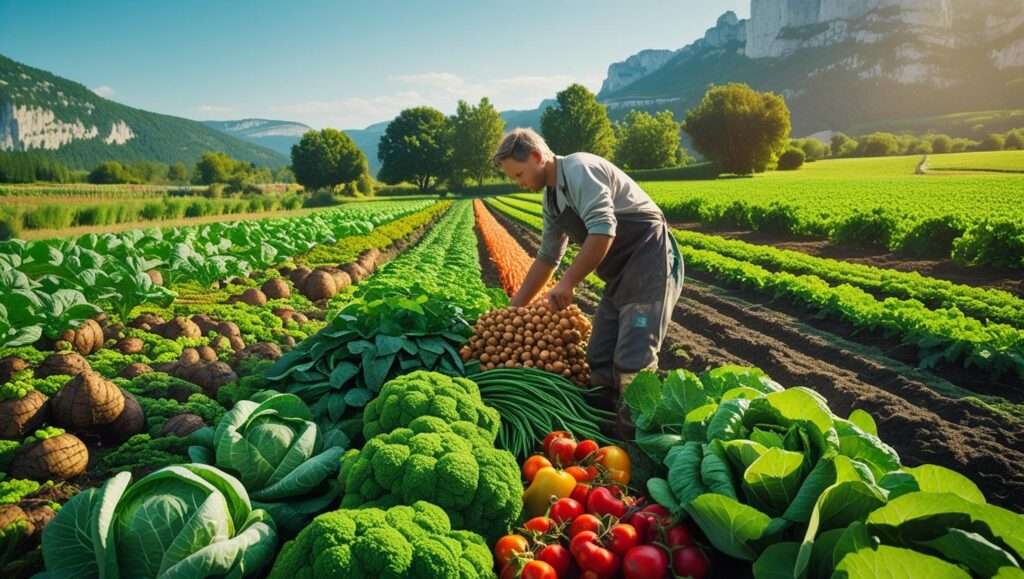
Examples: Many have successfully grown tomatoes, beans, or flowers in sheet-mulched beds within the first season, with improved yields due to better moisture retention and fewer weeds. Transitioning to full no-dig means less weeding and healthier plants long-term.
Common Mistakes to Avoid When Using Cardboard
Even experienced gardeners slip up. Here are pitfalls and fixes:
- Insufficient overlap/gaps: Grass invades from edges. Solution: Generous 8+ inch overlaps and border edging.
- Wrong cardboard: Glossy or taped types break down slowly or introduce residues. Solution: Plain corrugated only; remove all non-paper elements.
- Not watering enough: Dry cardboard repels water and slows decomposition. Solution: Soak thoroughly at application and maintain moisture.
- Layers too thick: Can create anaerobic pockets. Solution: Single layer of cardboard; build thickness with mulch instead.
- Planting too soon: New plants struggle against dying grass. Solution: Wait for visible die-off or test by pulling remaining grass easily.
- Ignoring maintenance: Mulch thins or weeds appear. Solution: Refresh mulch as needed.
Addressing these ensures higher success rates and demonstrates why proper technique matters for killing lawn with cardboard effectively.
Advanced Tips and Variations for Better Results
- Boost with compost tea or worm castings to accelerate biology.
- Combine with cover crops (e.g., clover) sown on top for extra nitrogen.
- For large areas, work in sections to manage materials.
- Regional adaptations: In humid or monsoon climates, ensure good drainage to avoid waterlogging; in arid zones, thicker mulch conserves water.
- Monitor soil health: Look for increased earthworm activity as a positive sign.
Long-term, this builds resilient gardens that require less input.
Environmental and Sustainability Benefits
Killing lawn with cardboard reduces water use (lawns are thirsty), diverts waste from landfills, sequesters carbon through decomposition, and supports biodiversity. It aligns with regenerative agriculture by minimizing disturbance and fostering living soil — key for sustainable food production and climate resilience.
Frequently Asked Questions (FAQ)
Is cardboard safe for vegetable gardens? Yes, when using plain brown corrugated cardboard with tapes and staples removed. Soy-based inks and starch glues are generally considered safe; avoid treated or glossy types.
Can I use newspaper instead? Newspaper works as a thinner alternative (stack 8–12 sheets), but cardboard is more durable against strong grasses.
What if weeds still come through? Usually due to gaps or thin mulch. Patch and add more mulch; persistent rhizomes may need extra monitoring.
How thick should the mulch layer be? At least 4–6 inches, up to 8–12 for better suppression and moisture retention.
Will this attract pests? Moist mulch can draw slugs or snails temporarily; manage with cultural practices or barriers. Termites are rare in garden settings and usually target dead wood, not healthy plants.
Can I plant immediately? Possible for some transplants with care, but waiting 2–6 months yields better results.
Best time of year? Depends on your climate — often fall or early spring for natural moisture aid.
Conclusion
Killing lawn with cardboard for future garden beds offers a simple yet powerful way to create productive, healthy growing spaces naturally. By smothering grass through sheet mulching, recycling materials, and letting biology do the heavy lifting, you’ll end up with superior soil and fewer ongoing headaches.