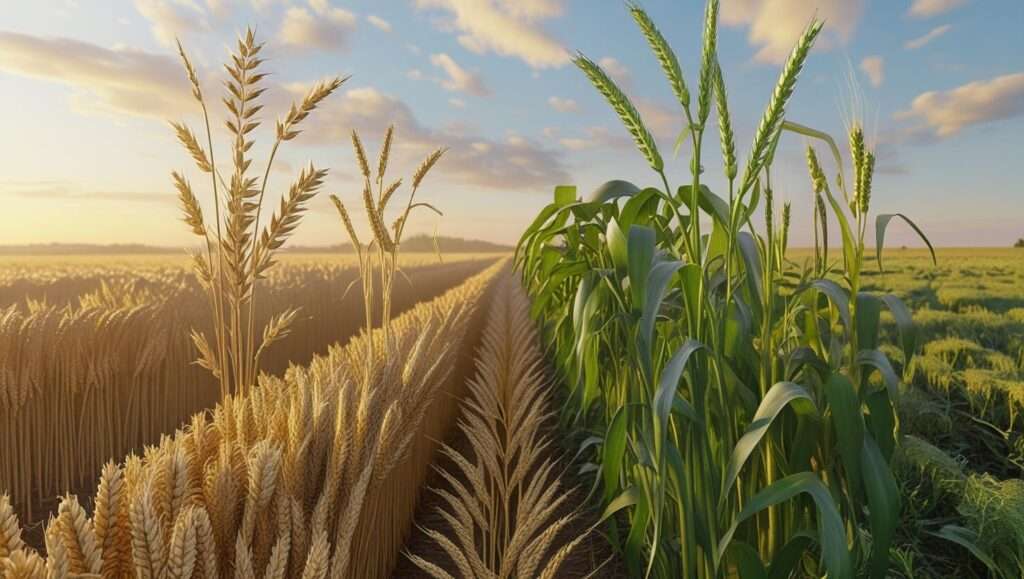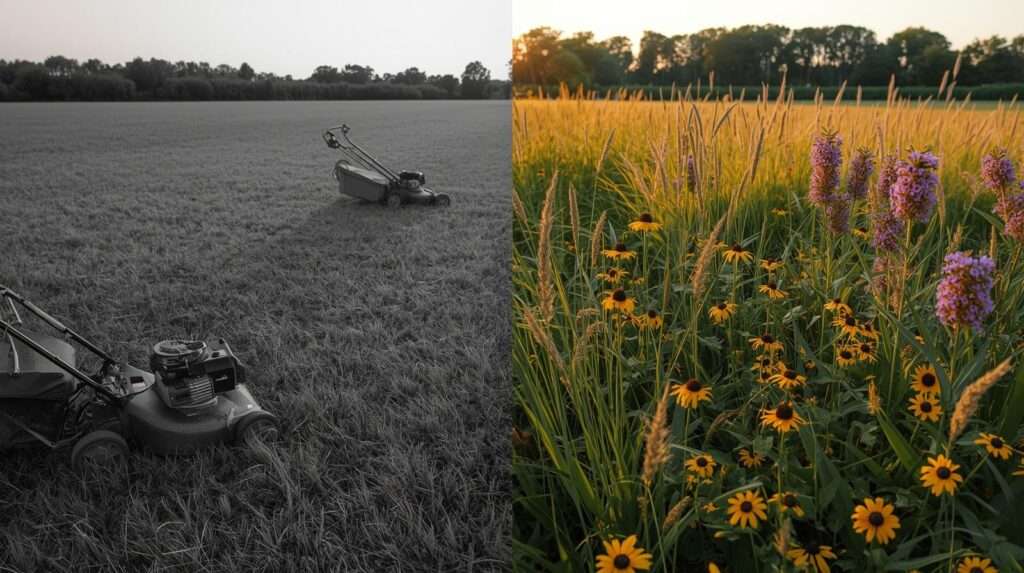
The traditional American lawn—a pristine, monochromatic carpet of non-native turfgrass—is increasingly being recognized for what it truly is: an ecological desert. Requiring billions of gallons of water annually and a cocktail of synthetic fertilizers and pesticides just to stay alive, the “perfect lawn” is a high-maintenance relic of the past. Today, forward-thinking land managers and homeowners are reclaiming their soil through Lawn-to-Prairie Transformations. By replacing shallow-rooted turf with a living tapestry of deep-rooted native perennials, we can create carbon-sequestering, drought-resistant habitats that support pollinators and require zero mowing.
However, a successful prairie restoration is not as simple as stopping the mower and tossing a handful of seeds. It requires a professional-grade strategy that focuses on thorough site preparation and the strategic use of native plugs to ensure long-term success. As an expert in ecological restoration, I have guided many through this process, and I can tell you that the foundation you build during the “turf removal” phase will dictate whether your prairie thrives or becomes a field of stubborn weeds.
1. Assessing Your Site: The Pre-Transformation Audit
Before you break ground, you must understand the unique characteristics of your land. A “shotgun” approach rarely works in restoration; instead, we must align our plant selection with the ecoregion and the specific microclimate of your yard.
Soil Testing for Native Success While native plants are famously hardy, they are not invincible. A standard N-P-K soil test is helpful, but for Lawn-to-Prairie Transformations, you also need to evaluate soil structure and drainage. Is your soil heavy clay that holds water, or is it sandy and fast-draining? Native prairie plants have evolved over millennia to thrive in specific conditions; for example, Liatris pycnostachya (Prairie Blazing Star) loves “wet feet,” while Asclepias tuberosa (Butterfly Weed) will rot in standing water.
Sun Mapping True prairie is an open, sun-drenched ecosystem. To qualify for a full prairie transformation, your site should receive at least six hours of direct sunlight. If your yard is shaded by large oaks or maples, you are likely looking at a savanna or woodland transition, which requires a completely different palette of sedges and shade-tolerant forbs.
Identifying the “Enemy”: The Weed Seed Bank Your current lawn is likely hiding a “seed bank” of aggressive perennials. Before you begin, identify invaders like Bermuda grass, Quackgrass, or Canada Thistle. These species are rhizomatous, meaning they spread through underground runners. If you don’t eradicate these during the site preparation phase, they will eventually choke out your expensive native plugs.
2. Professional Turf Removal: The Foundation of Success
The most common cause of failure in prairie restoration is “turf resurgence.” If you simply plant into a dying lawn, the grass will eventually win. Professional land managers typically use one of three primary methods to clear the slate.
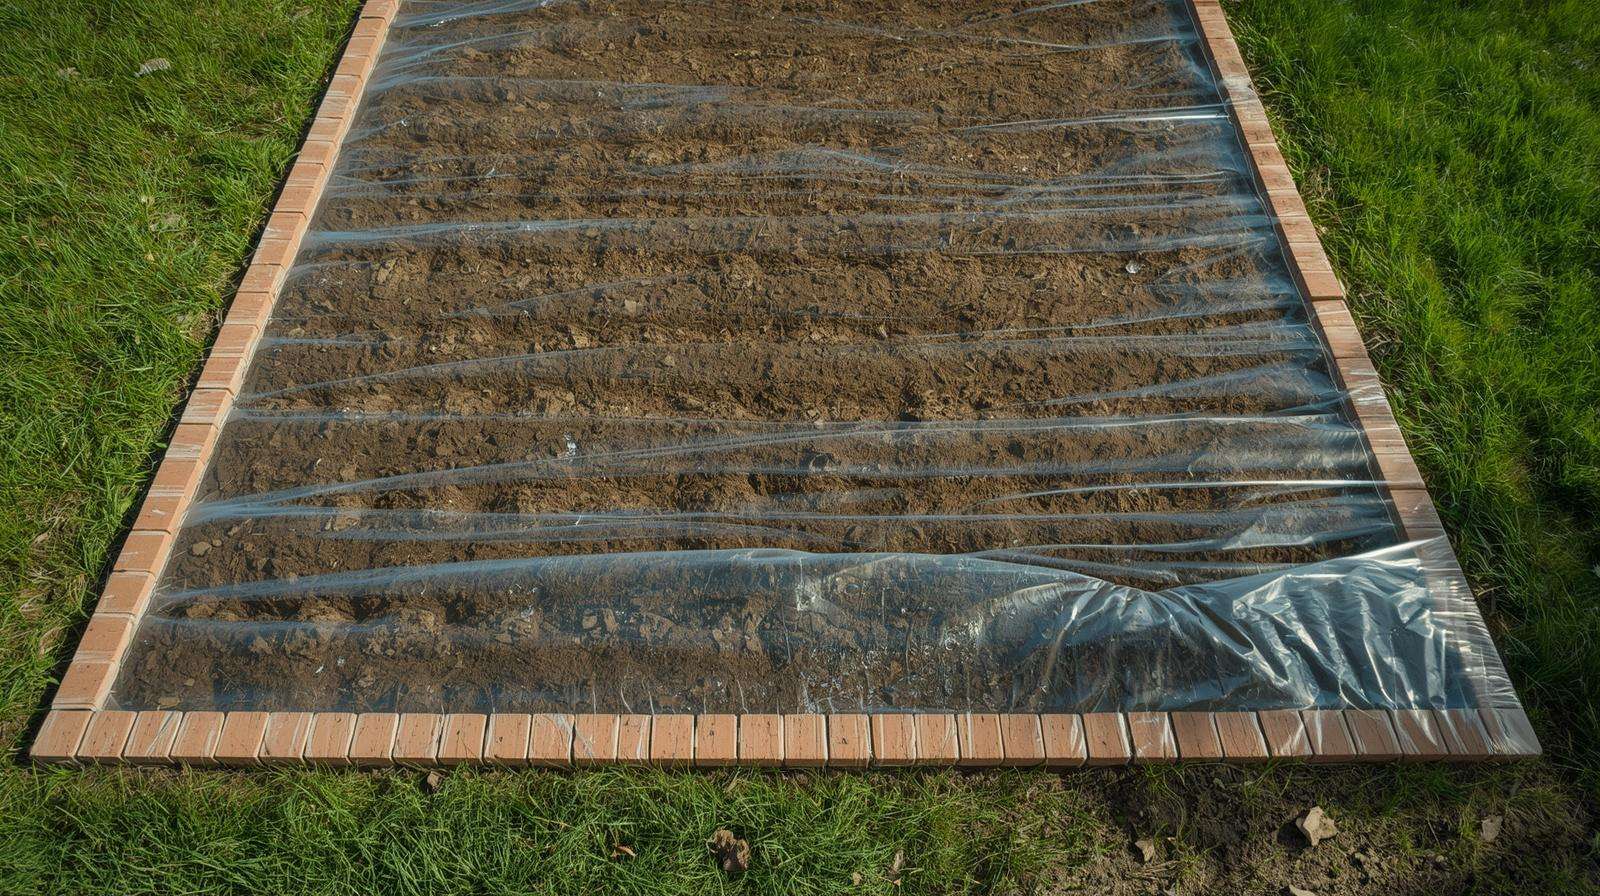
The Solarization Method Solarization is a chemical-free way to “cook” the lawn and the weed seeds in the top two inches of soil.
-
The Process: You scalp the lawn as short as possible, soak the ground with water, and cover it with clear (not black) UV-stabilized plastic.
-
The Timeline: This requires 6–8 weeks of intense summer heat.
-
The Verdict: Highly effective for non-rhizomatous grasses, but it requires patience and peak summer temperatures.
Sheet Mulching (The “Lasagna” Method) If you prefer to build soil health while removing turf, sheet mulching is an excellent choice.
-
The Process: Layer cardboard or several sheets of newspaper over the lawn, then cover with 4–6 inches of arborist wood chips or compost.
-
The Benefit: The cardboard smothers the grass while the wood chips break down, feeding the soil microbiome.
-
The Warning: This method can take 6 months to a year to fully decompose. Do not use “colored” mulch; stick to natural arborist chips.
Mechanical Sod Removal For those who want an “instant” transformation, a mechanical sod cutter is the go-to tool.
-
The Pro: It removes the grass and its immediate root system in one day.
-
The Con: It removes the most fertile top layer of your soil and can be backbreaking work. You must be prepared to replace that organic matter with compost or biochar before planting your native plugs.
3. Why Native Plugs Outperform Seed Every Time
While seed mixes are cheaper per square foot, I consistently recommend native plugs for residential-scale transformations. A “plug” is a young plant with an established root system, usually grown in a deep cell tray.
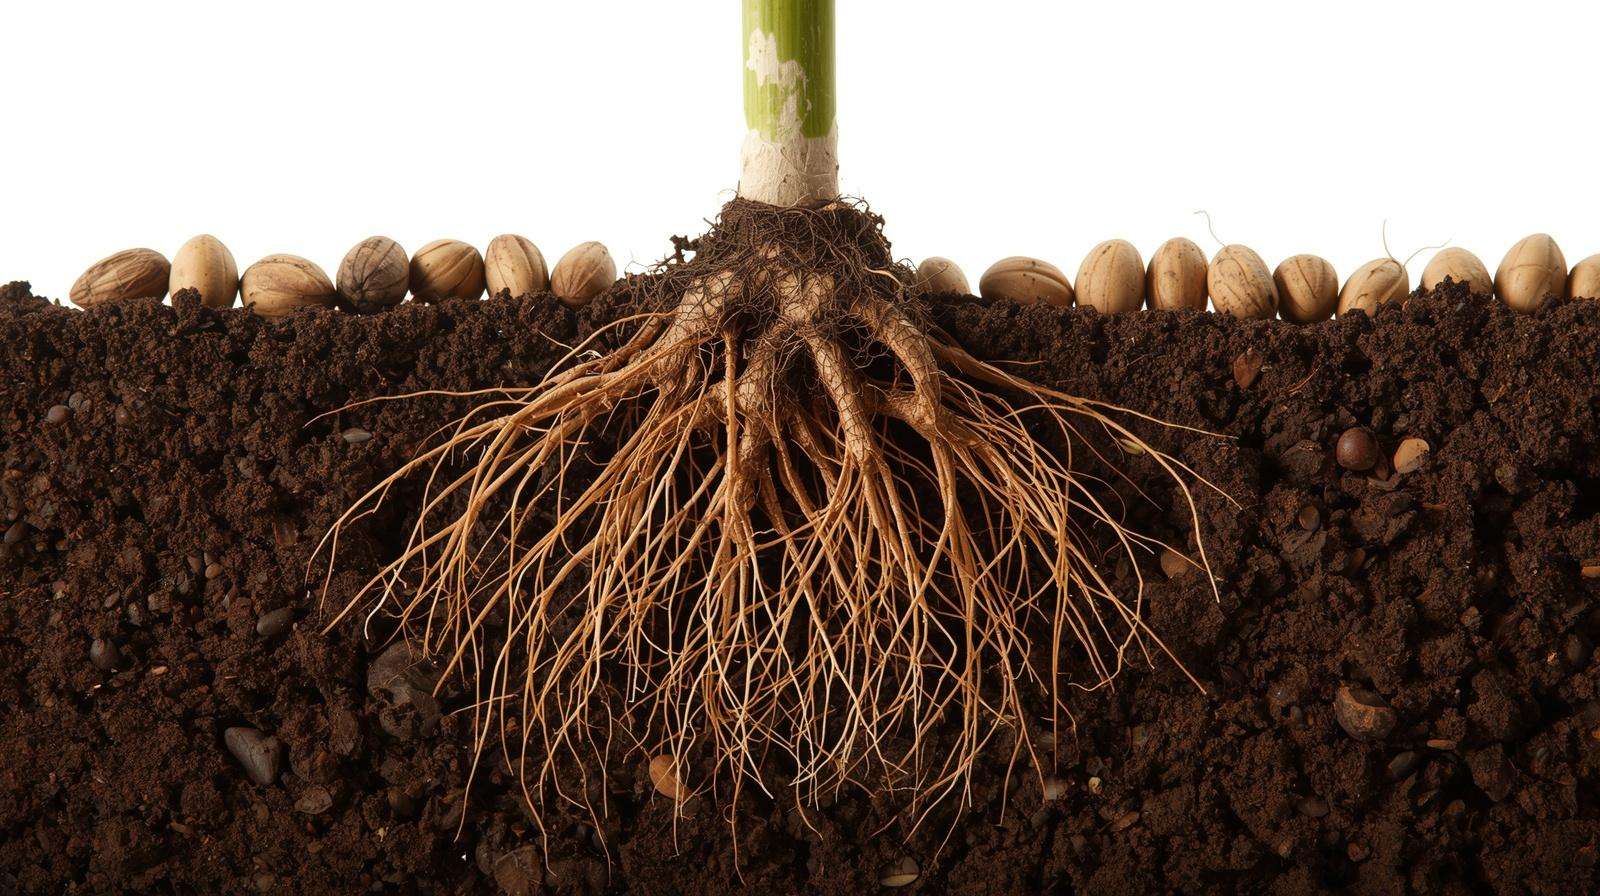
The “Head Start” Advantage Native seeds can be temperamental. Some require “stratification” (a period of cold) to germinate, and others may sit dormant for years. Plugs, however, have a 90% or higher survival rate. You are essentially bypassing the most vulnerable stage of the plant’s life.
Instant Weed Competition In a prairie, space is at a premium. When you plant established plugs 12 inches apart, they begin to “close the canopy” within the first growing season. This creates shade at the soil level, which prevents sunlight from reaching dormant weed seeds. A seeded prairie often looks like a weed patch for the first three years, whereas a plugged prairie looks like a designed garden almost immediately.
Predictable Design and E-E-A-T Using plugs allows you to use “visual psychology” in your landscape. You can plant in drifts of color—massing Monarda (Bee Balm) together for a dramatic purple punch—rather than the random, often chaotic distribution that comes from broadcasting seed. This “intentionality” is often what prevents HOA complaints; it looks like a curated garden rather than an unkempt field.
4. The Planting Protocol: Engineering a Prairie
Once your turf is removed and your plugs have arrived, the “engineering” phase begins.
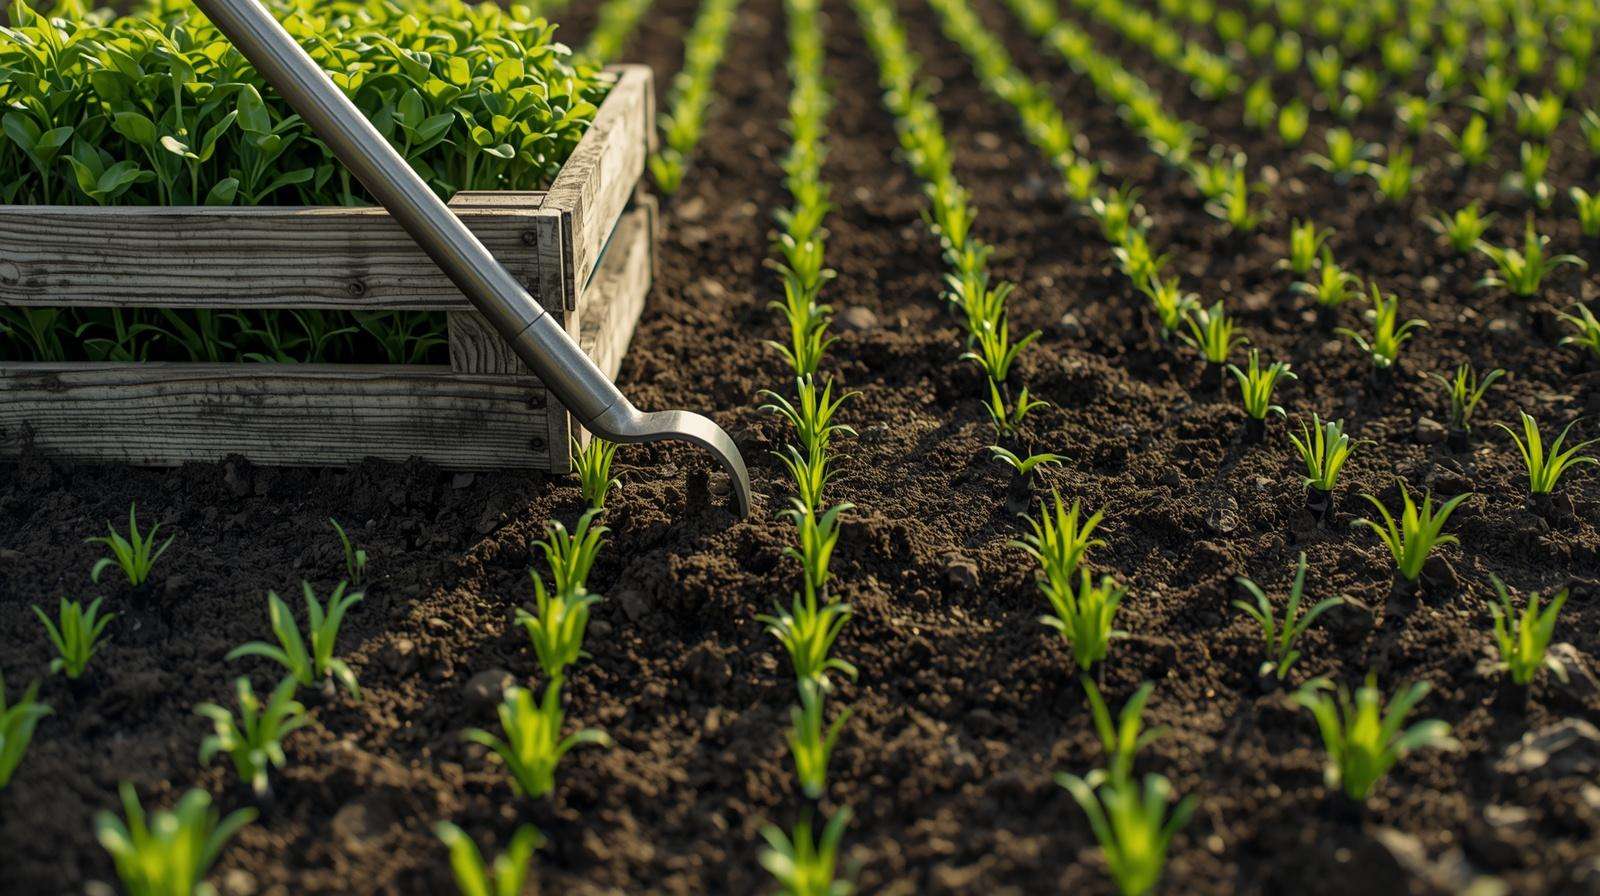
The “Green Mulch” Strategy Traditional landscaping relies on wood mulch to keep weeds down. In a professional prairie transformation, we use the plants themselves as mulch. We plant approximately 1 plug per square foot. As these plants grow, their foliage overlaps, creating a living mulch that retains moisture and suppresses weeds naturally.
Root-to-Soil Contact When planting plugs, the most common mistake is leaving air pockets. Use a “dibble bar” or a specialized auger to create a hole exactly the size of the plug. Press down firmly on the surrounding soil to ensure the roots are in direct contact with the earth. This is critical for the “capillary action” that draws water to the roots.
The Mycorrhizal Connection Native prairie plants rely on a symbiotic relationship with soil fungi. If your lawn has been treated with fungicides or high-nitrogen fertilizers for years, these fungi are likely dead. Adding a handful of mycorrhizal inoculant to each planting hole can significantly accelerate the growth and stress-resistance of your new prairie.
5. Fencing and Protection: Guarding Your Investment
One of the most overlooked aspects of Lawn-to-Prairie Transformations is the initial vulnerability of native plugs. While these plants are hardy once established, their tender young shoots are like a “salad bar” for local wildlife.
The Deer and Rabbit Dilemma Native does not mean “deer-proof.” Species like Echinacea (Coneflower) and Ratibida (Grey-headed Coneflower) are highly palatable to rabbits and deer, especially in the early spring. If your plugs are grazed to the ground in their first month, they may not have enough stored energy in their root systems to recover.
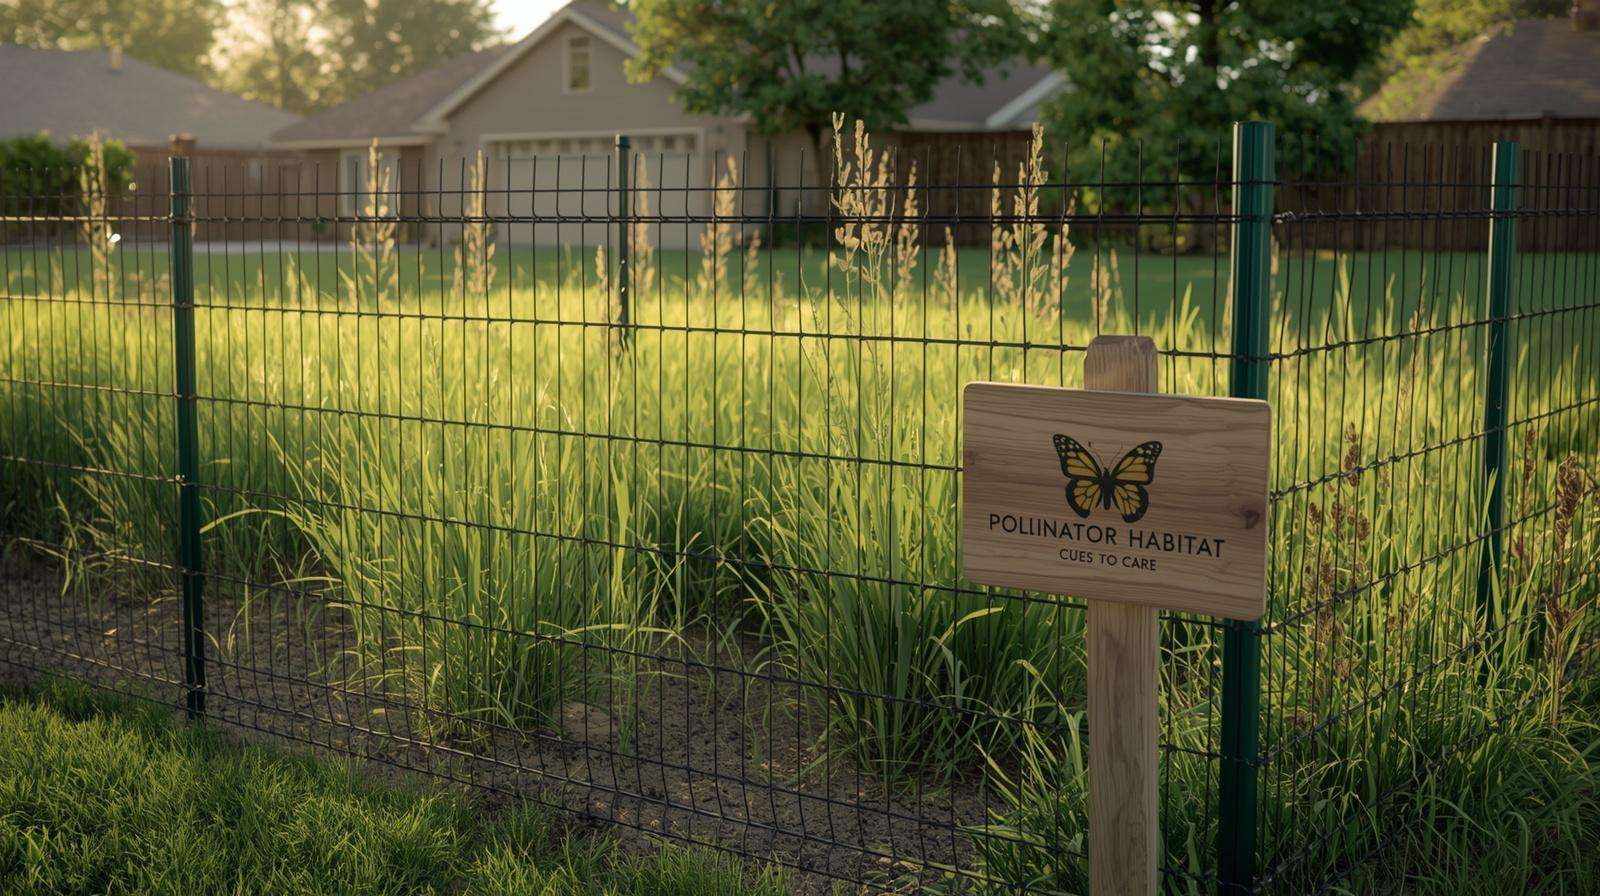
Temporary Exclusion Fencing For a large-scale transformation, I recommend temporary exclusion fencing for the first two growing seasons.
-
The Hardware: Use 5-foot T-posts and lightweight welded wire or plastic “deer fencing.”
-
The Goal: You aren’t building a permanent fortress; you are creating a “nursery zone” that allows the plants to reach a height where they can survive occasional browsing. Once the plants are 2-3 feet tall, the fence can typically be removed.
Individual Plant Protectors If a full fence isn’t aesthetically pleasing or feasible, use individual wire cages for “high-value” or slow-growing species. Small cylinders of chicken wire secured with a landscape staple can save a $5 plug from a 50-cent rabbit.
6. Managing the “Ugly Phase”: Maintenance in Years 1–3
Professional restorationists use a rhythmic phrase to describe the timeline of a prairie: “The first year they sleep, the second year they creep, and the third year they leap.”
Year 1: The Root Focus During the first year, your prairie will not look like a wildflower meadow. The plants are pouring 80% of their energy into building deep taproots (some reaching 15 feet deep!).
-
The Task: Mowing high. Set your mower to its highest setting (6 inches) and mow the area every time the weeds reach 10-12 inches. This prevents annual weeds from going to seed while allowing the shorter native plugs to remain untouched.
Year 2: The Filling In The plugs will begin to spread. You will see more “creeping” growth as the canopy begins to close.
-
The Task: Spot-weeding. Carry a hula-hoe or a small hand trowel to remove stubborn perennials that survived the turf removal phase. Do not till the soil, as this will only bring more dormant weed seeds to the surface.
Year 3: The Leap This is the payoff. The native plants will explode in size and bloom. By this stage, the “Green Mulch” effect is in full force, and maintenance drops significantly.
7. Regional Prairie Blueprints
A successful transformation depends on matching your plug selection to your specific ecoregion. A prairie in Illinois looks vastly different from one in Kansas or Texas.
The Tallgrass Prairie (Midwest/Central) Characterized by high rainfall and deep black soil.
-
Key Grasses: Big Bluestem (Andropogon gerardi), Indiangrass (Sorghastrum nutans).
-
Key Forbs: Compass Plant, Prairie Dock, and various Silphiums.
The Shortgrass Prairie (Great Plains/West) Designed for arid climates and thin soils.
-
Key Grasses: Blue Grama (Bouteloua gracilis), Buffalo Grass (Bouteloua dactyloides).
-
Key Forbs: Blanket Flower (Gaillardia), Prairie Smoke, and Western Yarrow.
The Coastal/Southern Prairie (Southeast) Designed for heat and humidity.
-
Key Grasses: Pink Muhly Grass (Muhlenbergia capillaris), Little Bluestem.
-
Key Forbs: Spotted Bee Balm, Rattlesnake Master, and Ironweed.
8. Advanced Strategy: Incorporating Ephemeral Blooms
One critique of native prairies is that they can look “brown” in the early spring. To solve this, professional designs incorporate “spring ephemerals” and early-season sedges. By interplanting native bulbs like Camassia (Camas Lily) or early-season sedges like Carex pennsylvanica, you provide visual interest and pollinator forage in April and May, long before the tall summer grasses take over the stage.
9. Frequently Asked Questions (FAQ)
How much does a lawn-to-prairie transformation cost? Using the plug method, costs typically range from $1.50 to $3.00 per square foot, depending on the density of planting and the size of the plugs. While higher than seed, the reduction in labor for weeding and replanting often makes it the more economical choice over a 5-year period.
Will a prairie increase ticks in my yard? Actually, diverse prairies often harbor more “beneficial” predators like spiders, ground beetles, and birds that keep tick populations in check. Furthermore, since you aren’t walking through the prairie like you would a lawn, your direct contact with tick habitats is often reduced.
How do I handle HOA or city weed ordinances? The key is “Cues to Care.” Use a mowed “frame” (a 3-foot strip of turf or gravel) around the edge of your prairie. Add a professional-looking sign that says “Native Pollinator Habitat.” When a landscape looks intentional and “framed,” it is rarely classified as a “weed patch” by municipal inspectors.
10. Conclusion: Your Legacy in the Landscape
Lawn-to-Prairie Transformations represent a shift in how we view our relationship with the land. We are moving from being “conquerors” of the lawn to “stewards” of an ecosystem. By following professional turf removal protocols, choosing high-quality native plugs, and protecting your investment from wildlife during the early stages, you are creating a landscape that is as resilient as it is beautiful.
Your new prairie will be a carbon sink, a water filter, and a sanctuary for the bees and butterflies that have been displaced by suburban sprawl. Start small if you must, but start with the right foundation. The future of the American landscape isn’t green and mowed—it’s wild, vibrant, and alive.