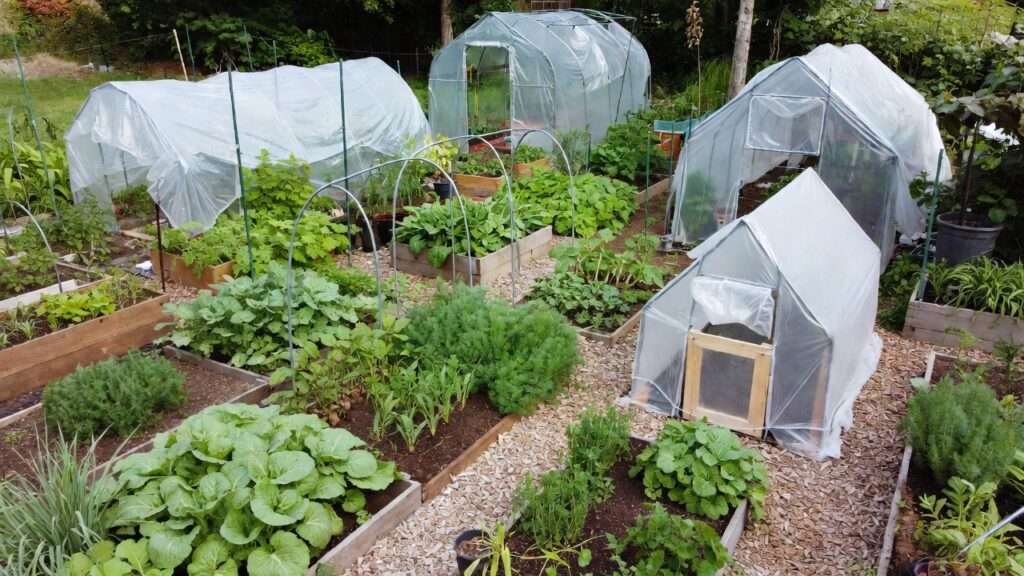
Imagine transforming your small backyard or patio into a thriving, year-round growing space—starting tender seedlings weeks earlier, protecting delicate crops from heavy rains or unexpected chills, and building soil fertility through protected composting—all while staying well under $500. For many aspiring permaculture enthusiasts in regions, where monsoons, humidity, and variable temperatures challenge open-air gardening, this dream often feels out of reach due to steep prices of traditional greenhouses. But the good news is that budget greenhouses under $500 for beginners are not only possible—they’re practical, effective, and increasingly popular among sustainable gardeners worldwide.
As an agricultural expert with years of hands-on experience in permaculture design, tropical/subtropical farming, and low-input systems, I’ve guided countless beginners through starting small-scale regenerative gardens. I’ve evaluated dozens of affordable greenhouse options based on real-user feedback from gardening communities, durability in humid climates, ease of setup, and alignment with core permaculture principles like observing patterns, using minimal external resources, integrating rather than segregating, and catching and storing energy (such as sunlight and rainwater). This in-depth guide goes beyond basic lists—offering comprehensive reviews, step-by-step DIY builds, maintenance strategies, and permaculture integrations—to help you confidently launch your journey without overspending or compromising on sustainability.

Whether you’re in a urban plot, rural homestead, or balcony setup, these budget greenhouses under $500 for beginners provide the controlled microclimate needed to experiment with polycultures, seed saving, and closed-loop systems. Let’s dive into why this investment pays off and how to choose (or build) the right one.
Why a Greenhouse Fits Perfectly into Permaculture
A greenhouse isn’t just a plant shelter—it’s a powerful tool for applying permaculture ethics and principles from day one. In permaculture, we emphasize creating resilient, self-sustaining systems. A low-cost greenhouse extends your growing season dramatically, allowing you to:
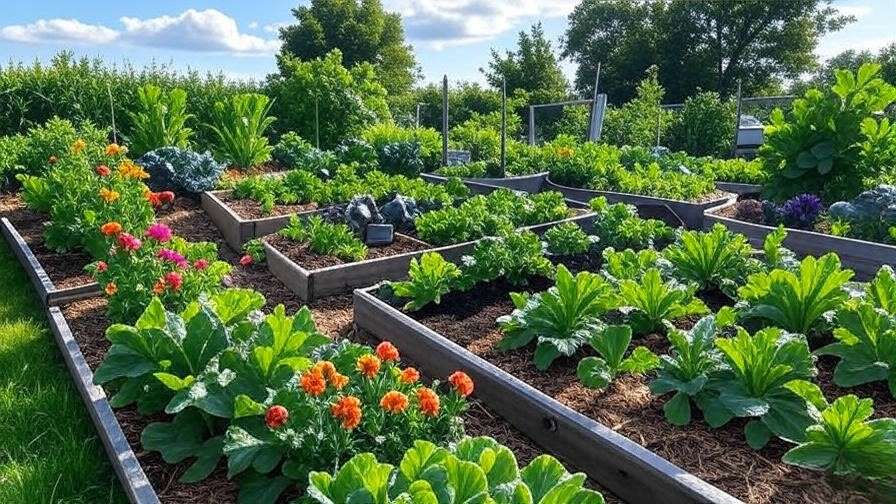
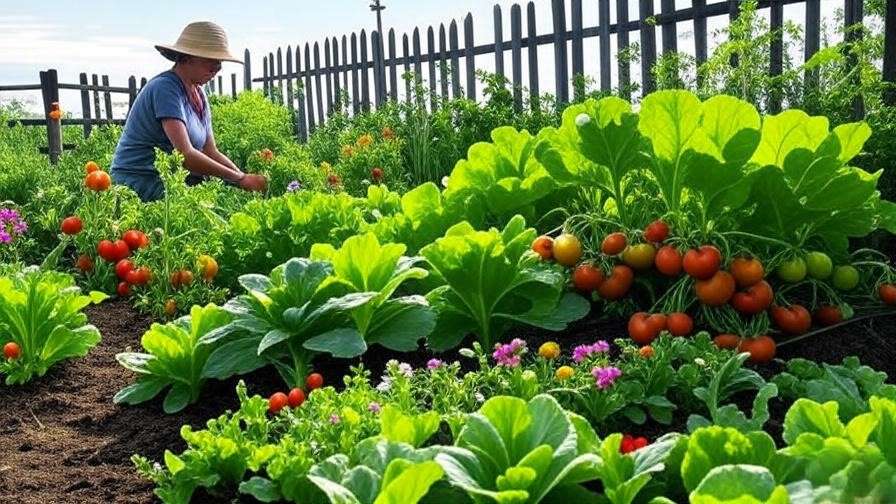
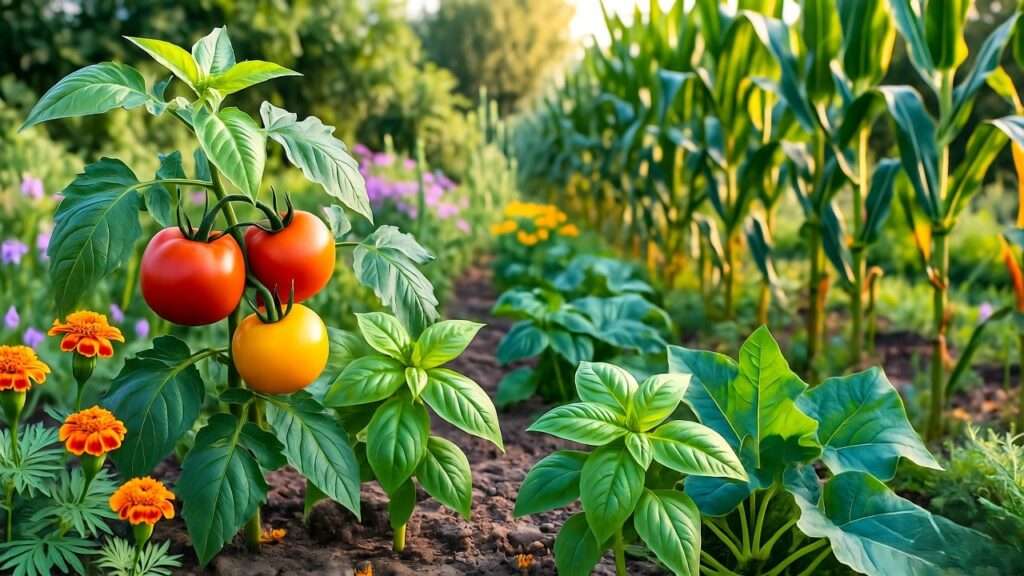
- Boost biodiversity and succession planting — Start diverse guilds (e.g., tomatoes with basil and marigolds) indoors, then transplant for continuous harvests.
- Build healthy soil faster — Use protected space for vermicomposting, sheet mulching, or no-dig beds without weather interference.
- Conserve resources — Reduce water loss through lower evaporation, harvest rainwater from the roof (a simple gutter addition), and minimize synthetic inputs by fostering beneficial insects and microbes.
- Observe and interact thoughtfully — The enclosed environment lets beginners closely monitor plant responses, soil moisture, and microclimate patterns—key to permaculture’s “observe and interact” principle.
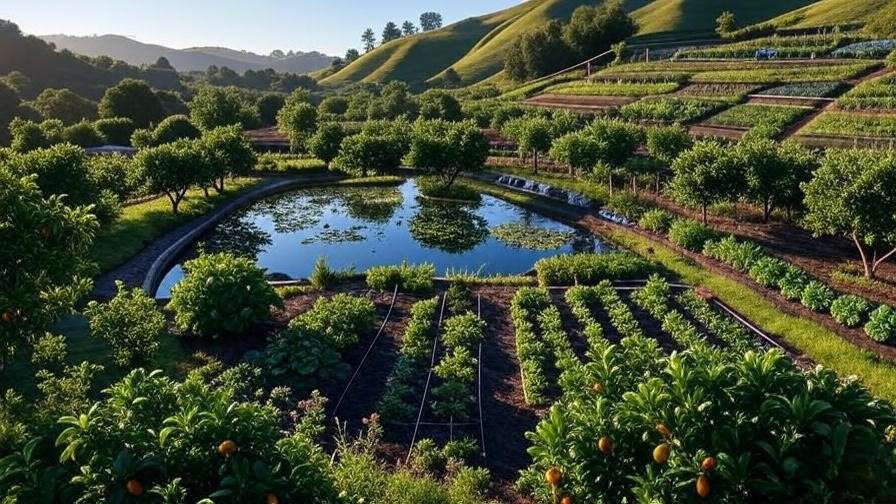
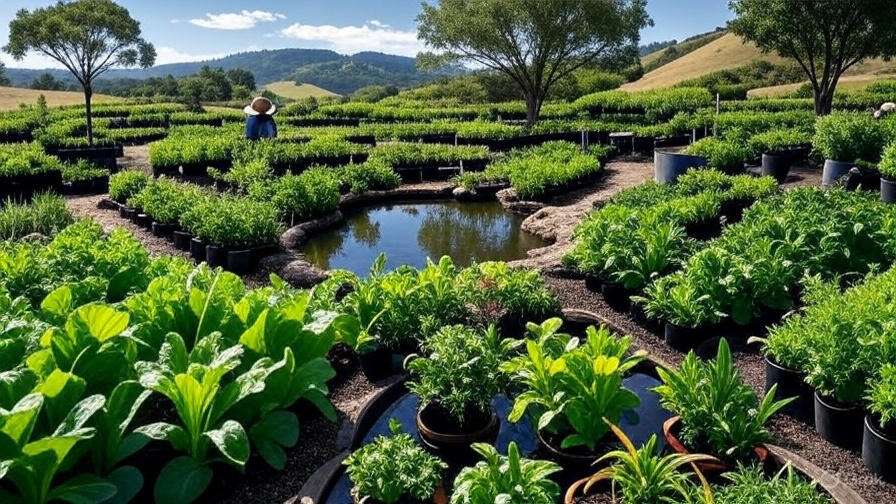
In climates with heavy wet seasons or occasional cold snaps, a greenhouse acts as a “Zone 1” intensive area for high-value crops like herbs, greens, and nursery plants for food forests. Beginners often underestimate how much a modest structure accelerates learning and abundance. Real gardeners report doubling or tripling seedling success rates and extending harvests by 2–4 months annually, all while staying true to regenerative practices.
Key Factors to Consider When Choosing a Budget Greenhouse Under $500
Selecting the right option requires balancing your space, climate, and goals. Here’s what matters most for beginners:
- Size and Portability — Start small: 4×6 ft or 6×8 ft walk-ins suit most backyards; mini tiered units (3–4 shelves) work for balconies. Portable pop-ups are ideal for renters or seasonal use.
- Materials and Durability — Polyethylene film is cheapest but lasts 1–3 seasons; polycarbonate panels offer better insulation and longevity (5+ years with UV protection). Frames: PVC for lightweight affordability, powder-coated steel or aluminum for wind resistance.
- Essential Features — Roll-up sides or vents for humidity control (critical in humid areas to prevent mold); sturdy anchoring (stakes or weights); doors for easy access; shelves for vertical growing.
- Permaculture Alignment — Look for designs allowing natural ventilation, space for water barrels (thermal mass), or easy integration with swales/compost. Avoid fully sealed units—good airflow mimics natural ecosystems.
- Hidden Costs — Factor in anchors (~$20–50), shelving, or reinforcements. Aim to stay under $500 total.
Pros/Cons Quick Comparison Table:
| Factor | Budget Poly Film Kits | Polycarbonate Panels | DIY Hoop Houses |
|---|---|---|---|
| Cost Range | $50–$250 | $150–$450 | $100–$400 |
| Durability | 1–3 years | 5–10 years | 3–7 years |
| Insulation | Low | Medium-High | Variable |
| Ease of Setup | Easy | Moderate | Moderate-Hard |
| Wind Resistance | Low-Moderate | High | High (with anchors) |
Prioritize ventilation and anchoring in windy or rainy zones.
Top Recommended Commercial Budget Greenhouses Under $500
Based on 2025–2026 reviews from sites like The Spruce, Better Homes & Gardens, Amazon user feedback, and gardening forums, here are standout options praised for value, beginner-friendliness, and real-world performance:
- SPECILITE Walk-in Greenhouse (~$100–$150) Best ultra-budget walk-in. 57″x57″x77″ size offers ample headroom for standing work. PE cover with roll-up doors, steel frame. Great for seed starting and herbs. Users love quick setup (under 1 hour) and portability. Permaculture fit: Excellent for starting polyculture trays. Drawback: Cover may need replacement after 2 seasons in harsh sun/rain.
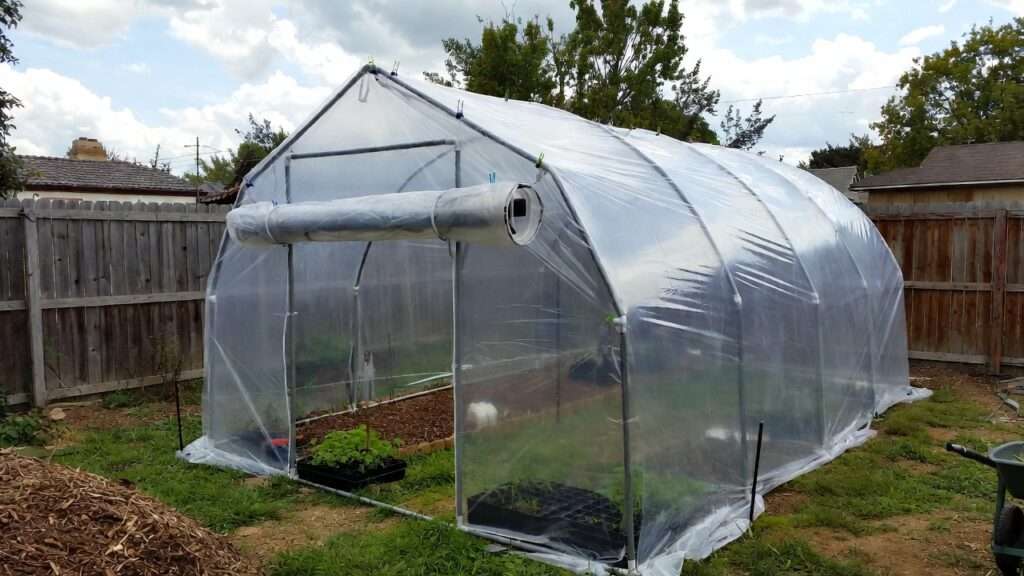
- Eagle Peak Portable Walk-in Greenhouse (~$150–$210) Top-rated for beginners. Pop-up design with reinforced PE cover, vents, and shelves. 10×20 ft high-tunnel styles available under $300 on sale. Strong in wind with proper staking. Gardeners report reliable frost protection and easy mods like adding thermal mass. Ideal for extending seasons in variable climates.
- Ohuhu Walk-in or 4-Tier Mini Greenhouse (~$70–$150) Versatile mini options for small spaces. 4-tier shelf units perfect for seedlings; walk-ins for more crops. Reinforced PE, zip doors, sturdy shelves. Highly recommended for absolute beginners due to foldable storage and low cost. Great permaculture starter for vertical herb guilds.
- Home-Complete or Quictent 4-Tier Mini (~$30–$60) Ultra-affordable entry point. Tiered shelves for maximizing space in apartments. UV-protected covers, easy assembly. Perfect for seed starting before transplanting to outdoor beds.
- Harbor Freight High-Tunnel Kits (often $300–$500 on sale) 10×20 ft walk-in with PE cover and roll-up sides. Frequently praised on Reddit for lasting multiple seasons with reinforcements. Excellent value for larger plots—space for compost integration and diverse plantings.
These selections draw from aggregated reviews emphasizing longevity beyond 1–2 years, ease for novices, and practical performance in real gardens.
Setting Up and Maintaining Your Budget Greenhouse for Permaculture Success
Once your greenhouse—whether a commercial kit or DIY build—is in place, proper setup and ongoing care determine whether it becomes a thriving permaculture hub or a frustrating expense. The goal is to create a low-maintenance, regenerative microclimate that supports plant health, soil life, and natural cycles with minimal external inputs.
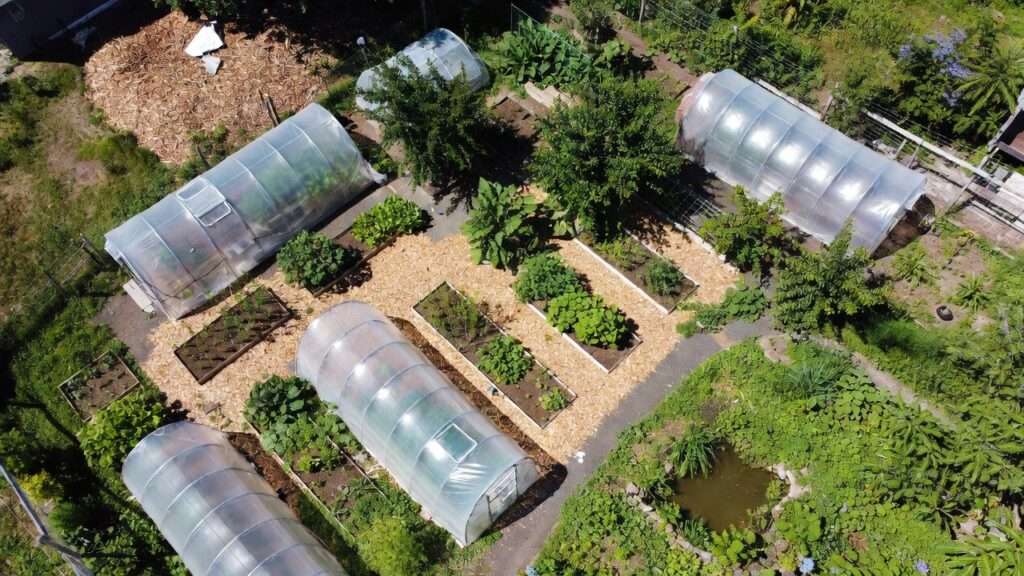
Site Selection and Preparation Choose a south- or southeast-facing spot with at least 6–8 hours of direct sunlight daily. Avoid low-lying areas prone to waterlogging—elevate the base slightly or dig shallow drainage swales around the perimeter to direct rainwater away. Clear weeds and level the ground; a slight slope helps drainage. In windy locations, position near a natural windbreak (hedge, fence, or existing structure) or add temporary burlap screens during storms.
Foundation and Anchoring Never skip this step. For kits: Use included stakes plus extra concrete anchors or screw-in earth anchors (~$20–$40 for a set). For DIY hoop houses: Drive 2–3 ft rebar or T-posts every 4 ft and secure hoops tightly. In monsoon-heavy regions, bury the poly film edges in a 6–12 inch trench or weigh them with bricks/sandbags. A solid base prevents the entire structure from becoming airborne during gusts.
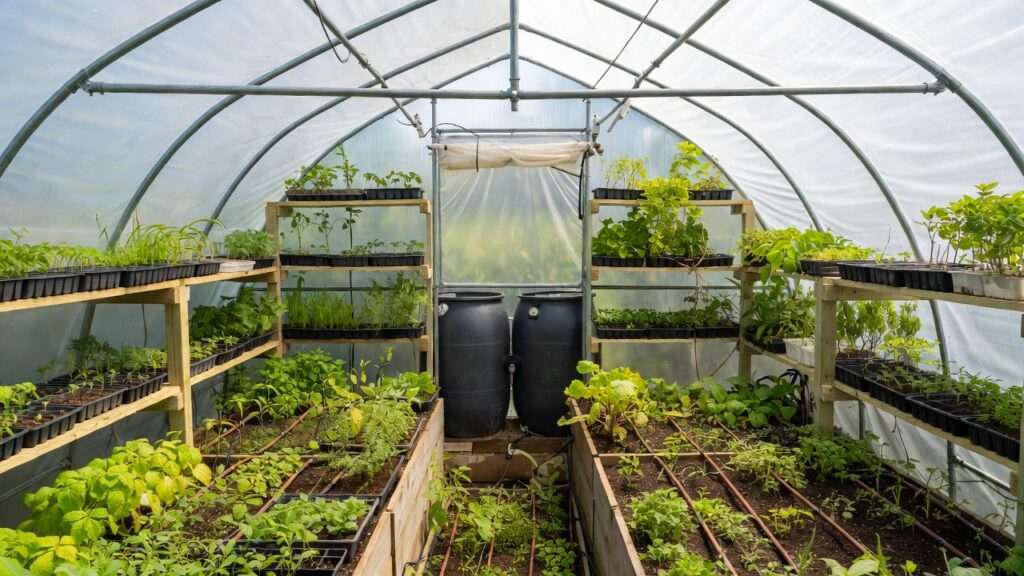
Interior Layout for Permaculture Efficiency
- Install sturdy, adjustable shelving (bamboo poles or recycled wood) for vertical growing—maximize space for seed trays, potted perennials, and micro-greens.
- Create wide paths (at least 2 ft) for easy movement and wheelbarrow access.
- Add simple raised beds or no-dig zones directly on the ground inside for succession planting.
- Place 50–200 liter black or dark-colored water barrels along the north wall—they absorb daytime heat and release it at night (passive solar heating), plus double as rainwater storage if you add a gutter.
- Install a basic drip irrigation system using a gravity-fed barrel or low-cost soaker hoses—conserves water and reduces labor.
Seasonal Management and Permaculture Practices
- Ventilation: Open roll-up sides or vents daily when temperatures exceed 30–32°C to prevent overheating and fungal issues (common in humid climates).
- Humidity & Airflow: Use small battery fans if needed during still, wet periods to mimic natural breezes and discourage mold.
- Planting Strategy: Start with easy, high-value crops—leafy greens (spinach, lettuce, malabar spinach), herbs (basil, coriander, mint), tomatoes, peppers, and cucurbits for early starts. Incorporate companion planting and polycultures right away. Use the space as a nursery for food forest trees and shrubs.
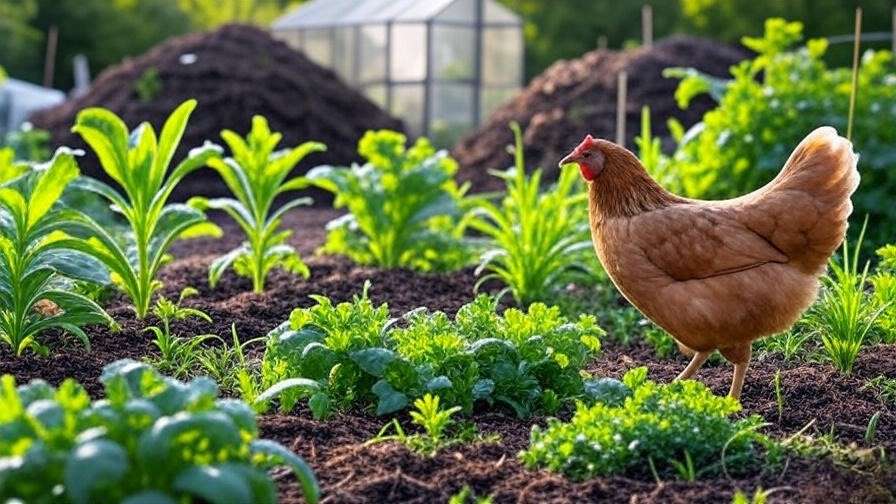
- Soil & Fertility: Begin with no-dig beds layered with compost, cardboard, and mulch. Add worm bins or bokashi systems inside for year-round vermicompost production.
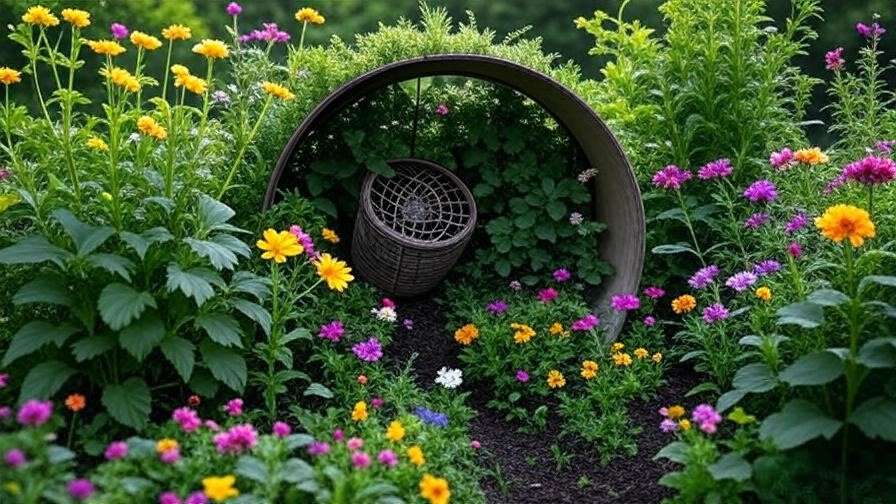
- Pest & Disease: Encourage beneficial insects by planting flowers (marigolds, nasturtiums) along edges. Monitor closely—early intervention with neem oil or manual removal keeps problems minimal.
Common Beginner Mistakes to Avoid
- Overcrowding plants → poor airflow and disease spread.
- Insufficient ventilation → mold/fungal outbreaks.
- Poor anchoring → collapse during storms.
- Ignoring thermal mass → large temperature swings stressing plants.
With these practices, many beginners report turning a $200–$400 investment into 3–7+ years of productive, low-input growing.
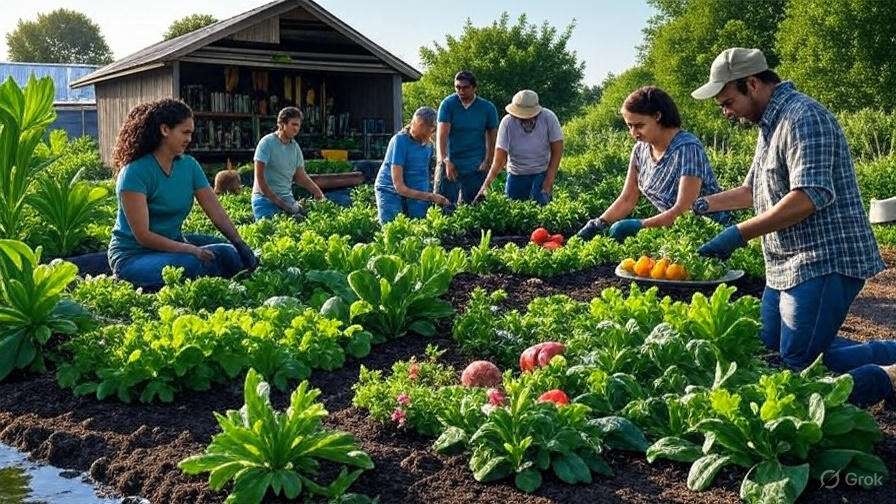
Expert Tips and Real-World Insights from US and Global Gardeners
Across gardening forums (Reddit’s r/Permaculture, r/greenhouses, r/homestead), YouTube channels, and permaculture design groups, consistent themes emerge for budget greenhouses under $500 for beginners:
- “Anchor everything twice as much as you think you need—especially in monsoon zones.” (Common advice from Southeast Asian and southern US gardeners.)
- “Add shade cloth (30–50%) over the top during peak summer to drop internal temps 5–10°C without losing light.”
- “Water barrels are game-changers—free heat storage and emergency irrigation.”
- “Start with one 4×6 ft or mini unit to learn before scaling—mistakes are cheaper small.”
- “DIY beats most $200 kits for longevity if you use 6-mil+ film and good anchors.” (Echoed by dozens of homesteaders who rebuilt after first cheap kits failed.)
Global permaculture practitioners emphasize treating the greenhouse as an observation lab: record temperatures, humidity, and plant responses weekly to refine your system.
Frequently Asked Questions (FAQs)
Are budget greenhouses under $500 for beginners worth it? Yes—especially for extending seasons, protecting seedlings, and starting permaculture experiments. Most users recoup costs in 1–2 years through saved seedlings, earlier/longer harvests, and reduced plant losses.
How long do cheap greenhouse covers last? Polyethylene film: 1–3 years with UV protection and good care. Polycarbonate panels: 5–10+ years. Replace film proactively before monsoon damage worsens.
Can I heat a $500 greenhouse in winter without electricity? Yes—use passive solar: black water barrels, compost piles inside (generate heat), row covers over plants, and bubble-wrap insulation on north walls. In mild Barishal winters, this often suffices for hardy greens.
What’s the best budget greenhouse for permaculture seed starting? A 6×8 ft walk-in or large 4-tier mini with good ventilation and shelving. DIY hoop houses excel here due to customizable space for trays and thermal mass.
How do I make a DIY greenhouse more durable in heavy rain and wind? Deep anchors, buried edges, cross-bracing, roll-up sides for quick storm prep, and 6-mil+ UV-treated film. Add temporary sandbags during cyclones.
Is a mini greenhouse enough to start permaculture? Absolutely—for balconies or small yards. Focus on vertical growing, herbs, and nursery plants for food forests.
Do budget greenhouses help with monsoons? Yes—protected environment prevents waterlogging of seedlings, reduces fungal pressure, and allows controlled watering.
Conclusion
Starting with budget greenhouses under $500 for beginners removes the biggest barrier to embracing permaculture: fear of high startup costs. Whether you choose a reliable commercial kit like the SPECILITE or Eagle Peak, invest time in a sturdy DIY hoop house, or begin ultra-small with a tiered mini unit, the result is the same—a controlled, regenerative space that accelerates learning, builds soil, conserves resources, and brings joy through abundant homegrown food.
Begin small, observe nature’s feedback, iterate, and let your system evolve. This modest structure can become the beating heart of your permaculture journey—producing not just crops, but deeper connection to land and cycles.