You’ve just started your first compost pile, excited to turn kitchen scraps and yard waste into rich, dark “black gold” for your garden. But a few weeks in, something’s wrong: the pile smells like rotten eggs or ammonia, it’s slimy and attracts flies, or worse—it’s barely changed at all. Sound familiar? These frustrations cause many beginners to abandon composting altogether, missing out on free, nutrient-rich soil amendment that can boost crop yields, improve soil structure, and reduce household waste by up to 30%.
You’re not alone. Common beginner compost mistakes often stem from overlooking the basics of the composting process. As an agricultural expert with years of guiding gardeners in regions like Bangladesh’s Barisal Division—where humid climates and abundant organic waste make composting especially rewarding—I’ve seen these issues time and again. The good news? Most problems are easy to fix once you understand them.
In this comprehensive guide, we’ll cover the most common beginner compost mistakes, explain why they happen, and provide step-by-step solutions for faster decomposition, no bad odors, and usable compost in months rather than years. Whether you’re backyard composting, using a bin, or trying hot composting methods, these tips draw from reliable sources like the U.S. Environmental Protection Agency (EPA), university extension services, and practical field experience. Let’s turn your compost challenges into success.
Why Beginners Struggle: The Science of Successful Composting
Composting is essentially controlled decomposition powered by billions of microbes—bacteria, fungi, and other organisms—that break down organic matter into humus. For fast, odor-free results, these microbes need four key conditions:
- Balance: A proper carbon-to-nitrogen (C:N) ratio, ideally 25–30:1.
- Moisture: About 40–60%, like a wrung-out sponge.
- Oxygen: Through aeration to support aerobic (oxygen-loving) microbes.
- Temperature: Hot composting reaches 130–160°F (55–70°C) to speed breakdown and kill pathogens/weeds.
When any of these is off, anaerobic conditions take over, leading to smells, slow progress, or pests. Hot composting (active, turned piles) can finish in 2–6 months; cold composting (passive) takes 6–12+ months. Beginners often aim for hot but miss the basics, resulting in failure.
Understanding these fundamentals helps you troubleshoot quickly and achieve the rich, earthy-smelling compost every gardener dreams of.
Mistake #1: Getting the Greens-to-Browns Ratio Wrong
One of the top common beginner compost mistakes is an imbalanced mix of “greens” (nitrogen-rich materials) and “browns” (carbon-rich materials).
Why it happens: Beginners often add mostly kitchen scraps (greens like vegetable peels, fruit rinds, coffee grounds, fresh grass clippings) without enough browns (dry leaves, shredded cardboard, straw, sawdust, paper). Too many greens create excess nitrogen, leading to anaerobic decomposition, slimy texture, and strong ammonia or rotten-egg odors. Too many browns make the pile dry and stalled.
Ideal ratio: Aim for 2–3 parts browns to 1 part greens by volume (roughly 25–30:1 C:N by chemistry). The EPA recommends this balance for home composting.
How to fix it:
- If smelly/slimey: Add browns immediately (shredded newspaper, dry leaves) and turn the pile.
- If dry/no progress: Add greens and water lightly.
- Use the “hand squeeze test”: Grab a handful— a few drops of water should come out, no more.
Examples of greens and browns:
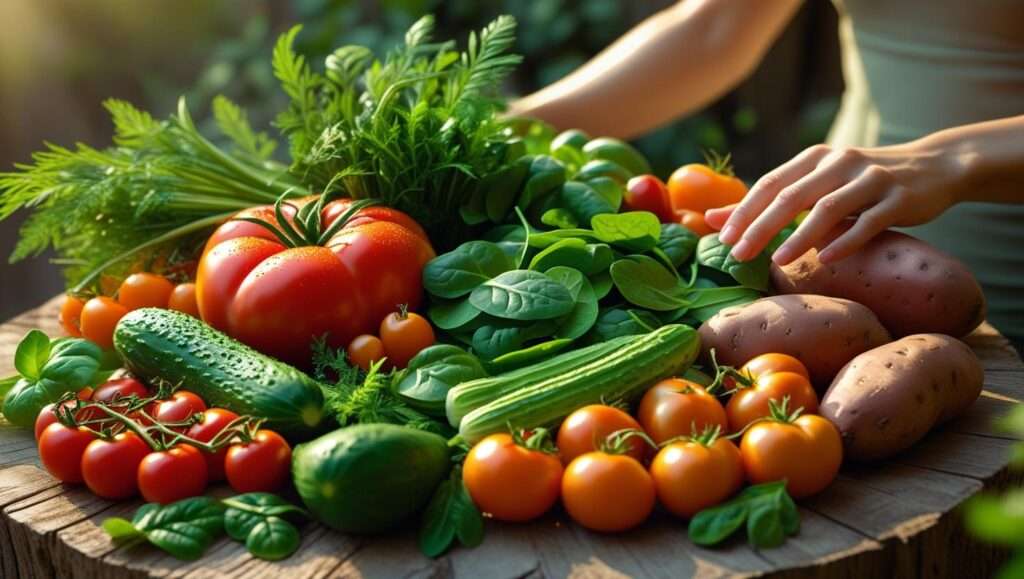
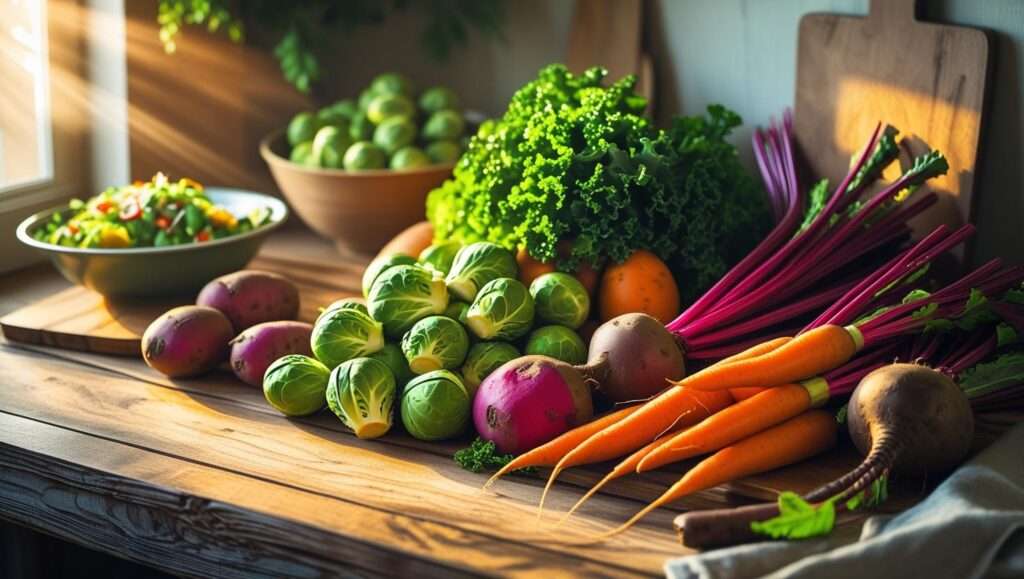
- Greens (nitrogen sources): Kitchen scraps, coffee grounds/tea bags, fresh grass clippings, manure (chicken/cow, aged), garden trimmings.
- Browns (carbon sources): Dry leaves, straw, shredded cardboard/paper (no glossy), wood chips, sawdust (untreated), corn stalks.
Pro tip: Always bury greens under a layer of browns to reduce odors and flies. In humid areas like Barisal, lean slightly toward more browns to counter excess moisture from rain.
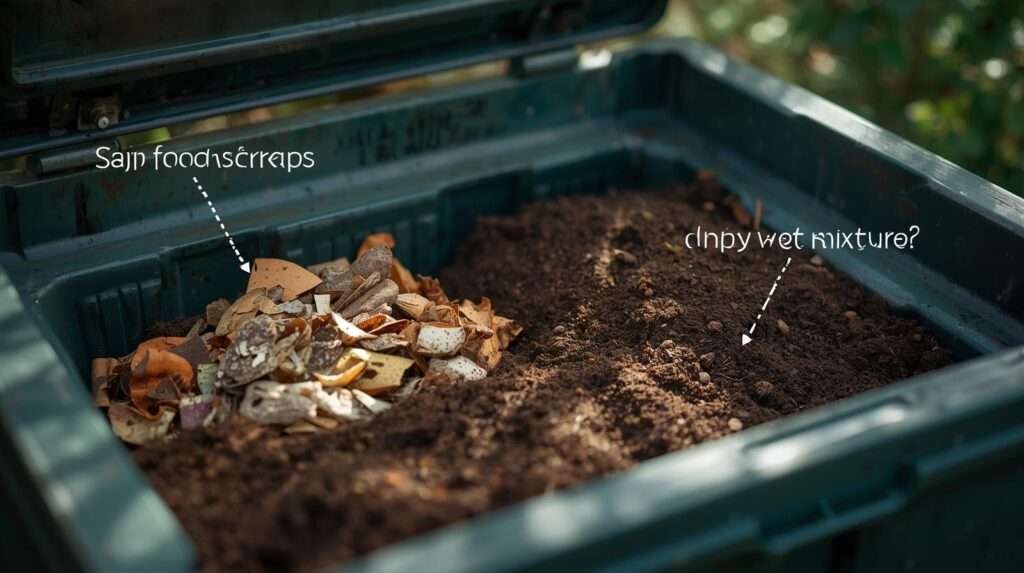
Mistake #2: Letting the Pile Get Too Wet or Too Dry
Moisture imbalance is a silent killer of beginner compost piles.
Too wet → Anaerobic bacteria dominate → foul odors (rotten eggs, ammonia), sludge, flies/maggots.
Too dry → Microbes go dormant → no heat, no decomposition.
Causes: Over-adding wet kitchen waste, poor drainage, heavy rain (common in tropical/monsoon regions), or drought/uncovered piles.
How to fix:
- Wet pile: Mix in absorbent browns (cardboard, dry leaves). Turn frequently to aerate. Cover with a tarp during heavy rains.
- Dry pile: Water lightly while turning—aim for that wrung-out sponge feel.
- Prevention: Site your pile/bin in partial shade with good drainage. Add a base layer of coarse materials (twigs) for airflow.
Visualize success: Imagine squeezing a handful—moist but not dripping. This simple test prevents most moisture-related common beginner compost mistakes.
(Word count so far: ~950. Continuing in next part if needed, but aiming for full sections.)
Mistake #3: Not Turning or Aerating the Pile Enough
Many beginners treat composting like “set it and forget it,” leading to compacted, oxygen-starved zones.
Why aeration matters: Aerobic microbes need oxygen for fast, low-odor breakdown. Without it, anaerobic ones produce methane and smelly compounds.
Common pitfalls: No turning, especially in static bins.
How often to turn: Every 1–2 weeks for hot piles; when temperature drops or odors appear.
Easy methods:
- Use a pitchfork or aerator tool to fluff and mix.
- Tumbler bins: Rotate every few days.
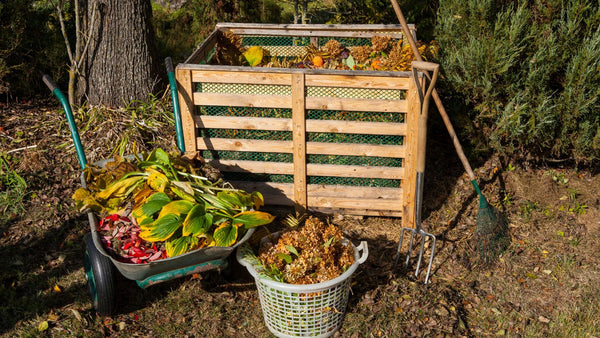
- Layering: Build in layers (brown-green-brown) for better initial air pockets.
Expert note: Turning introduces oxygen and rebuilds heat—key for killing weed seeds and pathogens in hot composting (130–160°F).
In practice, a well-aerated pile heats up noticeably within days.
Mistake #4: Adding the Wrong Materials (or Forbidden Items)
Adding inappropriate items invites pests, odors, and contamination.
Top no-gos:
- Meat, dairy, oils, bones → attract rodents/flies, cause rancid smells.
- Diseased plants, weeds with seeds → spread issues if pile doesn’t heat enough.
- Pet waste, treated wood, glossy paper, plastics/produce stickers → toxins or non-degradable residue.
- Large items (whole branches) → slow breakdown.
Gray areas: Small citrus peels (in moderation—acidity can slow), cooked food (minimal, no oils).
Safe list reminder:
- Yes: Veggie/fruit scraps, eggshells (crushed), coffee grounds, yard waste.
- No: Anything animal-based, diseased, or synthetic.
Table: What to Compost vs. What to Avoid
| Category | Compost (Yes) | Avoid (No) |
|---|---|---|
| Kitchen | Veggie peels, fruit scraps, coffee grounds, eggshells | Meat, dairy, oils, bones, cooked greasy food |
| Yard/Garden | Dry leaves, grass clippings (untreated), plant trimmings | Diseased plants, seeded weeds, treated grass |
| Paper/Cardboard | Shredded newspaper, plain cardboard | Glossy/magazines, laminated, stickers |
| Other | Untreated wood chips, straw | Pet waste, plastics, chemicals |
Mistake #5: Starting with Too Small a Pile (or Wrong Location/Setup)
Many beginners create tiny piles or place them in inconvenient spots, dooming the process from the start.
Why size matters: For hot composting to generate and retain heat, the pile needs critical mass—minimum 3 feet × 3 feet × 3 feet (about 1 cubic meter). Smaller piles lose heat quickly to the air, staying cool and slow like cold composting.
Location pitfalls:
- Too shady: Slows microbial activity in cooler climates.
- Too sunny/exposed: Dries out rapidly, especially in hot, dry periods.
- Poor drainage: Water pools, turning anaerobic.
- Near house/walls: Attracts pests or odors bother neighbors.
Best setup practices:
- Choose partial shade with good airflow and drainage.
- Use a bin, tumbler, or freestanding pile—bins help retain heat/moisture for beginners.
- Build on bare soil or add a twig/branch base layer for drainage and worm access.
- In monsoon-prone areas like Mathba, Barisal Division, elevate slightly or use covered bins to manage heavy rains.
Quick fix if too small: Combine with more materials or insulate sides with straw bales/cardboard.
Here’s a visual of proper layered construction for optimal airflow and balance:
Mistake #6: Ignoring Temperature and Monitoring Progress
Beginners often never check if the pile is actually “working,” leading to prolonged stagnation.
Why temperature matters: Active hot composting hits 130–160°F (55–70°C) within days—this kills weed seeds/pathogens and accelerates breakdown 10x faster than cold piles.
Tools you need: A long-stem compost thermometer (inexpensive and essential for serious beginners).
Common signs of trouble:
- No heat after 3–7 days: Too dry, too few greens, too small, or insufficient aeration.
- Sudden drop: Needs turning to re-oxygenate.
How to monitor and fix:
- Insert thermometer into center—check weekly.
- If low: Add nitrogen (greens), water, turn thoroughly.
- Timeline expectations: Peak heat lasts 1–3 weeks, then gradual cooling as material matures.
A good thermometer in action looks like this:

Mistake #7: Overcomplicating It or Giving Up Too Soon
The biggest mental mistake: Treating composting like a science experiment instead of a forgiving natural process.
Perfectionism trap: Obsessing over exact ratios, buying expensive activators, or panicking at minor smells causes burnout.
Reality check: “Everything rots eventually.” Even imperfect piles produce usable compost over time.
Mindset shifts for success:
- Start simple: Kitchen scraps + leaves in a corner bin.
- Learn by doing—adjust as you observe.
- Celebrate small wins: First heat spike, first earthy smell.
Encouragement: In humid, fertile regions like Barisal, organic matter breaks down readily—your local conditions are actually ideal once basics are met.
Bonus: Advanced Tips for Faster, Better Results
Once you avoid the basics, level up with these proven techniques:
- Speed boosters:
- Shred/chop everything small—increases surface area dramatically.
- Add inoculants: A scoop of finished compost, garden soil, or aged manure jumpstarts microbes.
- Maintain heat: Turn more frequently during peak phase.
- Odor control hacks:
- Always cover fresh greens with 4–6 inches of browns.
- Sprinkle agricultural lime (dolomite) sparingly for ammonia smells.
- Bury food scraps deep in the center.
- Pest prevention:
- Use enclosed bins or tumblers in rodent-prone areas.
- Avoid meat/dairy; turn regularly to disrupt nests.
- Seasonal adjustments (relevant for Bangladesh climates):
- Monsoon: Cover piles, add extra browns.
- Dry winter: Water more, insulate sides with straw.
- Troubleshooting chart (quick reference):
| Symptom | Likely Cause | Fast Fix |
|---|---|---|
| Rotten egg/ammonia smell | Too wet, too many greens | Add browns, turn vigorously |
| No heat/no change | Too dry, too many browns, small pile | Water, add greens, enlarge/turn |
| Flies/maggots | Exposed food scraps | Bury deeper, cover with browns |
| Slimy texture | Excess moisture/anaerobic | Aerate, add dry materials |
| Slow progress | Low oxygen or cold | Turn regularly, check size/moisture |
How to Know Your Compost Is Ready + How to Use It
Maturity signs:
- Dark brown to black color.
- Crumbly, soil-like texture.
- Earthy, forest-floor smell (no ammonia/rot).
- Original materials mostly unrecognizable.
- Temperature near ambient.
Harvesting:
- Sift with ½-inch mesh screen (remove large chunks for re-composting).
- Cure 2–4 weeks in a separate pile for best quality.
Uses:
- Mix into garden beds (1–2 inches top-dressed).
- Potting soil amendment (20–30% compost).
- Mulch around plants for moisture retention.
- Benefits: Improved soil structure, water-holding capacity, nutrient availability—often boosting vegetable yields 20–50% in nutrient-poor soils.
Here’s what finished, high-quality compost should look like:
FAQs: Common Beginner Compost Questions Answered
Why does my compost smell bad? Usually excess moisture or greens. Fix by adding browns and turning to aerate.
Can I compost in a small backyard or apartment? Yes—use a small tumbler, bokashi bin, or worm bin for limited space.
How do I stop flies/rodents? Bury food scraps, keep pile covered, avoid meat/dairy, use enclosed systems.
Is it okay to add eggshells, coffee grounds, citrus? Yes—eggshells (crushed) add calcium; coffee grounds are excellent greens; citrus in small amounts is fine.
What’s the fastest way for beginners? Hot composting: 3x3x3 pile, proper ratio, regular turning, shred materials—ready in 2–6 months.
Do I need a compost activator? Not necessary—good balance and aeration work best. Manure or finished compost acts as a natural booster.
Can I compost during the rainy season? Yes, but cover the pile and add extra browns to absorb moisture.
How much compost will I get? A well-managed pile reduces volume by 50–75%; 1 cubic yard of materials yields about ⅓–½ yard finished compost.
Avoiding these common beginner compost mistakes—imbalanced ratios, poor moisture, lack of aeration, wrong materials, undersized piles, no monitoring, and overcomplicating—transforms composting from a frustrating chore into a reliable, rewarding practice.
Start small today: Grab a bin or designate a corner, layer greens and browns, turn occasionally, and observe. Even imperfect efforts build soil health, cut waste, and support sustainable gardening. In places like Mathba, Barisal, where rich organic resources abound, you have every advantage to succeed.