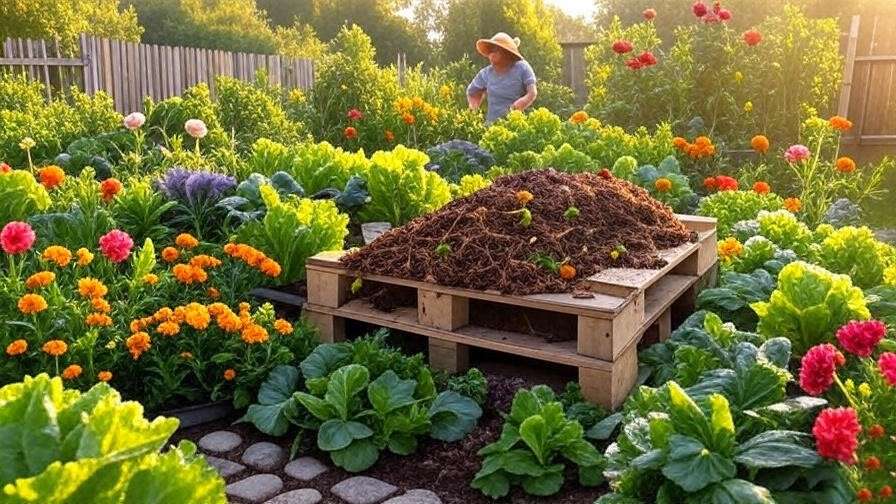
Every year, the average household sends hundreds of pounds of kitchen scraps, yard trimmings, and organic waste to landfills — material that could easily be transformed into nutrient-rich compost, often called “black gold” by experienced gardeners and farmers. Yet many beginners give up on composting before they even finish their first pile, frustrated by bad odors, slow decomposition, or pest problems. The good news? With the right compost setup and a clear, step-by-step approach, anyone can create high-quality compost that dramatically improves soil health, boosts vegetable yields, and reduces reliance on synthetic fertilizers.
This comprehensive beginner’s guide takes you from zero to successful composting, even if you’ve never turned a pile before. Whether you have a spacious backyard, a small suburban plot, or limited outdoor space, you’ll learn how to choose, build, and maintain the ideal compost system for your needs. By the end, you’ll have the confidence and knowledge to produce dark, crumbly compost that supercharges your garden — all while contributing to sustainable agriculture and reducing household waste.
Why Compost? The Benefits for Your Garden and Farm
Composting is one of the most powerful, low-cost practices available to home gardeners and small-scale farmers. The benefits extend far beyond simple waste reduction.
Soil Health and Fertility Improvement
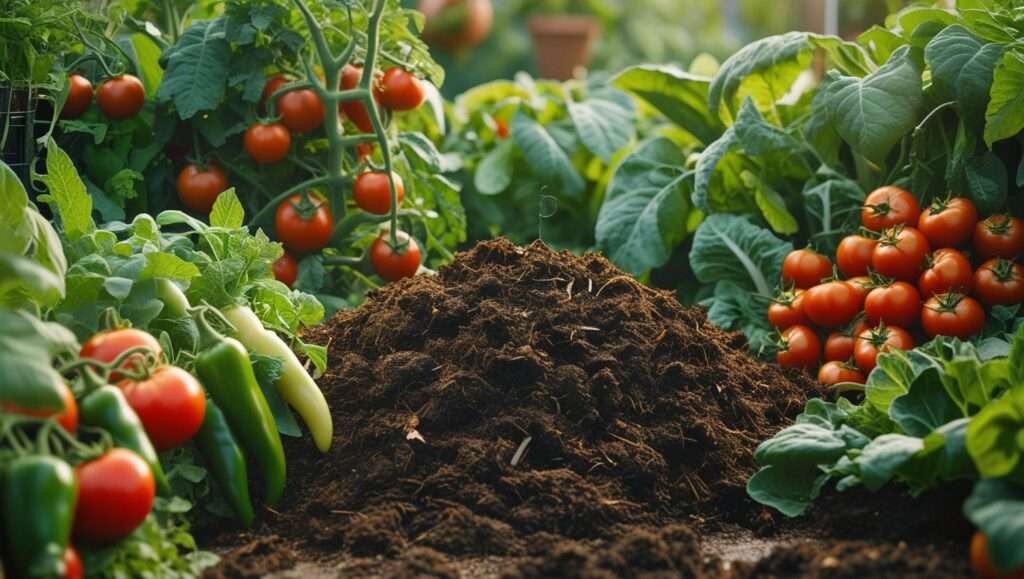
Finished compost adds organic matter that enhances soil structure, promotes beneficial microbial activity, and slowly releases essential nutrients like nitrogen, phosphorus, and potassium. Studies from the Rodale Institute and USDA show that regular compost applications can increase soil organic matter by 1–2% over several years, leading to better tilth, stronger root development, and higher crop resilience.
Reduced Need for Chemical Fertilizers
High-quality compost provides a balanced, slow-release nutrient source that feeds plants over months rather than weeks. Many organic farmers report cutting synthetic fertilizer use by 50–100% after establishing a consistent composting routine.
Water Retention and Erosion Control
Compost acts like a sponge. One cubic yard of mature compost can hold up to 200 gallons of water, reducing irrigation needs by 20–30% in many gardens. It also helps prevent soil erosion on sloped land by improving aggregation and stability.
Waste Reduction and Environmental Impact
Approximately 30% of household waste is organic and compostable. Diverting these materials from landfills reduces methane emissions — a potent greenhouse gas — while closing the nutrient loop in your own backyard.
Cost Savings for Home Gardeners and Small-Scale Farmers
Commercial compost or soil amendments can cost $50–$100 per cubic yard. Producing your own is essentially free beyond initial setup and labor, delivering long-term savings that compound with every growing season.
Understanding the Science Behind Composting
Successful composting isn’t magic — it’s applied microbiology. Billions of bacteria, fungi, actinomycetes, and macro-organisms (worms, insects) work together to break down organic matter into stable humus.
The Role of Microorganisms
Aerobic bacteria dominate active (hot) composting and generate heat as they metabolize materials. Temperatures between 130–160°F (54–71°C) kill most weed seeds and pathogens while accelerating decomposition.
Carbon-to-Nitrogen Ratio (Ideal 30:1 Explained)
The C:N ratio is the foundation of efficient composting. Materials high in carbon (“browns”) provide energy, while nitrogen-rich (“greens”) supply protein for microbial growth. An ideal ratio of roughly 30 parts carbon to 1 part nitrogen prevents odors and speeds breakdown. For example:
- Dry leaves: ~60:1
- Grass clippings: ~15–20:1
- Kitchen scraps: ~15:1
- Coffee grounds: ~20:1
Mixing two parts browns with one part greens usually hits the target.
The Four Essential Ingredients
- Greens – Nitrogen sources
- Browns – Carbon sources
- Air – Oxygen for aerobic decomposition
- Water – Moisture to support microbial life (aim for the consistency of a wrung-out sponge)
Hot vs. Cold Composting
- Hot composting (130–160°F) finishes in 2–4 months and sanitizes material.
- Cold composting is slower (12–18 months) but requires almost no maintenance — ideal for casual gardeners.
Beginners often start with cold composting and progress to hot methods once comfortable.
Choosing the Right Compost Setup for Your Space and Needs
There’s no one-size-fits-all system. The best compost setup depends on available space, volume of materials, time commitment, and climate.
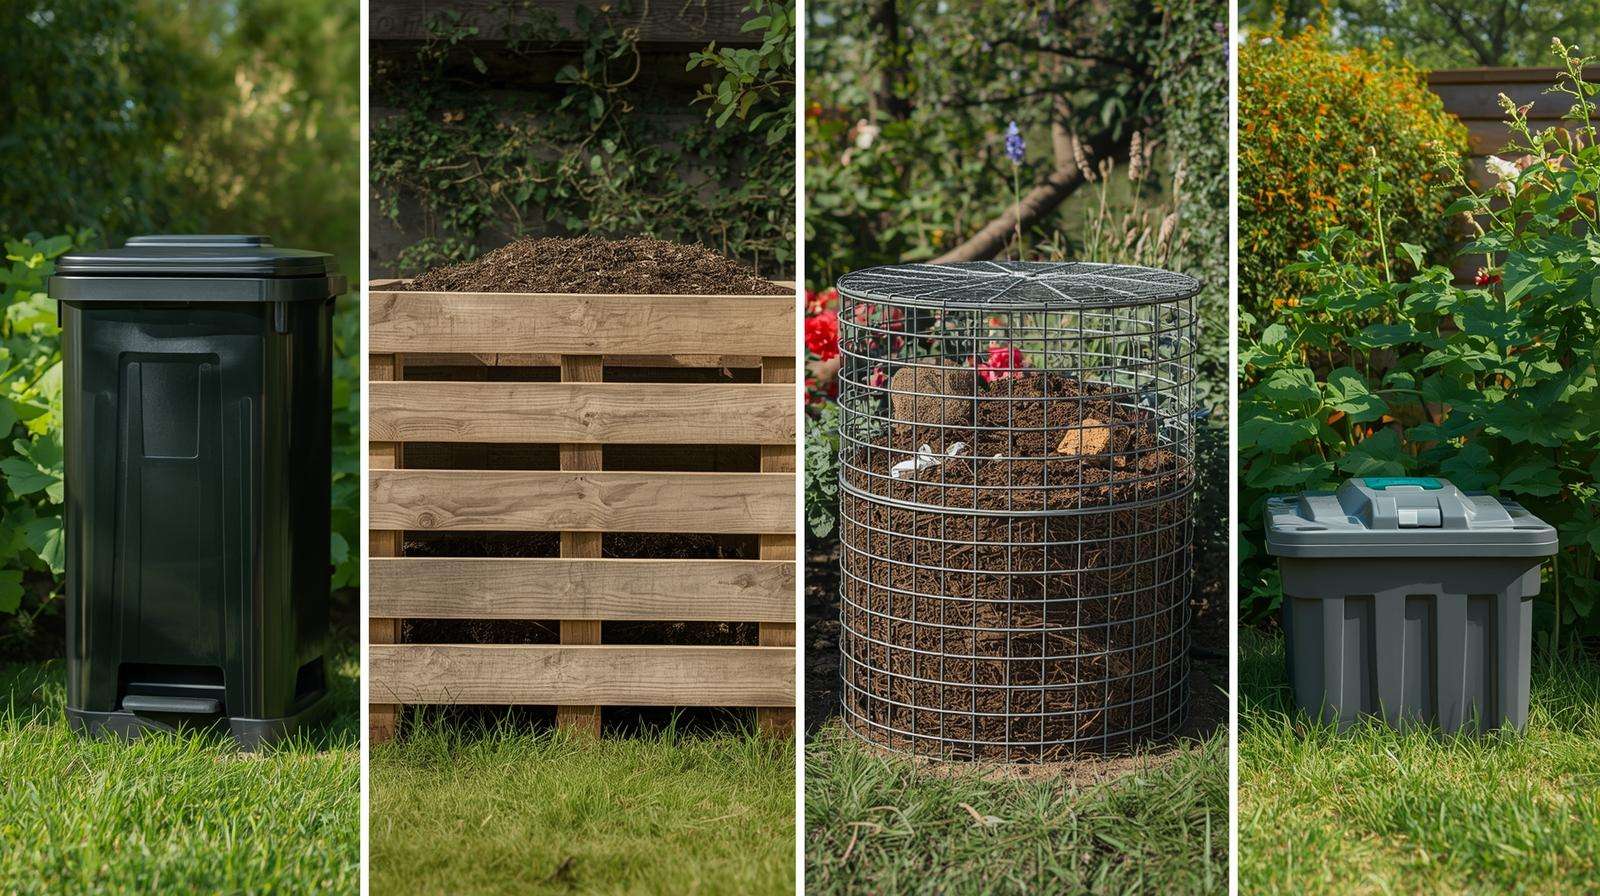
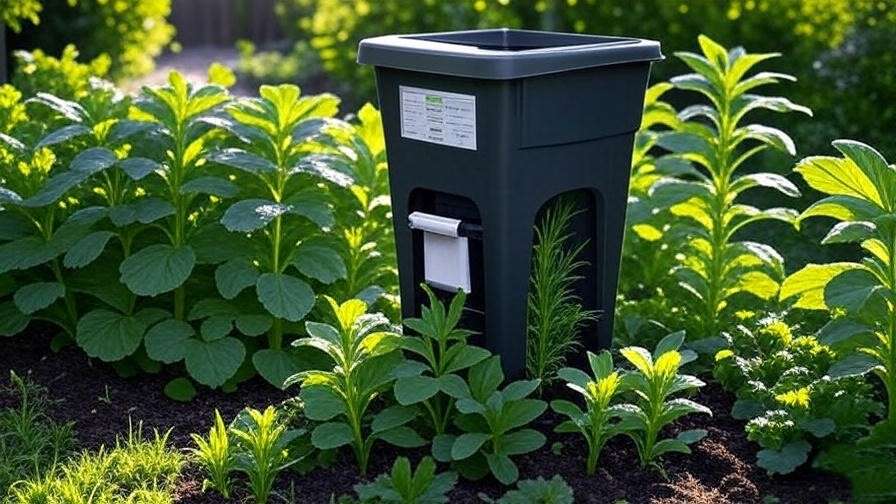
Backyard Bin Systems
- Tumbling bins – Easy turning, faster decomposition, contained appearance. Best for suburban yards with moderate waste volume.
- Stationary three-bin systems – Allow continuous batch processing (one filling, one active, one maturing). Popular among serious vegetable gardeners.
- Single plastic or wooden bins – Affordable, simple, and effective for most households.
Compost Piles (Open Heap Method)
The traditional open pile works well for large rural properties or farms with abundant yard waste. Pros: zero cost, unlimited size. Cons: potential odor/pest issues if not managed, slower in cold climates.
Vermicomposting (Worm Bins)
Red wigglers (Eisenia fetida) thrive in compact, indoor or shaded outdoor bins. Perfect for apartments, balconies, or year-round composting in cold regions. Worms process food scraps quickly and produce exceptionally rich castings.
Trench Composting and In-Ground Methods
Dig trenches or holes directly in garden beds and bury kitchen scraps. Extremely low-maintenance and directly enriches soil where needed — great for no-bin situations.
Comparison Table: Which System Is Right for You?
| System | Cost | Space Needed | Effort Level | Speed | Odor/Pest Control | Best For |
|---|---|---|---|---|---|---|
| Tumbling Bin | $$ – $$$ | Small–Medium | Medium | Fast | Excellent | Suburban families |
| Stationary Bin | $–$$ | Medium | Low–Medium | Moderate | Very Good | Serious gardeners |
| Open Pile | Free | Large | Low | Moderate–Slow | Fair | Rural/large properties |
| Worm Bin | $$ | Very Small | Medium | Fast | Excellent | Apartments, year-round |
| Trench Composting | Free | Garden beds | Very Low | Slow | Excellent | No-space gardeners |
Step-by-Step Guide to Setting Up Your Compost System
Let’s build your first successful compost setup. These steps apply to most bin or pile systems.
Step 1: Select and Prepare Your Location
Choose a level, well-drained spot with partial shade (to prevent drying in summer). Place at least 10–20 feet from your house to minimize any potential odor or pest concerns. Ensure easy access with a hose and wheelbarrow path.
Step 2: Choose or Build Your Container
Purchase a ready-made bin or DIY with pallets, wire mesh, or recycled materials. Avoid pressure-treated lumber (older versions contain arsenic). For bins, drill aeration holes if needed.
Step 3: Gather Your First Layer of Materials
Start with a 4–6 inch base of coarse browns (twigs, small branches) for drainage and airflow.
Step 4: Add Greens and Maintain Balance
Layer 2–3 inches of greens, then 4–6 inches of browns. Aim for the 30:1 C:N ratio. Chop or shred larger items to speed decomposition.
Step 5: Moisten and Turn for Aeration
Water each layer lightly until moist but not soggy. Turn the pile with a pitchfork every 1–2 weeks (hot method) or monthly (cold method) to introduce oxygen.
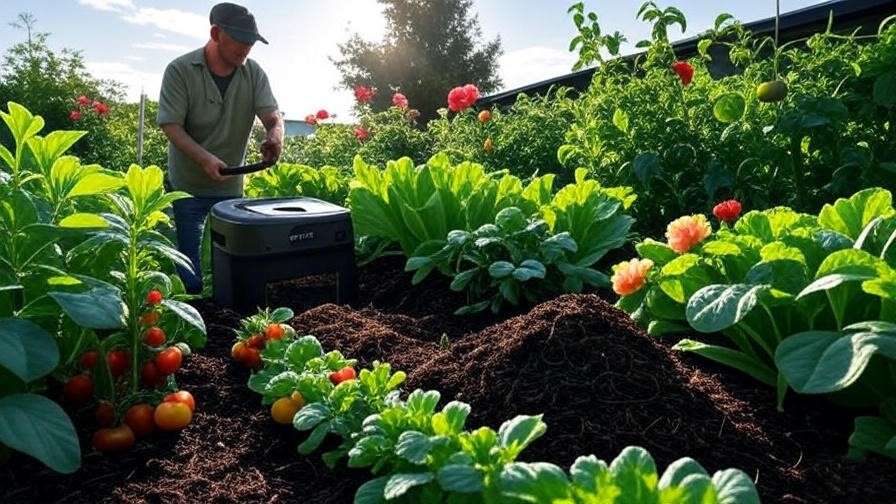
Step 6: Monitor Temperature and Moisture
Use a compost thermometer (optional but helpful) to track heat. Feel the pile regularly — it should feel like a wrung-out sponge. Adjust moisture with water or dry browns as needed.
Safety Tip: Wear gloves when handling materials and wash hands thoroughly afterward.
What to Compost and What to Avoid
Knowing exactly what goes into your compost pile is crucial for success. The right materials ensure fast, odor-free decomposition, while the wrong ones can create problems like foul smells, pests, or even toxic compounds.
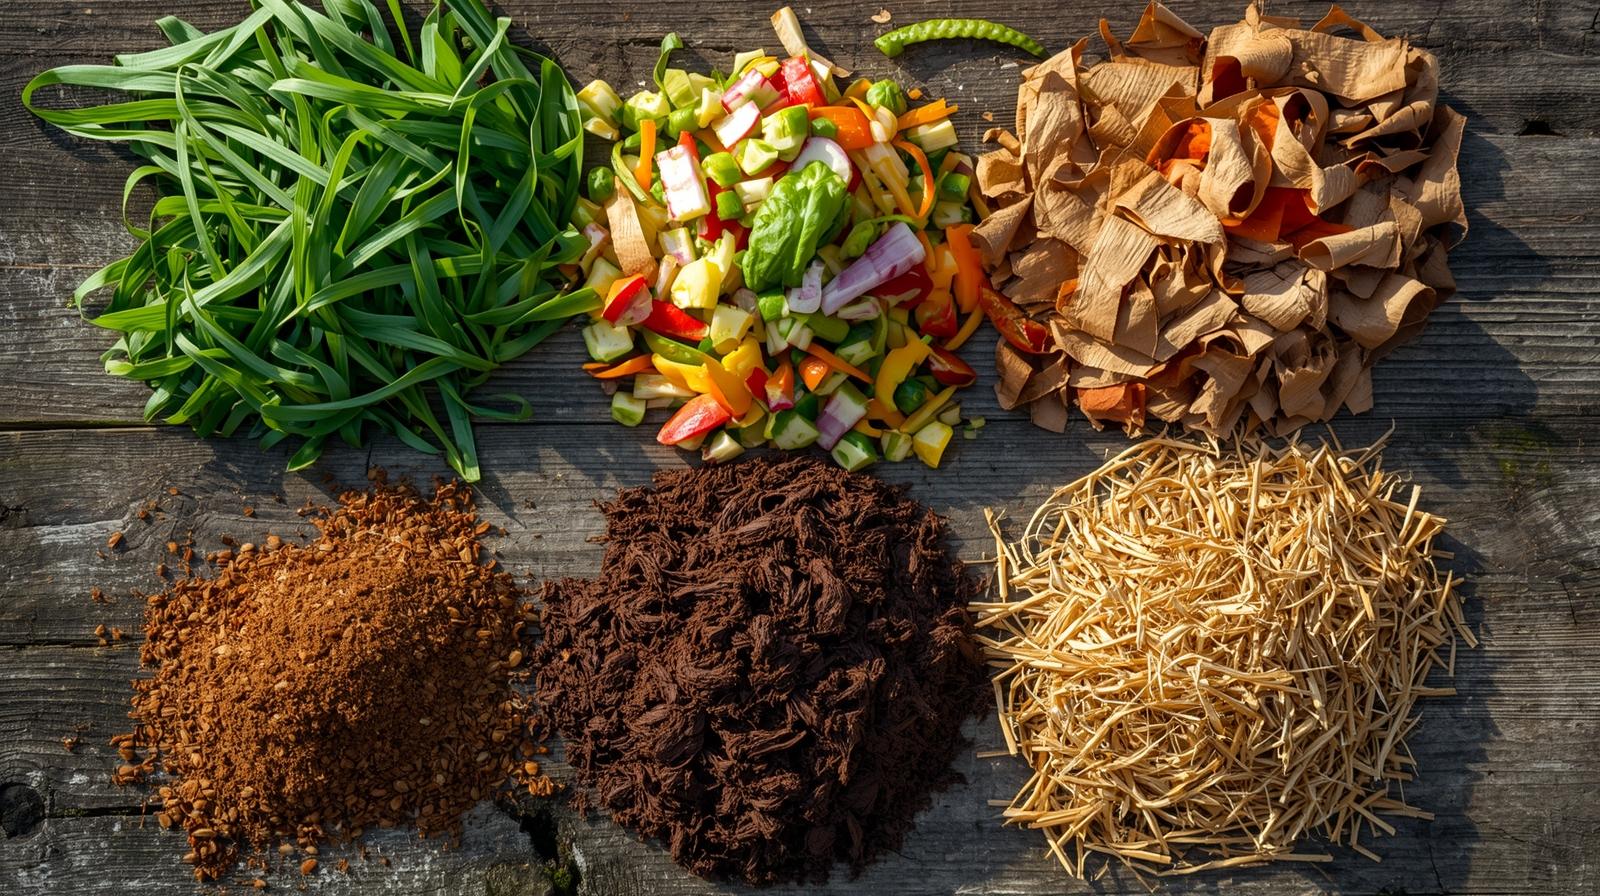
Green Materials (High Nitrogen)
These provide protein for microbes and speed up the process:
- Fresh grass clippings (untreated with herbicides)
- Vegetable and fruit scraps (peels, cores, rinds)
- Coffee grounds and filters
- Tea bags (remove staples if metal)
- Fresh garden trimmings and plant prunings
- Manure from herbivores (cow, horse, rabbit, chicken — aged or fresh in moderation)
- Seaweed and aquatic plants (rinsed of salt)
Brown Materials (High Carbon)
These supply energy and prevent sogginess:
- Dry leaves (best shredded)
- Straw or hay (avoid hay with seeds if possible)
- Cardboard and clean paper (shredded, non-glossy)
- Newspaper (black-and-white ink only)
- Wood chips and sawdust (untreated, in thin layers)
- Corn stalks and dried garden debris
- Pine needles (use sparingly; they acidify slowly)
Materials to Strictly Avoid
Certain items can attract pests, introduce pathogens, or create toxic byproducts:
- Meat, fish, bones, and dairy products (attract rodents and create intense odors)
- Oils, grease, and fatty foods
- Pet waste (dog, cat) or human feces (potential pathogens)
- Diseased or insect-infested plants
- Weeds with mature seeds or aggressive runners (e.g., Bermuda grass, bindweed)
- Coal or charcoal ash (contains sulfur and iron that harm plants)
- Treated wood products or sawdust from pressure-treated lumber
Gray-Area Items and How to Handle Them
- Citrus peels and onions: Acceptable in moderation; bury deep to avoid fruit flies
- Wood ash (from untreated wood): Small amounts only; raises pH
- Eggshells: Crush finely; excellent calcium source
- Bread and grains: Small quantities, buried to deter pests
Pro Tip: Download a free printable composting checklist from extension services like Cornell or your local cooperative extension for quick reference in the kitchen.
Maintaining and Troubleshooting Your Compost Pile
Once your compost setup is running, regular check-ins keep things on track. Most problems are easy to fix with simple adjustments.

Turning and Aeration Schedule
- Hot composting: Turn every 3–7 days when internal temperature drops below 130°F.
- Cold composting: Turn monthly or when adding large amounts of new material. Turning introduces oxygen, prevents matting, and distributes heat evenly.
Moisture Management
Use the “squeeze test”: Grab a handful from the center. A few drops of water should emerge — no more.
- Too dry? Add water and greens.
- Too wet? Add browns and turn more frequently.
Common Problems and Solutions
| Problem | Likely Cause | Fix |
|---|---|---|
| Foul odor (ammonia or rotten eggs) | Too much nitrogen or anaerobic conditions | Turn pile immediately, add browns, improve drainage |
| Sweet/sour smell | Normal during active phase | No action needed |
| Slow decomposition | Lack of nitrogen, cold weather, large pieces | Add greens, shred materials, insulate pile in winter |
| Pests (rodents, raccoons) | Food scraps exposed or meat/dairy added | Use enclosed bin, bury scraps deep, avoid prohibited items |
| Fruit flies | Exposed kitchen scraps | Cover with brown layer, use bin lid, add vinegar trap indoors |
| Ants or flies | Pile too dry | Add moisture and turn |
| Excessive heat (>170°F) | Excellent microbial activity | Monitor; turn if needed to prevent fire risk (rare) |
Seasonal Tips:
- In hot climates: Shade the pile and monitor moisture daily.
- In cold climates: Use an insulated bin or larger pile (minimum 3x3x3 feet) to retain heat. Add materials gradually in winter.
Harvesting and Using Your Finished Compost
The reward comes when your raw waste transforms into dark, earthy-smelling humus.

How to Know When Compost Is Ready
- Color: Dark brown to black
- Texture: Crumbly, uniform
- Smell: Fresh, forest-floor aroma
- Temperature: Cools to ambient
- Recognition test: You can’t identify original materials
Hot piles finish in 2–6 months; cold piles take 6–18 months.
Screening and Storing Mature Compost
Run material through a ½-inch hardware cloth screen to remove large chunks (return them to the next pile). Store finished compost in covered bins or bags to prevent nutrient leaching from rain.
Application Rates
- Vegetable gardens: 2–4 inches worked into top 6–8 inches of soil before planting
- New beds: 3–4 inches mixed with native soil
- Lawns: ¼–½ inch top-dressed in spring or fall
- Potting mix: 20–30% compost blended with soil/perlite/vermiculite
- Trees and shrubs: 1–2 inches mulched around drip line
Compost Tea and Other Value-Added Uses
Brew aerated compost tea (24–48 hours with an aquarium pump) for a liquid foliar feed or soil drench. Use unscreened coarse compost as mulch around perennials.
Advanced Tips for Faster, Higher-Quality Compost
Once you’ve mastered the basics, these techniques elevate your results:
- Bokashi pre-composting: Ferment kitchen scraps (including small amounts of meat/dairy) anaerobically with inoculated bran, then bury in your main pile for odor-free processing of “no-no” items.
- Biochar addition: Incorporate 5–10% charged biochar to increase nutrient retention and microbial habitat.
- Rock dust and minerals: Add basalt or azomite for trace elements that improve plant health.
- Commercial inoculants: Rarely needed in balanced piles, but effective accelerators like EM (Effective Microorganisms) can jump-start cold seasons.
Frequently Asked Questions
How long does it take to make compost as a beginner? With a balanced hot pile and regular turning, expect finished compost in 2–4 months. Cold composting takes 6–18 months.
Can I compost in winter? Yes. Larger piles retain heat better. Insulate with straw bales or continue adding to a worm bin indoors.
What’s the easiest compost setup for absolute beginners? A tumbling bin or pre-made plastic stationary bin — contained, easy to turn, and minimal odor.
Is it normal for my compost to heat up? Absolutely! Internal temperatures of 130–160°F indicate healthy microbial activity and sanitize the material.
How do I start composting if I have no yard? Use vermicomposting (worm bin) indoors or on a balcony, or try bokashi followed by community drop-off programs.
Will composting attract pests? Not if managed properly. Enclosed bins, buried scraps, and avoiding meat/dairy eliminate most issues.
How much compost should I add to my garden? 1–3 inches annually, worked into the soil. More for new or depleted beds.
Can I compost citrus and onions? Yes, in moderation. They decompose slower and can temporarily lower pH, but pose no major problems.
What if my pile smells bad? Turn it, add browns, and ensure proper drainage — the smell should disappear within days.
Conclusion
Setting up and maintaining a successful compost system is one of the most rewarding steps you can take toward sustainable gardening and farming. By following these easy steps — choosing the right setup, balancing greens and browns, monitoring moisture and aeration — you’ll transform everyday waste into nutrient-dense compost that feeds your soil and grows healthier, more abundant crops.
Start small if needed: even a single bin or worm setup makes a difference. Be patient, observe your pile, and adjust as you learn. Before long, you’ll have rich, finished compost ready to enrich your garden — and the satisfaction of closing the loop on your own organic waste.
Ready to get started? Gather your materials today and build your first compost setup. Your plants (and the planet) will thank you.