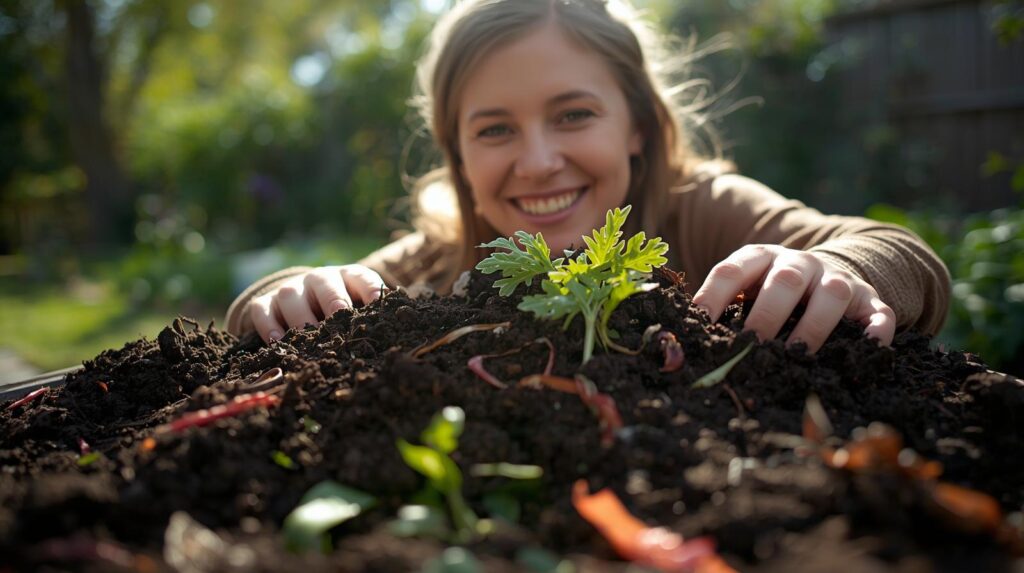
Every year, the average household sends hundreds of pounds of food scraps, yard trimmings, and organic waste straight to the landfill — where it slowly decomposes and releases methane, a greenhouse gas 25 times more potent than carbon dioxide. What if you could turn that “waste” into nutrient-rich, free fertilizer for your garden or houseplants instead? Composting for total beginners doesn’t have to be complicated, smelly, or time-consuming. In fact, with the right approach, anyone — even if you’ve never gardened a day in your life — can start a successful compost pile at home in just a weekend.
Hi, I’m Dr. Elena Ramirez, an agricultural specialist with over 18 years of experience advising small-scale farmers, urban gardeners, and homeowners on sustainable soil management practices. I’ve helped thousands of beginners transform kitchen scraps into “black gold” through university extension programs and community workshops. In this comprehensive guide, I’ll walk you through everything you need to know to confidently start and maintain your very first compost pile — no prior knowledge required.
By the end of this article, you’ll understand the simple science behind composting, choose the best method for your space, build your pile correctly, troubleshoot issues, and harvest finished compost that will supercharge your soil. Let’s turn waste into wealth — together.
What Is Composting and Why Should a Total Beginner Care?
Composting is nature’s recycling system. It’s the controlled decomposition of organic materials — like food scraps, leaves, and grass clippings — into a dark, crumbly, nutrient-packed soil amendment known as humus or finished compost.
At its core, composting relies on billions of microscopic organisms (bacteria, fungi, and actinomycetes) plus larger decomposers (worms, beetles, sow bugs) that break down organic matter in the presence of oxygen and moisture. When done properly, this aerobic process happens quickly and without offensive odors.
The Simple Science Behind Composting
Successful composting balances two main ingredient types:
- Greens (nitrogen-rich materials): Provide protein for microbial growth. Examples include vegetable peels, coffee grounds, fresh grass clippings, and manure.
- Browns (carbon-rich materials): Supply energy for microbes. Think dry leaves, cardboard, straw, newspaper, and wood chips.
The ideal carbon-to-nitrogen (C:N) ratio is around 30:1. Too much nitrogen creates a soggy, smelly pile; too much carbon slows decomposition dramatically. Don’t worry — I’ll show you easy ways to get this balance right without complicated math.

Top Benefits of Home Composting
- Environmental impact: The EPA estimates that food scraps and yard waste make up 28% of what we throw away. Composting at home diverts this material from landfills and significantly reduces methane emissions.
- Soil health improvement: Finished compost adds organic matter, improves soil structure, enhances water retention, and supplies slow-release nutrients — often better than synthetic fertilizers.
- Cost savings: Reduce garbage volume (fewer trash bags), eliminate the need for store-bought fertilizer, and grow healthier plants that require less water and pest control.
- Personal and community resilience: Producing your own soil amendment supports food security, connects you with natural cycles, and sets a sustainable example for family and neighbors.
Common Myths That Scare Beginners Away
- Myth: “Composting smells terrible.” Reality: A properly managed aerobic pile smells earthy, like forest soil. Bad odors signal anaerobic conditions (too wet or compacted) — easily fixed.
- Myth: “It attracts rats and pests.” Reality: Avoiding meat, dairy, and oils while burying food scraps prevents most pest issues.
- Myth: “Composting is too technical.” Reality: Nature has been composting for millions of years. We’re just creating optimal conditions.
Choosing the Right Composting Method for Absolute Beginners
Not all composting systems are equal, especially for newcomers. The best choice depends on your available space, time commitment, local climate, and household waste volume.
Backyard Compost Pile (Open Pile) – The Easiest & Cheapest Start
This traditional method requires no purchase beyond optional tools. Simply designate a 3×3-foot spot in your yard and start piling materials.
Pros:
- Completely free
- Handles large volumes
- Excellent aeration
- Ideal for gardeners with yard waste
Cons:
- Slower in cold climates
- More visible (aesthetic concerns)
- Requires occasional turning
Perfect for suburban or rural beginners with yard access.
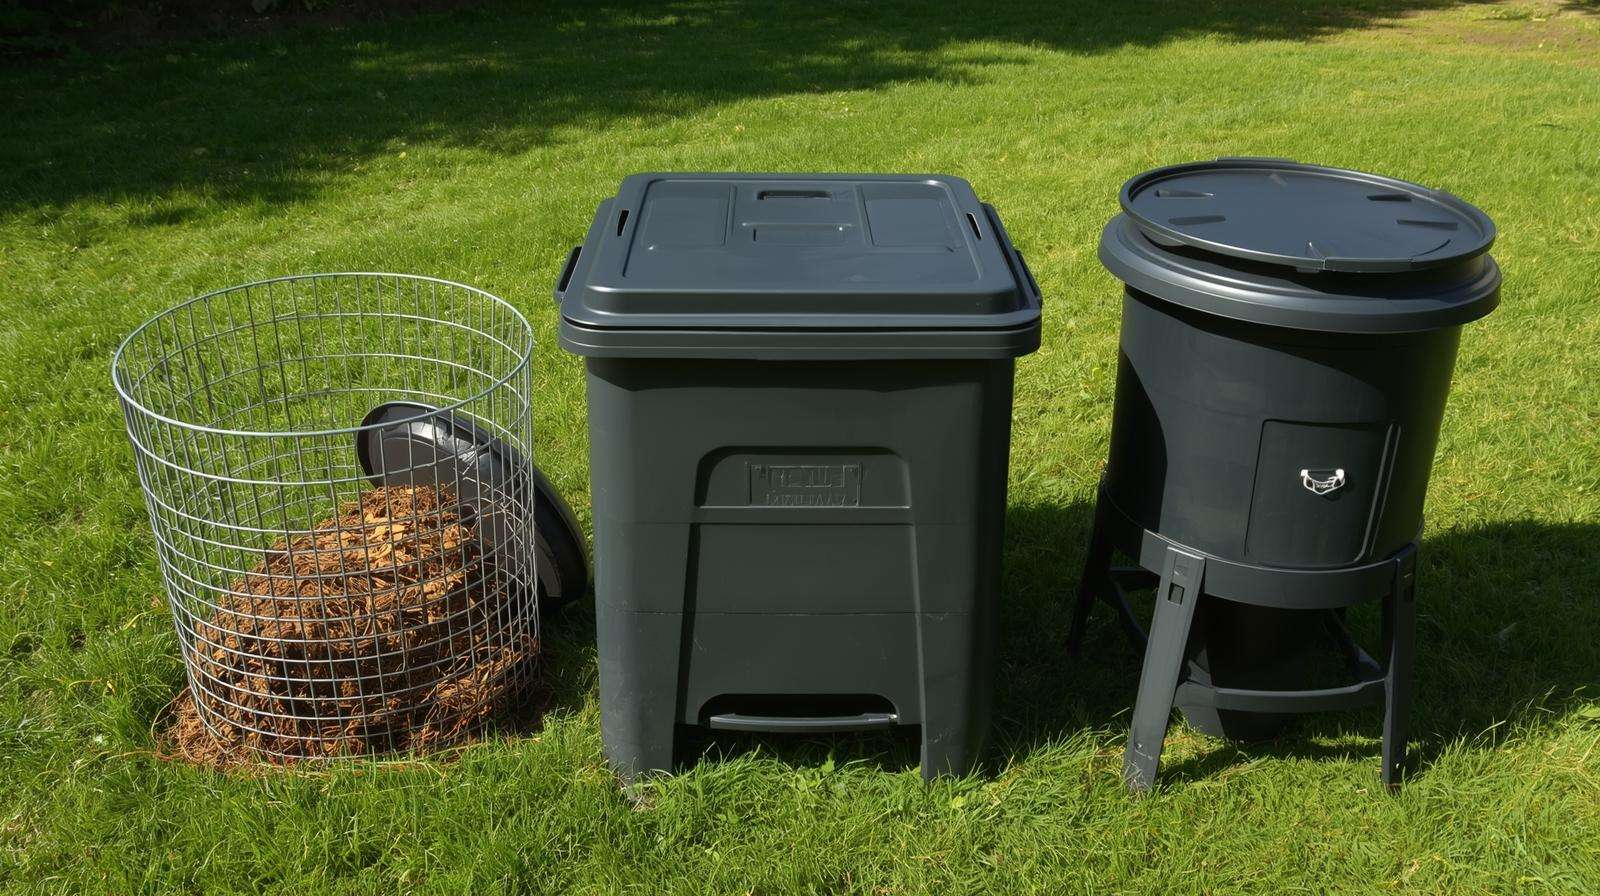
Compost Bin or Tumbler Options
Stationary bins (plastic or wire) contain the pile neatly, while tumblers allow easy turning by rotating the drum.
Recommended beginner-friendly options:
- Budget plastic bin ($40–$80): Look for models with ventilation holes and a secure lid (e.g., brands like FCMP or Redmon).
- Tumbler ($100–$200): Great if back issues make turning difficult. Models like the Jora or Lifetime dual-chamber allow continuous adding while one side finishes.
Expert tip: Start with a single stationary bin if budget is a concern — you can always upgrade later.
Small-Space & Apartment Alternatives
Limited outdoor space doesn’t mean you can’t compost.
- Bokashi composting: An anaerobic fermentation method using a sealed bucket and inoculated bran. Ideal for kitchen scraps (including small amounts of meat/dairy). Finished material still needs burial or addition to a traditional pile.
- Vermicomposting (worm bin): Red wiggler worms rapidly process food scraps in a compact bin. Excellent for apartments — odor-free when managed correctly.
- Community or curbside programs: Many cities now collect organics. Check your municipality if home composting isn’t feasible.
Decision checklist:
- Do you have a yard? → Open pile or bin
- Limited space or physical ability? → Tumbler or worm bin
- Produce mostly kitchen scraps? → Bokashi or vermicomposting
- Live in a cold climate? → Insulated bin or indoor method
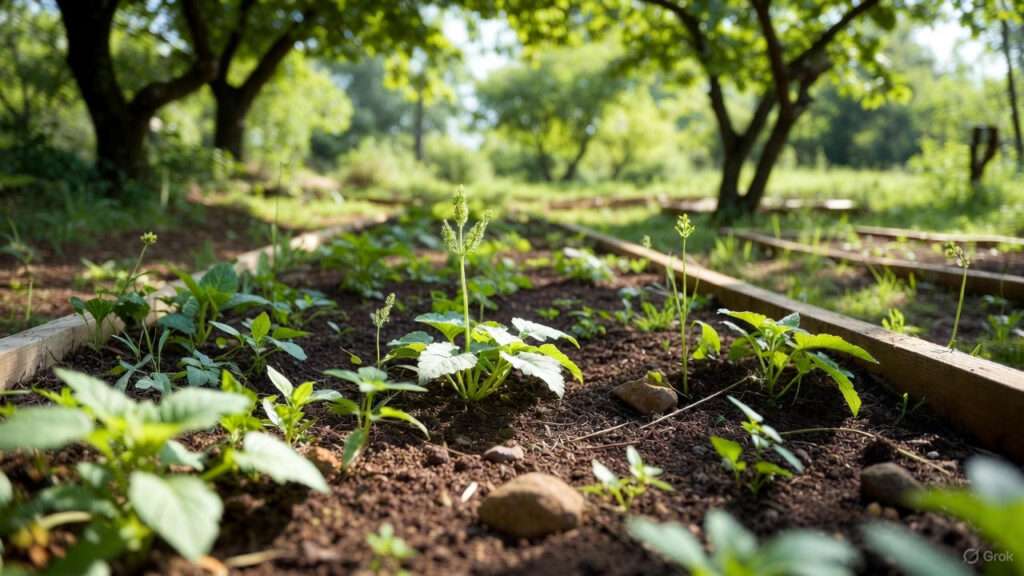
Step-by-Step Guide to Starting Your First Compost Pile
This is the heart of the guide — follow these steps exactly for success.
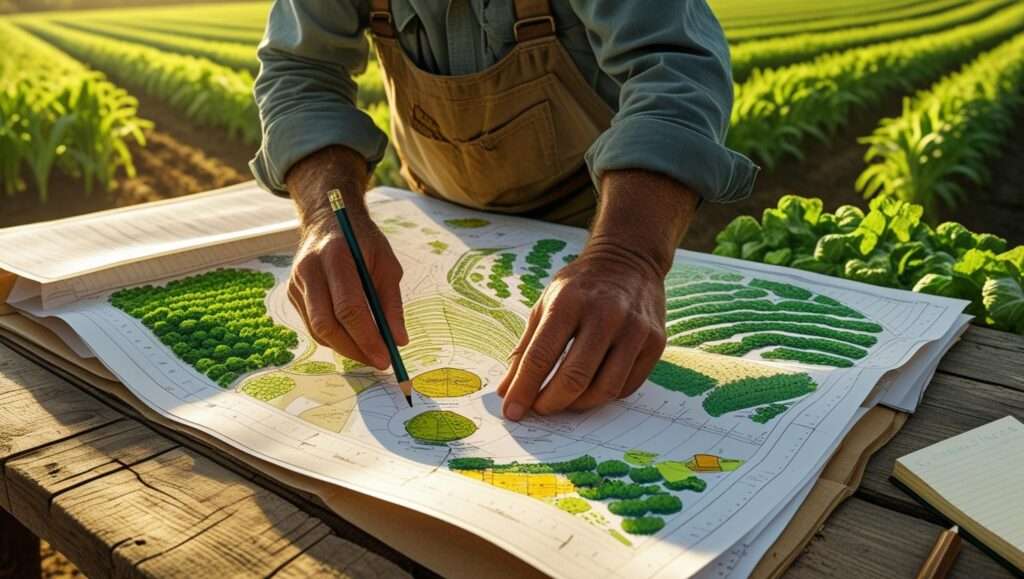
Step 1: Choose and Prepare Your Location
Select a level, well-drained spot that’s:
- Partially shaded (full sun dries it out; full shade slows decomposition)
- Convenient for adding materials and turning
- At least 10–20 feet from your house (for peace of mind)
- Accessible year-round
Clear weeds and loosen soil beneath for drainage and earthworm access.
Step 2: Gather Your Materials and Tools
Essential tools:
- Pitchfork or shovel for turning
- Garden hose or watering can
- Optional: compost thermometer ($15–$30), tarp for covering
Starting materials:
- Browns: Collect fall leaves (bag them now for year-round supply), shredded newspaper/cardboard, straw
- Greens: Save kitchen scraps in a countertop container
Pro tip: Stockpile browns in autumn — they’re the most common limiting factor.
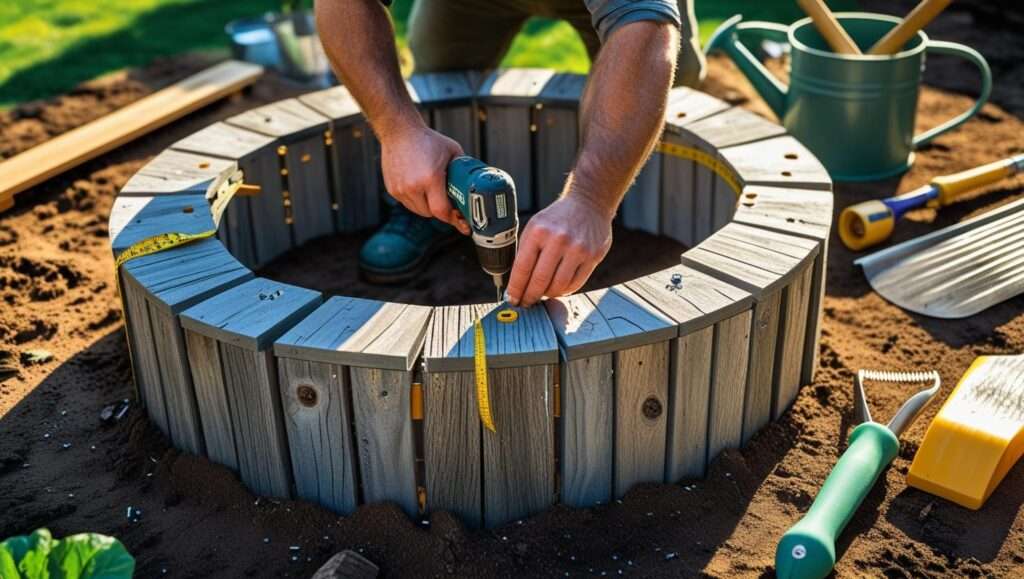
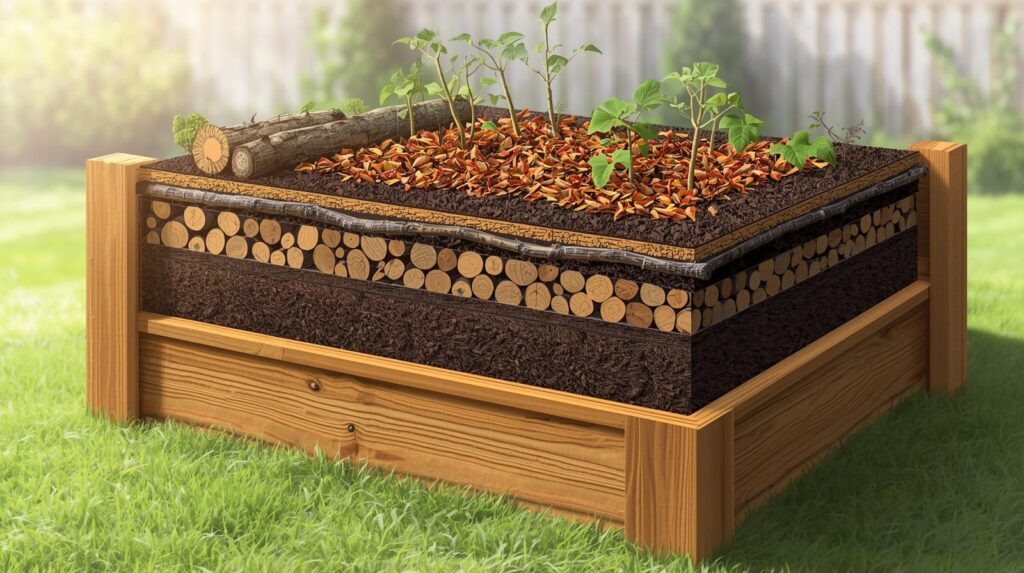
Step 3: Build Your Pile Layer by Layer
Aim for a minimum size of 3×3×3 feet — smaller piles don’t heat properly.
Layering technique:
- Start with coarse browns (twigs, stalks) for airflow
- Add 4–6 inches of browns
- Add 2–3 inches of greens
- Optional thin layer of garden soil or finished compost (introduces microbes)
- Repeat until pile is 3–4 feet tall
Moisten each layer as you go — the pile should feel like a wrung-out sponge.
Simple C:N guideline:
- Use roughly 2–3 parts browns to 1 part greens by volume
- When in doubt, add more browns

Step 4: Maintain Moisture and Aeration
- Moisture: Check weekly with the “squeeze test” — a handful should yield only a drop or two of water. Add water or browns as needed.
- Aeration: Turn the pile every 1–2 weeks with a pitchfork, moving outer material to the center. This introduces oxygen and speeds decomposition.
Step 5: Monitor Progress and Temperature
- Cold composting: Slow (6–12 months), minimal turning. Perfect for low-maintenance beginners.
- Hot composting: Reaches 130–160°F internally, kills weed seeds/pathogens, finishes in 2–4 months. Requires more frequent turning.
Use a compost thermometer to track heat — a rise within days indicates success.
What Can and Cannot Go in Your Compost Pile
One of the biggest hurdles for total beginners is knowing exactly what materials are safe and beneficial for your compost pile. Adding the wrong items can create odors, attract pests, or even introduce pathogens. The good news? The rules are straightforward once you understand the basics.
Safe “Greens” (Nitrogen-Rich Materials)
These provide protein for microbes and speed decomposition:
- Fruit and vegetable scraps (peels, cores, rinds)
- Coffee grounds and filters
- Tea bags (remove staples if present)
- Fresh grass clippings (in thin layers to prevent matting)
- Plant trimmings and spent flowers
- Houseplant trimmings
- Eggshells (crushed for faster breakdown)
- Herbivore manure (rabbit, horse, cow, chicken — aged if fresh)
Safe “Browns” (Carbon-Rich Materials)
These supply energy and prevent sogginess:
- Dry fallen leaves (best brown source)
- Shredded newspaper, office paper, and cardboard (remove tape/plastic)
- Paper towels and napkins (unbleached, non-greasy)
- Straw or hay
- Wood chips, sawdust (from untreated wood only)
- Dryer lint (natural fibers only)
- Corn stalks and cobs (chopped)
- Pine needles (in moderation — acidic and slow to break down)
Materials to Strictly Avoid
These can cause serious problems:
- Meat, fish, bones, and poultry
- Dairy products, cheese, and yogurt
- Oils, grease, lard, and fatty foods
- Pet waste (dog/cat feces — contains pathogens)
- Diseased or insect-infested plants
- Weeds gone to seed or perennial weeds (e.g., bindweed, quackgrass)
- Treated wood products or sawdust
- Coal or charcoal ash
- Synthetic chemicals (pesticides, herbicides)
Gray-area items (use sparingly or avoid if unsure):
- Citrus peels and onions (slow to decompose; can deter worms in vermicomposting)
- Bread, pasta, and baked goods (attract pests if not buried)
- Walnut leaves/shells (contain juglone, toxic to some plants)
Expert note: According to USDA and university extension research, properly managed hot compost (reaching 140°F+) can safely process small amounts of cooked vegetable scraps, but cold composting beginners should stick to raw plant materials to minimize risk.
Troubleshooting Common Beginner Problems
Even the best-managed compost pile can hit occasional snags. Here’s a quick-reference troubleshooting guide based on the most frequent issues I’ve seen in workshops.
| Problem | Symptoms | Likely Cause | Simple Fix |
|---|---|---|---|
| Bad odor (ammonia) | Strong urine-like smell | Too much nitrogen (greens) | Add more browns and turn the pile |
| Rotten egg smell | Anaerobic, putrid odor | Too wet or compacted | Turn immediately and add dry browns; improve drainage |
| Not heating up | Remains cool after weeks | Too small, too dry, or low nitrogen | Add greens, water lightly, ensure minimum 3×3×3 size |
| Fruit flies/gnats | Swarm around pile | Exposed food scraps | Bury kitchen scraps 8–10 inches deep; cover with browns |
| Rodents or raccoons | Digging or scattered scraps | Meat/dairy/oils added | Remove attractants; use wire mesh base or enclosed bin |
| Pile too dry | No decomposition progress | Insufficient moisture | Water thoroughly until squeeze test passes |
| Slow decomposition | Takes over a year | Too many browns or infrequent turning | Add greens, chop materials smaller, turn more often |
Pro tip from experience: Most problems stem from imbalance — when in doubt, add more browns and turn the pile. A quick aeration often resolves multiple issues at once.
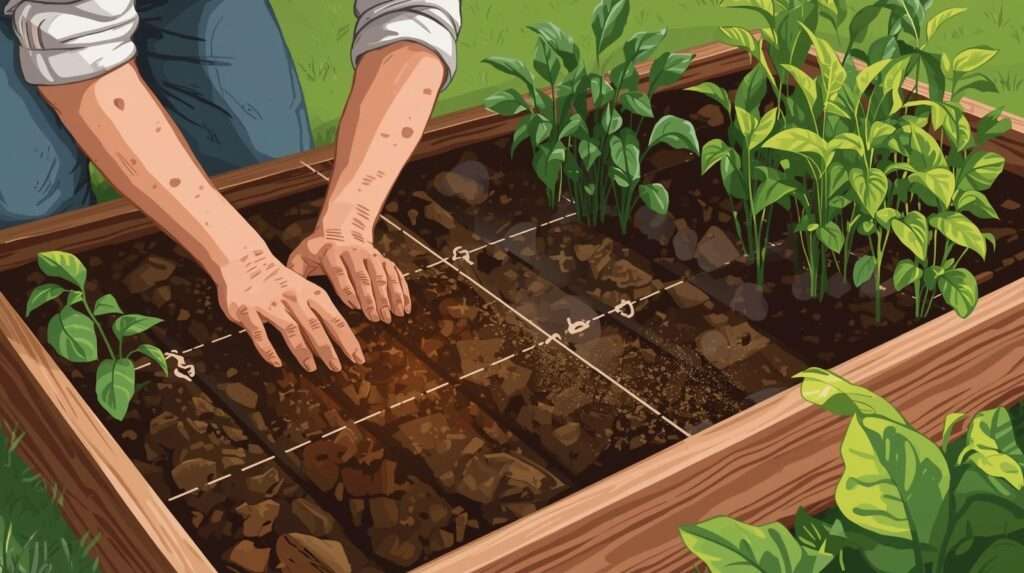
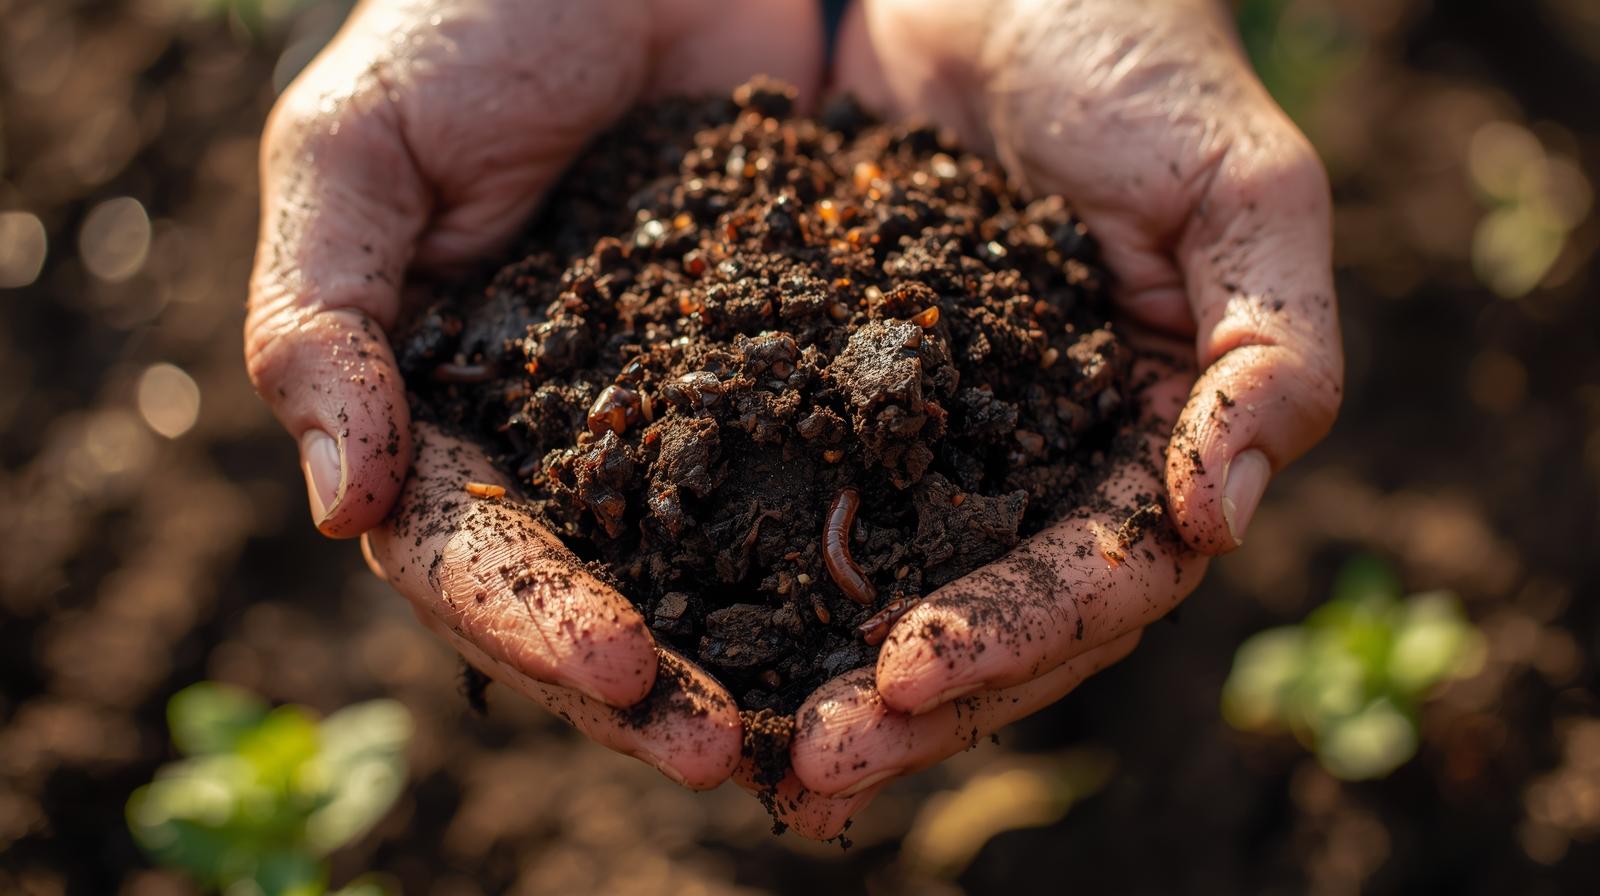
When and How to Harvest and Use Your Finished Compost
After 3–12 months (depending on method and climate), your compost will be ready when it’s dark brown, crumbly, and smells pleasantly earthy — like rich forest soil.
Signs Your Compost Is Finished
- No recognizable original materials
- Cool to the touch throughout
- Volume reduced by 50–75%
- Uniform texture
Harvesting Methods
- Simple shift method: Move unfinished material to a new spot and scoop finished compost from the bottom.
- Screening: Pass through ½-inch hardware cloth for finer texture (great for seed starting).
- Tumbler harvest: Rotate and empty entire contents — separate unfinished chunks to restart.
Store excess in covered bins or bags in a cool, dry place.
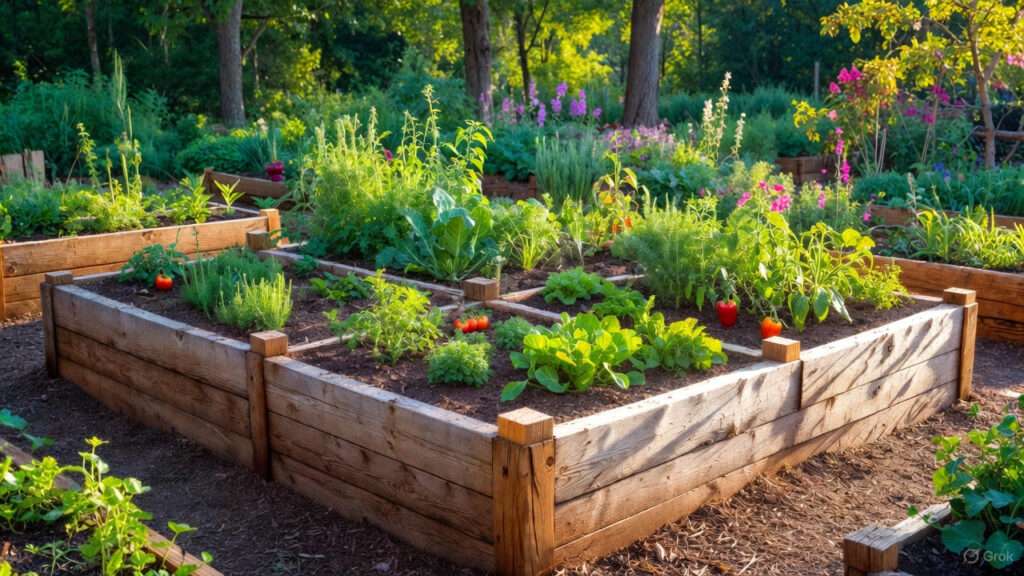
Best Ways to Use Your Black Gold
- Top dressing: Spread ½–1 inch around plants and shrubs in spring/fall.
- Soil amendment: Mix 20–30% compost into garden beds or new planting holes.
- Potting mix: Blend 1 part compost with 1 part soil and 1 part sand/perlite for containers.
- Compost tea: Steep finished compost in water 24–48 hours for liquid fertilizer.
- Lawn booster: Rake a thin layer into grass for natural feeding.
Research from Cornell University shows plants grown with compost-amended soil resist diseases better and require less irrigation — real-world proof of its value.
Seasonal Composting Tips for Year-Round Success
Composting works in every season with minor adjustments.
Winter Composting
- Build a larger pile (more mass retains heat)
- Insulate sides with straw bales or leaves
- Stockpile kitchen scraps in a frozen bucket and add in spring
- Switch to indoor bokashi or vermicomposting if needed
Spring and Summer
- Manage abundant greens (grass clippings) by layering thinly
- Monitor moisture — hot weather dries piles quickly
- Harvest finished compost for garden use
Fall Composting
- Capitalize on leaf abundance — shred and stockpile
- Add leaves gradually to avoid matting
- Start a dedicated leaf-mold pile (decomposes into excellent mulch)
Frequently Asked Questions (FAQs)
How long does it take to get finished compost? Cold composting: 6–12 months. Hot composting: 2–4 months. Chopping materials and regular turning speed the process dramatically.
Do I need to buy special activators or worms? No. Garden soil or a shovelful of existing compost introduces sufficient microbes. Worms arrive naturally in outdoor piles.
Can I compost in cold climates? Yes. Larger piles, insulation, and black bins absorb heat. Many northern gardeners successfully compost year-round.
Is composting safe with children and pets? Absolutely, when following “no-no” lists. Teach kids to bury scraps; use enclosed bins if pets dig.
What if I go on vacation? A balanced pile can sit 4–6 weeks without turning. Add extra browns before leaving to prevent odors.
How much space do I really need? A basic 3×3-foot pile fits most yards. Tumblers take even less footprint. Apartment dwellers thrive with 5-gallon bokashi buckets.
Conclusion
Starting your first compost pile is one of the most rewarding steps you can take toward sustainable living. You’ve now learned exactly how to transform everyday kitchen scraps and yard waste into nutrient-rich soil amendment — reducing landfill waste, saving money, and growing healthier plants in the process.
Remember: perfection isn’t required. Nature handles the heavy lifting; your job is simply providing balanced materials, moisture, and occasional oxygen. Your first pile might not be flawless, and that’s perfectly fine — every experienced composter started exactly where you are now.
Take action today: choose your spot, gather a few bags of leaves, and add your next banana peel with purpose. Within months, you’ll harvest your own black gold and wonder why you didn’t start sooner.
Have questions about your specific setup? Drop them in the comments — I read and respond to every one. Happy composting!