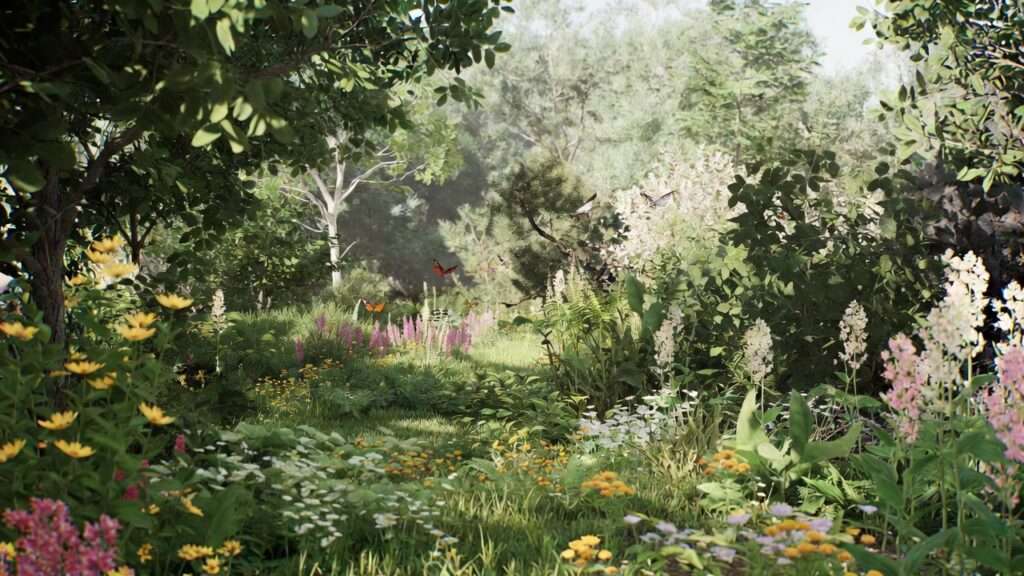
Imagine stepping into your backyard and being greeted not by a monotonous green lawn that demands constant mowing, watering, and chemical treatments, but by a vibrant, buzzing ecosystem alive with butterflies fluttering among native wildflowers, birds darting between berry-laden shrubs, and bees humming as they pollinate blooms from spring through fall. Your yard becomes a sanctuary that supports declining wildlife populations, sequesters carbon, conserves water, and even provides fresh herbs, berries, or vegetables with far less effort over time.This isn’t a fantasy—it’s the reality of an ecological garden.
An ecological garden is a designed landscape that works in harmony with nature, mimicking natural ecosystems to foster biodiversity, build healthy living soil, and create resilient, low-maintenance spaces. Unlike conventional yards dominated by turf grass and synthetic inputs, ecological gardens prioritize native plants, natural processes, and wildlife support, turning ordinary properties into thriving habitats.
In the United States today, where suburban and urban lawns cover an area roughly the size of Washington state and contribute to habitat loss, pollinator declines (with native bee species facing steep drops), and excessive water and chemical use, creating an ecological garden addresses urgent needs. According to sources like the U.S. Fish & Wildlife Service and USDA reports, pollinators contribute to one out of every three bites of food we eat, adding billions in agricultural value, while diverse gardens enhance soil health, prevent erosion, and improve local biodiversity.
If you’re tired of high-maintenance lawns, concerned about declining wildlife, or simply want a beautiful, sustainable yard that gives back to the environment, this guide is for you. Drawing from principles endorsed by organizations like the Native Plant Trust, National Wildlife Federation, and university extension services (such as Cornell and USDA resources), we’ll walk through 10 essential steps to build your own ecological garden. These steps form a comprehensive blueprint adaptable to most USA regions and yard sizes—from small suburban plots to larger homesteads in USDA hardiness zones 3 through 10.
Whether you’re a beginner gardener or experienced, this approach promises reduced maintenance (often by 50-70% once established), increased wildlife sightings, better soil fertility, and a deeper connection to nature. Let’s dive in and transform your yard into a thriving, wildlife-friendly oasis.
What Is an Ecological Garden? (And Why It Matters in the USA Today)
At its core, an ecological garden is a human-influenced ecosystem that actively supports life rather than suppressing it. It follows simple yet powerful principles: work with nature, not against it; prioritize relationships between plants, soil organisms, pollinators, birds, and other wildlife; and mimic the structure and processes of local natural habitats.
Key elements include:
- Native plants adapted to your region’s climate, soil, and pests, requiring minimal irrigation or fertilizers once established.
- Biodiversity through layered plantings (trees, shrubs, perennials, groundcovers) that provide year-round food, shelter, and nesting sites.
- Living soil teeming with microbes, fungi, and earthworms, built through composting, mulching, and avoiding synthetics.
- Natural pest management via beneficial insects, birds, and plant diversity rather than chemicals.
This contrasts sharply with conventional gardening, which often relies on monoculture lawns, synthetic fertilizers (which can harm soil biology), pesticides (linked to pollinator declines), and high water use. Ecological gardening reduces these impacts while delivering benefits like enhanced carbon sequestration, improved water infiltration to prevent flooding, and support for endangered species.
In the USA, the stakes are high. Habitat fragmentation has led to significant biodiversity loss, with many pollinator species declining due to loss of native forage. Native plants co-evolved with local insects, providing essential nectar, pollen, and host sites—something non-natives often can’t match. By creating even a small ecological garden, you contribute to national efforts to restore ecosystems, as highlighted by initiatives from the National Wildlife Federation and USDA.
The payoff? A yard that’s not only beautiful and functional but also resilient to climate challenges like drought or heavy rains, while boosting your mental well-being through nature connection.
Before You Start: Assess Your Yard and Set Realistic Goals
Success begins with understanding your site—no two yards are identical. Skip this, and even the best plants may struggle.
Start with a thorough site analysis:
- Map sun exposure (full sun 6+ hours, part shade, full shade) throughout the day and seasons.
- Test soil: Use a simple home kit or send samples to your local cooperative extension for pH, texture (clay, loam, sand), and nutrients. Most natives prefer slightly acidic to neutral soil without heavy amendments.
- Note drainage patterns, slopes, wind exposure, and microclimates (e.g., hot south-facing walls or moist low spots).
- Inventory existing plants: Identify natives to keep, invasives to remove (e.g., English ivy, bush honeysuckle), and any turf areas for conversion.
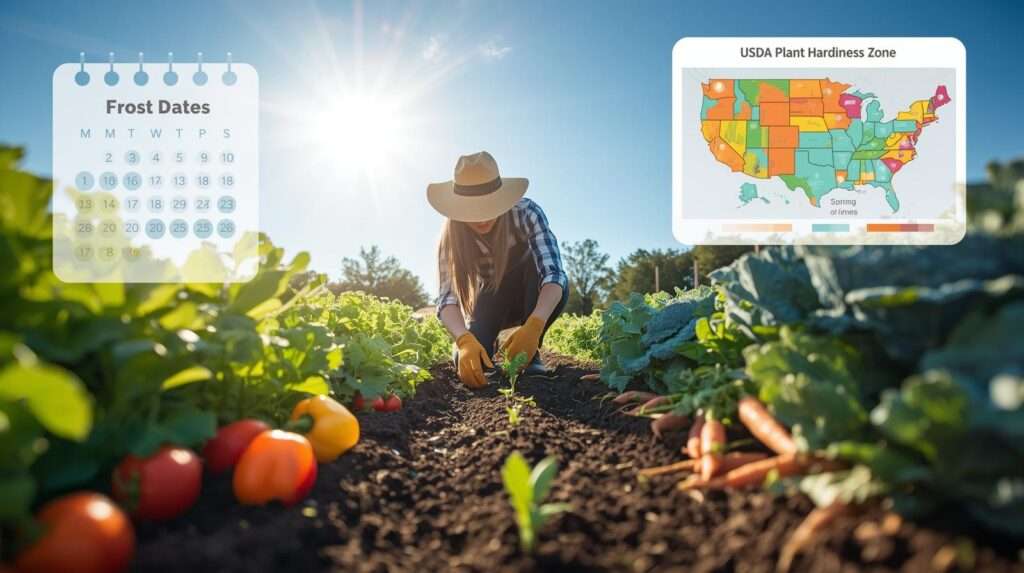
- Check your USDA Hardiness Zone (via planthardiness.ars.usda.gov) and ecoregion for plant suitability—ecoregions consider soil, rainfall, and wildlife better than zones alone.
Tools to use:
- Free resources: USDA PLANTS Database, Lady Bird Johnson Wildflower Center plant finder, National Wildlife Federation Native Plant Finder (enter your zip code).
- Apps: iNaturalist for ID help, or extension service guides.
Set clear, achievable goals: Do you want maximum pollinator support, some edible yields, a low-water design for the West, or a bird-focused habitat? Start small—convert one section first—to build confidence and observe results.
Avoid common pitfalls: Don’t aim for perfection (a “messy” look supports wildlife); resist over-planting too densely at once; and budget time—ecological gardens mature over 2-5 years.
With assessment complete, you’re ready for the core transformation.
The 10 Essential Steps to Build Your Ecological Garden
Here’s the proven, step-by-step roadmap. Each step builds on the last, creating layers of resilience and beauty. Follow them in order, but feel free to adapt timing and scale to your resources and region.
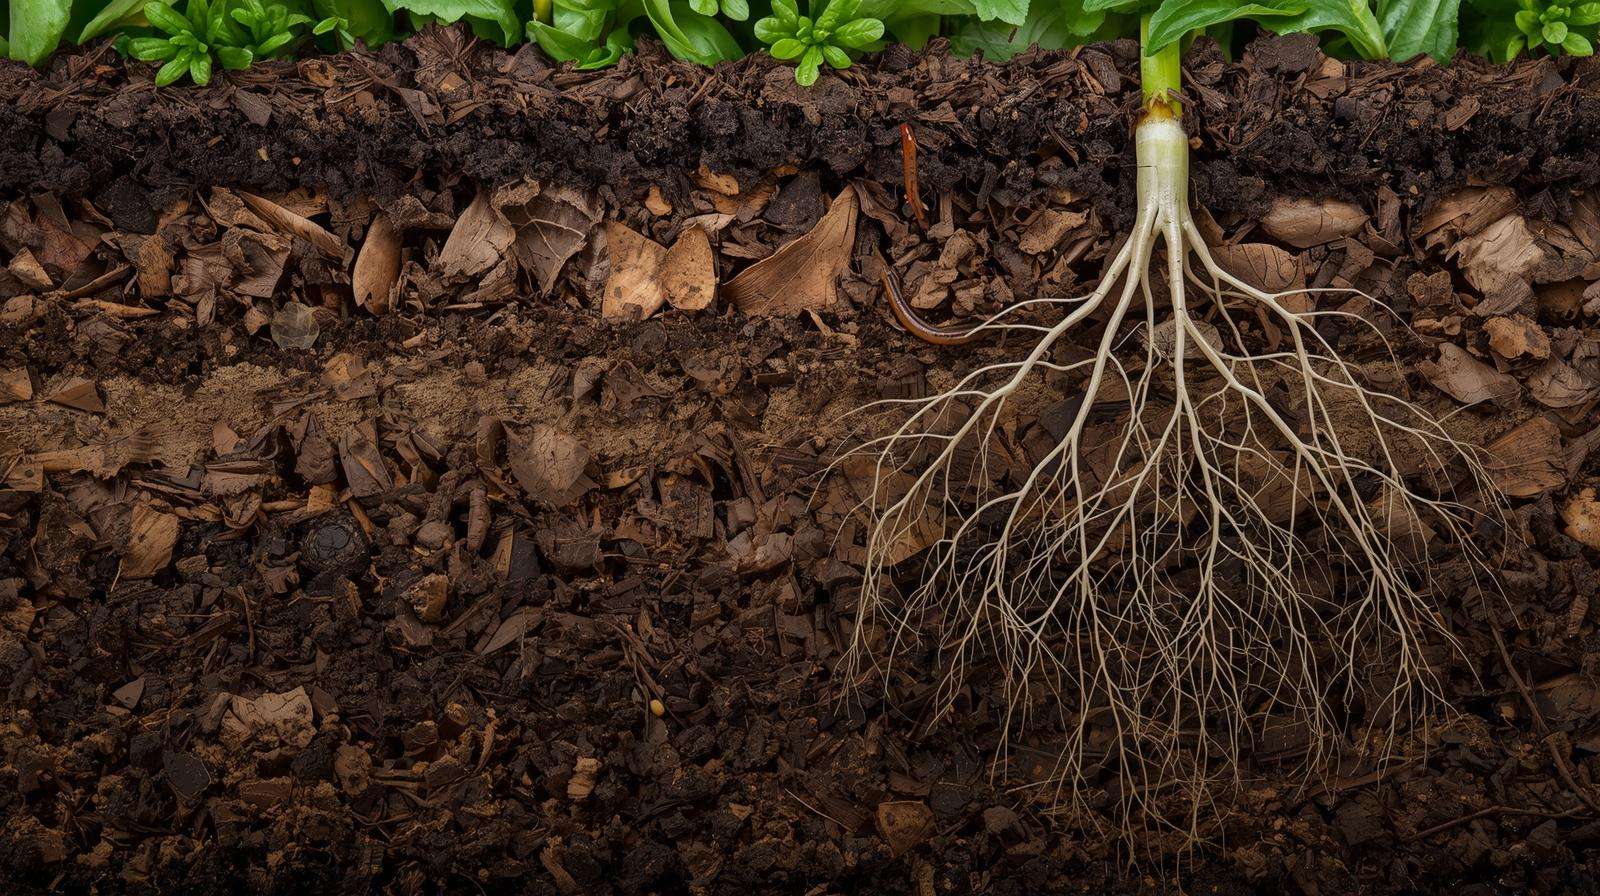
Step 1: Build Healthy, Living Soil – The Foundation of Everything
Nothing matters more in an ecological garden than soil that’s alive. Healthy soil is a complex web of bacteria, fungi (mycorrhizae), protozoa, nematodes, earthworms, and other organisms that cycle nutrients, improve structure, retain water, and suppress disease—far better than any bag of synthetic fertilizer ever could.
Why it’s essential: Most American yards have compacted, nutrient-depleted, microbe-poor soil from years of mowing, bagging clippings, and chemical applications. Rebuilding biology is the single biggest lever for long-term success.
How to do it:
- Stop tilling/digging whenever possible. No-dig methods preserve fungal networks and soil structure.
- Sheet mulch (lasagna gardening): In fall or early spring, mow lawn low, cover with cardboard or several layers of newspaper (overlap edges), then layer 4–8 inches of compost, aged manure, leaf mold, or wood chips. Plant directly into the mulch or cut small holes for transplants.
- Add compost regularly: Aim for 1–2 inches per year. Make your own (hot or cold piles) or source high-quality local compost. Kitchen scraps, yard waste, and fall leaves are gold.
- Use cover crops/green manures in bare areas: Clover, buckwheat, hairy vetch, or daikon radish (winter-kills and breaks compaction). Sow densely, then chop and drop or lightly incorporate before flowering.
- Inoculate with mycorrhizae when planting trees, shrubs, and many perennials (most natives form these partnerships).
Regional USA tips:
- Northeast/Midwest: Heavy clay soils benefit from lots of organic matter and gypsum if calcium is low.
- Southeast: Acidic red clay often needs lime; pine straw mulch is abundant and acidic-tolerant.
- West/Southwest: Sandy soils need frequent light mulch layers to prevent rapid drying.
Pro tip: Test soil every 2–3 years via your county extension service. Focus on organic matter percentage (aim for 5%+) rather than chasing perfect N-P-K numbers.
Step 2: Eliminate Chemicals and Synthetic Inputs
You cannot have a truly ecological garden while routinely applying synthetic fertilizers, herbicides, or pesticides. These kill the very soil life and beneficial insects you’re trying to nurture.
Transition plan:
- Year 1: Stop all synthetics immediately. Spot-treat problem weeds manually or with boiling water/vinegar (carefully).
- Replace fertilizers with compost tea, worm castings, or fish hydrolysate (diluted).
- Replace pesticides with cultural controls first (see Step 8), then OMRI-listed options like neem oil, insecticidal soap, or Bt (Bacillus thuringiensis) for caterpillars only when absolutely necessary.
Long-term mindset: Accept some chewed leaves—plants support more insect life when they’re allowed to host a few herbivores. A diverse, healthy ecosystem self-regulates far better than constant human intervention.
Bonus: Many municipalities and HOAs now allow or encourage chemical-free yards—check local ordinances and educate neighbors with visible signage or pollinator habitat certification.
Step 3: Choose and Plant Native Plants – Right Plant, Right Place
Native plants are the cornerstone of any ecological garden because they:
- Provide the exact pollen, nectar, and larval host resources local insects evolved with.
- Require far less water, fertilizer, and pest control once established.
- Support native birds (who feed their young almost exclusively on caterpillars found on native plants).
How to select natives:
- Use zip-code-based tools: National Wildlife Federation Native Plant Finder, Lady Bird Johnson Wildflower Center database, or your state’s native plant society website.
- Prioritize keystone species (plants that support the most insect species), e.g., oaks, willows, goldenrods, asters, milkweeds.
- Match conditions: Wet-tolerant (swamp milkweed, blue flag iris), dry-tolerant (little bluestem, yarrow), shade (wild ginger, foamflower).
Planting guidelines:
- Buy from reputable native nurseries (not big-box “nativars” that may be sterile or less ecologically valuable).
- Plant in fall (best root establishment) or early spring.
- Space appropriately—many natives grow larger than their nursery pot size suggests.
- Water deeply but infrequently during the first year.
Quick regional examples:
- Northeast/Mid-Atlantic: Black-eyed Susan, purple coneflower, bee balm, New England aster, serviceberry.
- Southeast: Butterfly weed, blazing star, coral honeysuckle (vine), beautyberry.
- Midwest/Great Plains: Prairie dropseed, compass plant, rattlesnake master, pasque flower.
- Southwest: Desert marigold, penstemon, fourwing saltbush, chocolate flower.
- Pacific Northwest: Oregon grape, salal, bleeding heart, camas.
Aim for at least 70–80% native species by number of plants (not just area) for maximum ecological benefit.
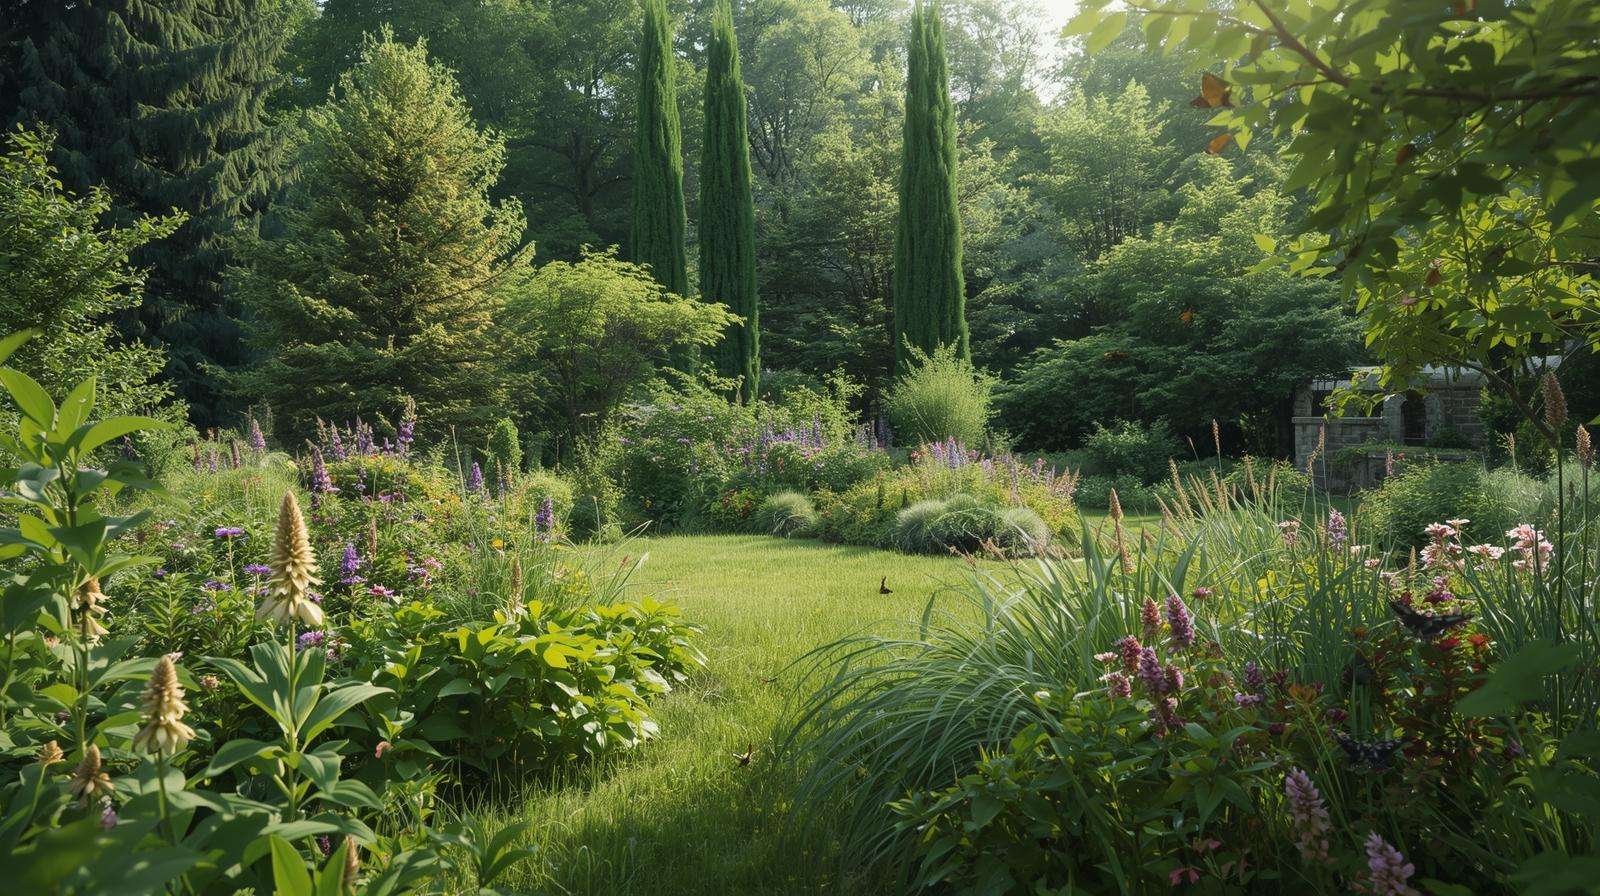
Step 4: Design with Layers and Diversity for Year-Round Interest
Ecological gardens thrive on structural complexity and temporal diversity—much like natural forests, prairies, or meadows. A flat bed of perennials may look nice in July, but it offers little shelter or food in winter and supports far fewer species.
Layering principles (inspired by forest garden and savanna models):
- Canopy layer — Tall trees or large shrubs (e.g., oaks, serviceberry, redbud, elderberry) for shade, mast (nuts/berries), and bird perching/nesting.
- Understory layer — Medium shrubs and small trees (e.g., spicebush, buttonbush, ninebark, dogwood).
- Shrub/perennial layer — Mid-height flowering plants (e.g., coneflowers, bee balm, goldenrod, Joe-Pye weed).
- Groundcover/herb layer — Low plants that suppress weeds and protect soil (e.g., wild strawberry, creeping phlox, Pennsylvania sedge, pussytoes).
- Vine/climber layer — Vertical accents (e.g., Virginia creeper, coral honeysuckle, Dutchman’s pipe for pipevine swallowtail caterpillars).
Diversity strategies:
- Plant in drifts or clusters of 3–7+ of the same species for visual impact and pollinator efficiency.
- Aim for at least 3–5 species blooming or fruiting in each season (spring ephemerals → summer composites → fall asters/goldenrods → winter berries/seeds).
- Include evergreens or persistent seed heads for winter structure and food (coneflower seed heads, little bluestem grasses, sumac fruit).
Design tips:
- Use the “right plant, right place” rule to avoid constant intervention.
- Create curved beds and paths to feel natural and encourage exploration.
- Leave some open sunny patches for ground-nesting bees.
This layered approach can increase insect diversity by 2–4 times compared to lawn or simple flower beds, according to studies from entomologists like Doug Tallamy.
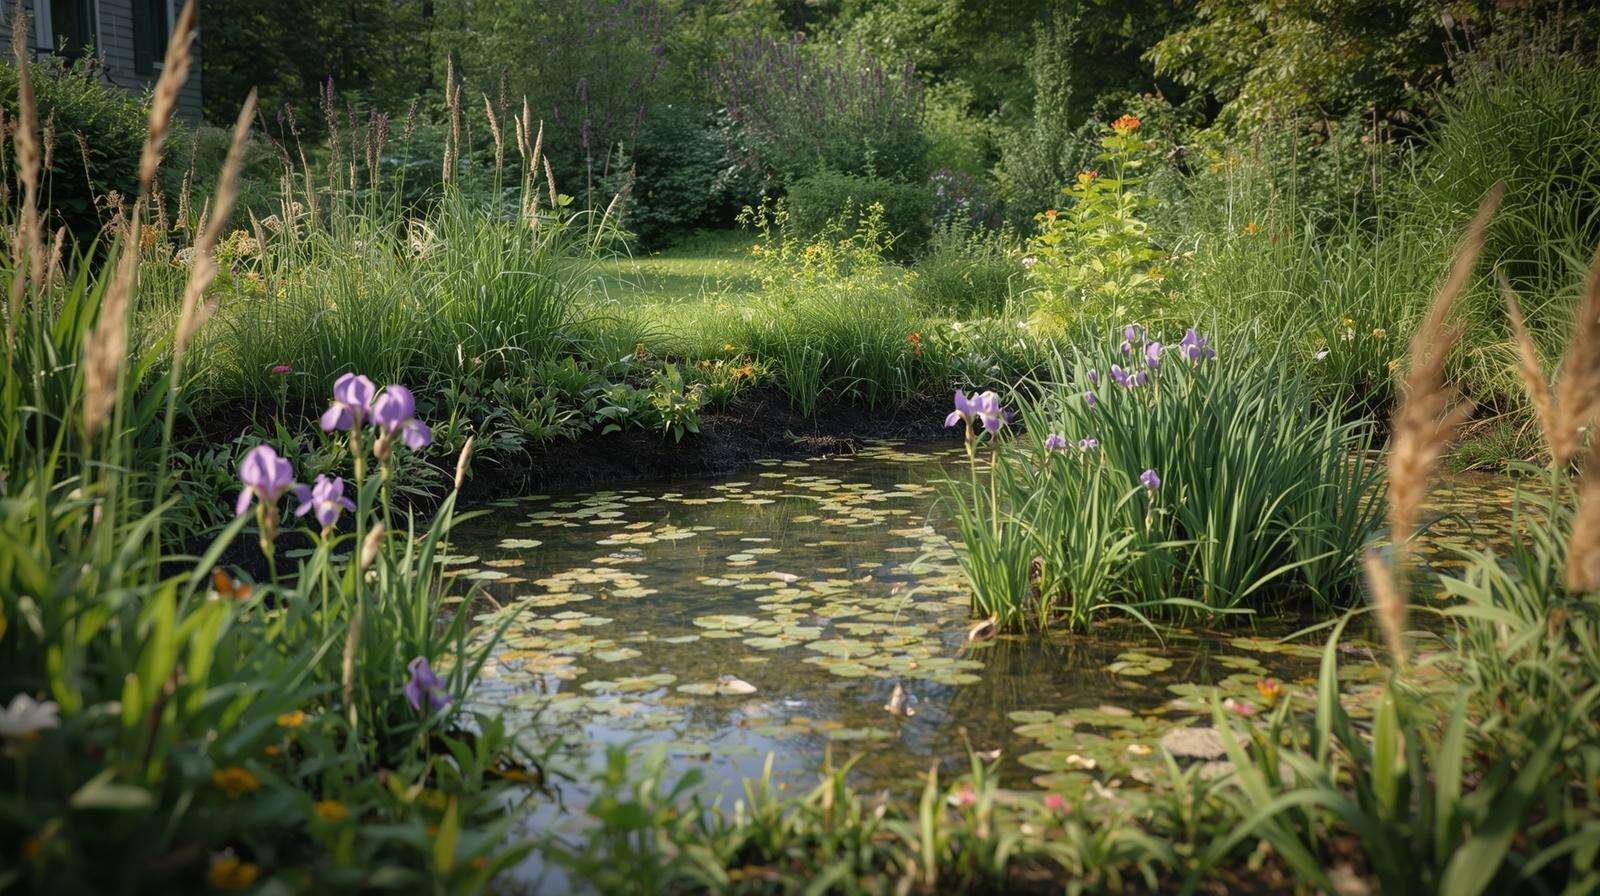
Step 5: Incorporate Water-Wise Practices and Smart Irrigation
Water is often the biggest ongoing cost and environmental footprint in American yards. Ecological gardens minimize this through design.
Key techniques:
- Rain gardens and bioswales — Depressions planted with wet-tolerant natives (e.g., cardinal flower, blue flag iris, buttonbush) that capture roof/gutter runoff and allow slow infiltration.
- Mulch everywhere — 2–4 inches of organic mulch (shredded leaves, arborist chips, pine straw) reduces evaporation by up to 70% and feeds soil life.
- Permeable surfaces — Gravel paths, stepping stones, or decomposed granite instead of concrete.
- Group plants by water needs — Hydrozones: drought-tolerant natives together, moisture-lovers in low spots.
- Irrigation upgrades — Drip lines or soaker hoses on timers for new plantings only. After year 1–2, most natives need little to no supplemental water in average conditions.
Regional adaptations:
- Arid West/Southwest: Xeriscape with agave, yucca, penstemon, desert willow; harvest rainwater in cisterns.
- Humid East/Southeast: Focus on slowing runoff to prevent erosion and fungal issues.
Step 6: Add Habitats and Shelter for Wildlife
Plants provide food, but wildlife also needs shelter, nesting sites, and water.
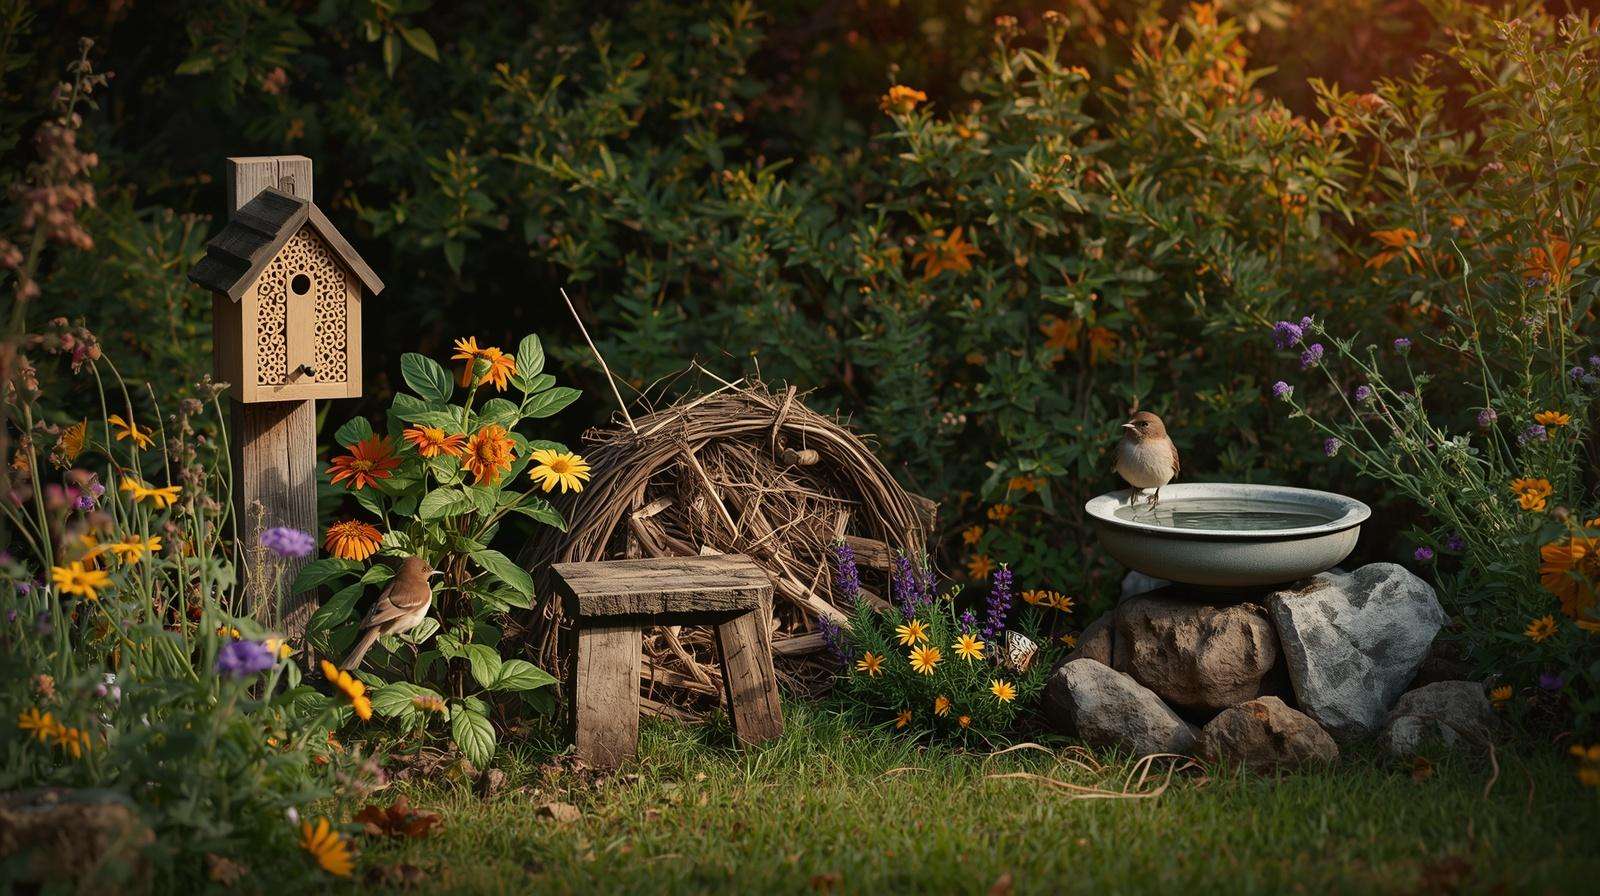
Essential additions:
- Bee hotels — Bundles of hollow stems or drilled wood blocks for solitary bees.
- Brush piles and rock piles — For small mammals, reptiles, amphibians, and overwintering insects.
- Bird houses and feeders — Species-specific (bluebird boxes, chickadee houses) placed 5–10 feet high, away from windows.
- Bird baths or shallow water features — With rocks for perching; change water frequently to prevent mosquitoes.
- Deadwood/snags — Leave standing dead trees (if safe) or add logs for woodpeckers, beetles, and fungi.
Host plants — Include specific caterpillar hosts: milkweed for monarchs, parsley/dill/fennel for swallowtails, violets for fritillaries.
These features can turn your yard into a certified wildlife habitat (via National Wildlife Federation’s free program).
Step 7: Integrate Edibles Sustainably (Optional but Rewarding)
Ecological gardens don’t have to sacrifice production. Many natives and near-natives are edible or support food crops.
Ideas:
- Guild planting — Mimic the Three Sisters (corn, beans, squash) or modern versions (sunflowers + pole beans + ground cherries).
- Perennial edibles — Ramps, asparagus, rhubarb, serviceberry, pawpaw, persimmon, elderberry, aronia.
- Herb spirals or polycultures — Native bee balm with culinary mints, oregano, chives.
- Fruiting shrubs — Currants, gooseberries, highbush blueberry (acid-loving natives).
Balance: Keep 60–70% purely ecological natives to maintain biodiversity; edibles fill gaps.
Step 8: Manage Pests and Weeds Naturally
Prevention beats cure.
Weed suppression:
- Thick mulch layers.
- Dense planting to shade out competitors.
- Living mulches (clover, sedges).
Pest management:
- Encourage predators — Birds, ladybugs, lacewings, predatory wasps (provide nectar plants).
- Physical controls — Row covers, hand-picking, reflective mulch.
- Plant diversity — Confuses pests and attracts beneficials.
- Tolerate minor damage — A few aphids feed ladybug larvae; healthy plants outgrow issues.
Only use organic sprays (neem, soap, horticultural oil) as last resort and spot-treat.
Step 9: Maintain Minimally and Observe/Adapt
Ecological gardens are low-input by design.
Seasonal routine:
- Spring — Lightly rake leaves (leave some for overwintering insects), plant new additions.
- Summer — Monitor for establishment, water new plants deeply.
- Fall — Leave seed heads, plant bulbs, add mulch.
- Winter — Observe bird activity, plan next season.
Keep a simple journal: Note first bloom dates, wildlife sightings, soil improvements. Adjust based on what thrives.
Step 10: Scale Up and Connect to the Bigger Picture
Once your core area succeeds, expand gradually. Join:
- National Wildlife Federation Certified Wildlife Habitat program.
- Local native plant sales and restoration groups.
- Seed/plant swaps.
- Community science projects (e.g., iNaturalist observations).
Your yard becomes part of a larger corridor for wildlife movement.
Real-Life Examples and Case Studies
To make these steps feel more tangible, here are two realistic before-and-after scenarios drawn from common U.S. gardener experiences (inspired by documented projects shared through extension services, native plant societies, and National Wildlife Federation certified habitats).
Example 1: Suburban Midwest Yard Transformation (Illinois, Zone 5b) A ¼-acre suburban lot originally featured a large turf lawn, a few non-native foundation shrubs, and scattered annual flower beds. The homeowners were frustrated with weekly mowing, spring/fall leaf cleanup, and almost no wildlife beyond squirrels.
- Year 1: They followed Steps 1–3 by sheet-mulching the front lawn, removing invasives (burning bush, euonymus), and planting a core of 70% natives: prairie dropseed, little bluestem, butterfly weed, purple coneflower, bee balm, black-eyed Susan, and New England aster. They added a small rain garden in a low spot with swamp milkweed and blue flag iris.
- Year 2: Layers expanded (Step 4) with serviceberry and ninebark shrubs, plus groundcovers like wild strawberry. A brush pile and two bee hotels went in (Step 6). Drip irrigation was used only for establishment (Step 5).
- Results by Year 3: Watering dropped to near-zero except extreme drought. Monarch caterpillars appeared on the milkweed within two seasons. Bird sightings jumped from 4–5 common species to over 25 (including goldfinches, chickadees, indigo buntings). Maintenance time fell from 8–10 hours/week to about 2–3 hours/month. Neighbors started asking for plant divisions.
Example 2: Arid Southwest Backyard (Arizona, Zone 9b) A 1/10-acre backyard was mostly gravel and non-native turf struggling in 110°F summers. The goal was low water use plus hummingbird and butterfly support.
- Approach: Heavy emphasis on Steps 3 and 5—drought-tolerant natives (desert marigold, firecracker penstemon, chuparosa, desert willow, brittlebush) planted densely with decomposed granite mulch. A small cistern captured roof runoff for occasional deep watering. No chemicals from day one (Step 2).
- Wildlife features: Hummingbird feeders supplemented native nectar plants; rock piles and a shallow bird bath added shelter (Step 6).
- Outcomes: Water bill decreased by ~60%. First-year blooms attracted Anna’s and Costa’s hummingbirds, plus pipevine and cloudless sulphur butterflies. By year four, the yard hosted nesting verdins and cactus wrens. The space looked intentionally designed rather than “messy,” proving ecological gardens can fit modern aesthetics.
These examples show realistic timelines: noticeable wildlife increases in 1–2 years, full maturity and minimal maintenance in 3–5 years.
Common Challenges and How to Overcome Them
Even with the best plan, hurdles appear. Here are the most frequent issues and practical solutions:
- “It looks too wild/messy” Solution: Create clean edges with stone, brick, or mown paths. Use a few bold structural plants (ornamental grasses, small trees) as focal points. Educate neighbors or add a small “Pollinator Habitat” sign from the Xerces Society or NWF.
- Slow results / “Nothing is happening” Solution: Be patient—soil biology and wildlife take time. Track progress with photos every season and a wildlife journal. First-year focus is establishment; blooms and visitors surge in years 2–3.
- Invasive species returning Solution: Persistent manual removal (hand-pull, cut repeatedly) is most effective long-term. Mulch heavily to suppress seedlings. Replace with aggressive native competitors (e.g., goldenrod outcompetes many invasives once established).
- Budget or time constraints Solution: Start with one 100–200 sq ft bed. Source free/cheap materials (municipal leaf mulch, plant divisions from neighbors, native seed bombs). Prioritize high-impact keystone plants over quantity.
- Deer, rabbits, or other herbivores eating everything Solution: Plant deer-resistant natives first (e.g., mountain mint, agastache, alliums). Use temporary netting or repellents during establishment. Plant densely—herbivores often avoid thick patches.
Quick-Start Checklist and Tools/Resources
Printable 10-Step Quick-Start Checklist
- Assess yard: sun, soil, zone, goals
- Build living soil: sheet mulch + compost
- Eliminate chemicals
- Plant natives (70%+ target)
- Design layers & seasonal diversity
- Add water-wise features
- Install wildlife habitats
- (Optional) Integrate edibles
- Manage naturally
- Maintain minimally & observe
- Expand & certify
Recommended Resources
- Books: “Nature’s Best Hope” by Doug Tallamy; “The Nature of Oaks” by Tallamy; “Planting in a Post-Wild World” by Thomas Rainer & Claudia West.
- Websites: nwf.org/nativeplantfinder, wildflower.org, xerces.org, your state’s cooperative extension (e.g., extension.psu.edu, extension.umd.edu).
- Apps: iNaturalist (ID plants/insects), PictureThis.
- Certification: National Wildlife Federation Certified Wildlife Habitat (nwf.org/garden).
Frequently Asked Questions (FAQ)
What is the difference between ecological, native, and organic gardening? Ecological gardening focuses on mimicking natural ecosystems and maximizing biodiversity/wildlife support. Native gardening emphasizes using indigenous plants. Organic gardening avoids synthetics but may use non-natives or prioritize food production over habitat. A strong ecological garden usually incorporates both native and organic principles.
How long until I see wildlife benefits? Many gardeners notice more bees and butterflies within the first full growing season. Birds and small mammals often arrive in year 2. Significant biodiversity increases (e.g., caterpillar hosts, overwintering insects) typically appear in years 3–5.
Can I keep some lawn? Yes—many successful designs retain small turf areas for play or aesthetics. Convert gradually (e.g., 20–30% per year) to avoid overwhelm.
What are the best starter natives for my region? Use zip-code tools from NWF or Wildflower.org. Safe beginner picks: black-eyed Susan and coneflower (most of U.S.), bee balm (East/Midwest), penstemon (West), milkweed species matched to your area.
Is it expensive to start? Not necessarily. Sheet mulching uses free/cheap materials. Buy small plugs or seeds instead of large pots. Many native plant sales and swaps keep costs low ($50–300 for a modest starter bed).
Conclusion
Creating an ecological garden is one of the most impactful things you can do on your own property. In a time when natural habitats are shrinking and pollinators face unprecedented pressure, every yard that supports native plants, living soil, and wildlife becomes a vital piece of the solution.
You don’t need a huge space or expert-level knowledge to start. Begin with one bed, one step at a time—build that living soil this weekend, plant a few keystone natives next season, add a bee hotel the following year. Watch how the changes compound: fewer weeds, less watering, more color and motion, and the quiet satisfaction of knowing your yard is giving back.
Your ecological garden won’t be perfect, and it doesn’t have to be. Nature doesn’t demand manicured perfection—it rewards diversity, resilience, and patience. Start small, stay curious, and let your yard evolve into something truly alive.
Ready to begin? Grab a notepad, walk your yard, and take that first site assessment today. The wildlife—and future you—will thank you.