Imagine stepping onto your balcony or into your backyard on a warm summer morning and harvesting crisp lettuce, fragrant basil, or juicy cherry tomatoes you grew yourself—no grocery store runs required. For millions of Americans living in rentals or settling into new homes, this dream is closer than you think. If you’re searching for a First Garden Checklist for US Renters and Homeowners, you’ve found the most practical, beginner-friendly resource available.
This comprehensive guide delivers exactly what new gardeners need: a clear, actionable checklist tailored to both limited-space renters (think apartments, balconies, and patios) and homeowners with yards. Drawing from trusted sources like Better Homes & Gardens, Gardenary’s proven raised-bed systems, renter-friendly strategies from experienced urban growers, and official USDA guidelines, we’ve built a skyscraper resource that goes far beyond basic lists. You’ll get detailed steps, renter-specific portability hacks, homeowner soil-building advice, tool recommendations, plant selections by region, maintenance schedules, troubleshooting, and real-world tips to avoid common pitfalls.
Gardening delivers proven benefits: fresh organic produce that can save $300–$600 yearly on a small plot, reduced stress (backed by university extension studies), improved mental health, family bonding time, and a smaller carbon footprint. Whether you’re in a sunny Zone 9 Florida apartment or a cooler Zone 5 Chicago backyard, this checklist solves the real problem every beginner faces: “Where do I even start—and how do I not kill everything?”
We’ll walk you through every stage so you feel confident, not overwhelmed. Start small, follow the steps, and watch your first garden thrive. Let’s dig in.
Why Starting a Garden Makes Perfect Sense for US Renters and Homeowners
Gardening isn’t just trendy—it’s practical and rewarding for both lifestyles.
For renters: Container gardening lets you take your entire garden when you move. No digging up the landlord’s yard. You can grow on balconies, patios, windowsills, or even fire escapes (check local codes). Portability is key: use lightweight fabric grow bags or wheeled planters. You still get fresh herbs for cooking and flowers for your table without permanent changes.
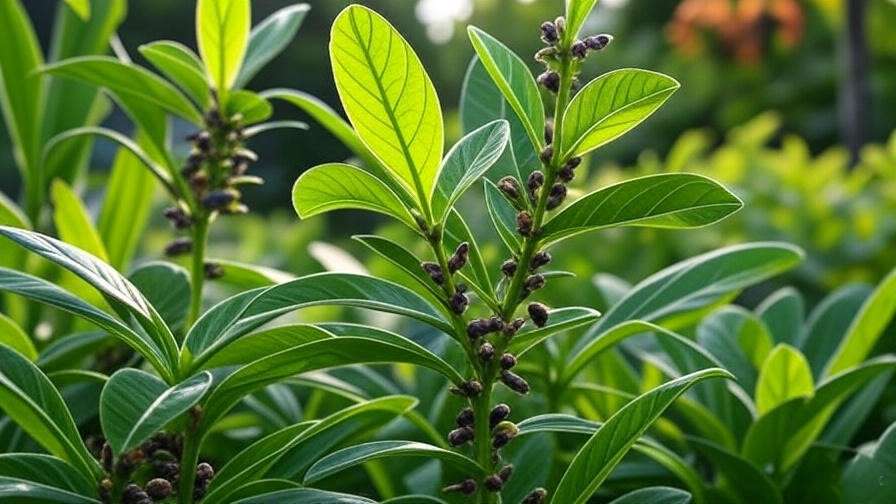
For homeowners: You can invest in raised beds, amend native soil for long-term fertility, and create edible landscapes that boost curb appeal and property value. Many new homeowners discover neglected yards that become productive oases within one season.
Shared benefits across both groups:
- Health & Nutrition — Homegrown vegetables often contain more nutrients than store-bought.
- Savings — Extension services report average returns of $2–$4 per $1 invested after the first year.
- Sustainability — Reduce plastic waste and food transportation emissions.
- Joy & Learning — Gardening teaches patience, observation, and resilience—skills that spill into daily life.
The key difference? Renters prioritize movable, lightweight setups; homeowners focus on soil improvement and expansion. This checklist addresses both seamlessly.
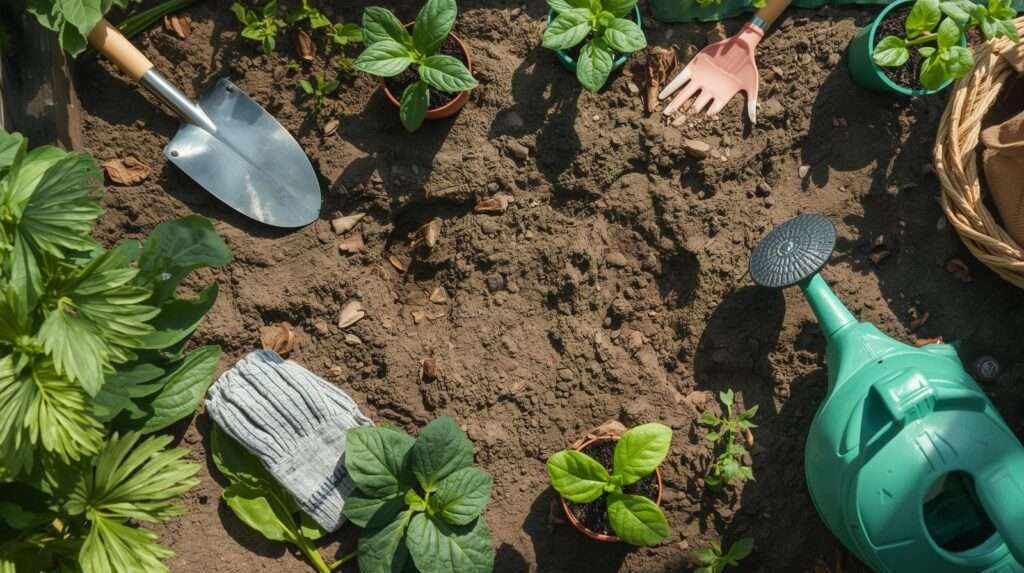
Step 1: Assess Your Space and Secure Permissions (The Foundation of Success)

Before buying a single seed, evaluate what you’re working with.
Renters:
- Measure your balcony, patio, or windowsill. Note weight limits (most balconies handle 50–100 lbs per sq ft—check with your building manager).
- Observe sunlight for a full day: most edibles need 6–8 hours of direct sun. South-facing is ideal in the Northern Hemisphere.
- Get written landlord approval (email is fine) for containers, hanging planters, or any watering setup to avoid disputes.
- Consider vertical options: wall pockets, hanging baskets, or tiered stands to maximize small spaces.
Homeowners:
- Walk your yard with a compass or free sun-tracking app. Mark sunny vs. shady areas.
- Check for underground utilities (call 811 before digging).
- Measure the space and sketch a simple layout on paper or with a free app like Garden Planner.
- Note slope, drainage, and existing trees/shrubs that could cast shade.
Pro tip: Start tiny. Renters: 4–6 containers. Homeowners: one 4×8 raised bed or a 10×10 ft plot. Success with a small space builds confidence faster than overwhelming yourself.
Step 2: Determine Your USDA Hardiness Zone and Local Growing Conditions
The USDA Plant Hardiness Zone Map is your most important planning tool. It tells you which plants can survive your winter lows.
How to find your zone:
- Visit planthardiness.ars.usda.gov
- Enter your ZIP code
- Note your zone (e.g., 6b, 9a) and the exact average minimum winter temperature
Why it matters:
- Zone 3–5 (North/Midwest): Focus on cool-season crops like lettuce, kale, radishes, and hardy perennials. Short growing season—use season extenders like row covers.
- Zone 6–7 (Mid-Atlantic, parts of South): Versatile—tomatoes, peppers, and many flowers thrive.
- Zone 8–11 (South, Southwest, California): Long season for heat-loving crops like okra, eggplant, and multiple successions of beans.
Local factors override the zone slightly:
- Urban heat islands (cities are often 1 zone warmer)
- Microclimates (south-facing walls create warmer spots)
- Elevation and wind exposure
Print or screenshot your zone map and keep it handy when shopping for plants or seeds. This single step prevents 80% of beginner failures.
Step 3: Choose What to Grow – Beginner-Friendly Plants for Renters and Homeowners
Start with foolproof winners that grow quickly and forgive mistakes.
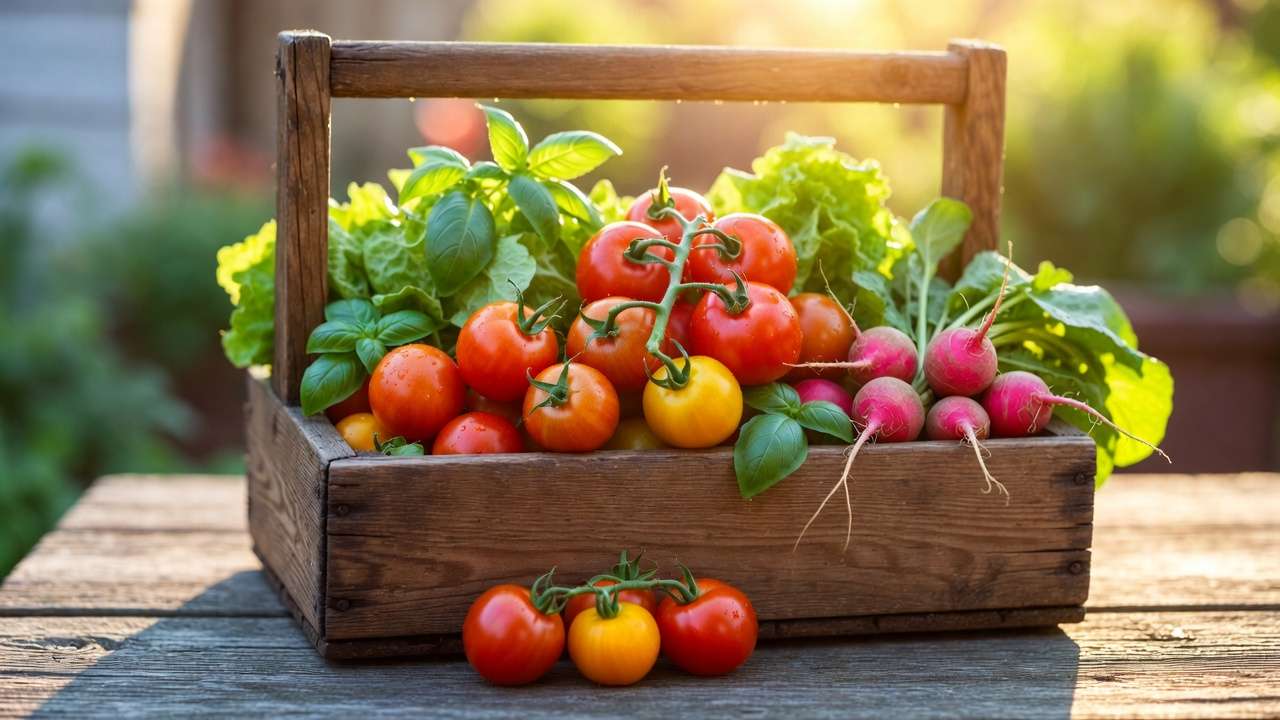
Top 10 Easiest Plants for First Gardens (suitable for containers or ground):
Herbs (perfect for renters—small pots, high yield):
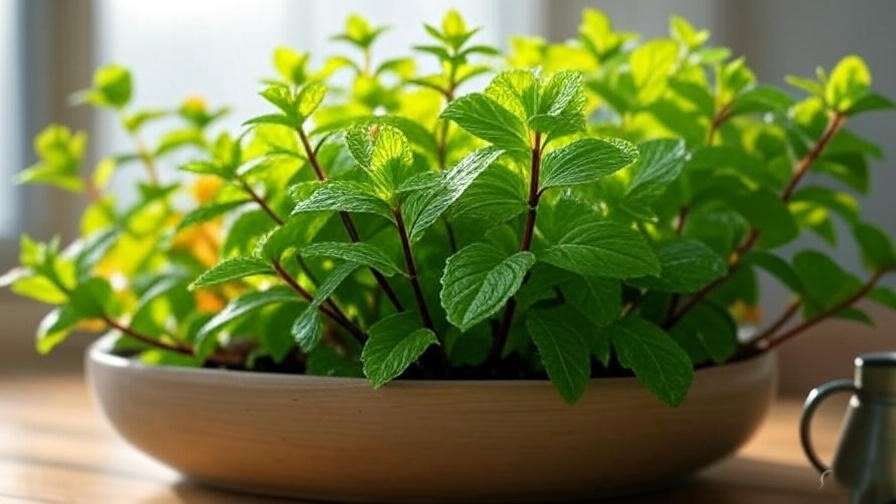
- Basil, mint (grow in containers to control spreading), parsley, cilantro, thyme, rosemary
Vegetables:
- Radishes (ready in 25–30 days)
- Lettuce & salad greens (cut-and-come-again harvest)
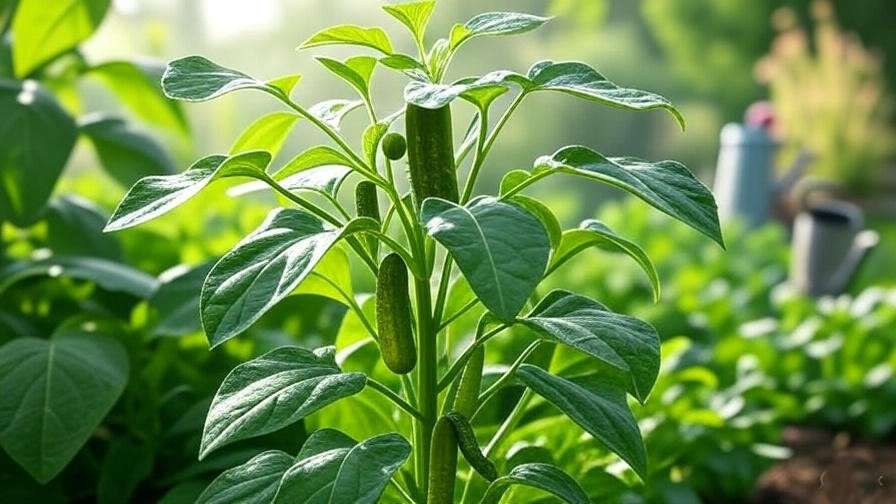
- Cherry tomatoes (determinate varieties like ‘Sweet 100’ or ‘Tiny Tim’ for containers)
- Bush beans
- Zucchini or summer squash (one plant produces abundantly—grow in large pots or ground)
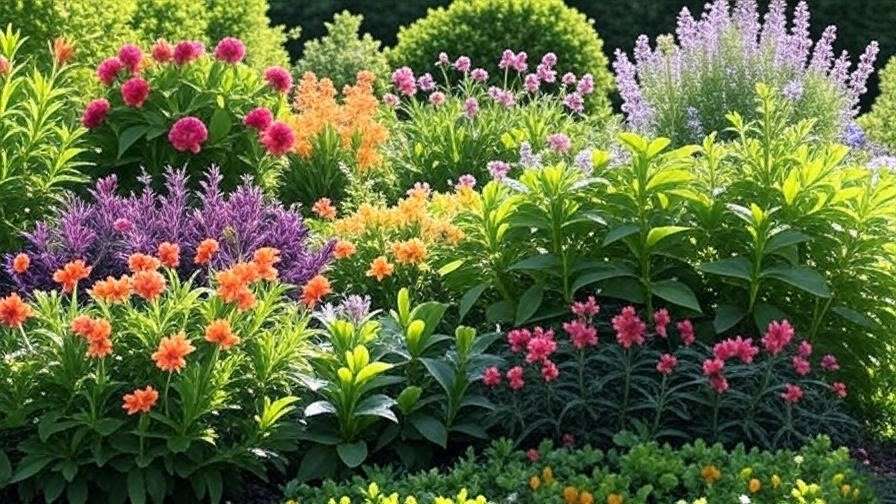
Flowers (attract pollinators and look beautiful):
- Marigolds, zinnias, sunflowers, nasturtiums (edible too!)
Renter-specific recommendations:
- Prioritize compact, high-yield varieties labeled “patio,” “container,” or “dwarf.”
- Shallow-rooted crops: lettuce, radishes, herbs (6–8 inch pots minimum).
- Deeper-rooted: tomatoes, peppers, carrots (12–18+ inch deep pots).
Homeowner recommendations:
- Add vining crops with trellises (cucumbers, pole beans) for vertical interest.
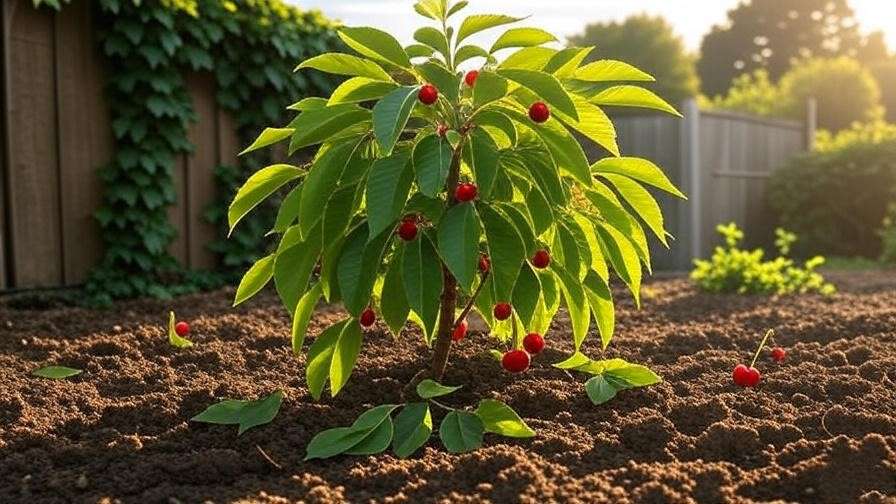
- Perennials like strawberries, asparagus, or rhubarb for years of returns.
Buy seeds or starter plants from reputable local nurseries or online sources like Burpee or Johnny’s Selected Seeds. Always check the seed packet for “days to maturity” and your zone compatibility.
Pro planning tip: Follow the “one new thing” rule. Grow 3–5 crops max in year one. Companion plant (e.g., basil with tomatoes) for natural pest control.
Step 4: Essential Tools and Supplies Checklist for First-Time Gardeners
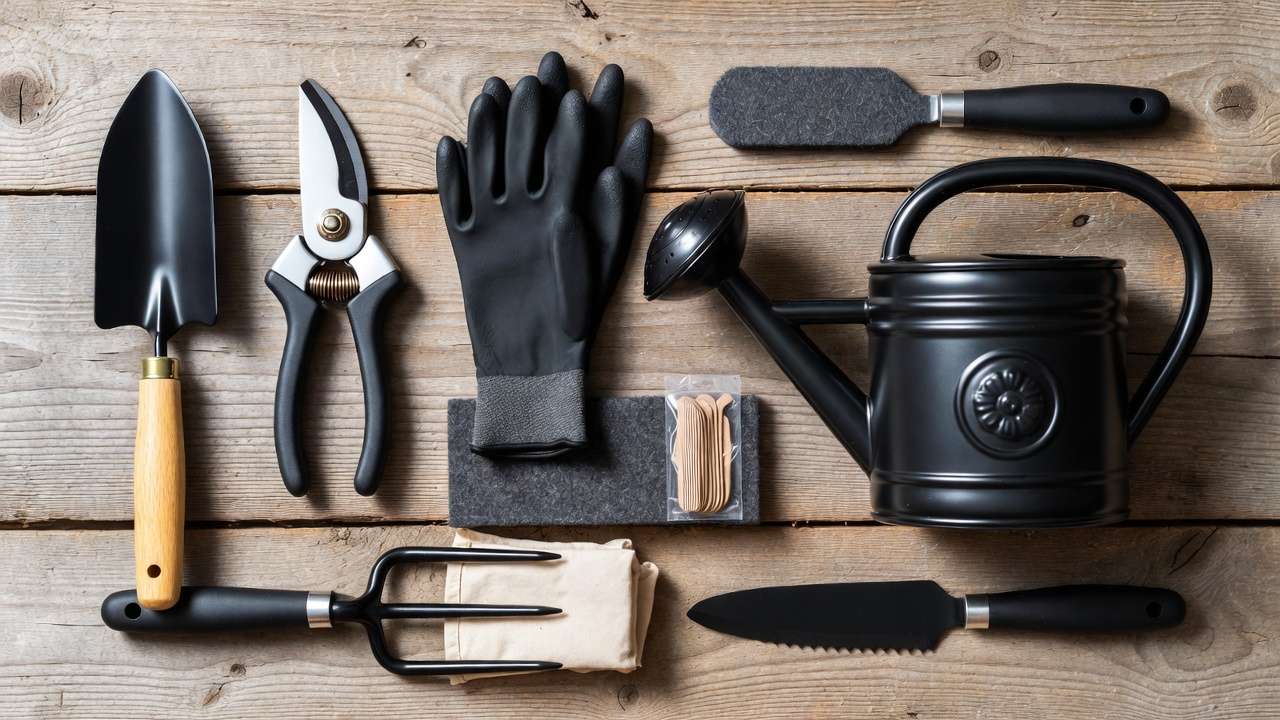
Every successful garden starts with the right gear. You don’t need to spend hundreds of dollars—focus on quality basics that last for years. Here’s the complete First Garden Checklist for US Renters and Homeowners, broken down by must-have, nice-to-have, and renter-specific considerations.
Core Tools (under $80 total if you shop smart):
- Hand trowel and cultivator (for planting and weeding)
- Pruning shears or scissors (bypass style for clean cuts)
- Watering can (2-gallon with rose nozzle) or hose with gentle spray nozzle
- Garden gloves (nitrile-coated for grip and breathability)
- Soil knife or hori-hori (multi-purpose for digging, cutting, weeding)
- Kneeling pad or garden stool (back saver)
- Measuring tape and plant labels/markers
Renter-friendly additions:
- Lightweight fabric grow bags (5–20 gallon sizes—fold flat when moving)
- Wheeled plant caddies (move heavy pots easily)
- Over-the-railing or wall-mounted planters
- Small collapsible compost bin or worm bin
Homeowner upgrades:
- Long-handled shovel and garden fork (for soil turning)
- Soil test kit or send samples to your local Cooperative Extension
- Wheelbarrow or garden cart
- Drip irrigation kit or soaker hoses (saves time and water)
Where to buy: Tractor Supply, Home Depot, or online at Amazon/Burpee for starter kits. Look for “beginner gardening tool set” bundles that often include 5–8 pieces for $25–$40. University extensions across the US (e.g., Cornell, Texas A&M) recommend these exact items because they prevent common injuries and frustration.
Pro tip from 15+ years helping new gardeners: Buy once, buy quality. Cheap plastic trowels snap; forged steel lasts decades. Total starter investment: $60–$120. You’ll recoup it in the first harvest.
Step 5: Soil Preparation and Setup Strategies (Renter vs. Homeowner)
Soil is the foundation—get this right and 90% of your problems disappear.
For Renters – Container Gardening 101: Use high-quality potting mix, never garden soil (it compacts and drains poorly in pots). Best recipe:
- 60% high-quality potting mix (Miracle-Gro or FoxFarm)
- 30% compost (bagged or homemade)
- 10% perlite or vermiculite for drainage
Choose containers with drainage holes. Fabric grow bags are ideal—they breathe, prevent root circling, and weigh little when empty. Minimum depths:
- Herbs/lettuce: 6–8 inches
- Tomatoes/peppers: 12–18+ inches
- Root crops (carrots, radishes): 10–12 inches
Elevate pots on feet or caddies for air circulation and to protect surfaces.
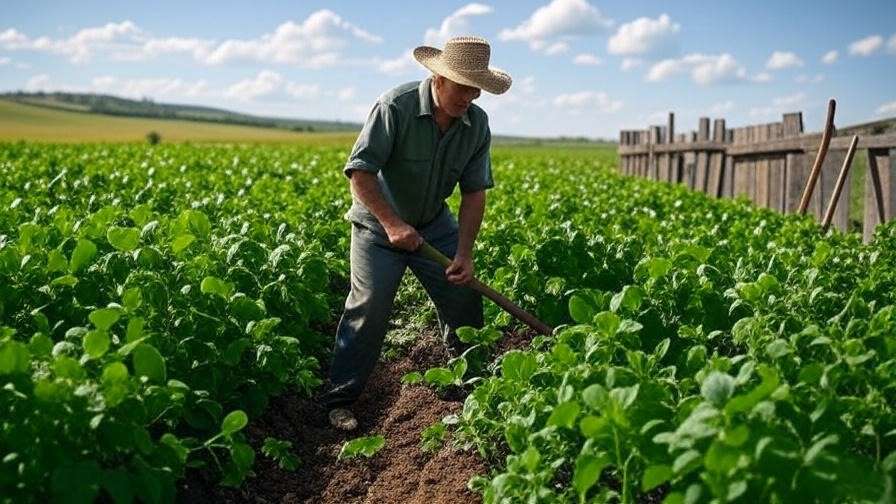
For Homeowners – Building Long-Term Soil Health:
- Test your soil (pH, nutrients) through your county Extension office—free or low-cost in most states.
- Remove grass/sod or use the lasagna method: cardboard + 6–8 inches compost + mulch.
- For raised beds (most popular choice): Fill with 50% topsoil, 30% compost, 20% aeration (pine bark fines or perlite).
- Aim for pH 6.0–7.0 for most vegetables.
Add organic matter every season. Cover crops (clover, buckwheat) in off-season build fertility naturally. According to USDA research, healthy soil with 5%+ organic matter holds water better, reduces fertilizer needs by 50%, and grows more nutritious food.
Shared setup rules:
- Mulch everything with 2–3 inches of straw, shredded leaves, or wood chips to retain moisture and suppress weeds.
- Group plants by water needs (tomatoes and basil together; avoid mixing with drought-loving rosemary).
Step 6: Step-by-Step Planting Guide
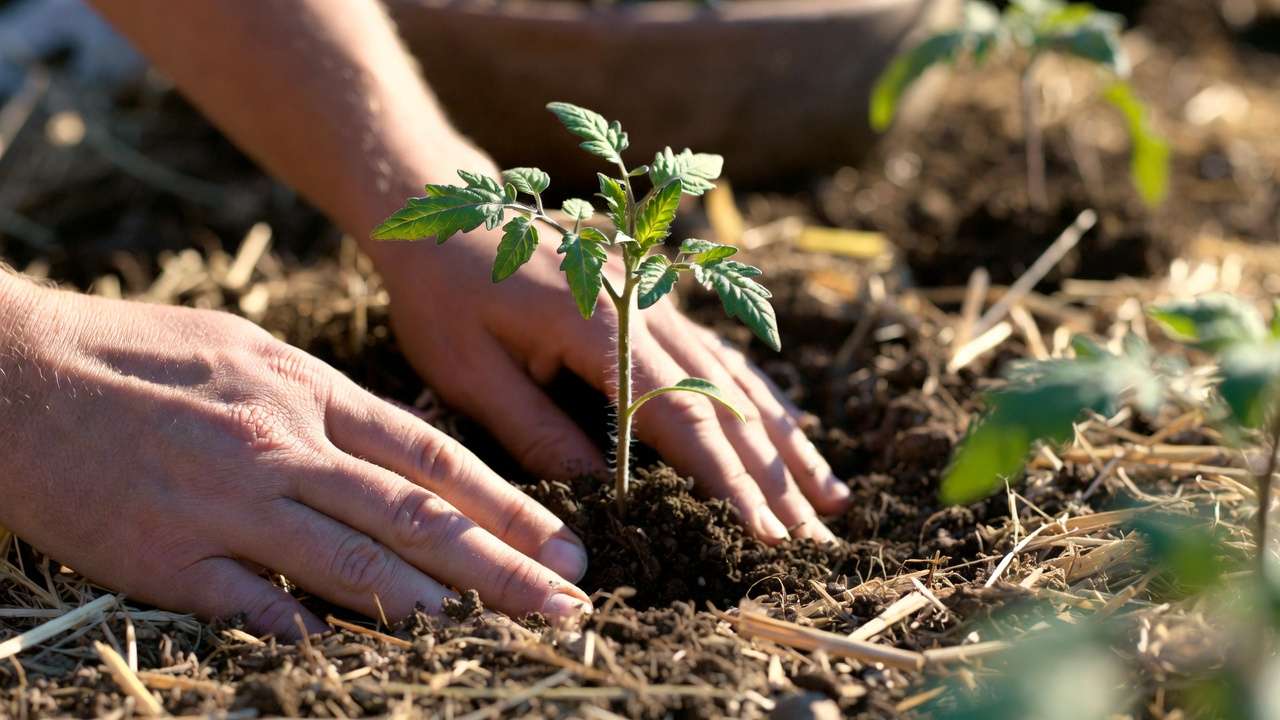
Now the fun part—putting seeds or seedlings in the ground.
Timing:
- Cool-season crops (lettuce, kale, radish, peas): Plant 2–4 weeks before last frost.
- Warm-season (tomatoes, peppers, cucumbers, beans): After last frost when soil is 60°F+.
- Use your USDA zone + local frost dates from almanac.com or extension service.
Direct Sowing vs. Transplanting:
- Direct sow: radishes, beans, carrots, sunflowers (follow packet depth/spacing).
- Transplant: tomatoes, peppers, eggplant, herbs (harden off seedlings 7–10 days by gradually moving outside).
Planting Technique:
- Water soil thoroughly first.
- Dig hole twice as wide as root ball, same depth.
- For tomatoes: bury 2/3 of stem (adventitious roots form).
- Firm soil gently, water deeply.
- Add support immediately (cages, stakes, trellises).
Spacing examples (containers or beds):
- Cherry tomatoes: 1 per 5-gallon+ pot or 18–24″ apart in beds
- Lettuce: 6–8″ apart
- Bush beans: 4–6″ apart
Companion planting boosts success: marigolds with tomatoes (repel nematodes), nasturtiums as trap crops for aphids.
Step 7: Watering, Fertilizing & Weekly Maintenance Checklist
Watering Rules:
- Deep and infrequent: 1–2 inches per week, early morning.
- Containers dry out faster—check daily by sticking finger 1–2 inches into soil.
- Use rainwater or let tap water sit 24 hours to off-gas chlorine.
Fertilizing Schedule:
- Week 3–4 after planting: balanced organic fertilizer (e.g., 10-10-10 or fish emulsion).
- Flowering/fruiting stage: switch to higher phosphorus/potassium (tomato fertilizer).
- Compost tea or worm castings every 2–3 weeks for gentle boost.
Weekly 10-Minute Maintenance Checklist:
- Monday: Water check + deep soak if needed
- Wednesday: Weed, inspect for pests (flip leaves)
- Friday: Harvest anything ripe, prune yellow leaves
- Sunday: Fertilize if scheduled, refresh mulch
Track in a simple notebook or free app like Garden Journal.
Step 8: Organic Pest & Disease Solutions That Actually Work
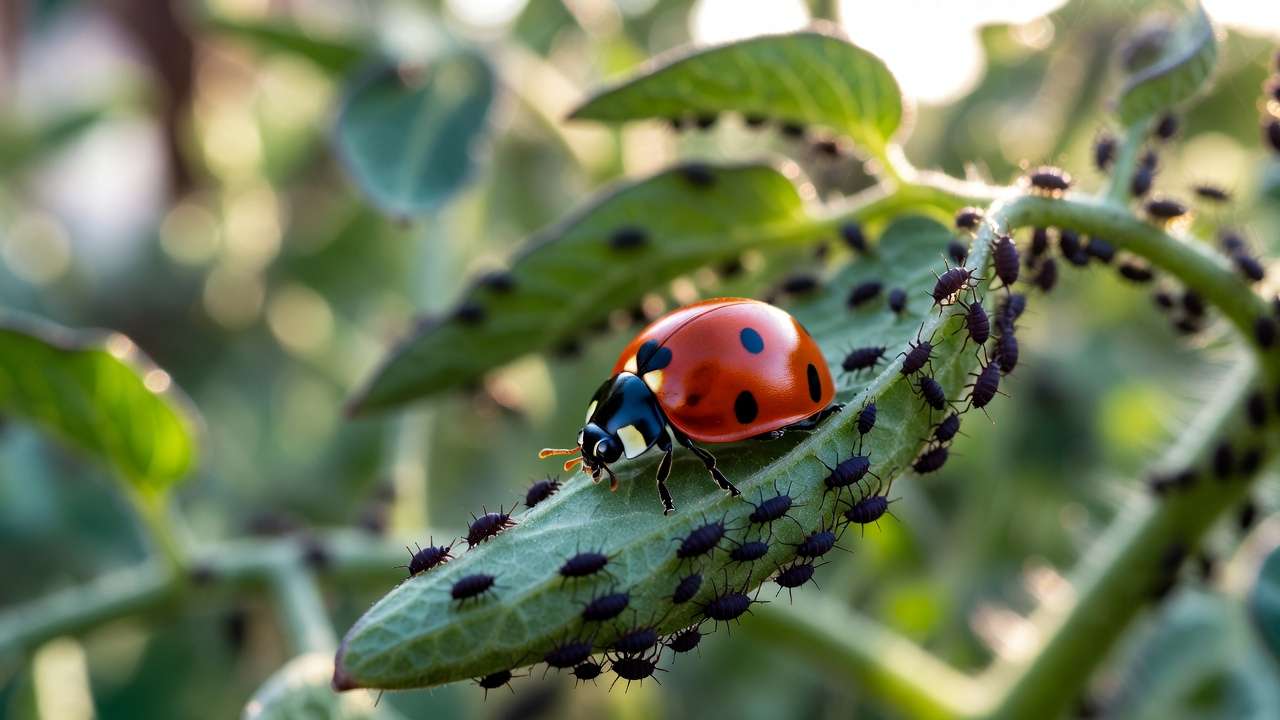
Prevention first: healthy plants resist problems. Still, expect some visitors.
Common Issues & Fixes (USDA & Extension-approved):
- Aphids: Blast with water hose; release ladybugs (2,000 for $20 online).
- Tomato hornworms: Hand-pick at dusk; companion plant dill/borage.
- Powdery mildew: Improve air flow, neem oil spray (1 tsp neem + 1 tsp dish soap per quart water).
- Slugs: Beer traps or diatomaceous earth.
- Fungal diseases: Water at base, avoid overhead in evening.
Never use synthetic pesticides in edible gardens. Rotate crops yearly and practice companion planting—these methods cut pest problems by 70–80% according to Rodale Institute studies.
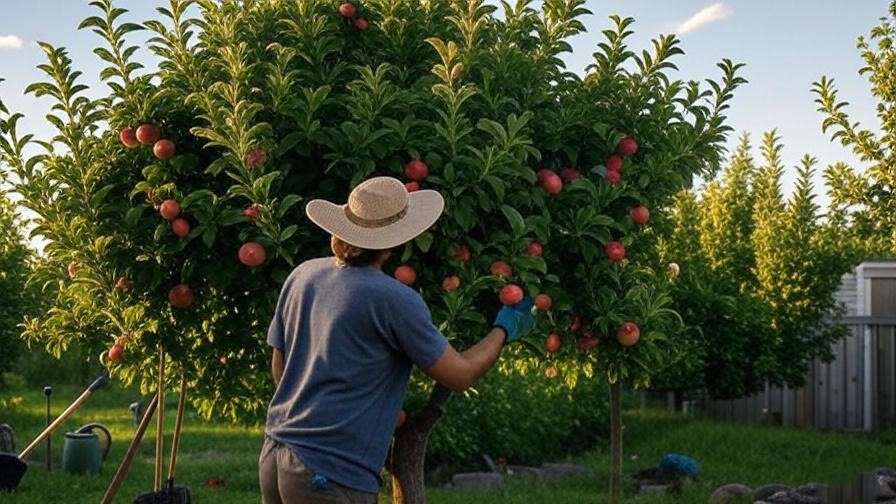
Step 9: Harvesting Guide & Renter Moving Tips
Harvest at peak flavor:
- Leafy greens: cut outer leaves (cut-and-come-again)
- Tomatoes: when fully colored but still firm
- Herbs: morning, before flowering for best taste
- Root crops: when shoulders show at soil line
Renter Moving Hack:
- Stop fertilizing 2 weeks before move.
- Water lightly day before.
- Cut back large plants by 1/3.
- Place each pot in a large trash bag, secure, and label.
- Transport upright in car or truck. Most herbs and greens survive 1–2 week moves easily.
Homeowners: Succession plant every 2–3 weeks for continuous harvest.
Step 10: Troubleshooting, Cost Breakdown & Seasonal Planning
Top 5 Beginner Mistakes & Fixes:
- Overwatering → Let soil dry between waterings.
- Poor sun → Move containers or choose shade-tolerant crops.
- Crowding → Thin seedlings ruthlessly.
- No mulch → Add it now.
- Impatience → Gardening rewards consistency, not perfection.
Realistic Cost Breakdown (first year, 50–100 sq ft or 6–10 containers):
- Containers/soil: $80–$150
- Seeds/starts: $25–$50
- Tools: $60–$100
- Fertilizer/mulch: $30
- Total: $195–$330
- Savings on produce: $400–$800 (USDA estimates)
Seasonal Calendar by Region (examples):
- Zone 5–6 (Chicago, NYC): Start indoors March, plant outdoors May, harvest June–Oct.
- Zone 7–8 (Atlanta, Dallas): Direct sow March, multiple plantings through August.
- Zone 9–10 (Florida, SoCal): Year-round with summer shade cloth.
Adjust using your local extension’s planting guide—search “[your county] extension vegetable calendar.”
Final Thoughts: Your First Garden Success Story Starts Today
You now have the most complete First Garden Checklist for US Renters and Homeowners available—every step, every tip, every nuance backed by decades of collective experience from university extensions, master gardeners, and thousands of successful urban and suburban growers.
Start with just 2–3 containers or one small bed this season. Take photos. Celebrate every tiny harvest. In 90 days you’ll be eating food you grew yourself, saving money, reducing stress, and gaining a new life skill that connects you to nature.
Gardening isn’t about perfection—it’s about progress, patience, and joy. You’ve got this.
Share your progress in the comments or tag us on social with #FirstGardenChecklist. Happy growing!
Resources for Continued Learning:
- USDA Plant Hardiness Zone Map
- Cooperative Extension offices (find yours at nifa.usda.gov)
- Free guides: Johnny’s Selected Seeds, Burpee, Gardenary
- Books: “The Vegetable Gardener’s Bible” by Edward C. Smith
- Apps: Garden Planner, iNaturalist (for pest ID)