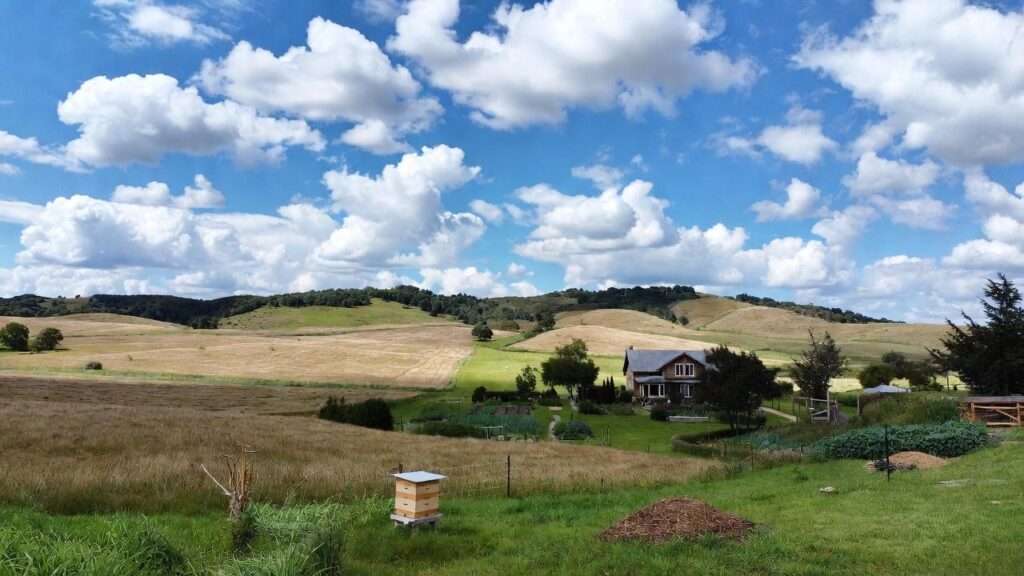
Imagine this: You’ve just closed on your dream property—a new house nestled on 5 acres of rolling land. The excitement is electric. You picture fruit trees heavy with harvest, a thriving food forest, swales catching every drop of rain, and perhaps a pond reflecting the sky. Your mind races with plans: dig here, plant there, build that structure. But then reality hits. Within a couple of seasons, some trees struggle in unexpected frost pockets, water carves gullies where you didn’t anticipate, and that “perfect” spot for the orchard turns out to be a wind tunnel. Sound familiar?
This is the story of countless new acreage owners who dive in too quickly. As someone who’s guided dozens of homesteaders through their first years on raw or semi-raw land—and spent over 15 years applying permaculture principles on diverse sites from arid hills to temperate valleys—I’ve seen the pattern repeat. The urge to “do something” is strong, but rushing major builds and large-scale plantings often leads to expensive corrections later.
The good news? Your first year on new acreage is the most valuable investment you can make. By following core permaculture principles—especially Observe and Interact—you gather the intimate knowledge of your land’s patterns, microclimates, water flows, soil biology, and seasonal rhythms. This foundation prevents costly mistakes and sets up a resilient, low-maintenance system aligned with nature rather than fighting it.
In this comprehensive guide, we’ll walk through a realistic, phased approach for year one. Drawing from Bill Mollison‘s classic advice to observe a full seasonal cycle before permanent changes, updated insights from modern practitioners like those at Tenth Acre Farm and Permaculture Apprentice, and real-world homesteading experiences, you’ll learn exactly what to prioritize. The goal isn’t paralysis by analysis—it’s smart, small-scale action that builds skills, tests ideas, and prepares for abundance in years two through five.

Whether you’re a new homesteader dreaming of food security, a family seeking regenerative living, or someone transitioning to rural self-reliance, this structured year-one plan addresses the overwhelm and delivers genuine value: lower risk, higher long-term yields, and a deeper connection to your land.
Why Year One Is Critical in Permaculture Design
Permaculture isn’t just gardening or farming—it’s a design science that places elements (plants, animals, structures, water systems) in relationships that mimic natural ecosystems for mutual benefit. The first principle, Observe and Interact, is non-negotiable for success. Bill Mollison, co-founder of permaculture, emphasized spending at least one full year observing before making irreversible changes like planting long-lived perennials or major earthworks. Why? Because land tells its story across seasons.
Without this observation period, common and expensive mistakes pile up:
- Planting fruit trees in low-lying frost pockets that kill young grafts every spring.
- Installing swales or ponds without understanding full water flow, leading to erosion or failed water harvesting.
- Building access roads or structures in paths that become muddy quagmires during wet seasons.
- Ignoring wildlife corridors, resulting in deer browsing entire young orchards overnight.
These aren’t rare hypotheticals—they appear repeatedly in permaculture forums, homesteading blogs, and designer consultations. Rushing ignores the Scale of Permanence, a key planning tool originally from P.A. Yeomans’ Keyline design and adapted by permaculture pioneers like Dave Jacke and Eric Toensmeier. It ranks site elements from most to least permanent:
- Climate (unchangeable—understand your hardiness zone, rainfall patterns, wind directions)
- Landform (topography, slopes, aspect—difficult and costly to alter)
- Water (flows, sources, drainage—prioritize before anything else)
- Access (roads, paths—permanent once built)
- Vegetation & Wildlife (existing trees, perennials, animal patterns)
- Microclimate (localized temperature, humidity, shade)
- Buildings & Infrastructure (house, sheds—fixed once placed)
- Soils (can be built over time but start with what’s there)
- Patterns of Use (human activity zones)
- Aesthetics & Stewardship (flexible, evolving)

In year one, focus on understanding the top of this scale—the elements hardest to change later. Patience here creates cascading benefits: better-placed water systems reduce irrigation needs, strategic tree placement moderates microclimates, and informed zoning prevents burnout from constant corrections.
The payoff? Systems that require less input over time while producing more output—true permaculture abundance.
Core Goals for Your First Year on New Acreage
Your year-one mission is simple yet powerful:
- Build deep site knowledge through systematic observation.
- Avoid irreversible commitments (no major earth-moving, no large perennial plantings, no fixed structures beyond essentials).
- Run small, reversible experiments to test ideas and build skills.
- Restore and regenerate basics (soil cover, compost systems, biodiversity baselines).
- Refine personal and homestead goals to ensure the design serves you long-term.
By year’s end, you’ll have a master plan backed by real data, not assumptions. This prevents the “analysis paralysis” some face and the “action regret” others endure.
Month-by-Month / Seasonal Timeline for Year One
Permaculture thrives on seasonal timing. Here’s a practical breakdown assuming a temperate climate (adjust for your region—arid, subtropical, or northern zones shift priorities accordingly).
Spring (Arrival & Initial Setup – March-May)
Arrival often brings energy. Channel it wisely:
- Secure basics: Ensure safe access, test well/septic water quality, clear hazards.
- Begin your observation journal: Daily/weekly notes on weather, sunrise/sunset paths, wind direction, wildlife sightings, plant emergence.
- Walk the land repeatedly during different times of day and weather. Note sun angles—crucial for future planting.
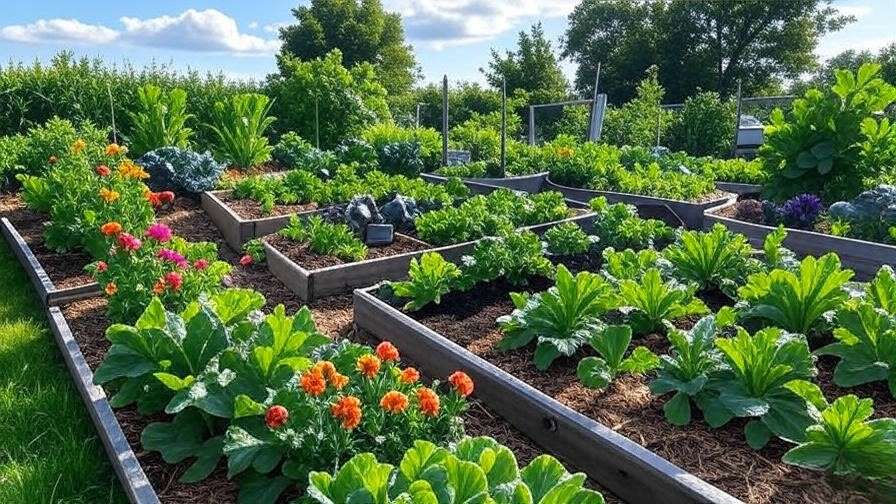
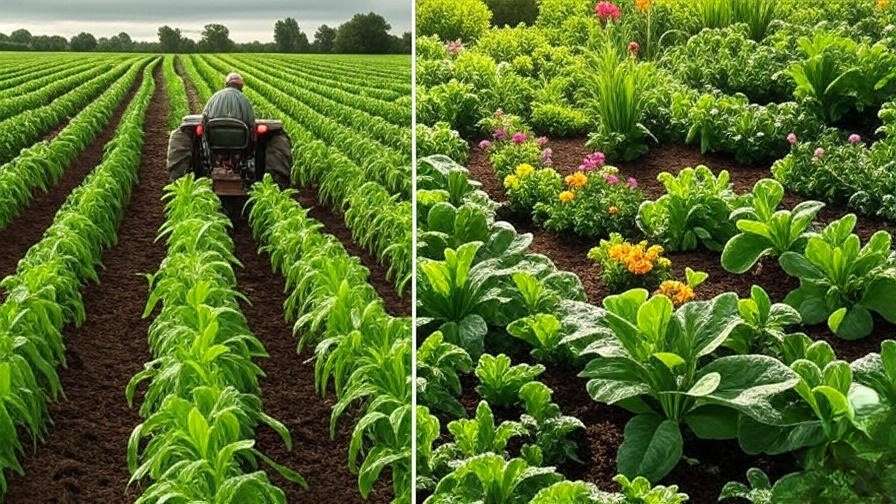
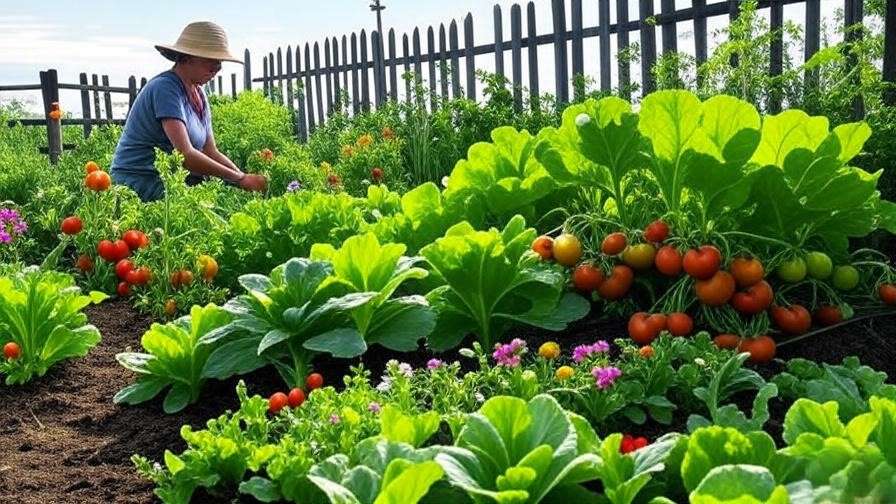
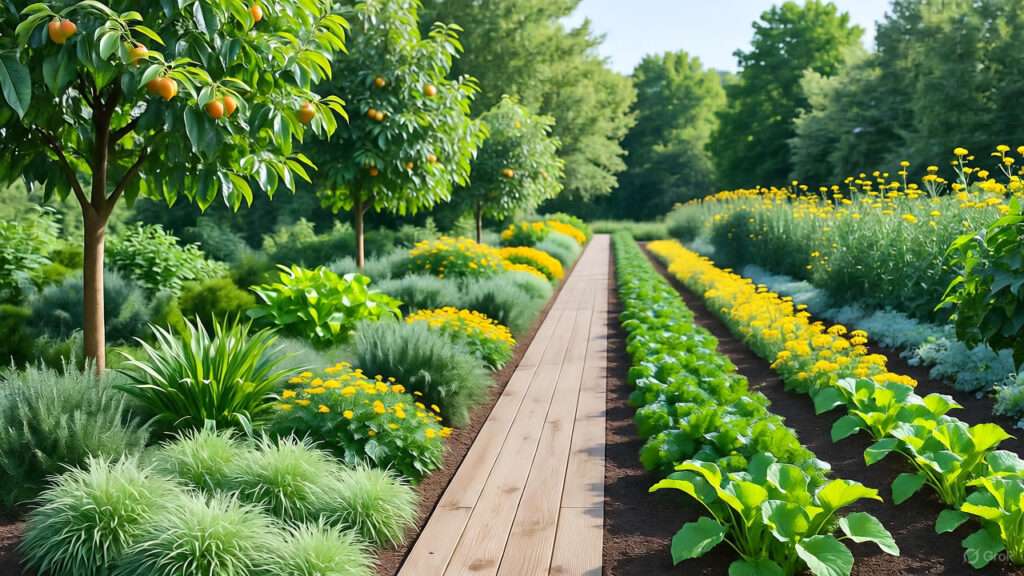
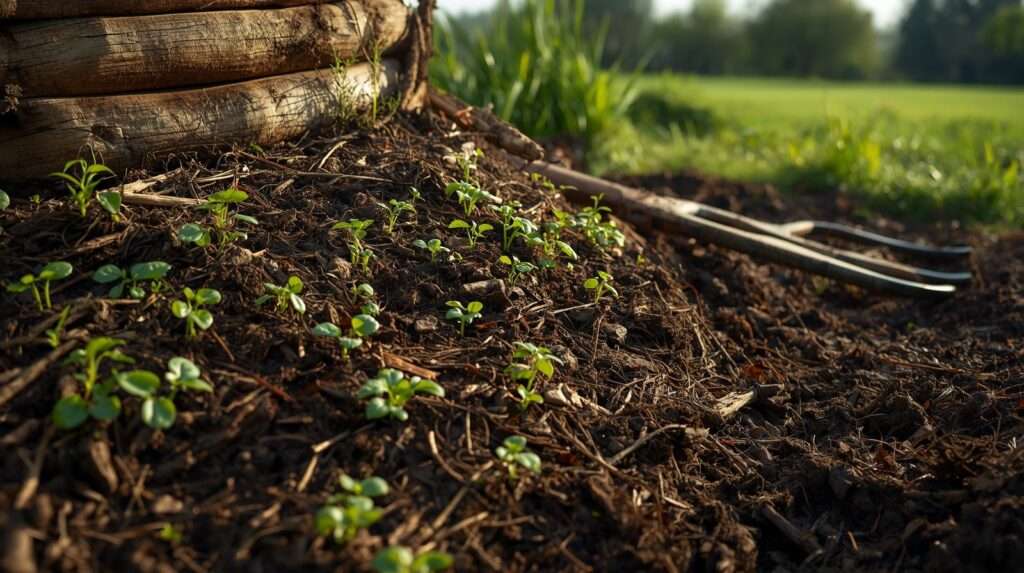
- Start small regenerative actions: Build a compost system (kitchen scraps + yard waste), sheet-mulch a small Zone 1 test area near the house with cardboard and local organics to suppress weeds and build soil.
- Plant quick annuals (radishes, lettuce, beans) in small beds to learn soil response and gain early wins.
Summer (Peak Observation & Data Collection – June-August)
Nature is loudest now—use it.
- Create sun maps: Mark shade lines at 9 AM, noon, 3 PM on solstice dates. Use stakes/string or free apps like Sun Seeker.
- Track water during rains: Where does runoff concentrate? Erosion spots? Pooling areas? This informs future swale/pond placement.
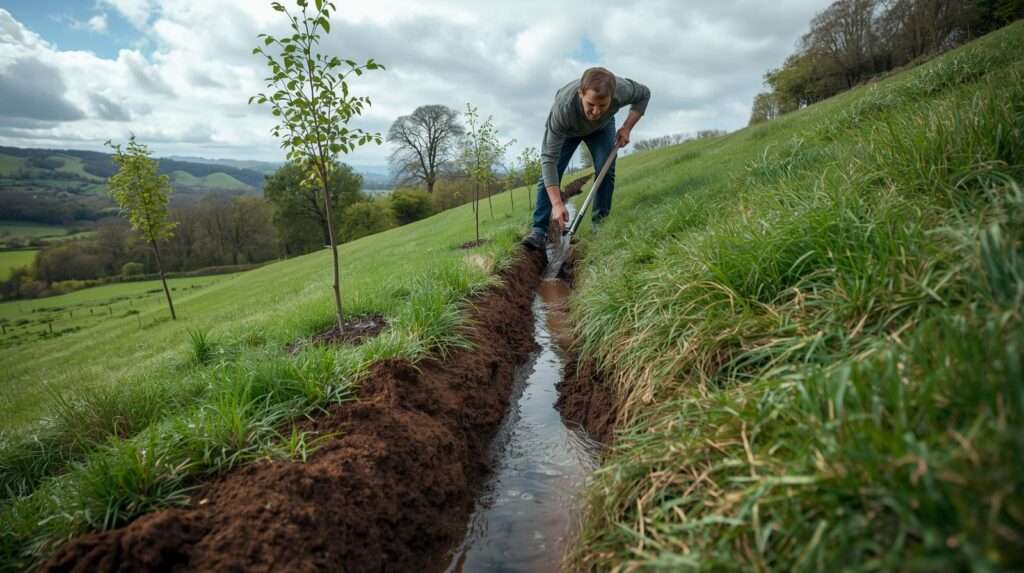
- Conduct simple soil assessments: Jar tests for texture (sand/silt/clay), shovel digs for structure/compaction, infiltration tests (dig hole, fill with water, time drainage).
- Small experiments: Test mini-swales on contour in problem areas, plant potted guilds to observe interactions, start worm bins or bokashi for nutrient cycling.
Fall (Analysis & Initial Interventions – September-November)
Data starts connecting.
- Compile observations into maps: Base map (property boundaries, existing features), sector map (external influences like wind, fire risk, views), zone map (intensity of use from house outward: Zone 1 daily, Zone 5 wild).
- Identify limiting factors: Poor drainage zones, compacted soil, dominant weeds signaling imbalance, wildlife pressures.
- Light interventions if needed: Small on-contour swales for water harvesting (hand-dug or small equipment), cover crops (clover, rye, vetch) to protect soil over winter, test perennial placements in pots or small beds.
- Harvest lessons: What thrived? What failed? Adjust expectations.
Winter (Planning & Reflection – December-February)
Rest and synthesize.
- Create master plan overlays: Use tracing paper or free tools like Google Earth + hand sketching for water lines, access, zones, future elements.
- Prioritize phases: Infrastructure first (water, roads), then vegetation (orchards, food forests).
- Research deeply: Local climate data, native plants, soil labs, permaculture groups.
- Network: Join online forums (Permies.com, Reddit r/Permaculture) or local meetups for feedback.
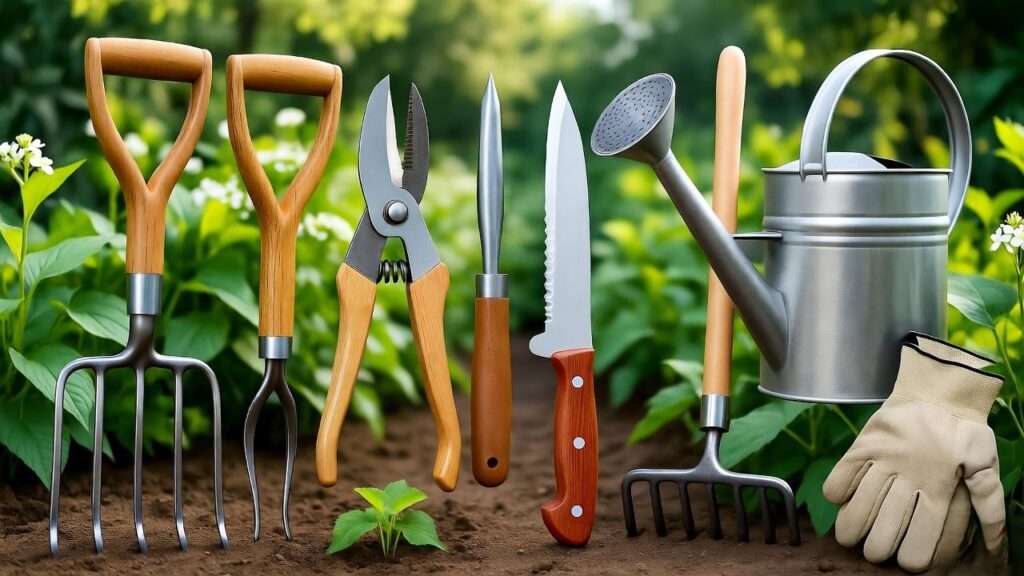
Tools Checklist for Effective Observation
- Waterproof notebook or app (Evernote, Day One)
- Compass or phone app for cardinal directions
- Rain gauge and thermometer
- Camera for photo documentation
- Basic maps: Print Google Earth views, mark contours if available
Essential Permaculture Tools & Techniques to Use in Year One
Mapping Your Acreage
Start with a base map (aerial photo + hand-drawn features). Add layers:
- Sector analysis: Winds, sun, fire, flood, views, neighbors.
- Zone planning: Place high-maintenance elements close (herbs, veggies near house).
Water & Earthworks Observation
Read contours—use A-frame level or laser for key points. Note keyline (highest contour for water spreading). Avoid major digging yet.
Soil Building Basics
No-till from day one. Use cover crops, compost teas, mulch. Encourage mycelium by avoiding disturbance.
Biodiversity & Wildlife Inventory
Log birds, insects, mammals. Use iNaturalist app for ID. Plant habitat patches (native wildflowers) without large commitments.
Expert Tips
Free tools shine: Climate-data.org for historical weather, USDA Web Soil Survey for soil types, contour maps from local extension offices.
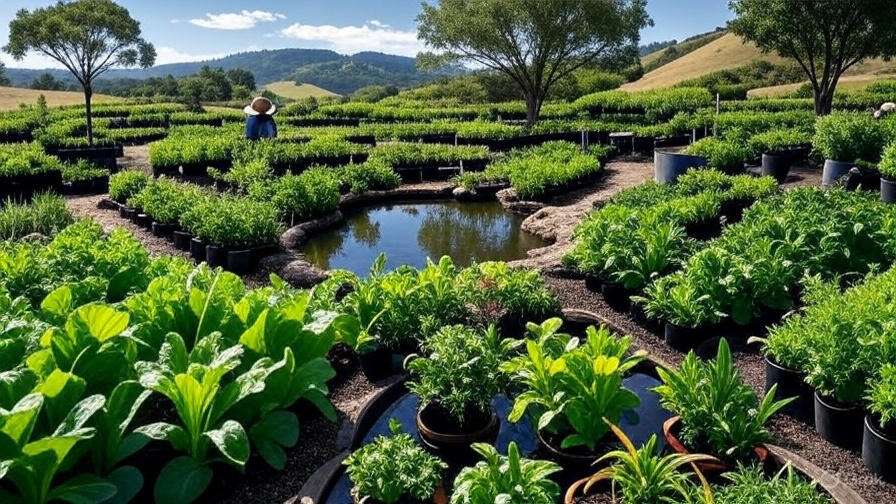
Small, High-Impact Projects You Can Safely Start in Year One
Build confidence without locking in:
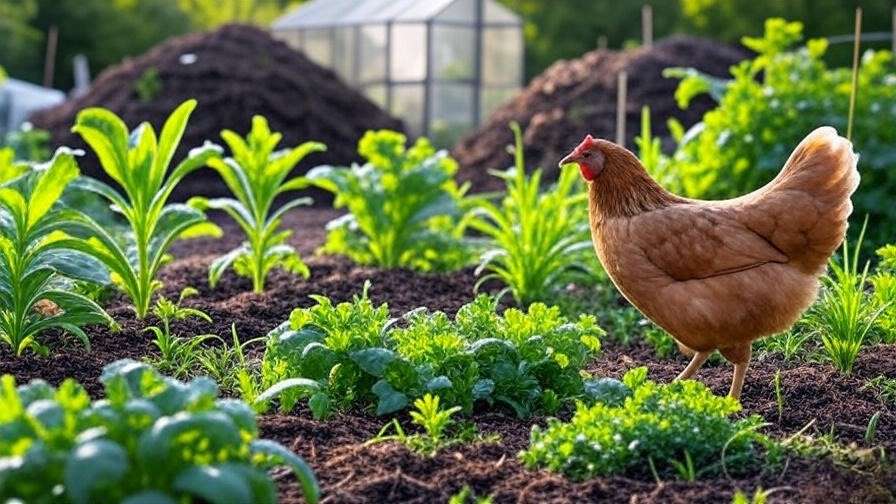
- Mobile chicken tractor or small coop for soil scratching/fertilizer.
- Zone 1 annual veggie garden (intensive beds near house).
- Hügelkultur mounds using downed wood for fungal networks and moisture.
- Seed saving and propagation trials.
- Compost systems (hot piles, worm farms).
These teach management, generate resources, and provide feedback.
Common Pitfalls to Avoid in Your First Year
- Rushing perennials/trees without site data—many die or underperform.
- Ignoring regulations (zoning, water rights, permits for earthworks).
- Overcommitting—physical/financial burnout is real.
- Neglecting personal goals—design must fit your lifestyle.
Transitioning to Year Two: When & How to Start Building/Planting
You’re ready when:
- You’ve observed all seasons.
- Master plan is refined.
- Small tests confirm assumptions.
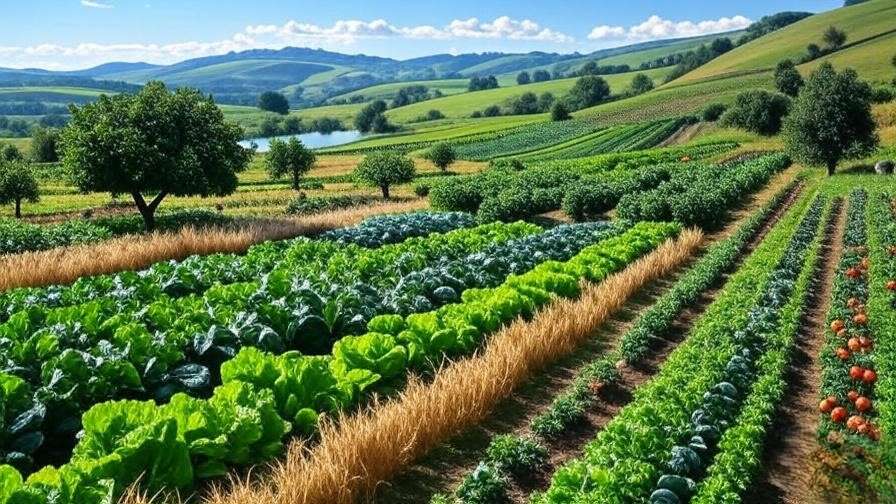
Start with: Water systems, access improvements, then strategic plantings (food forests, orchards).
Conclusion
Your first year on new acreage isn’t about doing nothing—it’s about doing the right things: observing deeply, acting small, and planning wisely. This patience transforms potential frustration into thriving abundance.
Start today: Grab a notebook, walk your land, and record one observation. The land will teach you if you listen.
What’s your biggest excitement or worry about year one? Share in the comments—I’d love to hear and offer tailored insights.
Case Study: Lessons from Real Homesteaders in Their First Year
To bring these principles to life, consider the experiences shared by practicing homesteaders and permaculture designers.
One common thread from permaculture communities (such as discussions on Permies.com and Reddit’s r/Permaculture) is the regret over rushing tree plantings. A homesteader shared that their first-year fruit tree plantings were largely a “disaster” due to unpredicted frost pockets and poor soil drainage—issues only fully revealed after observing a full seasonal cycle. By year two, after dedicated observation, they shifted focus to foundational species like oaks, chestnuts, and serviceberries to support pollinators and build long-term resilience. This echoes Bill Mollison’s advice: a full year of watching sun paths, water movement, and wildlife patterns prevents such setbacks.
Another example from Tenth Acre Farm highlights how passive and active observation minimizes mistakes. New landowners who observed for a full year before action identified resource leaks (e.g., wasted runoff) and created designs aligned with ecology, avoiding expensive corrections like regrading or replanting.
In a Sierra Nevada homestead case (shared on Permaculture Apprentice), a couple purchasing 30 acres of raw land faced unforeseen costs and burnout from jumping into infrastructure too soon. Reflecting later, they emphasized starting with small, reversible actions like compost systems and observation journals—exactly the year-one focus here—to build knowledge without overcommitment.
These real-world stories underscore the value: patience in year one often saves years of rework and thousands in expenses.
Seasonal Observation Checklist (Expanded Template)
Use this printable-style checklist to structure your journal. Adapt it to your climate and property size.
Daily/Weekly Basics
- Date & time
- Weather (temperature high/low, precipitation type/amount, wind direction/speed)
- Sun position/path notes (e.g., “Noon shadow reaches edge of east field”)
- Wildlife sightings (species, behavior, location)
- Plant/animal activity (emergence, flowering, browsing damage)
Monthly Summary Prompts
- What patterns emerged this month? (e.g., water pooling in southwest low spot after heavy rain)
- Soil observations (moisture, color, texture in different zones)
- Microclimate notes (frost dates, hottest/coldest spots)
- Human use patterns (where do you naturally walk? High-traffic areas)
- “I notice, I wonder, it reminds me of…” reflections (inspired by BEETLES Project prompts for deeper insight)
Seasonal Milestones to Track
- First/last frost dates
- Peak bloom times for wildflowers/weeds (indicators of soil health)
- Major rain events: flow paths, erosion, infiltration
- Wildlife migrations or breeding activity
Photograph key spots monthly for visual comparison. Over time, patterns become obvious—e.g., a consistent wind corridor that calls for future windbreaks.
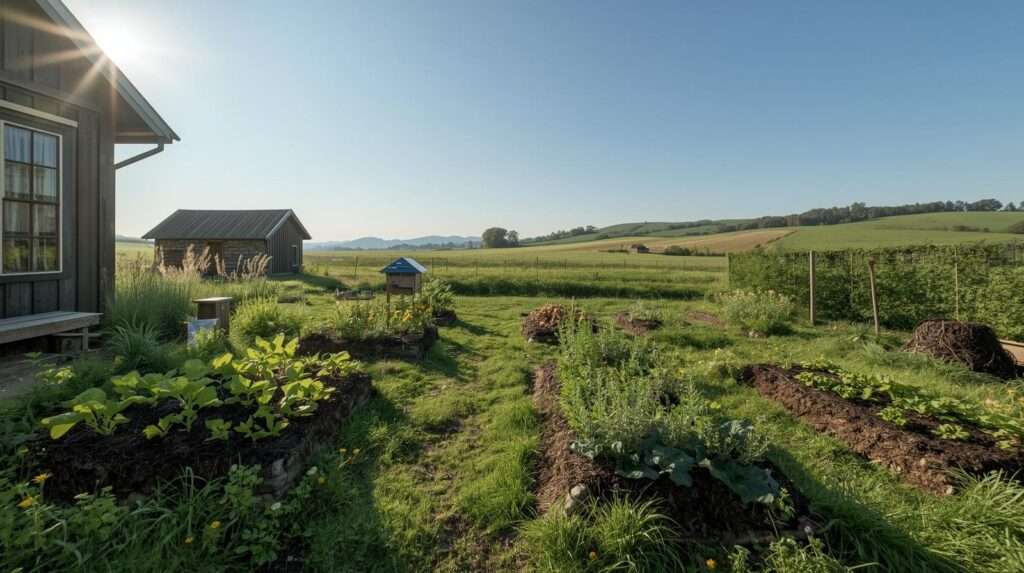
Table: Scale of Permanence Quick Reference for Year-One Prioritization
| Rank | Element | Change Difficulty | Year-One Focus |
|---|---|---|---|
| 1 | Climate | Impossible | Research historical data, hardiness zone |
| 2 | Landform/Topography | Very high | Map contours, slopes, aspect |
| 3 | Water | High | Track flows, erosion, sources |
| 4 | Access/Roads | High | Observe natural paths, avoid new cuts |
| 5 | Existing Vegetation | Medium | Inventory trees, invasives, natives |
| 6 | Microclimate | Medium | Sun/shade maps, wind, frost pockets |
| 7 | Buildings/Infrastructure | Medium | Work with existing house placement |
| 8 | Soils | Low-Medium | Test texture, biology; start building |
| 9 | Patterns of Use | Low | Note daily movements, energy flows |
| 10 | Aesthetics/Stewardship | Low | Align with personal goals |
Focus year-one efforts on ranks 1–6 to inform everything else.
FAQs: Answering Common Year-One Questions
How long should I really observe my new acreage? At minimum, one full year to capture all seasons. Bill Mollison and modern practitioners recommend this to understand frost, flood, drought, wildlife, and microclimates fully. Shorter periods risk missing critical patterns.
Can I plant anything in year one without making big mistakes? Yes—focus on annuals, cover crops, potted experiments, and quick perennials in test zones. Avoid large-scale tree/orchard planting until you have seasonal data. Small, reversible actions build soil and skills safely.
What free tools help with permaculture mapping in year one?
- Google Earth Pro (free) for base maps and historical imagery
- iNaturalist app for species ID and biodiversity logging
- USDA Web Soil Survey for soil type data
- Simple A-frame level (DIY) for contours
- Climate-data.org or NOAA for historical weather trends
How do I avoid burnout during this “slow” year? Set small weekly goals (e.g., one observation walk, one journal entry). Celebrate quick wins like your first compost pile or successful cover crop. Connect with local permaculture groups for support and shared excitement.
Is a full year realistic if I need quick food production? Start small Zone 1 annual gardens near the house for immediate yields while observing the broader acreage. This satisfies the urge to “do something” without compromising long-term design.
Final Thoughts & Next Steps
The first year on new acreage transforms uncertainty into clarity. By prioritizing observation, small regenerative actions, and thoughtful planning, you create a permaculture foundation that works with your land rather than against it. This approach—rooted in decades of practice from Mollison to today’s regenerative farmers—leads to lower maintenance, higher resilience, and true abundance in the years that follow.
Grab your journal, step outside, and begin. Record one simple observation today: the direction of the afternoon sun, a bird’s call, or how water moves after rain. Your land has wisdom to share—if you’re willing to listen.