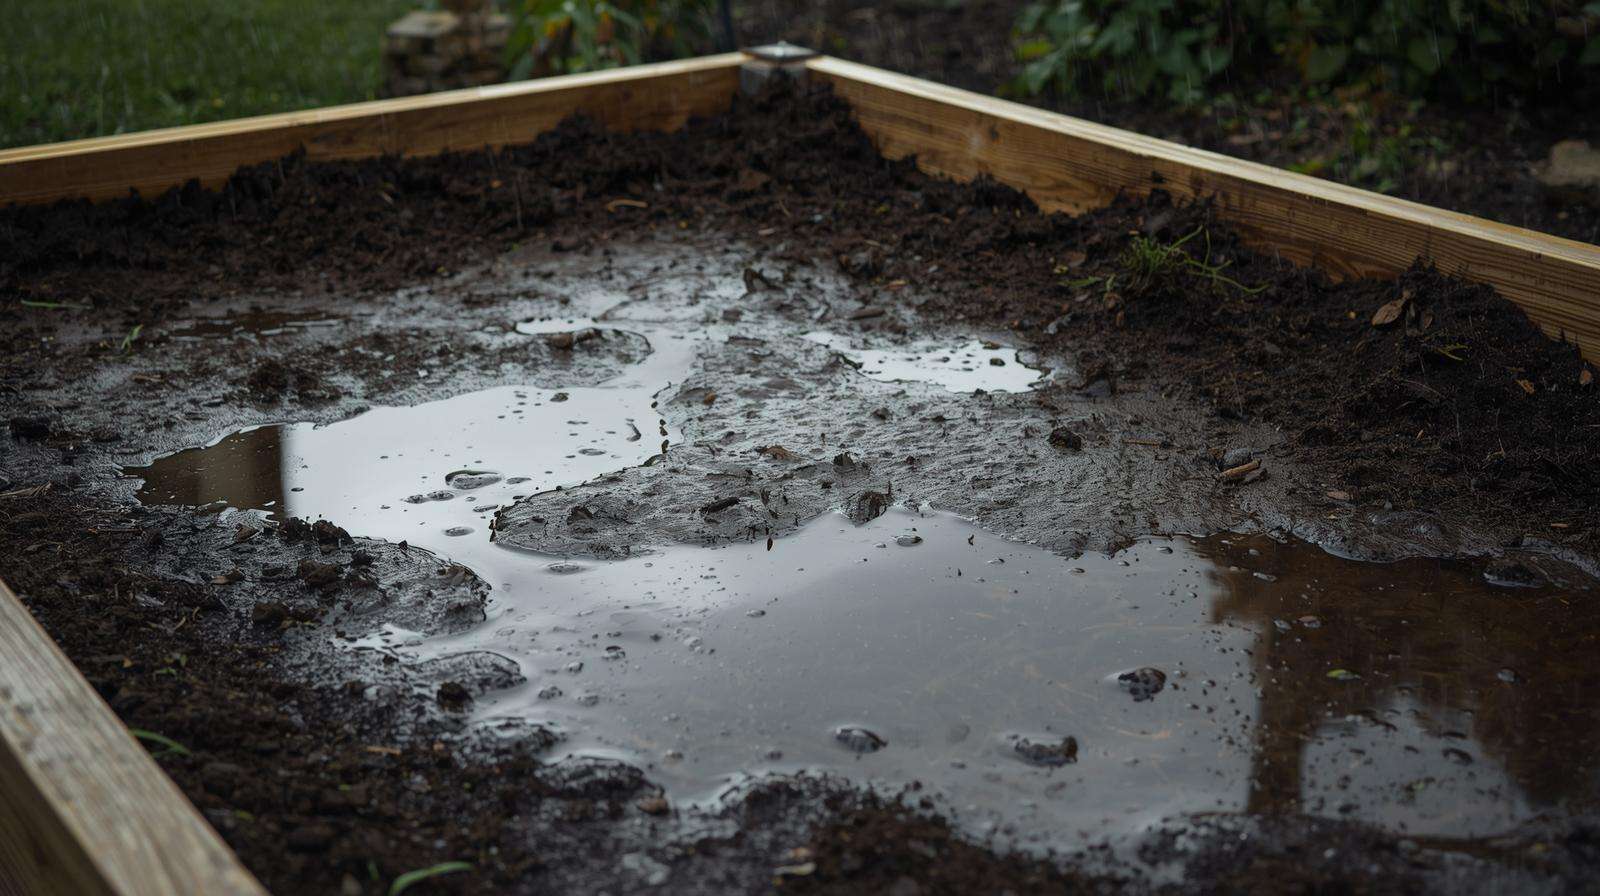
Imagine spending weeks nurturing your vegetable seedlings, only to watch them yellow, wilt, and die after a heavy rain. For countless gardeners, fixing poor drainage in raised beds is the difference between a bountiful harvest and heartbreaking losses. Waterlogged soil suffocates roots, invites deadly fungi, and leaches away vital nutrients—turning what should be the ideal growing environment into a swampy nightmare.
The good news? You don’t have to live with soggy raised beds. With targeted, science-backed adjustments, you can create fast-draining yet moisture-retentive soil that supports vigorous root systems and thriving plants. In this in-depth guide, drawing from years of horticultural experience and proven garden trials, I’ll walk you through eight practical, field-tested tips to eliminate waterlogging and dramatically improve plant health in your raised garden beds.
Why Poor Drainage is a Serious Problem in Raised Beds
Raised beds are often praised for their superior drainage compared to traditional in-ground gardens, but they’re not immune to problems. When excess water can’t escape quickly, oxygen is blocked from reaching plant roots—a condition known as hypoxia. Within hours, roots begin to suffocate, leading to stunted growth, nutrient uptake issues, and increased susceptibility to root rot pathogens like Pythium, Phytophthora, and Fusarium.
Left unchecked, poor drainage contributes to:
- Yellowing and wilting leaves (even when soil is wet)
- Fungal diseases such as damping-off and powdery mildew
- Nutrient deficiencies as minerals are washed away
- Reduced yields—sometimes by 50% or more in severe cases
- Plant death, especially in sensitive crops like tomatoes, peppers, and beans
In my 15+ years working with home gardeners and small-scale farmers, I’ve seen waterlogging destroy entire seasons. The key is early intervention: recognizing the issue and applying targeted solutions before irreversible damage occurs.
Signs Your Raised Bed Has Drainage Issues
Spotting problems early saves time and plants. Look for these telltale symptoms:
- Surface water pools for hours after rain or irrigation
- Soil feels soggy days after watering
- Plants wilt despite moist soil (a classic sign of root oxygen deprivation)
- Lower leaves turn yellow or drop prematurely
- Visible mold, fungus gnats, or mushy roots when you dig gently
- Slow overall growth compared to previous seasons or neighboring beds
If you notice two or more of these signs, it’s time to act.
Common Causes of Poor Drainage in Raised Beds
Understanding why your beds are waterlogged is the foundation of effective fixes. Here are the most frequent culprits I encounter in consultations:
- Compacted or heavy clay soil – Clay particles pack tightly, creating tiny pore spaces that hold water like a sponge.
- Improper bed construction – Solid bottoms, landscape fabric, or cardboard liners that block outflow.
- Poor site selection – Beds placed in low spots where runoff collects.
- Suboptimal soil mix – Too much native garden soil or fine compost without coarse amendments.
- Overwatering or excessive mulch – Preventing natural evaporation and infiltration.
- Lack of organic matter – Leading to soil structure collapse over time.
Identifying the primary cause in your setup allows you to choose the most efficient solutions.
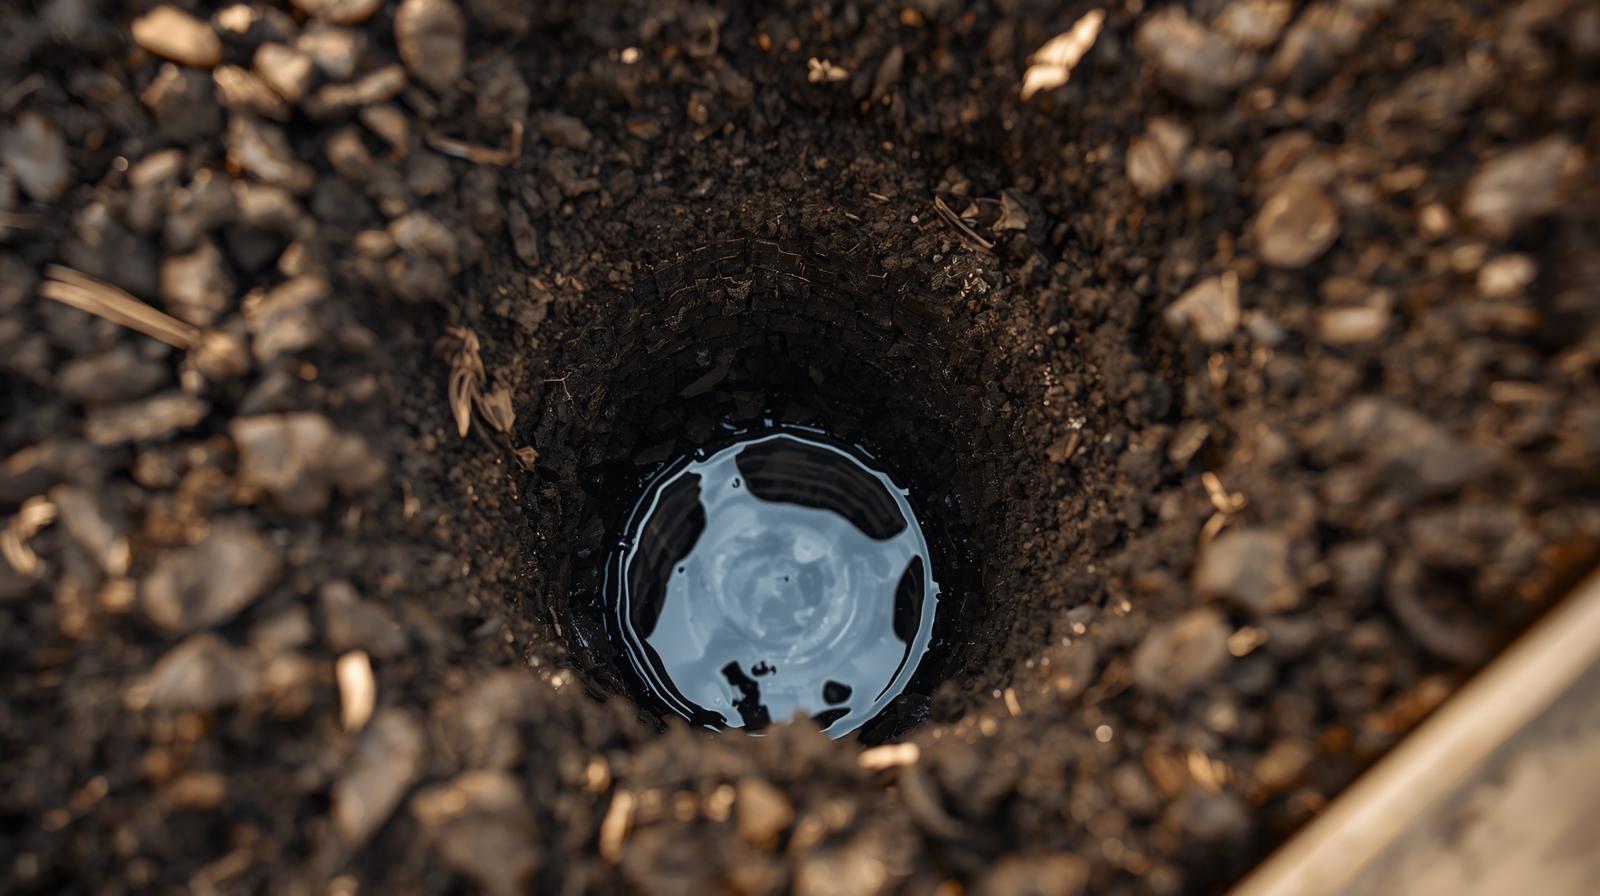
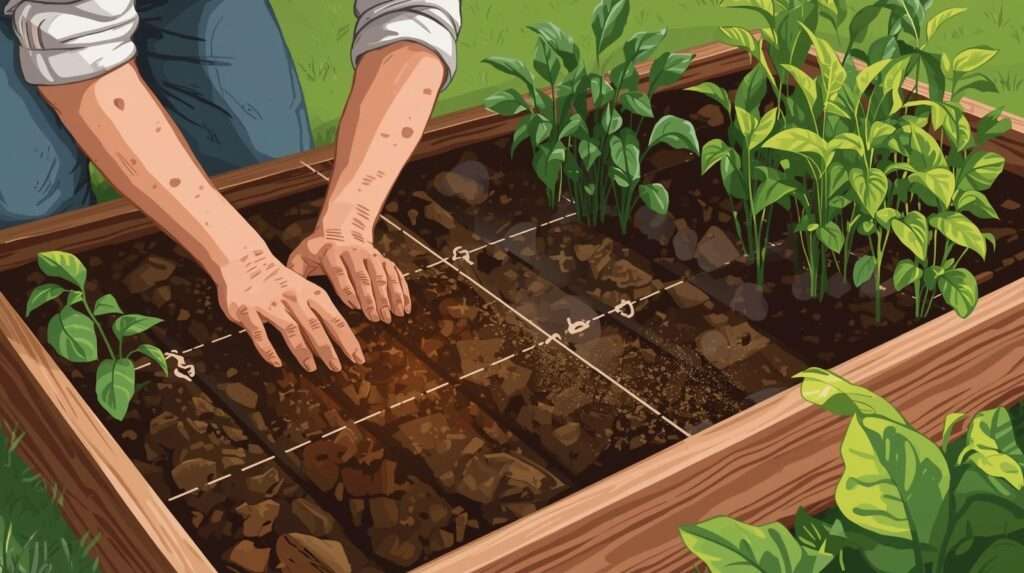
How to Test Drainage in Your Raised Beds
Before making changes, quantify the problem with this reliable percolation test recommended by university extension services:
- Dig a hole 10–12 inches deep and 8–10 inches wide in your raised bed.
- Fill it with water and let it drain completely (this saturates the soil).
- Refill the hole and note the time.
- Measure how much the water level drops over the next hour.
Interpretation:
- Excellent drainage: 4–6 inches per hour
- Good: 2–4 inches per hour
- Fair: 1–2 inches per hour
- Poor (needs immediate attention): Less than 1 inch per hour
If drainage takes longer than 6–8 hours total, your beds are at high risk for waterlogging.
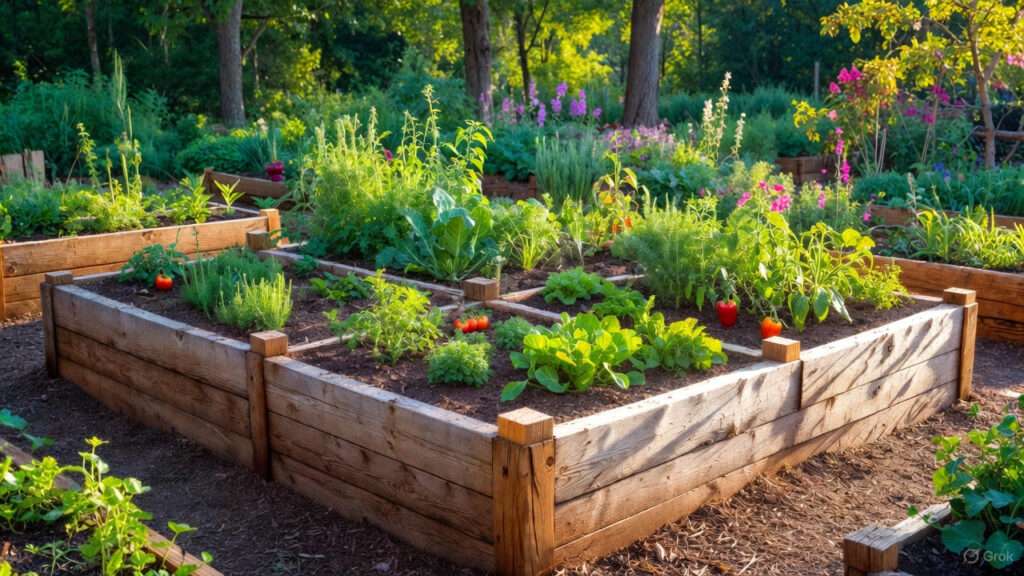
8 Proven Tips to Fix Poor Drainage and Prevent Waterlogging
These eight strategies are drawn from real-world successes across diverse climates and soil types. Implement them individually or in combination for optimal results.
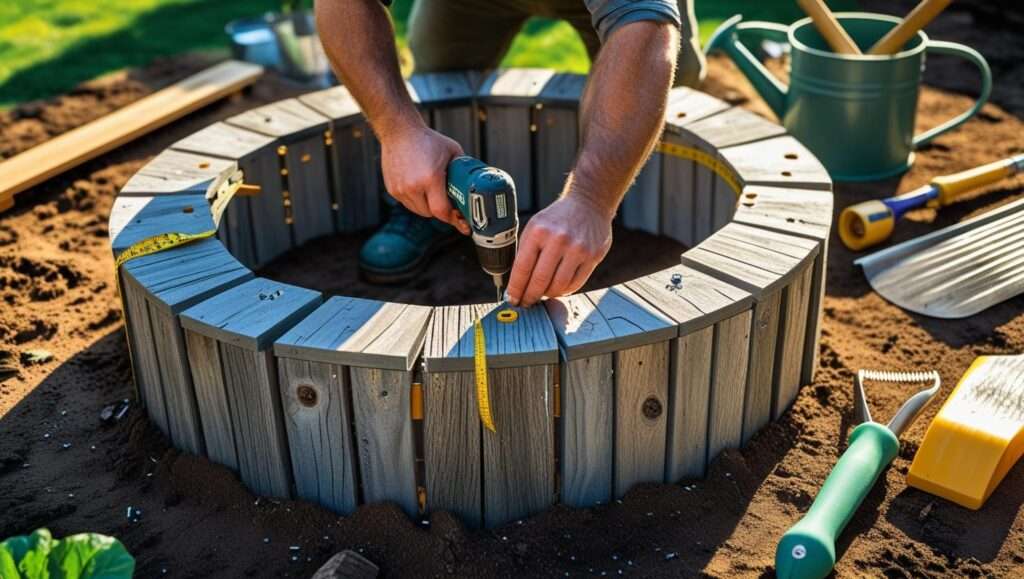
Tip 1: Choose the Right Location and Bed Design
Prevention starts with smart placement and construction. Position raised beds in areas with good natural slope and full sun. Avoid low-lying spots where water naturally accumulates.
For bed design:
- Open-bottom beds on native soil allow excess water to drain downward—the gold standard.
- Beds on concrete, patios, or decks need drainage holes (at least ½-inch diameter) every 12–18 inches along the lower sides.
- Elevate beds slightly on bricks or feet if placed on hard surfaces.
Expert note: In wet climates, orient beds north-south for maximum sun exposure, which aids evaporation.
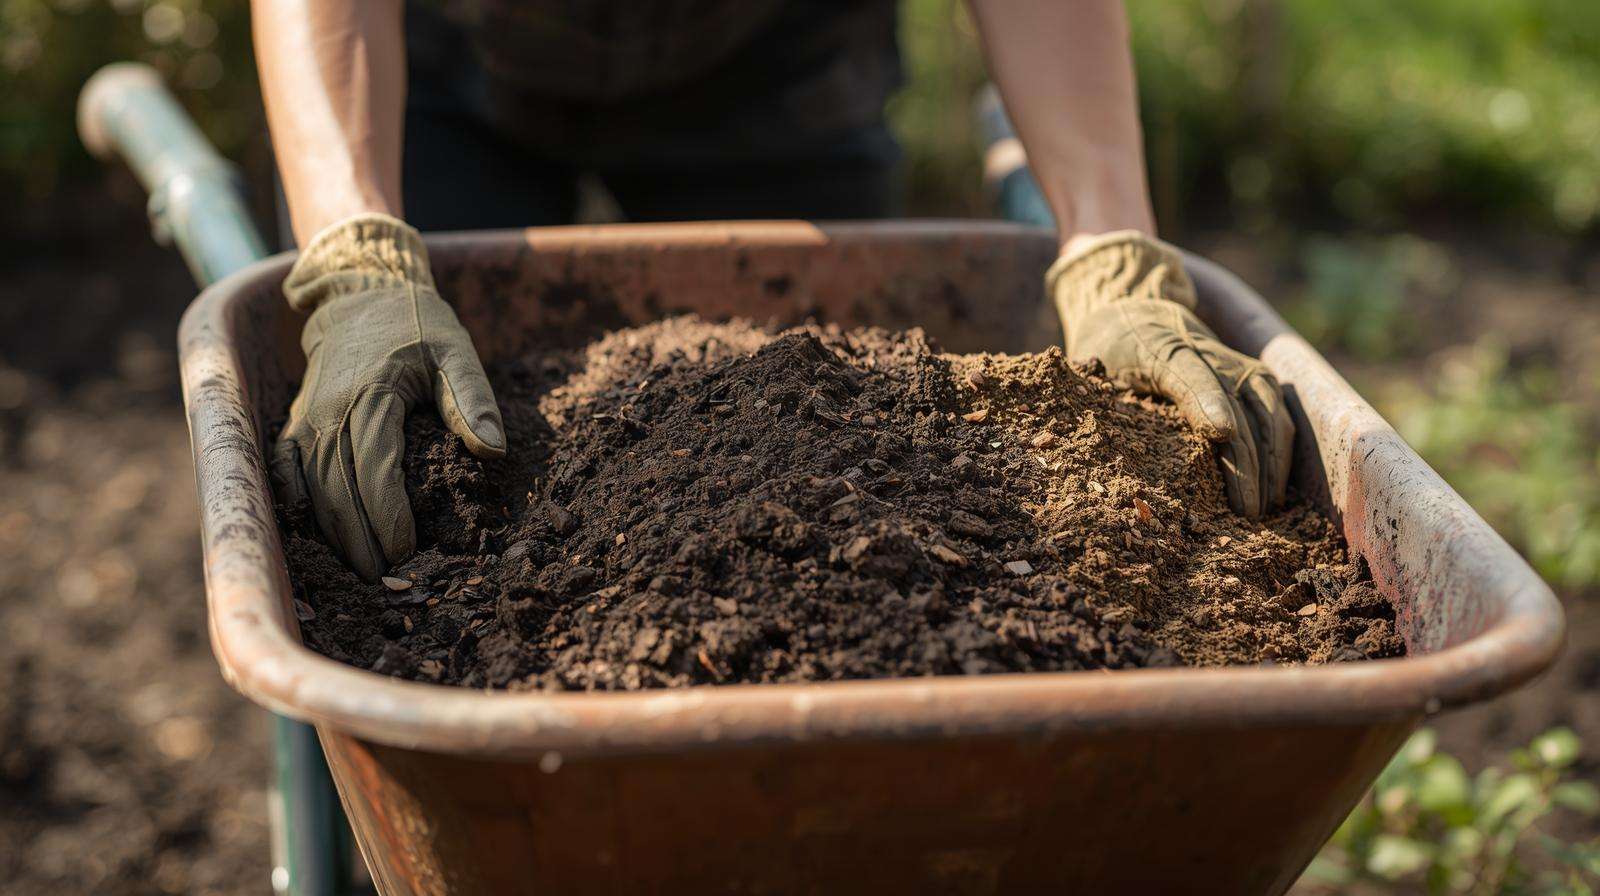
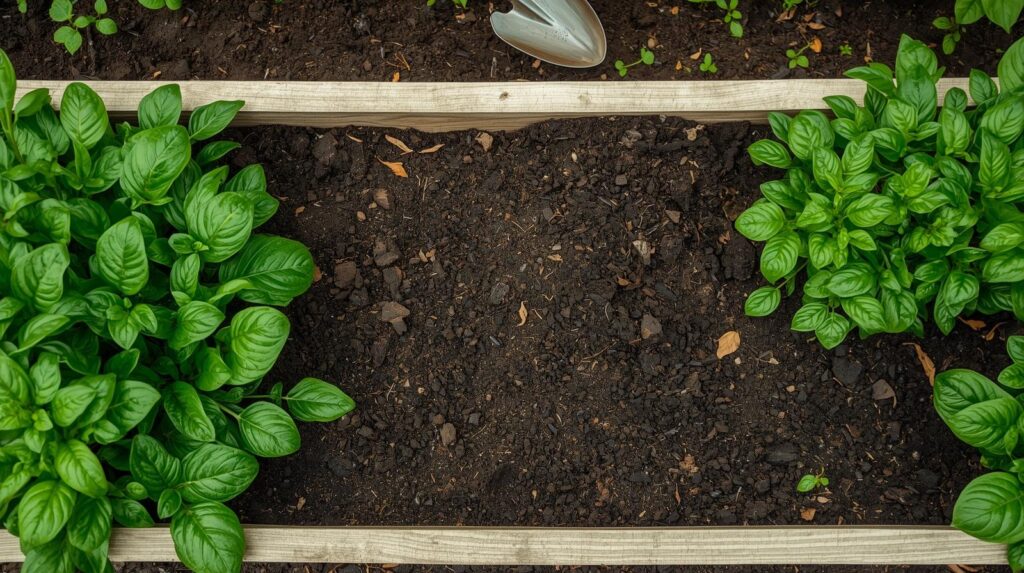
Tip 2: Build or Amend with the Ideal Soil Mix
The single most impactful fix is often replacing or amending your soil blend. Many commercial “raised bed mixes” are too fine; instead, aim for a loose, loamy texture.
The ideal raised bed soil recipe:
- 50–60% high-quality topsoil or loam (screened for rocks and debris)
- 30–40% mature compost (provides nutrients and improves structure)
- 10–20% coarse drainage enhancers (perlite, pumice, coarse sand, or expanded shale)
This mix drains quickly while retaining just enough moisture for plant roots. In my trials, beds filled with this ratio rarely experience waterlogging, even during prolonged rainy periods.
If emptying the bed isn’t feasible, top-dress with 4–6 inches of the new mix and fork it in gradually.
Tip 3: Incorporate Organic Matter Regularly
One of the simplest yet most effective long-term solutions for improving drainage is consistently adding organic matter. Compost, well-rotted manure, leaf mold, and cover crop residues break down into humus, which dramatically enhances soil structure.
Organic matter works in multiple ways:
- It creates larger pore spaces for water movement and air exchange.
- It encourages beneficial microbial activity that further aerates the soil.
- It prevents compaction by keeping soil particles flocculated (loosely aggregated).
How to apply it:
- Each spring or fall, spread 2–4 inches of high-quality compost over the surface.
- Lightly fork or rake it into the top 6–8 inches without disturbing plant roots excessively.
- In established beds, use a no-dig approach: simply top-dress and let earthworms incorporate it naturally.
In my experience with heavy clay soils in the Midwest, gardeners who added 3 inches of compost annually saw drainage improve from “poor” (less than 1 inch/hour) to “good” (2–4 inches/hour) within two seasons. Yields of tomatoes and leafy greens increased noticeably, with virtually no root rot.
Pro tip: Source compost from multiple materials (yard waste, kitchen scraps, manure) to achieve a balanced carbon-to-nitrogen ratio and avoid potential pathogen issues from single-source materials.
Tip 4: Add Drainage Enhancers Like Perlite, Pumice, or Vermiculite
For immediate improvement—especially in beds that can’t be fully emptied—mix in inorganic amendments that create permanent air pockets.
Recommended options:
- Perlite: Lightweight volcanic glass that improves aeration and drainage without breaking down. Use horticultural grade (medium or coarse).
- Pumice: Similar to perlite but denser and longer-lasting; excellent in regions where it’s locally available.
- Vermiculite: Holds some water and nutrients while still improving structure (use sparingly, 5–10%).
- Coarse sand or expanded shale (e.g., Turface MVP): Ideal for very heavy soils.
Application rates:
- New beds: 10–20% by volume mixed throughout.
- Existing beds: Work in 2–3 inches on the surface and fork down as deeply as practical.
University trials (including those from Oregon State and Cornell Extensions) consistently show that 15% perlite or pumice can increase drainage rates by 200–300% while maintaining adequate moisture retention for most vegetables.
Safety note: Always wear a dust mask when handling dry perlite or pumice to avoid inhaling fine particles.
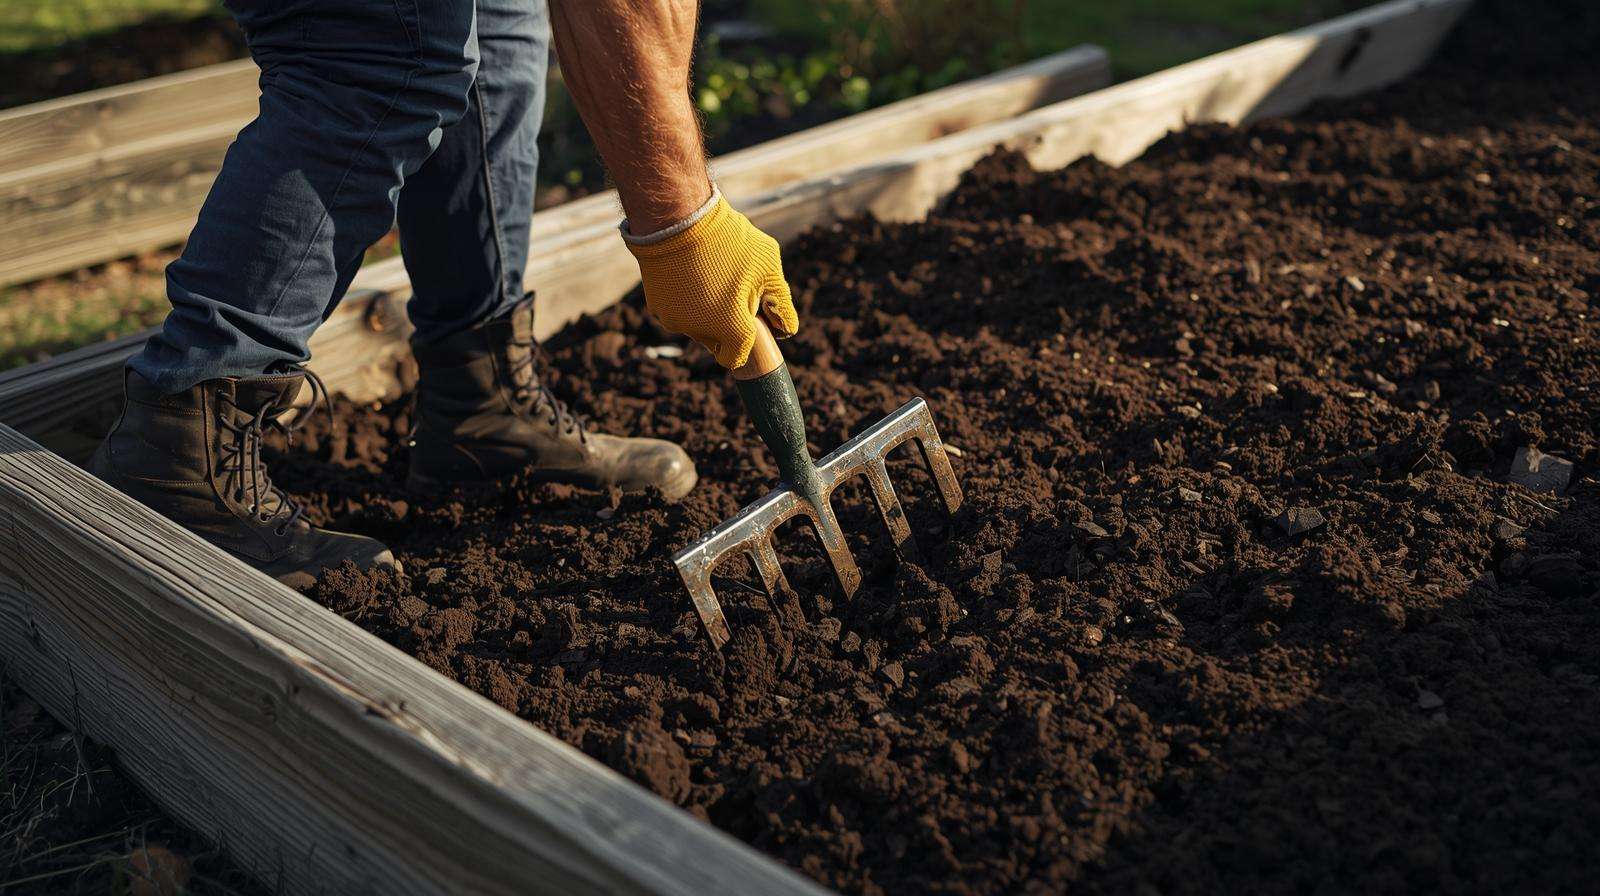
Tip 5: Loosen Compacted Soil and Aerate Seasonally
Compaction is the silent killer of drainage. Foot traffic, heavy rain, and settling over time squeeze out air spaces, turning even good soil mixes soggy.
Best tools for aeration:
- Broadfork (my preferred tool): Gently lifts and fractures soil without inverting layers or harming soil biology.
- Garden fork: Insert tines every 6–8 inches and rock back gently.
- Core aerator (for very large beds): Removes small plugs of soil.
When and how often:
- Aerate in early spring before planting and again in fall after harvest.
- Avoid aerating when soil is wet—compaction worsens if you work wet soil.
In one client’s urban garden with chronically compacted raised beds, a single broadfork session followed by compost top-dressing reduced standing water from days to hours. The following season, carrot and beet roots grew twice as deep with no forking.
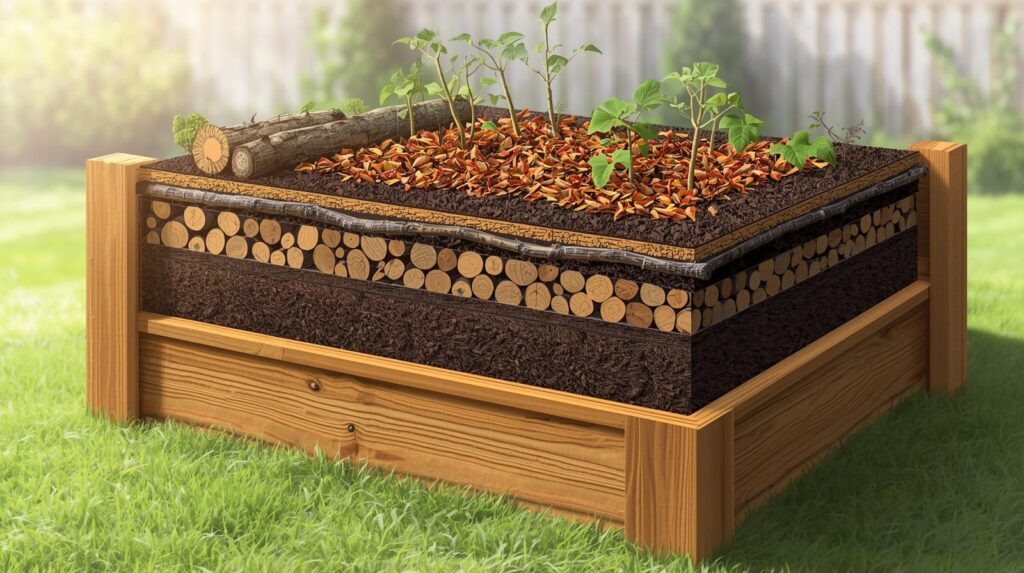
Tip 6: Ensure Open Bottoms or Add Strategic Drainage Layers (When Appropriate)
A common myth persists that a thick layer of gravel at the bottom improves drainage. In reality, this often creates a “perched water table” where water sits at the interface between fine soil and coarse gravel, worsening saturation in the root zone.
Better approaches:
- Open-bottom beds on native soil: Till or loosen the ground beneath the bed 8–12 inches deep before filling. This allows excess water to percolate naturally.
- Hugelkultur-inspired layers: For ground-level beds, place woody branches, logs, or twigs at the very bottom (12–18 inches). As they decompose, they create air channels and hold moisture like a sponge—perfect balance.
- For beds on hard surfaces: Skip gravel entirely. Elevate the bed slightly and drill multiple ½-inch drainage holes along the bottom edges.
Research from Washington State University confirms that open-bottom designs outperform contained beds in wet climates by preventing any possibility of trapped water.
Tip 7: Apply Mulch Strategically
Mulch is a double-edged sword: it conserves moisture and suppresses weeds, but too much or the wrong type can impede drainage.
Best practices:
- Use coarse, airy mulches: straw, untreated wood chips, shredded leaves, or cocoa hulls (2–3 inches deep).
- Keep mulch 1–2 inches away from plant stems to prevent crown rot.
- Reapply as needed but never exceed 4 inches total depth.
- In spring, pull mulch back temporarily to allow soil to warm and dry faster.
Gardeners in rainy Pacific Northwest regions often switch from fine bark mulch to coarse straw and report dramatically reduced fungal issues and faster-draining surfaces.
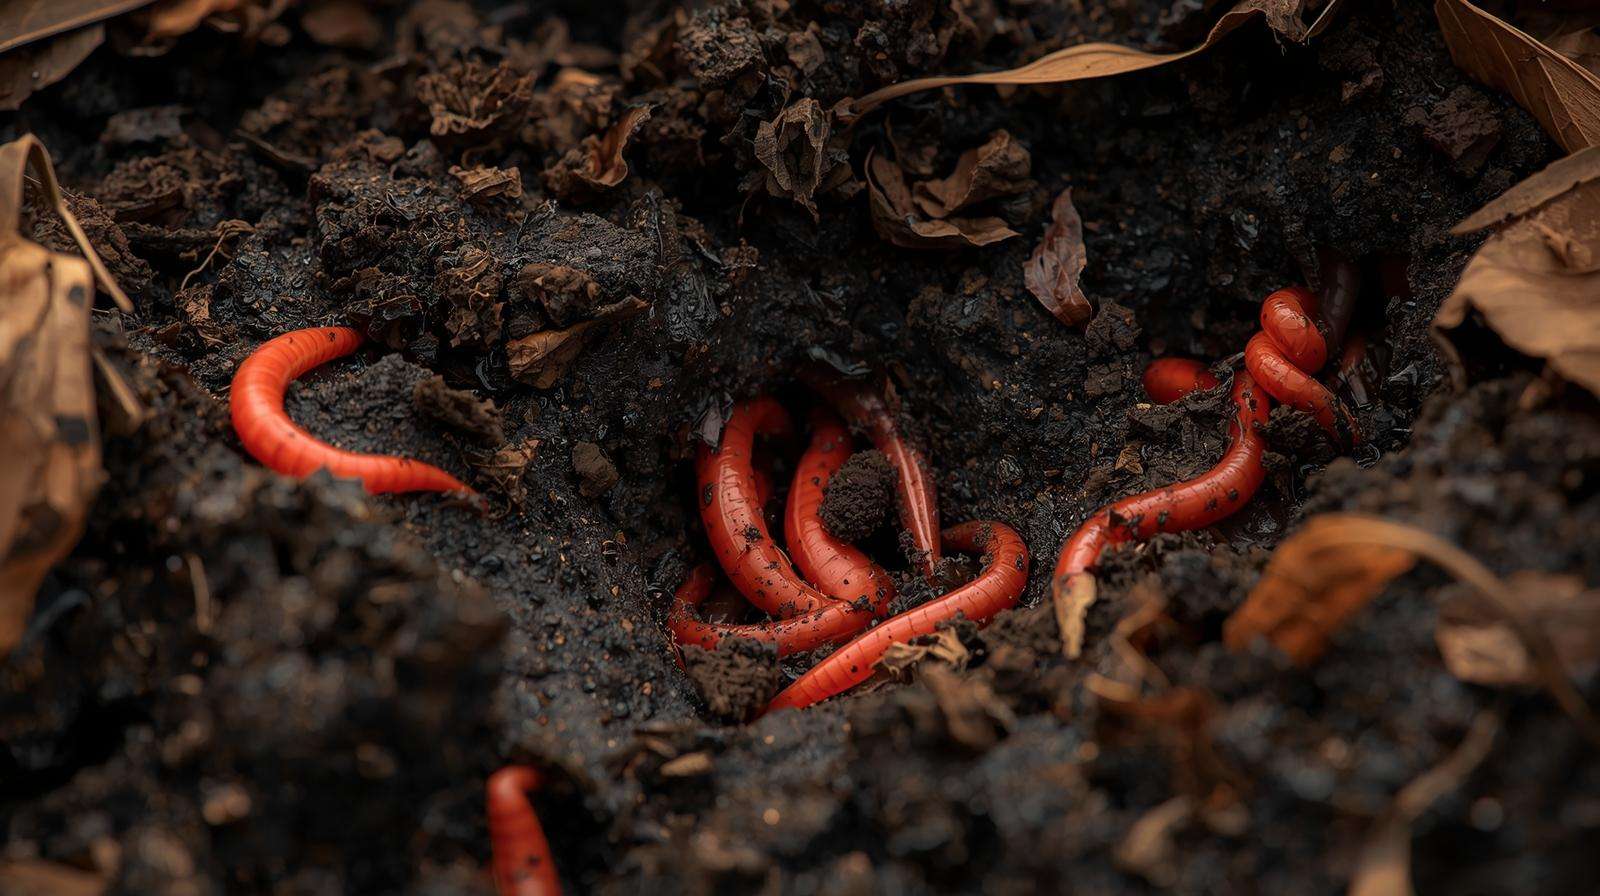
Tip 8: Introduce Beneficial Organisms Like Earthworms
Nature’s best drainage engineers are earthworms. Species like red wigglers (Eisenia fetida) and native nightcrawlers create permanent channels as they burrow, while their castings improve soil aggregation.
How to encourage them:
- Add ½–1 pound of red wigglers per 4×8-foot bed (available from reputable vermiculture suppliers).
- Maintain consistent moisture and organic matter—worms thrive in the same conditions as healthy plants.
- Avoid synthetic pesticides and excessive tilling.
Over time, a robust worm population can increase infiltration rates by 50–100%, according to soil biology studies. In my own beds, introducing worms ten years ago transformed marginal drainage into exceptional performance with minimal ongoing effort.
Prevention Strategies for Long-Term Success
Fixing drainage is important, but preventing recurrence ensures sustained results:
- Water deeply but infrequently: Encourages deep rooting and reduces surface saturation.
- Install drip irrigation or soaker hoses: Delivers water slowly at soil level, minimizing runoff and compaction.
- Monitor rainfall: Use a simple rain gauge and skip watering after significant precipitation.
- Rotate crops annually: Prevents soil exhaustion and buildup of soil-borne pathogens.
- Top-dress with compost every season: Maintains organic matter levels.
- Cover beds in winter: Use breathable row covers or tarps to reduce compaction from heavy snow or rain.
Real-World Examples and Case Studies
Case 1: Urban gardener in Seattle Clay-heavy native soil caused constant waterlogging. Solution: Converted to open-bottom beds, loosened subsoil, and filled with 60% loam/30% compost/10% pumice mix. Result: Tomato yields tripled; no root rot in three consecutive rainy seasons.
Case 2: Rooftop garden in Chicago Beds on concrete with no drainage holes. Added side holes, elevated slightly, switched to perlite-amended mix, and introduced worms. Standing water eliminated; lettuce and herbs thrived year-round.
Case 3: Rural homestead in Georgia Heavy red clay. Implemented annual compost additions, broadfork aeration, and hugelkultur bases. Carrot and potato harvests increased 40–50% with deeper, healthier roots.
Frequently Asked Questions (FAQs)
Q: Do raised beds always need drainage holes? A: Open-bottom beds on permeable ground usually don’t, but any contained bed (on concrete, decking, etc.) absolutely needs multiple drainage holes or gaps.
Q: Is gravel at the bottom of raised beds helpful for drainage? A: Generally no—coarse gravel can create a perched water table. Focus on amending the entire soil volume instead.
Q: How often should I amend soil to maintain good drainage? A: Add compost annually; incorporate coarse amendments every 3–5 years or when rebuilding beds.
Q: Can I fix poor drainage without emptying the entire bed? A: Yes. Top-dress with compost, aerate deeply, add worms, and gradually work in perlite or pumice from the surface.
Q: Which vegetables tolerate poor drainage best while I’m fixing it? A: Potatoes, beets, kale, and lettuce are more tolerant. Avoid sensitive crops like tomatoes, peppers, and beans until drainage improves.
Q: Will improving drainage make my soil too dry? A: Not if you use balanced amendments and mulch properly. Good drainage means excess water leaves quickly, but the soil still retains sufficient moisture for roots.
Conclusion
Poor drainage doesn’t have to limit your raised bed garden’s potential. By implementing these eight proven tips—starting with a simple drainage test and prioritizing soil structure—you can eliminate waterlogging, prevent devastating root issues, and create the optimal growing environment for vigorous, high-yielding plants.
Whether you’re a beginner gardener or seasoned grower, small targeted changes yield big results. Begin with the easiest steps for your situation (like adding compost and aerating), then layer in others as needed. Your plants will reward you with stronger growth, fewer diseases, and abundant harvests season after season.
Happy gardening—here’s to dry feet and thriving roots!