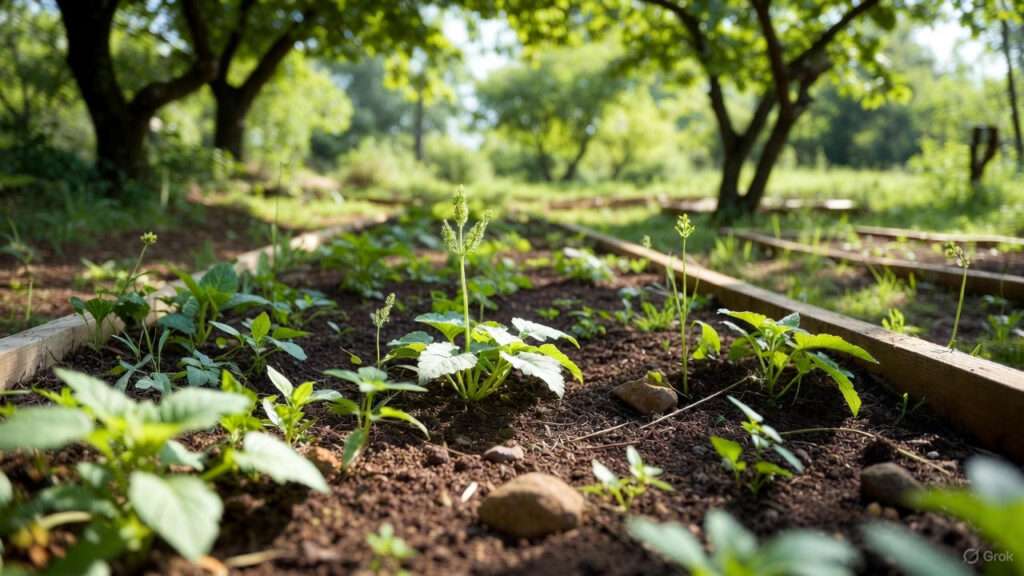
Picture this: You eagerly check your raised garden beds in spring, ready for another bountiful season, only to find the soil hard as concrete. Water pools on the surface instead of soaking in, plants from last year struggled with stunted growth, and digging feels like breaking rock. If this sounds familiar, you’re dealing with compressed raised-bed soil—a common issue that plagues even experienced gardeners. The good news? Fluffing up compressed raised-bed soil is a simple, effective fix that can dramatically improve drainage, aeration, and nutrient availability, leading to healthier, more productive plants.
As an organic gardener with over 15 years of experience managing raised-bed systems and consulting with soil scientists from university extension programs, I’ve revived countless compacted beds. In this comprehensive guide, we’ll dive deep into why soil compresses, how to identify it, and most importantly, step-by-step methods to fluff and revitalize your raised-bed soil. Whether you’re growing vegetables, flowers, or herbs, these expert-backed techniques will help you restore soil structure, prevent future issues, and achieve thriving gardens.
Understanding Why Raised-Bed Soil Becomes Compressed
Common Causes of Soil Compaction in Raised Beds
Raised-bed soil starts loose and fluffy, but over time, natural processes and gardening practices lead to compaction. One primary culprit is repeated watering and rainfall, which settles soil particles closer together, reducing pore space. Organic matter decomposition also plays a role—as compost and plant residues break down, they lose volume, causing the soil level to drop and density to increase.
Foot traffic is another major factor. Even occasional stepping into beds to weed or harvest compresses the soil beneath. Leaning over beds or placing heavy tools on the surface exacerbates this. Finally, an improper initial soil mix—too much clay or sand without enough organic matter—can predispose beds to rapid compaction.
In my experience working with community gardens, beds used intensively for vegetables compact faster than those with perennials, often within a single season.
Signs Your Raised-Bed Soil Needs Fluffing
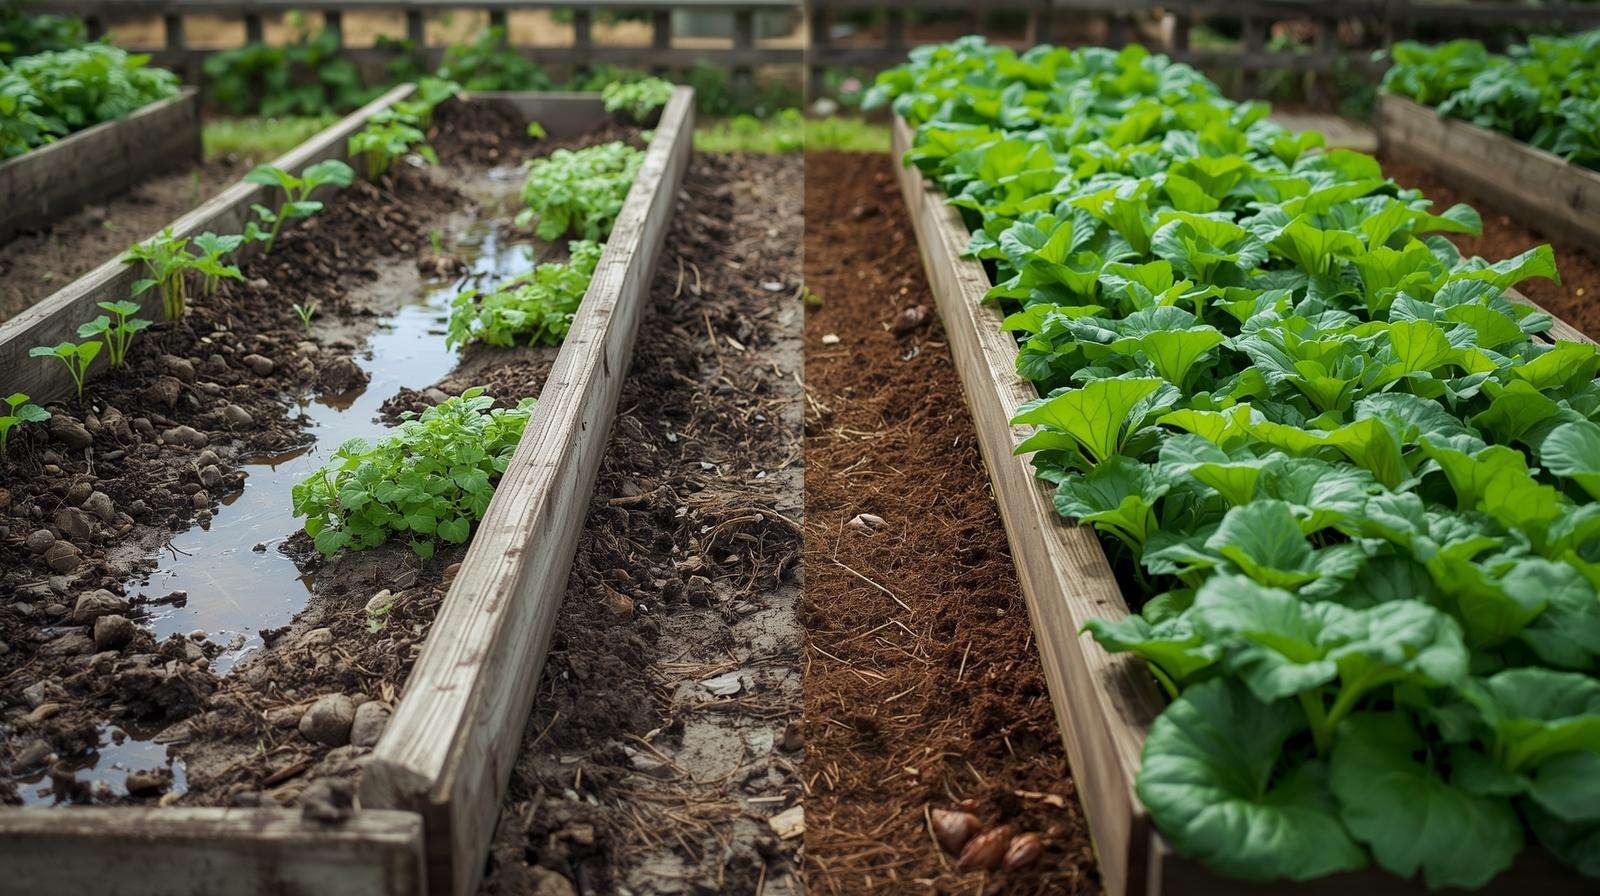
Recognizing compaction early prevents long-term damage. Key indicators include water runoff or pooling after irrigation, rather than quick absorption. The soil surface may develop a hard crust, making it difficult to insert a trowel or fork.
Plant symptoms are telling: stunted growth, yellowing leaves (despite fertilization), shallow rooting, or increased pest and disease issues due to stress. Dig a test hole—if the soil feels dense and cloddy below the top few inches, it’s time to act.
I’ve seen gardeners ignore these signs, only to face declining yields year after year. Addressing compaction promptly can reverse these problems quickly.
The Impact on Plant Health
Compacted soil restricts root expansion, limiting access to water, nutrients, and oxygen. Soil science shows that ideal garden soil should have about 50% pore space for air and water; compacted soil often drops below 30%, stressing plants and reducing microbial activity.
Poor aeration leads to anaerobic conditions, fostering root rot pathogens. Nutrient uptake suffers as roots can’t explore fully, resulting in deficiencies even in fertilized beds. Ultimately, this translates to weaker plants, lower harvests, and higher maintenance needs.
Referencing studies from the USDA and soil experts like Dr. Elaine Ingham, healthy soil structure is foundational to regenerative gardening—fluffing restores that balance.
When and How Often to Fluff Up Your Raised-Bed Soil
Best Timing for Soil Revival
Timing your soil fluffing maximizes benefits while minimizing disruption. The optimal windows are early spring, before planting new crops, or late fall, after harvesting and clearing beds. In spring, fluffing prepares the bed for seedlings; in fall, it incorporates amendments that improve over winter.
Avoid mid-season fluffing if possible, as it can disturb established roots. For cool-season crops like lettuce or spinach overwintering, wait until dormancy.
In colder climates (USDA zones 6 and below), fall fluffing allows freeze-thaw cycles to further loosen soil naturally. In warmer zones, spring is preferred to avoid excessive winter rainfall compaction.
Frequency Guidelines
How often you need to fluff depends on usage. Intensive vegetable beds with heavy feeders like tomatoes or squash benefit from annual fluffing. Perennial herb or flower beds may only need it every 2–3 years.
Factors like rainfall amount, soil composition, and traffic influence this. Sandy soils compact less frequently than loamy ones; high-organic mixes hold structure longer.
As a rule I’ve followed in my own gardens: Inspect beds seasonally—if water infiltration is slow or soil feels hard, fluff regardless of schedule.
Expert tip: Align with your regional gardening calendar. For example, in the Pacific Northwest, fall fluffing leverages wet winters for natural breakdown.
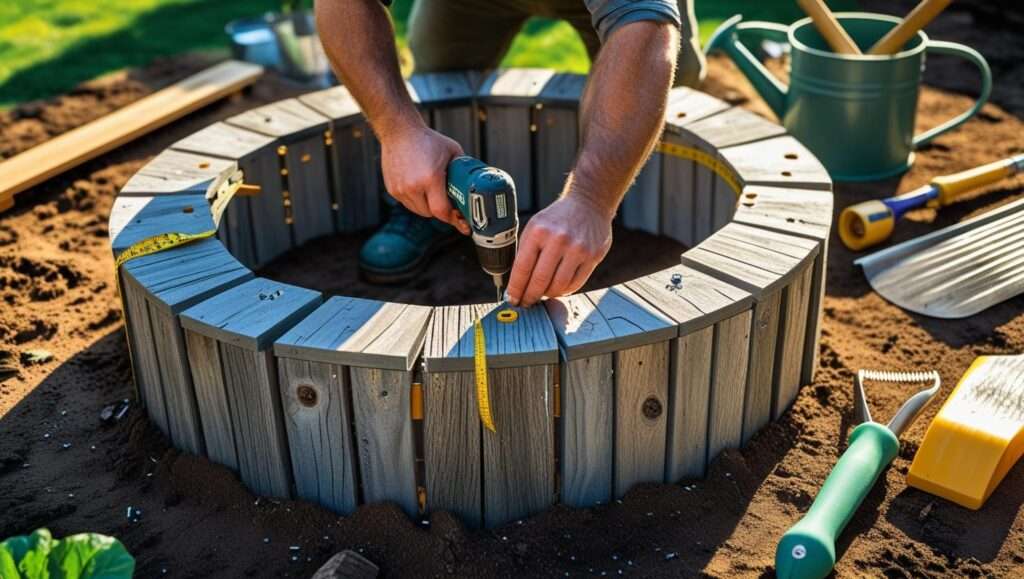
Tools and Materials You’ll Need
Essential Tools
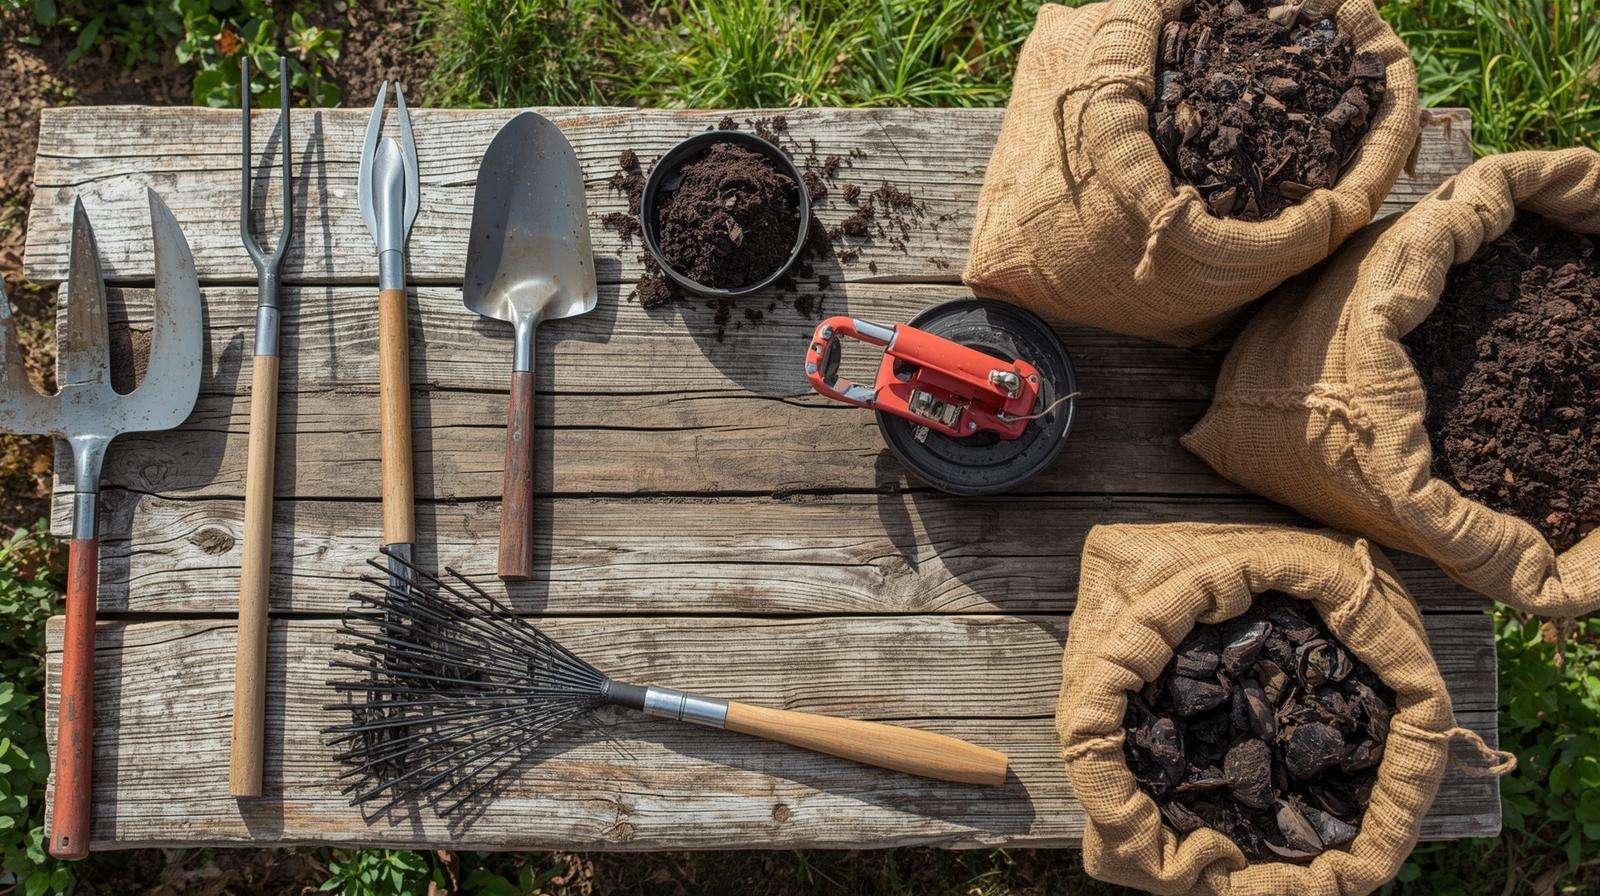
Fluffing efficiently requires the right tools. A garden fork or broadfork is ideal for aerating without inverting soil layers, preserving microbial life. Broadforks, with their long tines, reach deeper (up to 12–16 inches) for thorough loosening.
A sturdy shovel for mixing amendments, a rake for leveling, and a trowel for finer work are must-haves. A wheelbarrow helps transport compost or removed soil.
For larger beds, consider a cultivator attachment for a tiller, but use sparingly to avoid over-tilling.
Recommended Soil Amendments
To rebuild structure, add organic matter. Mature compost or aged manure tops the list, improving tilth and biology. Worm castings boost microbial activity.
For lasting aeration, incorporate coconut coir, perlite, or vermiculite—these hold air pockets well. Biochar enhances porosity and nutrient retention long-term.
Avoid fresh manure or uncomposted materials to prevent burning plants or weed seeds.
Safety and Eco-Friendly Considerations
Choose sustainable, organic amendments to support soil health. Wear gloves, eye protection, and a mask when handling dry materials. Work in good weather to avoid slipping.
Here’s a quick-reference shopping list:
| Category | Item | Purpose | Approximate Amount per 4×8 Bed |
|---|---|---|---|
| Tools | Broadfork/Garden Fork | Aeration | 1 |
| Shovel & Rake | Mixing & Leveling | 1 each | |
| Amendments | Compost | Organic matter & nutrients | 4–6 cubic feet |
| Worm Castings | Microbial boost | 1–2 cubic feet | |
| Coconut Coir/Perlite | Structure & drainage | 2–3 cubic feet |
Step-by-Step Guide to Fluffing Up Compressed Raised-Bed Soil
Preparation Steps
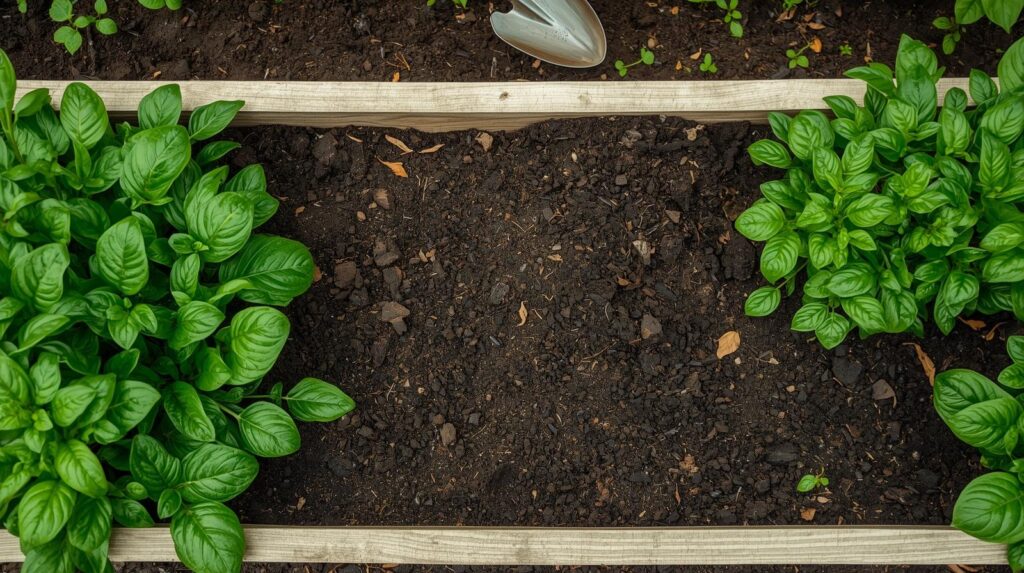
Start by clearing the bed: Remove plant debris, weeds, and any mulch. Harvest remaining crops if in fall. Lightly water the soil if it’s bone-dry—moist soil loosens easier without dusting.
Mark any perennials to avoid damaging roots.
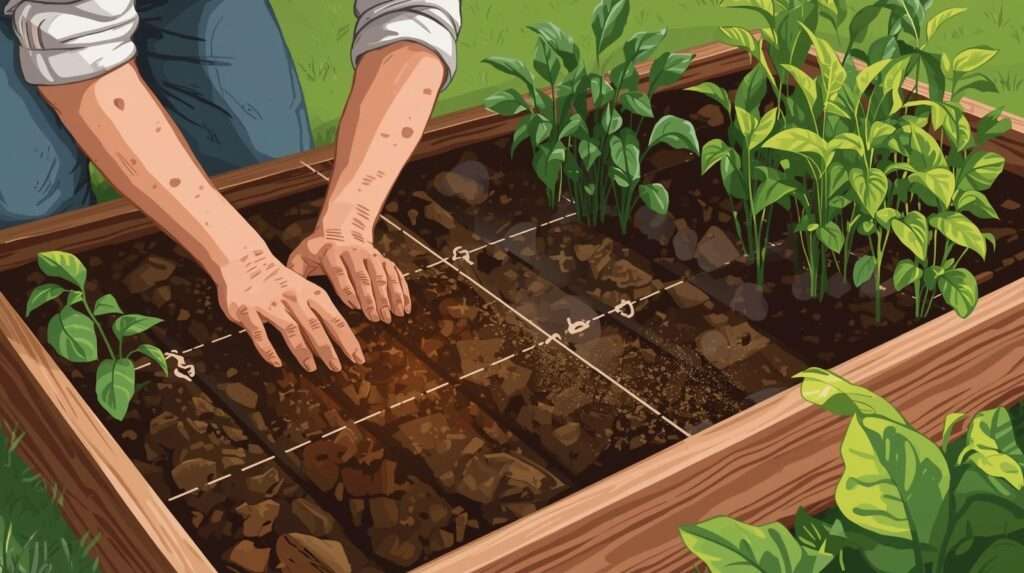
Aerating the Soil
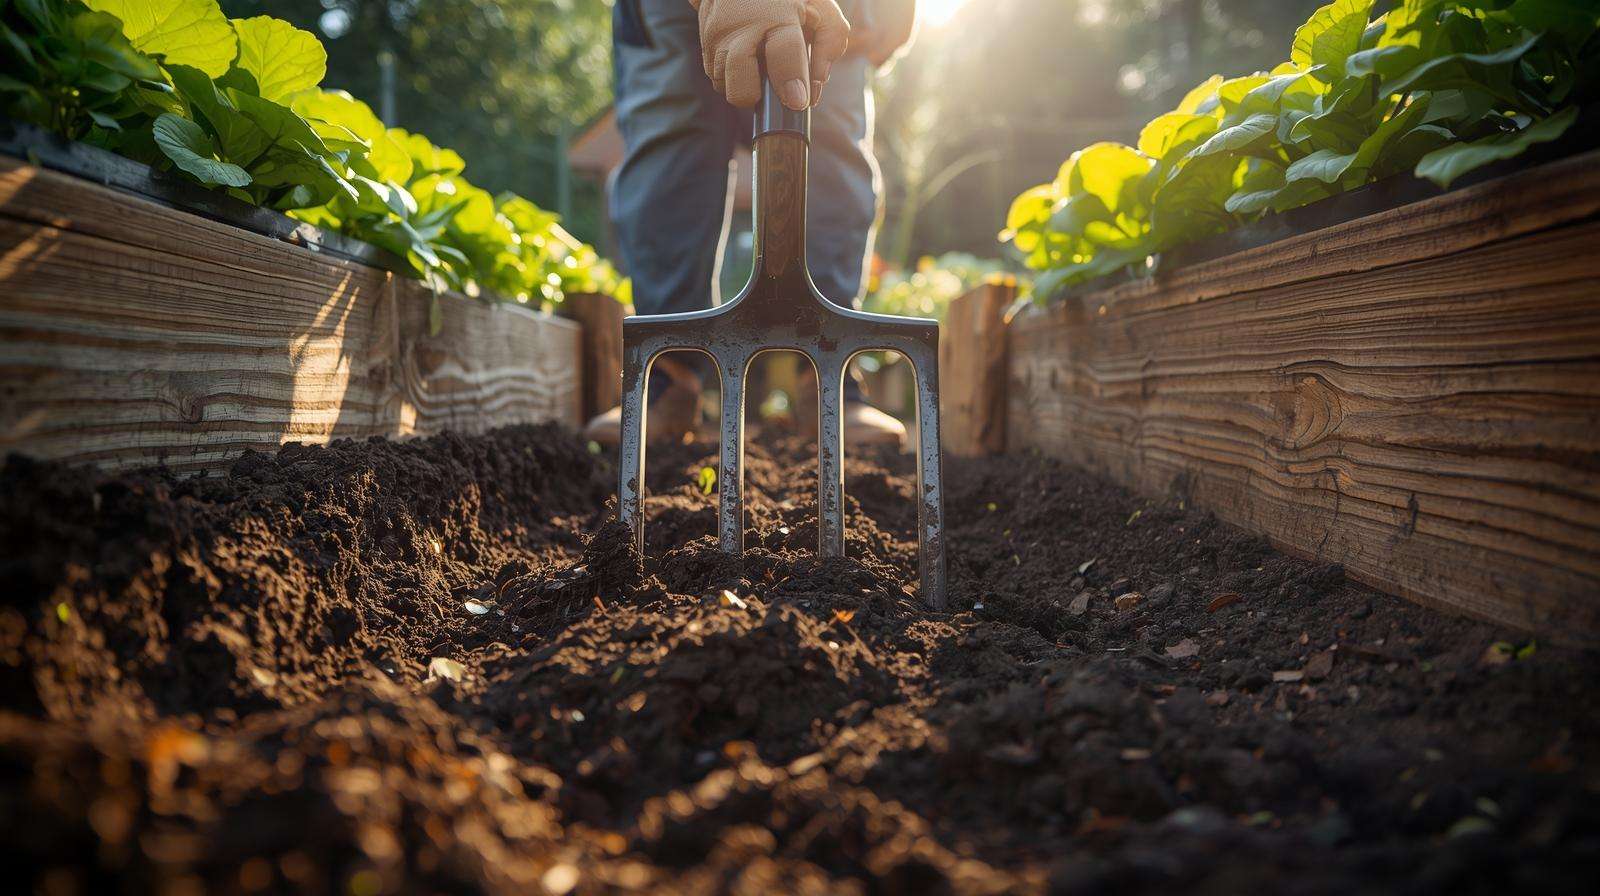
Insert your garden fork or broadfork every 6–8 inches, rocking it back and forth to lift and loosen without flipping soil. Work systematically across the bed, aiming for 8–12 inches depth.
This no-turn method preserves soil layers and beneficial fungi. For very compacted beds, make two passes—first shallow, then deeper.
Expert insight: Broadforking mimics natural soil disturbance by earthworms, enhancing long-term health.
Incorporating Amendments
Spread 2–4 inches of compost evenly over the surface. Add other amendments like coir or worm castings as needed.
Mix gently with a fork or shovel, incorporating to 6–8 inches deep. For top-dressing only (less disruptive), rake amendments in lightly.
Finishing Touches
Rake the surface smooth, creating a fine tilth for planting. Add 2–3 inches of organic mulch (straw or leaves) to protect structure. Water deeply to settle amendments and activate biology.
Here’s an actionable checklist:
- Clear debris
- Aerate with fork
- Add amendments
- Mix lightly
- Level and mulch
- Water thoroughly
In practice, this process takes 1–2 hours per standard 4×8 bed, yielding immediate improvements in soil feel.
Advanced Techniques for Long-Lasting Soil Structure
No-Till Methods and Cover Cropping
For gardeners seeking minimal disturbance, no-till approaches excel at maintaining and improving soil structure over time. Instead of annual fluffing, focus on building biology that naturally aerates soil. Cover crops like clover, rye, or hairy vetch, planted in fall or between main crops, develop deep roots that penetrate compacted layers, creating channels for air and water.
When terminated (by crimping or mowing), these crops add organic matter on the surface, feeding soil microbes without turning. This mimics natural prairie systems, fostering fungal networks that stabilize aggregates.
In my regenerative plots, incorporating daikon radish as a “biodriller” has loosened subsoil dramatically without mechanical intervention. Studies from Rodale Institute support this—cover-cropped no-till beds show higher porosity and earthworm activity after just a few seasons.
Adding Permanent Structure Builders
Certain amendments provide enduring benefits. Biochar, a charcoal-like material, creates permanent micropores that resist compaction and hold water/nutrients. Add 5–10% by volume during major revivals.
Expanded shale, pumice, or lava rock offer similar longevity, improving drainage in heavy mixes. These inert materials don’t break down, ensuring consistent aeration.
Vermiculite holds structure well but can compact if overused; balance with coarser options.
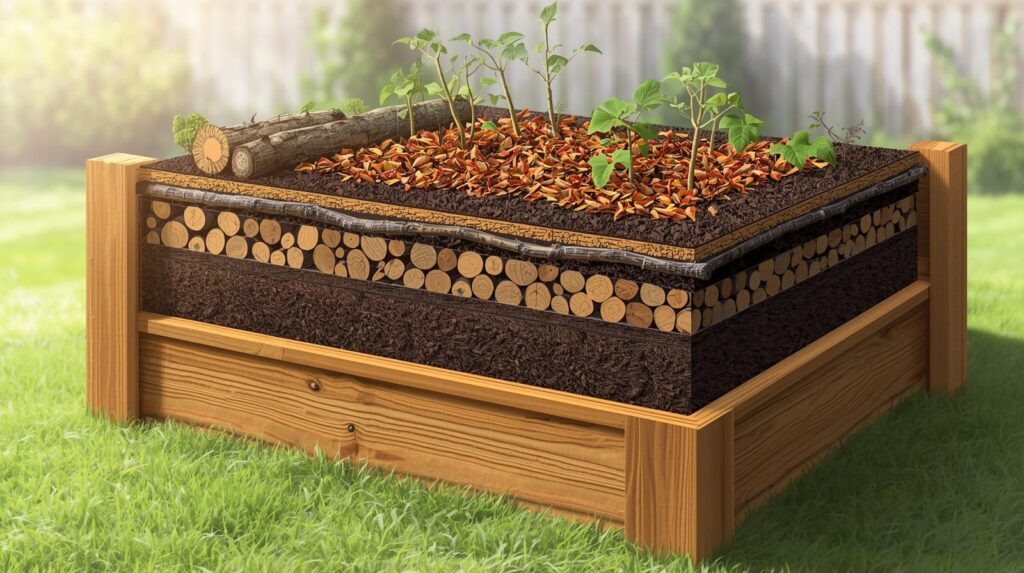
Hugelkultur-Inspired Layers
For new or deeply depleted beds, adopt hugelkultur elements. At the bottom, layer woody debris—branches, logs, and twigs—that slowly decompose, creating air pockets and releasing nutrients over years.
Top with sod, compost, and soil. This mound-style approach prevents settling and maintains fluffiness naturally. I’ve adapted this for raised beds by adding a 6–12 inch woody base in deeper frames (18+ inches tall), resulting in virtually maintenance-free structure for 5–7 years.
These techniques, drawn from permaculture principles, reduce future fluffing needs significantly.
Preventing Future Soil Compression
Best Practices for Maintenance
Prevention is easier than revival. Annually top-dress with 1–2 inches of compost—worms and microbes incorporate it naturally. Mulch heavily with straw, leaves, or wood chips to cushion impacts and moderate moisture.
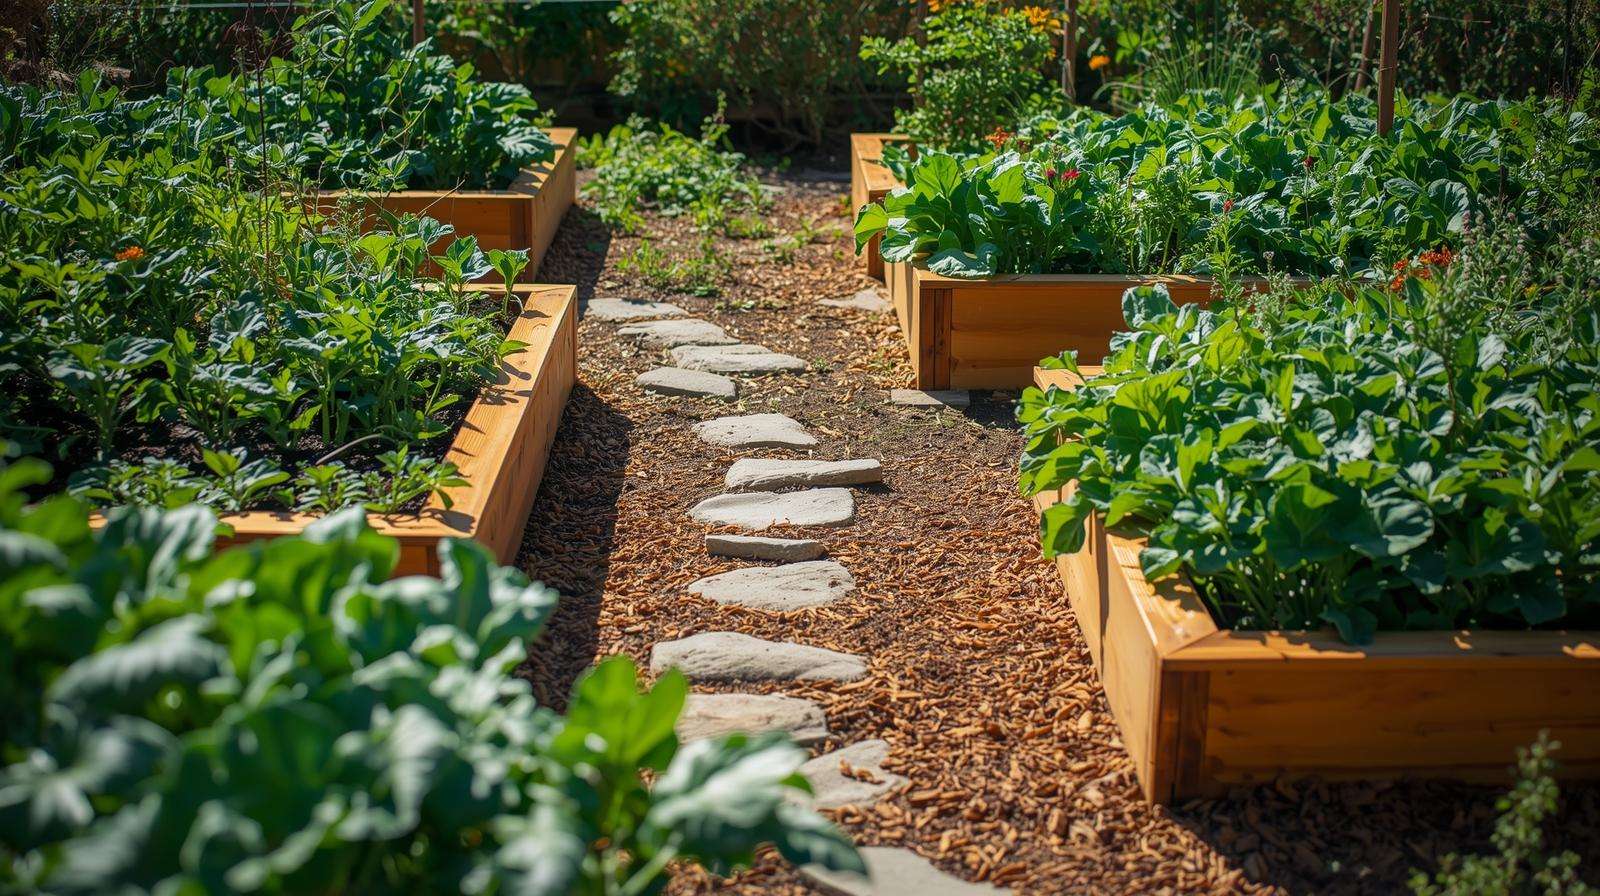
Install permanent paths or stepping stones to eliminate foot traffic on beds. Wide beds (no more than 4 feet) allow reaching without stepping in.
Water gently with soaker hoses or drip irrigation to avoid pounding particles.
Building Better Beds from the Start
Start right for longevity. Use a balanced mix: one-third compost, one-third peat/coir/vermiculite, one-third vermiculite/perlite (like Mel’s Mix for square-foot gardening). This high-organic, porous blend resists compaction far better than garden soil alone.
Choose taller beds (12–18 inches) for more root space and less settling. Line bottoms with cardboard to suppress weeds without restricting drainage.
Seasonal Care Tips
In fall, clear lightly and top-dress; let winter microbes work. In spring, gently rake in amendments if needed. Monitor infiltration after heavy rains—slow absorption signals early intervention.
Consistent care keeps soil fluffy year-round.
Common Mistakes to Avoid
Even well-intentioned gardeners err. Tilling wet soil smears particles, worsening compaction—always wait until crumbly. Over-amending with fine materials (e.g., too much peat) can create a soupy mix that settles quickly.
Rototilling annually destroys soil aggregates and microbial networks; stick to forking. Adding sand to clay without organic matter creates concrete-like conditions.
Finally, neglecting mulch exposes soil to rain impact. I’ve corrected these in client gardens with dramatic turnarounds—learning from mistakes accelerates success.
Frequently Asked Questions (FAQs)
- Can I fluff soil without removing plants?
Yes, carefully. Use a narrow fork around plants, working in small sections. Top-dress amendments and let worms incorporate. Best for established perennials; avoid near shallow roots. - What’s the best amendment for clay-heavy raised beds?
Compost plus coarse materials like perlite or expanded shale. Organic matter builds tilth; coarse additives ensure drainage. Start with 20–30% amendments by volume. - How long does it take for fluffed soil to settle?
Initial settling occurs within weeks, but with proper amendments and mulch, structure stabilizes in 1–2 months. Water gently during this period. - Is fluffing necessary for new raised beds?
Not immediately if filled correctly. Monitor after the first season—heavy watering can compact even fresh mixes. Light annual maintenance prevents major issues. - Can I use power tools for fluffing?
Small cultivators work for large beds, but manual forking preserves biology better. Avoid rototillers for routine work.
These answers stem from practical experience and soil science resources.
Conclusion
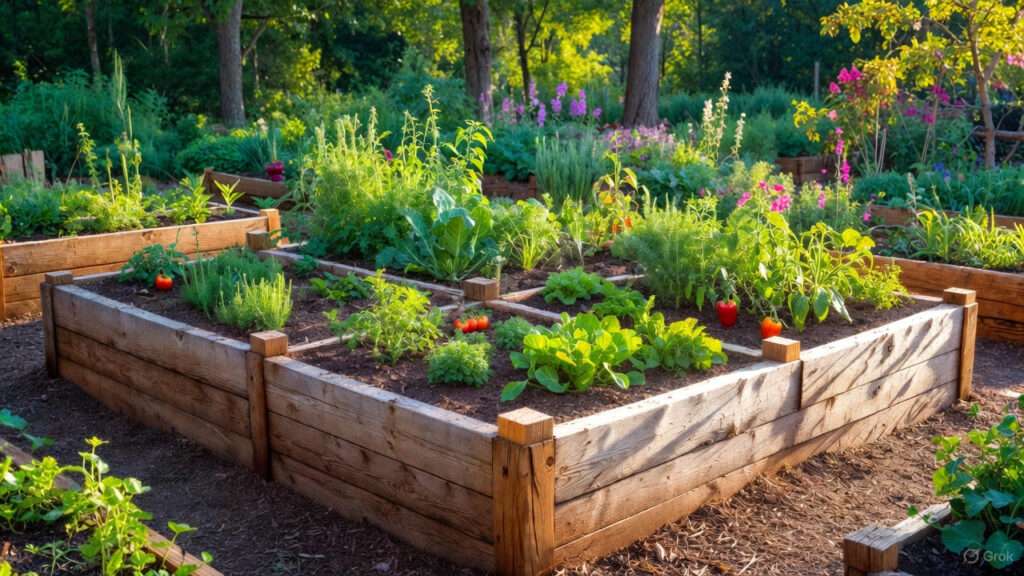
Fluffing up compressed raised-bed soil is one of the most impactful steps you can take for a thriving garden. By understanding causes, timing interventions correctly, using the right tools and amendments, and adopting preventive practices, you’ll restore aeration, improve drainage, and unlock your plants’ full potential.
Whether you opt for basic annual forking or advanced no-till methods, the results—vibrant growth, higher yields, and less effort long-term—are worth it. As someone who’s transformed hard-packed beds into loamy paradise repeatedly, I encourage you to assess your raised beds today and apply these techniques.
Your plants will thank you with healthier roots and abundant harvests. Share your soil revival experiences in the comments, or check our related guides on compost making and cover cropping for deeper insights.