A beautiful but poorly planned homestead is just an expensive, exhausting hobby. Walking 200 feet through freezing rain or thick mud just to feed chickens because of a bad layout is a mistake that burns out most aspiring homesteaders within their first three years. Most people design their land based on aesthetics or simply where the ground looks flattest, leading to wasted energy, dead crops, and skyrocketing maintenance costs.
By applying time-tested permaculture principles to your homestead layout, you can design a self-sustaining ecosystem where elements work with nature rather than against it, saving you thousands of hours of manual labor. This guide delivers a comprehensive, expert-level blueprint into sector analysis, water-first design, the five permaculture zones, and a realistic implementation timeline to transform your property into a high-yielding, low-maintenance haven.
What is a Permaculture Homestead Layout?
Traditional agriculture often relies on a rigid, industrial grid system. In a standard farm layout, fields are cleared uniformly, crops are segregated into massive monocultures, and inputs like synthetic fertilizers and fossil-fueled machinery are continuously required to keep the system from collapsing. This linear approach views components in isolation: the garden is distinct from the livestock, which is distinct from the waste management.
A permaculture-based ecological design turns this model on its head. Permaculture—originally derived from “permanent agriculture” and “permanent culture”—is a design framework modeled after natural ecosystems. Instead of managing isolated components, a permaculture layout focuses on the relationships between elements.
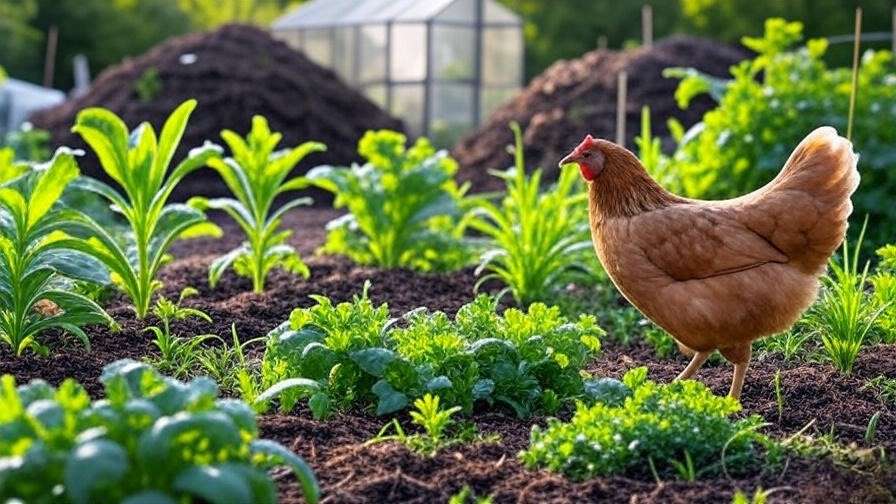
The primary goal of a permaculture homestead is to create a closed-loop system. In a closed loop, the outputs of one element automatically become the inputs of another. For example, rather than buying commercial fertilizer for a vegetable bed and purchasing commercial feed for chickens, a permaculture design positions the chicken coop so that poultry manure directly enriches the garden compost, while garden scraps and dropped orchard fruit supplement the birds’ diet.
This spatial logic applies universally. Whether you are managing a quarter-acre suburban lot, a 5-acre hobby farm, or a 50-acre rural homestead, the foundational principles of energy conservation, biological diversity, and relative placement remain exactly the same. Only the scale of the elements changes.
The Foundation: Conducting a Site Assessment & Sector Analysis
Before driving a single fence post or buying a single seed, you must observe the land. Professional ecological designers use a framework known as sector analysis to map the wild, uncontrollable energies that pass through a piece of property. You cannot stop these energies; you can only use design to either block them, channel them, or harvest them.
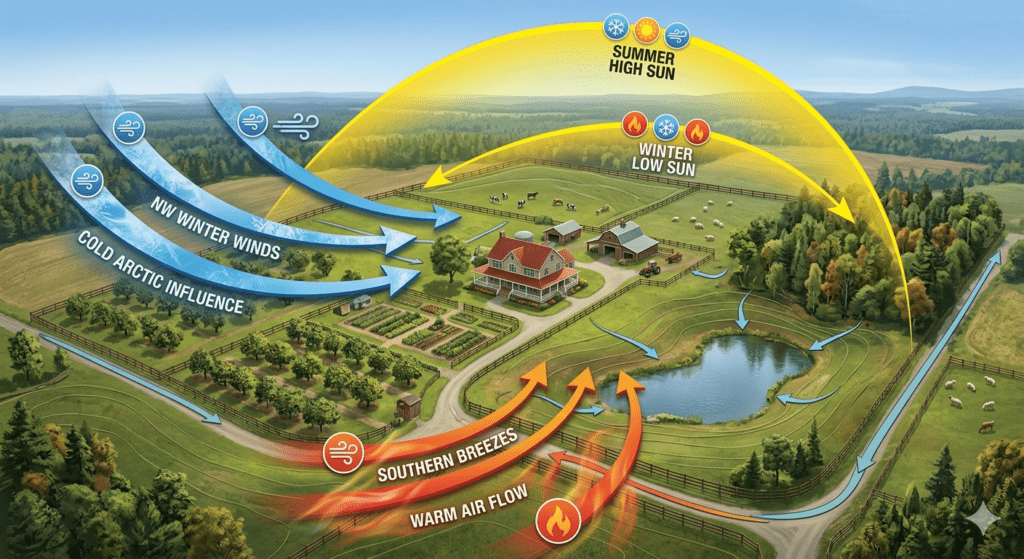
Mapping the Uncontrollable Energies (Sectors)
-
Sun and Shade Patterns: Solar energy changes radically throughout the year. You must track both the summer and winter solar arcs. A common mistake is placing a solar greenhouse or a production vegetable garden in an area that receives full sun in June, only to realize that a neighboring tree line or ridge casts a total shadow across it during the critical winter growing months.
-
Wind Directions: Every property has prevailing wind vectors. You need to identify where high-velocity winter winds originate (often the north/northwest in the United States) so you can plant dense, multi-tiered windbreaks of conifers and hardy shrubs. Conversely, identifying gentle summer breezes allows you to position livestock structures downwind of your home while maximizing natural cooling for barns and coops.
-
Fire and Wildlife Corridors: If your homestead is located in an area prone to wildfires, your layout must incorporate a defensive wildfire sector—restricting highly flammable resinous trees (like pines or eucalyptus) near structures. Similarly, observe how wild animals move through the landscape. Placing a high-value berry patch directly across an established deer trail ensures constant pest pressure unless heavy, expensive exclusion fencing is installed.
Topography and Slope Analysis
Water, air, and soil nutrients all move down slopes under the influence of gravity. Understanding your land’s topography allows you to exploit microclimates. For example, cold air behaves exactly like water; on chilly nights, it flows down ridges and settles into low-lying basins. These low areas become “frost pockets.” Planting cold-sensitive fruit trees, like peaches or citrus, in a frost pocket guarantees lost blossoms during late spring frosts. Position these vulnerable crops on the mid-slope instead, where air is constantly moving and temperatures remain slightly warmer.
The Value of the “Observation Phase”
The gold standard of permaculture design is to observe a piece of land through all four seasons before making permanent structural changes. If you buy a property in the dry heat of August, you cannot easily see where the soil turns into a saturated, anaerobic swamp during April monsoons. Observing the land allows nature to tell you where elements belong. Watch where the snow melts first in the spring (your warmest microclimate) and where water pools naturally after a heavy downpour.
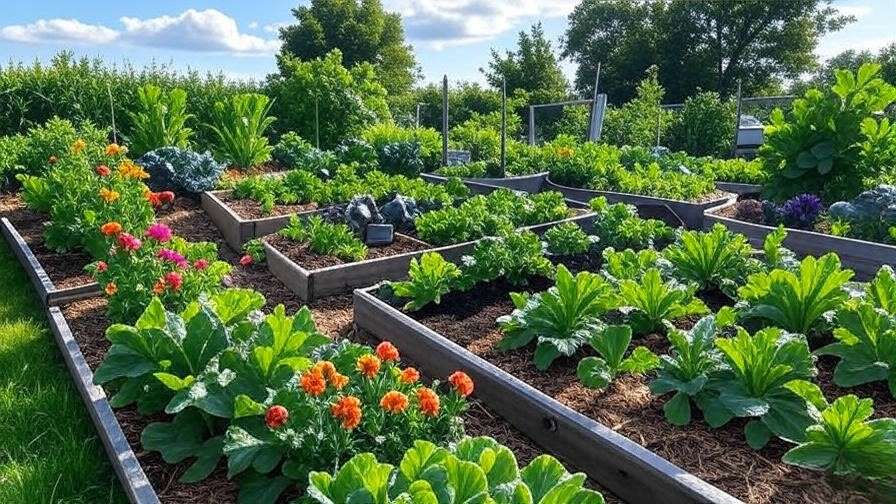
The Blueprint: Designing Your Layout Using the 5 Permaculture Zones
The zone system is a spatial organization tool based entirely on human energy and frequency of use. Elements that require daily attention, intensive management, or multiple visits per day are placed closest to the central hub, while elements that need minimal management are placed furthest away. This minimizes footsteps and optimizes labor efficiency.
| Zone | Primary Description | Distance/Frequency | Typical Elements Included |
| Zone 0 | The Home | Core Epicenter | Living space, woodstove, indoor seed starting |
| Zone 1 | High-Care Kitchen Garden | Immediate Steps Away / Multiple times a day | Culinary herbs, salad greens, rainwater tanks, worm farms |
| Zone 2 | Semi-Intensive Production | Short Walk / 1–2 times a day | Poultry coops, beehives, compost piles, main vegetable crops |
| Zone 3 | Commercial / Broadscale | Managed Walk / Few times a week | Orchards, pasture, main grain crops, large livestock |
| Zone 4 | Semi-Wild / Foraging | Outer Property / Weekly or seasonally | Firewood lots, timber, mushroom logs, wild nut groves |
| Zone 5 | Unmanaged Wilderness | Edge / Observational only | Native ecosystems, wildlife habitat, ecological baseline |
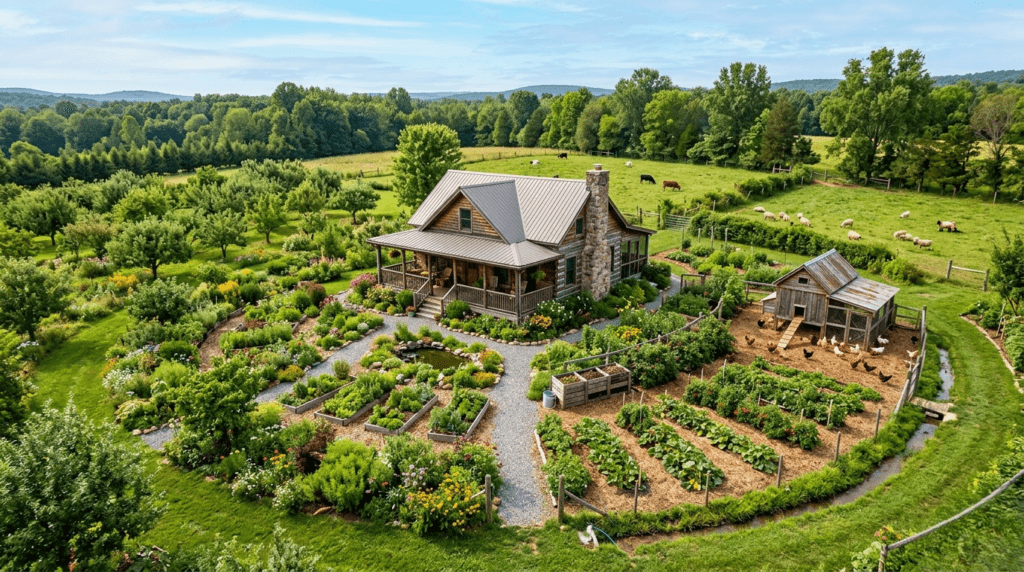
Zone 0: The Home
The home is the center of the permaculture universe. It is the place where energy is consumed, waste is generated (greywater, food scraps), and human observation originates. The layout of the rest of the homestead radiates outward from this point.
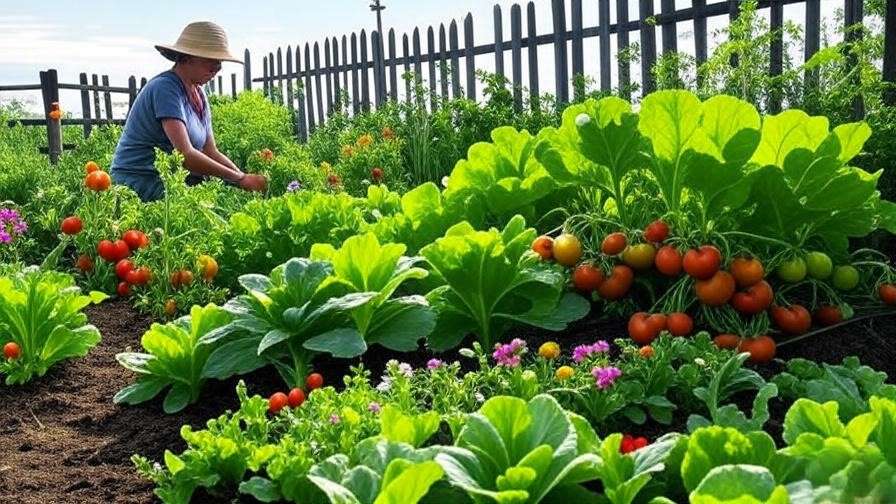
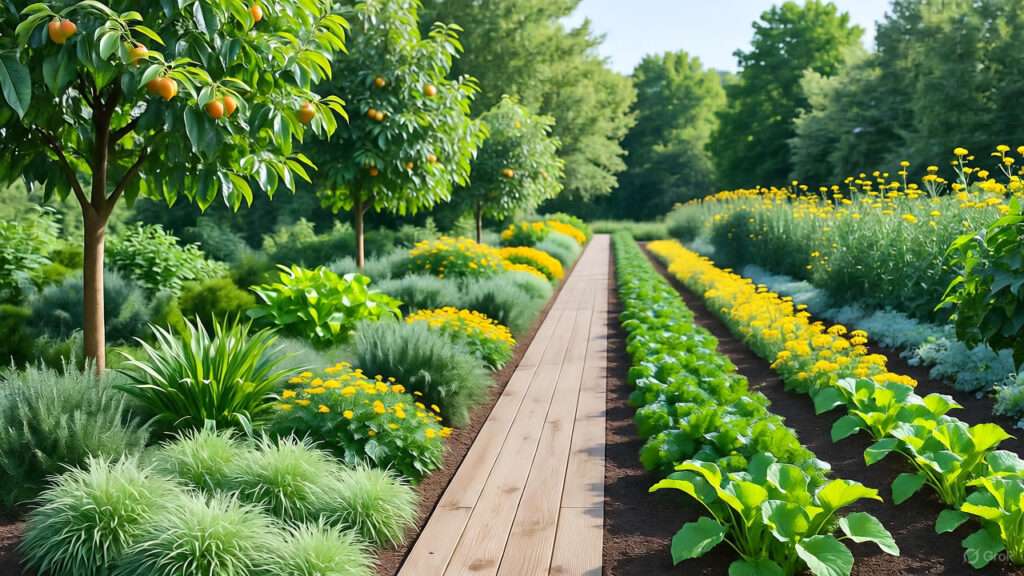
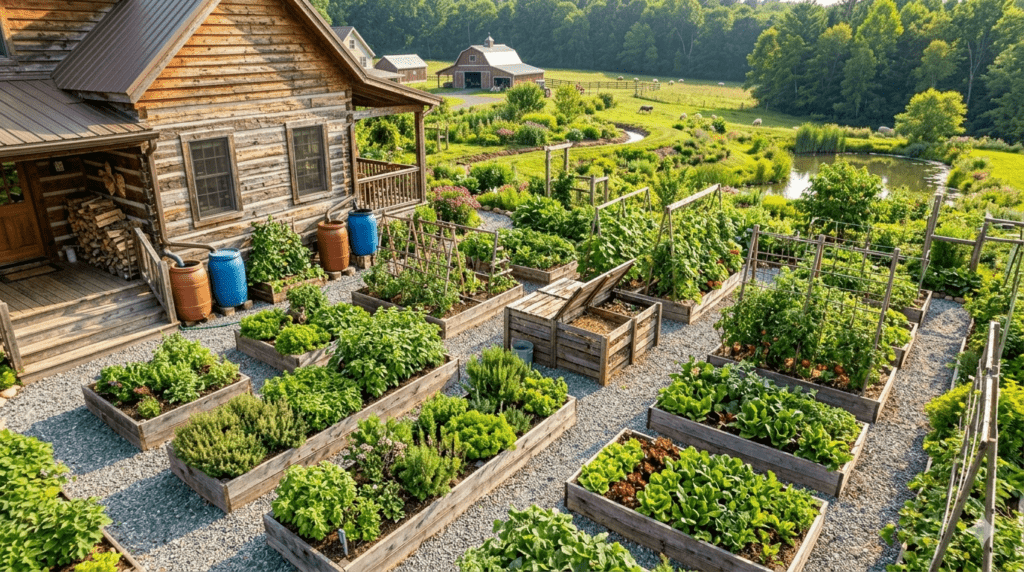
Zone 1: The Kitchen Garden & High-Care Elements
Zone 1 is located immediately outside your backdoor. If you have to put on heavy boots and walk 100 yards just to harvest a handful of chives or basil for a dinner recipe, you will eventually stop doing it.
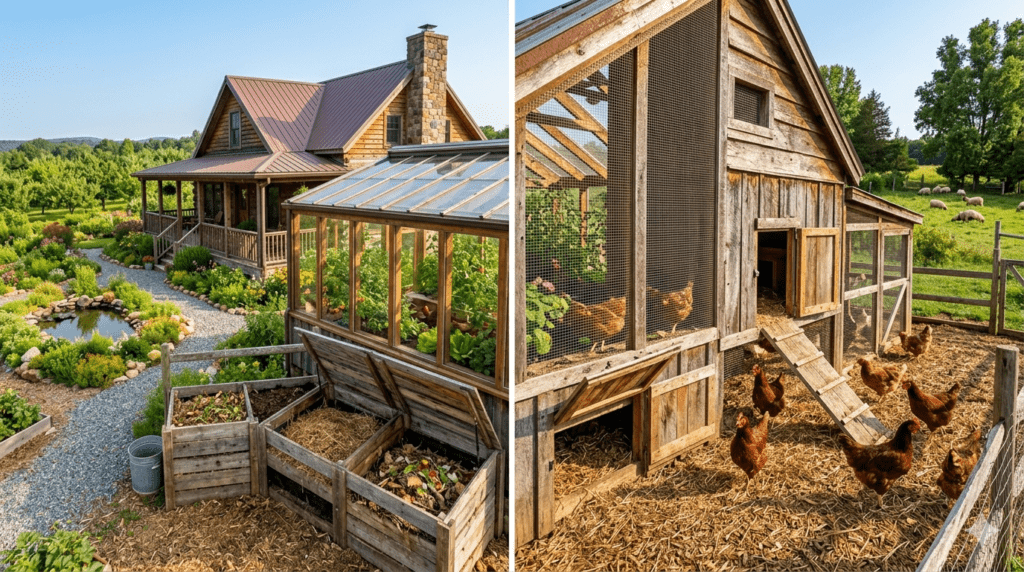
This zone is reserved for intensive, high-care elements that need daily management. It includes your salad greens, delicate culinary herbs, propagation beds, seedling cold frames, small-scale vermicomposting (worm farms), and immediate rainwater collection tanks connected to the roof gutter system. Soil here is kept highly fertile and intensively mulched.
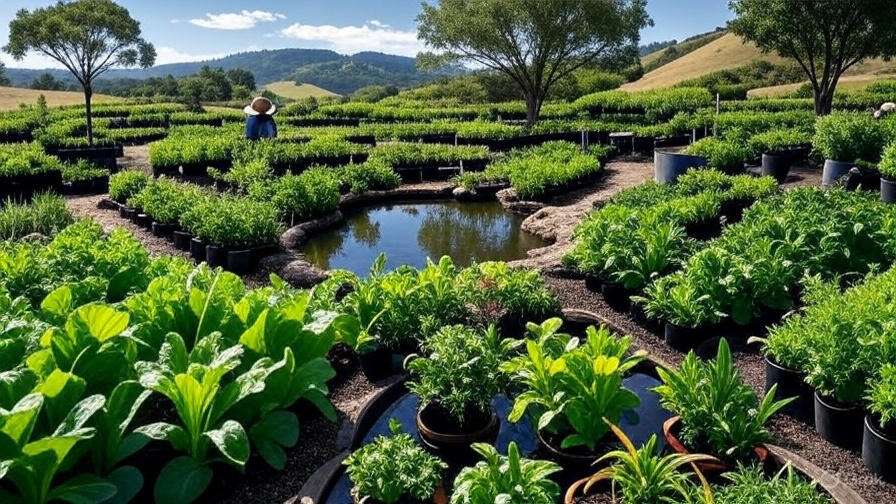
Zone 2: Semi-Intensive Production
Located just beyond Zone 1, this area is visited once or twice a day. It is the natural home for your poultry coops (chickens, ducks), rabbitries, beehives, and large multi-tier compost bins.
Main vegetable crops that take longer to mature and require less continuous harvesting—such as potatoes, winter squash, corn, and tomatoes—belong here. Perennial berry bushes (blueberries, raspberries) are also anchored in Zone 2, as they require pruning and netting but not daily planting or weeding.
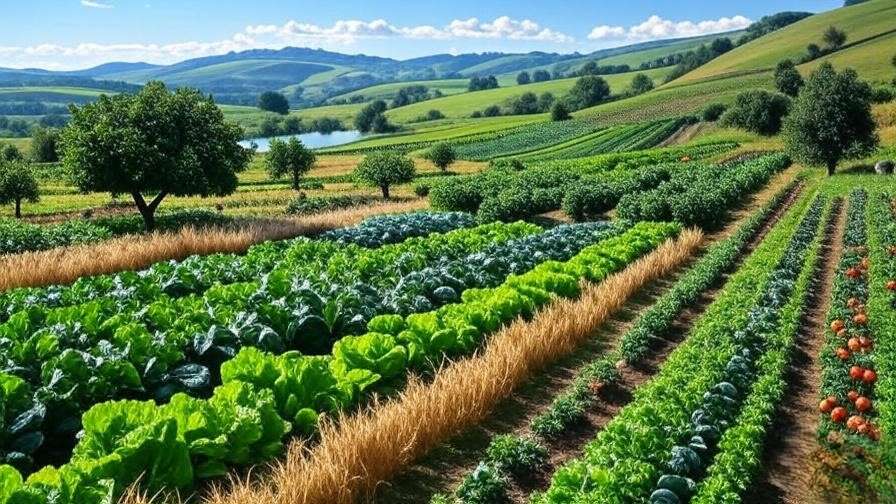
Zone 3: The Market Farm & Food Forest
Zone 3 requires less frequent visitation, perhaps a few times a week. This is where broad-scale agriculture occurs. If you plan to grow commercial market crops, large fields of staple grains, or maintain an extensive orchard, this is their location.
It is also the space for larger livestock pasture systems (sheep, goats, cattle) and multi-row windbreak trees. Plants here are generally tougher and rely on systemic irrigation or rainfall rather than hand-watering.
Zone 4: Semi-Wild / Managed Foraging Zone
Zone 4 requires minimal active intervention. It is a managed wild space where you harvest wood for heating, timber for building projects, or collect wild-foraged foods.
Examples include managed woodlots, mushroom logs inoculated with shiitake or oyster spores, and wild-growing nut trees (walnut, pecan, chestnut). Rotational grazing setups might occasionally extend into Zone 4 to allow livestock to clear brush and understory growth.
Zone 5: The Wild System
Zone 5 is untouched wilderness. No human design, modification, or active extraction occurs here. It is a vital component of a holistic homestead layout because it serves as a classroom for ecological observation.
By watching how native flora and fauna interact in Zone 5, you learn how to better manage the rest of your property. It also acts as a safe haven for native pollinators, predatory wasps, and pest-eating birds that fly into your inner zones to provide free ecosystem services.
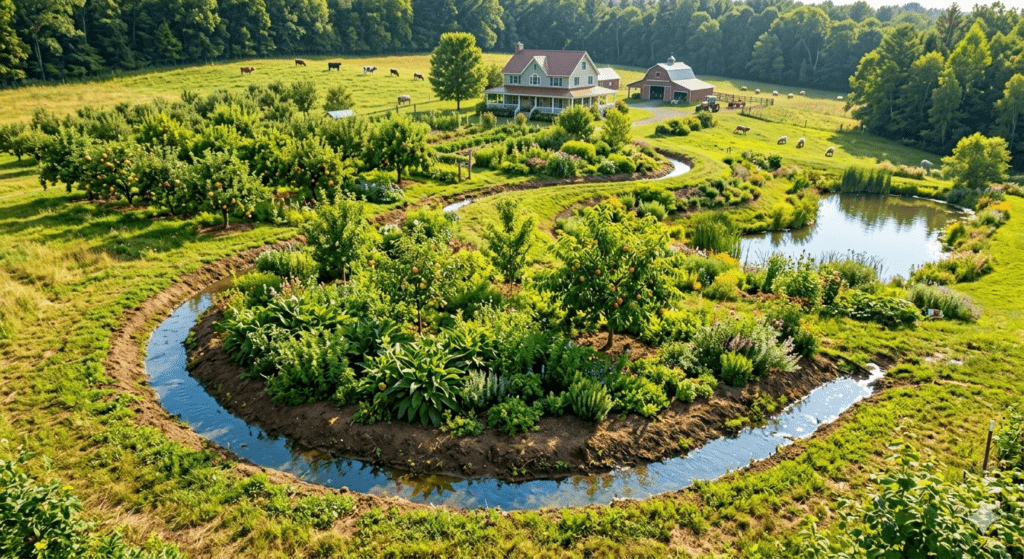
Water First: The Golden Rule of Homestead Layouts
One of the definitive axioms of permaculture design is that water dictates layout. You should never design access roads, building locations, or garden boundaries until you have fully mapped and integrated your water management strategy. The objective is to slow, spread, and sink every drop of rainwater that falls onto your land.
Keyline Design and Swales
When water hits a slope, it naturally rushes into valleys, eroding the soil and carrying away valuable nutrients, while leaving the ridges dry. Keyline design is an agricultural methodology that uses specific geographic lines to redirect water away from valleys and out toward dry ridges.
By cutting a shallow, level ditch along a contour line—known as a swale—you intercept rushing surface runoff. The water enters the swale, stops moving down the hill, spreads out evenly along the length of the ditch, and slowly sinks into the water table over 24 to 48 hours. This creates a massive underground plume of hydration, turning the soil below the swale into a self-irrigating sponge where fruit trees can thrive without supplemental drip lines.
Gravity-Fed Layout Strategy
Pumping water requires a tremendous amount of electrical or fossil-fuel energy. A smart homestead layout utilizes gravity to do the heavy lifting. By placing water collection elements—such as earthen storage ponds, swales, or large poly-tanks—at the highest feasible elevation on your property, you build potential energy.
When you need to irrigate your Zone 1 gardens or provide water to Zone 2 livestock troughs, you simply open a valve. The water flows downhill naturally, providing ample pressure without needing an expensive, high-maintenance mechanical pump.
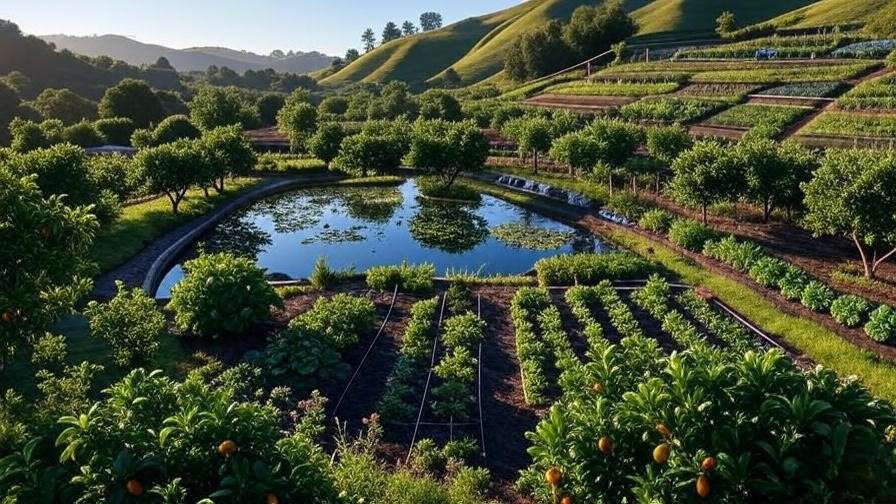
Integrating Ponds for Microclimate Regulation
Earthen ponds do far more than just store water; they alter the climate around them. Water has a high thermal mass, meaning it absorbs heat from the sun during the day and releases it slowly at night.
By placing a pond on the sunward side of an orchard or garden, you reflect sunlight back onto the plants, increasing photosynthesis. Furthermore, the slow release of ambient heat during cold autumn nights can prevent frost from settling on vulnerable crops, extending your growing season by several weeks.
Step-by-Step Guide: How to Put Your Design on Paper
Step 1: Secure a Comprehensive Base Map
Before drawing any new elements, you need a highly accurate, clean blueprint of your property as it stands today. You can obtain this by utilizing satellite imagery from Google Earth Pro, topographical data from the United States Geological Survey (USGS), or official GIS property tax maps from your local county registry.
Print this map to a known scale (e.g., 1 inch = 20 feet) and lay sheets of transparent tracing paper or clear acetate over it. This allows you to sketch ideas freely without altering the foundational map. If you prefer digital design, software like SketchUp, QGIS, or even basic vector drawing tools can serve as an excellent digital canvas.
Step 2: Overlay the Sector Analysis Layers
On your first tracing layer, draw the wild, environmental energies identified during your observation phase:
-
Use bright yellow or orange arrows to mark the extreme angles of the summer and winter sunrises and sunsets.
-
Draw blue arrows indicating the paths of harsh winter winds and warm summer breezes.
-
Highlight potential risk sectors, such as floodplains, wildfire paths, or wildlife entry points, using distinct cross-hatching.
Step 3: Design the Water and Access Infrastructure
Following the “Water First” rule, map out your water harvesting and storage features before adding any structures. Mark where high-elevation ponds, swales on contour, and keyline ditches will sit.
Once your water features are established, overlay your primary access routes—such as access roads, driveways, and main walking paths. Roads and paths should often run parallel to swales or follow ridgelines to prevent erosion. Ensure your main pathways are wide enough for a wheelbarrow, a compact tractor, or a utility vehicle to pass smoothly.
Step 4: Position the Functional Elements within Zones
With your water and access routes locked in, you can begin placing your structural elements based on the five permaculture zones:
-
Locate Zone 0 (the house) at the nexus of your primary access routes.
-
Wrap Zone 1 directly around the most frequently used doors of the house.
-
Situate Zone 2 structures, like the chicken coop and main compost pile, along the daily pathways you will walk to maximize efficiency.
-
Inscribe Zone 3 orchards and pastures on the broader, exterior contours of your water infrastructure.
3 Critical Homestead Layout Mistakes to Avoid
Even seasoned land managers can make critical mistakes during the early design phase. Avoiding these three common pitfalls will save you immense physical labor, emotional frustration, and financial loss.
Mistake 1: The “Out of Sight, Out of Mind” Coop Placement
New homesteaders frequently place their chicken coops or rabbitries at the absolute furthest edge of their property to keep smells and noise away from the main house. This is a massive spatial mistake.
During heavy winter blizzards or torrential summer downpours, a 300-foot walk across muddy terrain to feed livestock or collect eggs quickly becomes a grueling chore. Consequently, the animals receive less observation, and subtle health problems or predator vulnerabilities go unnoticed. Situate your small livestock firmly within Zone 2, where they are visible from the house and easily accessible during your daily routines.
Mistake 2: Designing Layouts against the Slope
Placing garden beds, tilled rows, or walking paths straight up and down a hillside creates perfect, unobstructed channels for rainwater. During the next heavy storm, water will race down these artificial channels, stripping away precious topsoil and carving deep, destructive gullies into your land.
Always design your layout across the slope, following the natural contours of the land. This slows down the movement of water and helps retain moisture and nutrients on the hillside.
Mistake 3: Over-Extending the Footprint in Year One
The enthusiasm of starting a new homestead often leads people to plant a 50-tree orchard, build a massive market garden, and buy sheep, meat birds, and dairy goats all within their first twelve months. Without an established system of infrastructure or deep experience, the sheer volume of maintenance quickly becomes overwhelming.
The core permaculture strategy is to establish Zone 1 first. Master your immediate kitchen garden and rainwater collection setups. Once Zone 1 is stable and running efficiently, expand outward into Zone 2. Gradual, methodical expansion ensures your infrastructure grows at a manageable pace.
Deep-Dive Integration: The Living Sandbox Example
To truly understand skyscraper-level permaculture design, we must look at how elements stack functions to eliminate waste. Let’s analyze an expert integration example: pairing a chicken coop directly with a passive solar greenhouse.
In a standard farm layout, a greenhouse is built in one location and requires automated electric heaters to keep plants alive through freezing winter nights. Meanwhile, the chicken coop is built elsewhere, requiring manual cleaning, external ventilation, and separate heating elements.
In a permaculture layout, you can attach the chicken coop directly to the north-facing wall of your greenhouse. The two structures share a common, secure mesh or venting wall. This relative placement creates an automated loop of beneficial inputs and outputs:
-
Thermal Regulation: A flock of 15 chickens generates a substantial amount of body heat (each bird produces roughly 8 watts of heat). At night, this heat vents directly into the greenhouse, keeping temperatures above freezing without using electricity.
-
Gas and Moisture Exchange: During the day, chickens exhale carbon dioxide ($CO_2$), which is exactly what greenhouse plants require for accelerated photosynthesis. In turn, the plants release oxygen ($O_2$) and ambient moisture, improving the air quality inside the coop.
-
Nutrient Cycling: In the spring, insect pests inside the greenhouse can be manually tossed over the divider to feed the chickens. In the autumn, spent crop residues from the greenhouse are dropped into the coop for the birds to scratch through, breaking down the material into rich compost that goes right back onto the garden beds.
FAQ Section
Can I apply permaculture principles to a small 1/4-acre urban or suburban layout?
Yes. On a quarter-acre or smaller property, the fundamental principles of the five zones remain identical, though the physical scale of each zone shrinks dramatically. Zone 1 might consist of container herbs on your back patio, Zone 2 could be a few raised vegetable beds and a small, well-designed dual-compartment compost bin, and Zone 3 might be represented by two dwarf fruit trees underplanted with beneficial companion shrubs.
What is the “relative location” rule in permaculture layout design?
The relative location rule states that every element on your homestead must be placed in dynamic relationship to other elements so that their inputs and outputs complement one another. The goal is to position components such that the outputs of one element (such as nutrient-rich poultry manure) naturally satisfy the inputs of an adjacent element (such as a high-demand vegetable patch), thereby eliminating waste and minimizing human labor.
How do I accurately determine the prevailing wind direction for my specific site?
To track wind patterns accurately, look up historical, multi-season meteorological data from your nearest local airport or regional weather station. Additionally, perform a physical assessment of your property: observe the permanent lean of mature, solitary trees, watch how drifts of snow pile up during the winter months, and pay attention to which sides of your structures show signs of weathered paint or wind erosion.
What is a swale, and should I build one on a completely flat piece of land?
A swale is a water-harvesting ditch dug precisely along a level contour line, accompanied by a loose soil mound (berm) on the downhill side. You should not build swales on completely flat land. Because swales rely on gravity and slope to capture moving surface runoff, constructing them on flat ground will simply result in stagnant, pooling water that can cause anaerobic soil conditions. Flat landscapes are better suited for rain gardens, traditional storage ponds, or shallow infiltration basins.
Conclusion
A truly successful homestead layout isn’t built through brute physical force or massive financial investments; it is born from patient, deliberate, nature-aligned design. By shifting your perspective from managing isolated components to orchestrating interconnected systems, you can build a homestead that actually grows more self-sufficient over time.
As you transition from theory to practice, avoid the temptation to reshape your entire landscape overnight. Grab a physical map of your property this weekend, step outside, and spend an hour mapping just one environmental element: the precise path of the afternoon sun across your land. Start small, observe constantly, and let the natural patterns of your property guide your design.