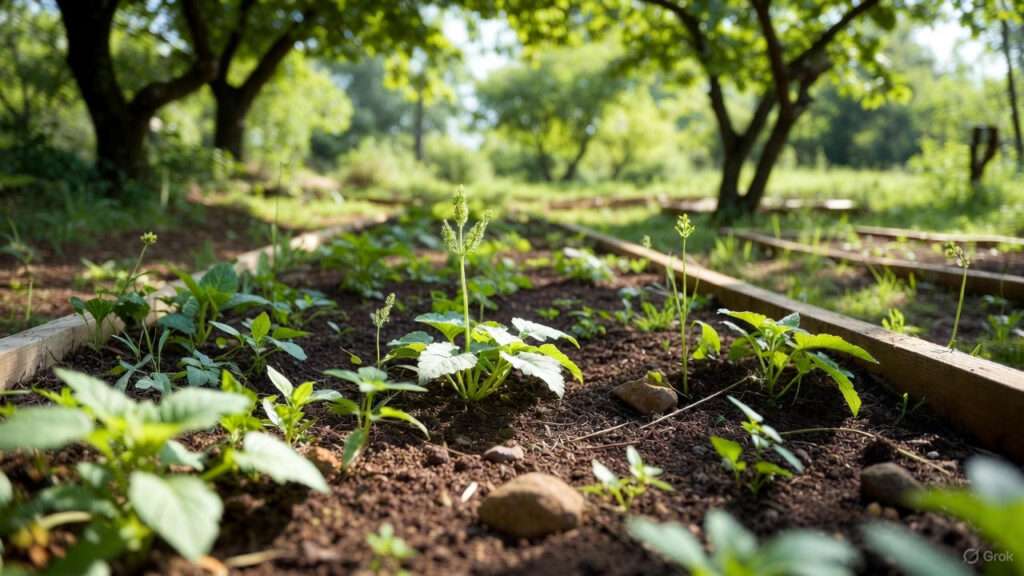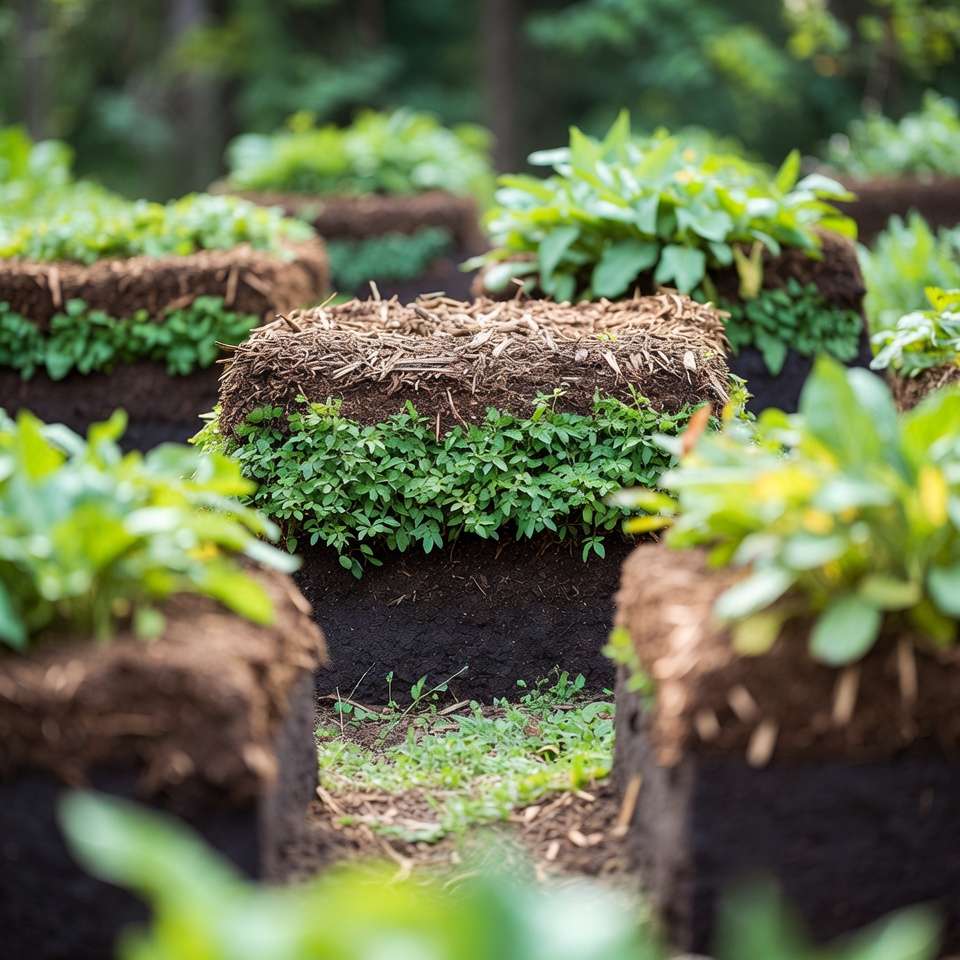
What if you could cut your raised bed watering in half — or even more — while spending far less on soil, compost, and mulch every season?Hugelkultur-Style Layers in Raised BedsEvery year, home gardeners face the same frustrating cycle: hauling countless bags of expensive bagged soil, watering daily during heat waves, watching plants wilt during unexpected dry spells, and then watching the soil level sink and fertility fade after just one or two growing seasons.Hugelkultur-Style Layers in Raised Beds
There is a better way.By incorporating Hugelkultur-style layers in raised beds, you combine the water-holding magic and long-term fertility of classic hugelkultur with the neatness, accessibility, and faster establishment of modern raised garden beds. This hybrid approach turns yard waste, fallen branches, prunings, and cardboard into a living, moisture-retaining, nutrient-releasing sponge inside your raised beds.
Gardeners who build Hugelkultur-style layers in raised beds commonly report:
- 50–80% reduction in irrigation needs after the first full season
- Dramatically lower soil and compost purchases (often 30–60% less volume required)
- Noticeably healthier plants during drought and heat stress
- Richer, darker, more crumbly soil over time with almost no additional inputs
- Effective recycling of materials that would otherwise go to the curb or burn pile
This isn’t a fad or experimental technique — it’s a practical adaptation of a centuries-old Central European growing method that permaculture designers and no-dig gardeners have refined for modern backyard and urban plots.
In this comprehensive guide, you’ll learn exactly how to build Hugelkultur-style layers in raised beds the right way, which materials work best (and which to avoid), realistic timelines for results, common mistakes that cause early disappointment, and which crops thrive in these systems year after year.
Whether you garden in a dry climate, want to save money, reduce maintenance, or simply build more resilient garden beds, this method can meaningfully improve your growing experience.
Let’s get started.
What Is Hugelkultur — and Why Adapt It for Raised Beds?
Classic hugelkultur (the word is German for “hill culture” or “mound culture”) involves creating large, freestanding mounds composed primarily of logs, branches, and organic debris covered with soil. Pioneered and popularized in modern times by Austrian permaculture visionary Sepp Holzer, these mounds slowly decompose over many years, acting like a giant sponge that stores rainwater and releases it steadily to plant roots.
The decomposition process also generates:
- Steady, slow-release nutrients
- Fungal-dominated soil food webs (especially mycorrhizal networks)
- Significant carbon sequestration
- Heat from slow decomposition (helpful in cooler climates)
Traditional mound-style hugelkultur, however, has several practical drawbacks for many homeowners:
- Very large footprint
- Steep slopes that erode and are difficult to plant or maintain
- Visually messy appearance in suburban or urban settings
- Difficult access for weeding, harvesting, and general care
- Significant settling over the first 3–5 years
Hugelkultur-style layers in raised beds solve most of these issues while keeping the core benefits.
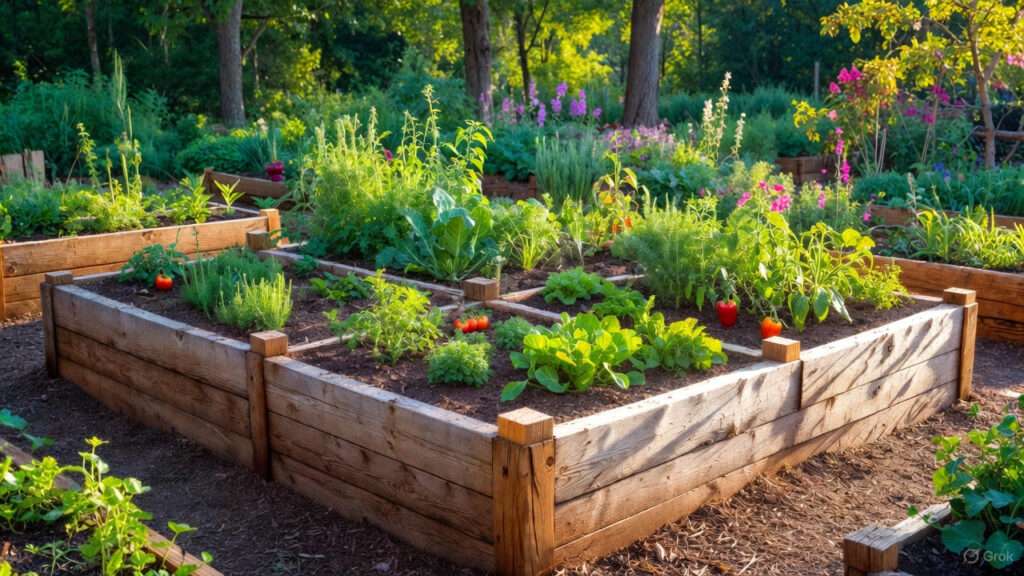
By building the layered wood–carbon–nitrogen–soil system inside a contained raised bed frame (wood, metal, cinder block, etc.), you gain:
- Clean, defined edges and attractive appearance
- Much easier access for planting, weeding, and harvesting
- Controlled settling (usually 4–10 inches over several years instead of dramatic mound collapse)
- Ability to use the technique in smaller spaces (4×4 ft, 4×8 ft beds, etc.)
- Faster establishment — many beds become noticeably water-saving by the second season instead of waiting 4–5 years
This adaptation has become particularly popular among:
- Urban and suburban gardeners with limited space
- People on well water or under municipal watering restrictions
- No-dig / low-maintenance gardeners
- Homesteaders and budget-conscious families who want to recycle yard waste
- Gardeners in regions with hot, dry summers or sandy soils
The Real Benefits of Using Hugelkultur-Style Layers in Raised Beds
Gardeners who successfully implement this method experience several measurable advantages:
- Dramatic Water Savings After the first full growing season (and especially in years 2–5), the wood mass acts like a giant sponge. It absorbs rainfall and irrigation water, then slowly releases it back to plant roots. Many gardeners report needing to water only once every 7–14 days instead of every 2–4 days during summer.
- Much Lower Soil & Compost Costs Because 30–60% (sometimes more) of the bed volume is wood and coarse organic debris, you need far less purchased topsoil and compost to fill the bed initially — and far less to top up in future years.
- Long-Term, Self-Renewing Fertility As the wood breaks down, it releases nutrients gradually. More importantly, it feeds fungi and other soil biology that improve nutrient cycling, water retention, and disease suppression. Over time the soil often becomes darker, more crumbly, and noticeably richer.
- Improved Drought & Heat Resilience Plants growing in these beds show less wilting during hot, dry periods. Root systems tend to grow deeper, seeking moisture stored in the lower layers.
- Excellent Carbon Sequestration & Waste Reduction You’re actively turning prunings, storm debris, leaves, and cardboard into stable soil carbon instead of sending them to landfills or burning them.
- Reduced Weed Pressure The thick mulch layer and dense soil biology that develops make it harder for weed seeds to germinate and establish.
- No-Dig Maintenance Once established, most gardeners only top-dress with compost or aged manure annually and add mulch — no annual tilling or double-digging required.
These benefits are not guaranteed overnight — the system typically becomes dramatically more effective starting in year 2 — but the long-term payoff is substantial for patient gardeners.
Potential Drawbacks & How to Avoid or Minimize Them
Like every gardening technique, Hugelkultur-style layers in raised beds are not perfect for every situation. Being upfront about the limitations helps you set realistic expectations and avoid common frustrations.
Here are the most frequently reported drawbacks — and practical ways to prevent or manage them:
- Nitrogen Drawdown (Temporary Nitrogen Robbery) Fresh or only partially rotted wood consumes nitrogen as soil microbes begin breaking it down. This can cause yellowing leaves or stunted growth in the first 6–18 months. Solutions:
- Add generous nitrogen-rich layers (aged manure, grass clippings, coffee grounds, blood meal, legume cover crop residues) directly above and between wood layers.
- Use mostly aged or partially rotted wood rather than fresh-cut material.
- Plant relatively heavy-feeding, shallow-rooted crops in year 1 (lettuce, spinach, radishes, zucchini, annual flowers).
- Top-dress with high-nitrogen organic fertilizer or compost tea during the first two seasons if needed.
- Settling / Sinking Over Time Most beds lose 4–12 inches of height over the first 3–5 years as wood decomposes. Solutions:
- Build beds 20–30% deeper than your final desired soil depth (example: 24–30″ deep frame if you want ~18–22″ of finished soil).
- Plan to top-dress with 2–4 inches of compost + mulch annually.
- Accept that settling is normal and actually beneficial — it creates natural air pockets and channels for roots and fungi.
- Possible Rodent or Pest Habitat Large woody material can sometimes attract mice, voles, or termites (especially in regions where termites are already common). Solutions:
- Avoid placing beds directly against wooden house foundations or fences.
- Use hardware cloth (¼″ mesh) under the bed if rodent pressure is already high in your garden.
- Choose hardwoods over softwoods when possible (softer woods like pine break down faster and can be more attractive to chewing pests).
- Keep the surrounding area mowed and free of heavy mulch piles.
- Slower Establishment in Year 1 Plants often grow more slowly in the first season compared to beds filled entirely with rich compost/soil. Solutions:
- Start with transplants rather than direct seeding for most vegetables in year 1.
- Focus on crops known to tolerate lower initial fertility (beans, peas, squash, sunflowers, amaranth).
- Water more frequently (but deeply) during the first summer.
- Wood Species Mistakes Some woods release allelopathic compounds or decompose poorly: black walnut (juglone), fresh cedar/redwood (natural preservatives slow breakdown), treated lumber (chemical leaching). Solutions:
- Preferred woods: oak, maple, poplar, birch, apple, pear, ash, beech (especially naturally fallen or aged).
- Acceptable softwoods: pine, fir, spruce — but only if partially rotted or chipped and mixed with nitrogen sources.
- Climate-Specific Challenges
- Very wet climates: beds can become waterlogged if drainage is poor.
- Extremely sandy/dry climates: decomposition can be very slow without enough initial moisture. Solutions: Add extra drainage holes or a gravel base in wet areas; incorporate more moisture-retentive materials (coconut coir, aged manure) in arid zones.
When used thoughtfully, most of these drawbacks are minor and manageable — especially compared to the long-term gains.
Choosing the Right Materials for Your Hugelkultur-Style Raised Bed
The success of your bed depends heavily on material selection. Here’s a prioritized guide:
Best Woody Materials (in rough order of preference)
- Hardwoods (oak, maple, beech, poplar, birch, fruit tree prunings) — especially naturally fallen or aged
- Partially rotted logs and branches (fastest breakdown, least nitrogen draw)
- Softwoods (pine, cedar, fir) — only if aged or chipped and balanced with nitrogen
Avoid or Use Sparingly
- Black walnut (contains juglone — toxic to many plants)
- Freshly cut cedar/redwood (natural preservatives slow decomposition)
- Pressure-treated lumber (contains chemicals that can leach)
- Diseased wood (can introduce pathogens)
Complementary Carbon-Rich Layers
- Small branches & twigs
- Fallen leaves (shredded is best)
- Untreated cardboard & newspaper (remove tape/plastic)
- Corn stalks, straw, dried weeds (seed-free)
Nitrogen-Rich & Moisture-Holding Layers
- Aged manure (cow, horse, chicken — well-composted)
- Grass clippings (untreated lawns)
- Kitchen scraps (vegetable peels, coffee grounds)
- Legume haulms (pea/vetch/beans residues)
- Blood meal, feather meal, or organic nitrogen fertilizers
Top Growing Layer
- Blend of high-quality garden soil + mature compost (at least 40–50% compost)
- Optional: worm castings, biochar, mycorrhizal inoculant
Pro Tip: The ideal ratio is roughly 50–60% woody/carbon material, 20–30% nitrogen-rich material, and 20–30% finished soil/compost by volume.
Step-by-Step: How to Build Hugelkultur-Style Layers in Raised Beds
This is the most practical section of the guide — the exact sequence that experienced gardeners follow to create long-lasting, water-smart raised beds.
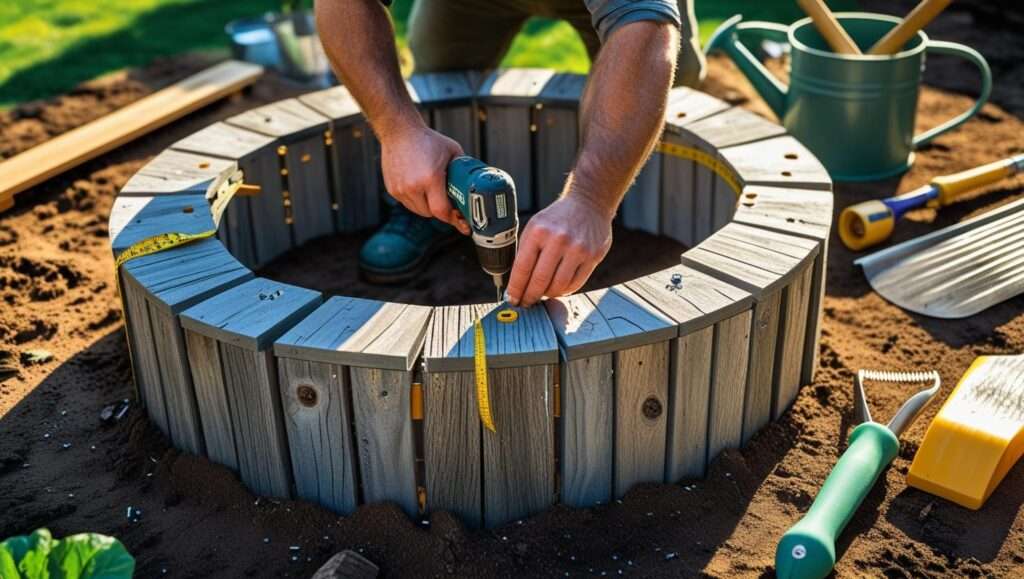
Step 1: Select Bed Size, Location & Frame Material
Recommended starting sizes for most home gardeners:
- 4 ft × 4 ft or 4 ft × 8 ft (easy to reach across)
- Depth: 18–30 inches (deeper = more wood volume = greater water storage, but also heavier to build)
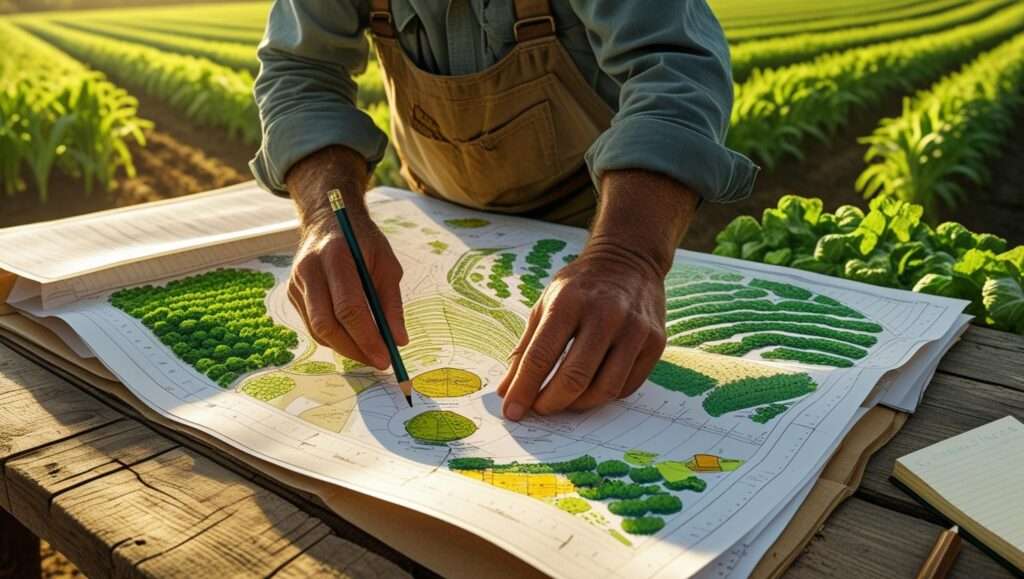
Location tips:
- Choose a level spot with at least 6–8 hours of direct sun (most vegetables prefer full sun).
- Good surface drainage — avoid low-lying areas that stay soggy.
- Leave enough space around the bed for comfortable access (at least 2 ft on all sides if possible).
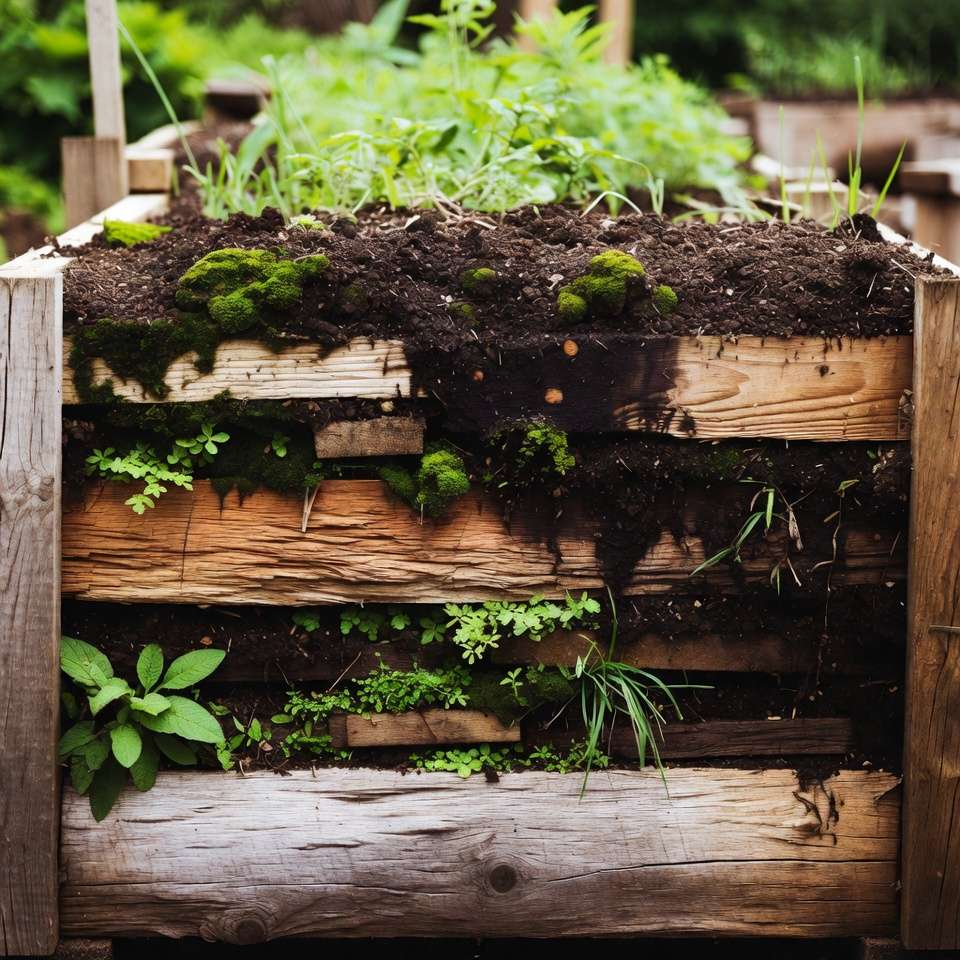
Frame material:
- Cedar or larch (naturally rot-resistant, long lifespan)
- Untreated pine or fir + liner (cheaper, but line inside with heavy plastic or pond liner to extend life)
- Corrugated metal raised bed kits (very durable, modern look)
- Cinder blocks or landscape blocks (excellent thermal mass, no rot)
Important: Do not use pressure-treated lumber that contains copper-based preservatives (CCA, ACQ, CA) if you are growing food crops.
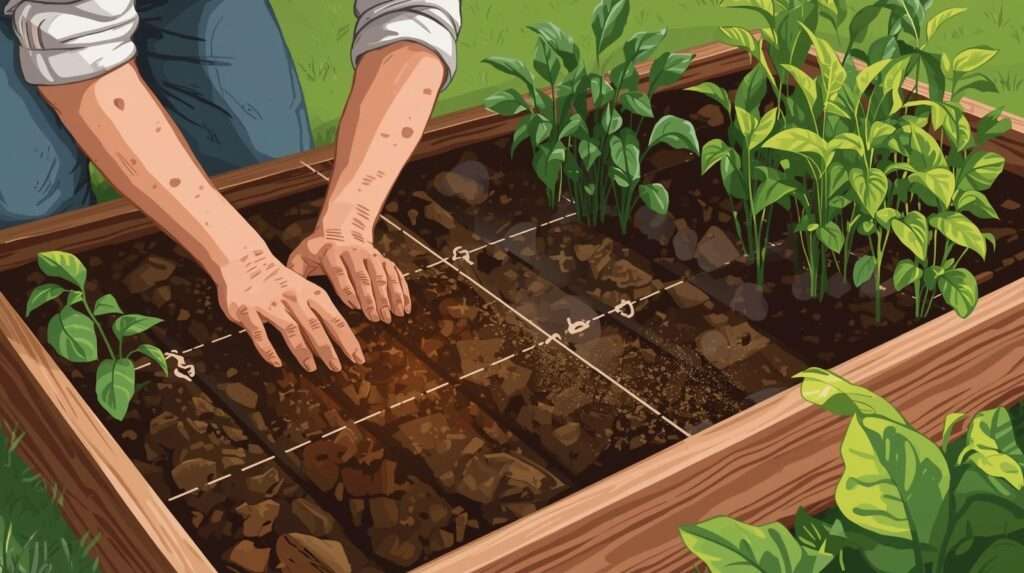
Step 2: Prepare the Base Layer
Goal: suppress weeds and create the foundation for the wood mass.
Two common approaches:
Option A – Cardboard/Newspaper Base (most popular)
- Mow or weed-whack the grass as short as possible.
- Lay down 6–10 overlapping sheets of plain corrugated cardboard (remove tape and staples) or 8–12 layers of newspaper.
- Wet it thoroughly so it conforms to the ground and starts breaking down immediately.
- Extend the cardboard 6–12 inches beyond the bed edges to create a weed-free zone around the bed.
Option B – No Barrier (for very clean sites or when building on bare soil)
- Simply remove sod and loosen the top 2–4 inches of soil with a garden fork to improve initial root contact.
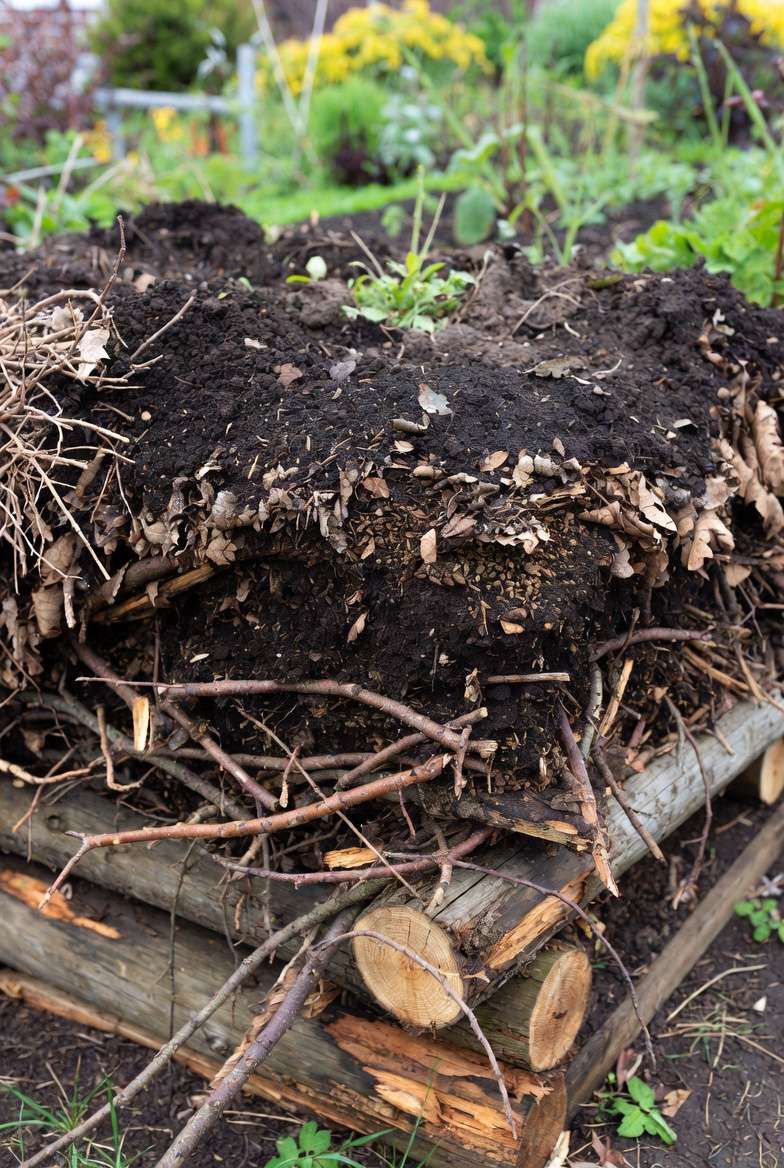
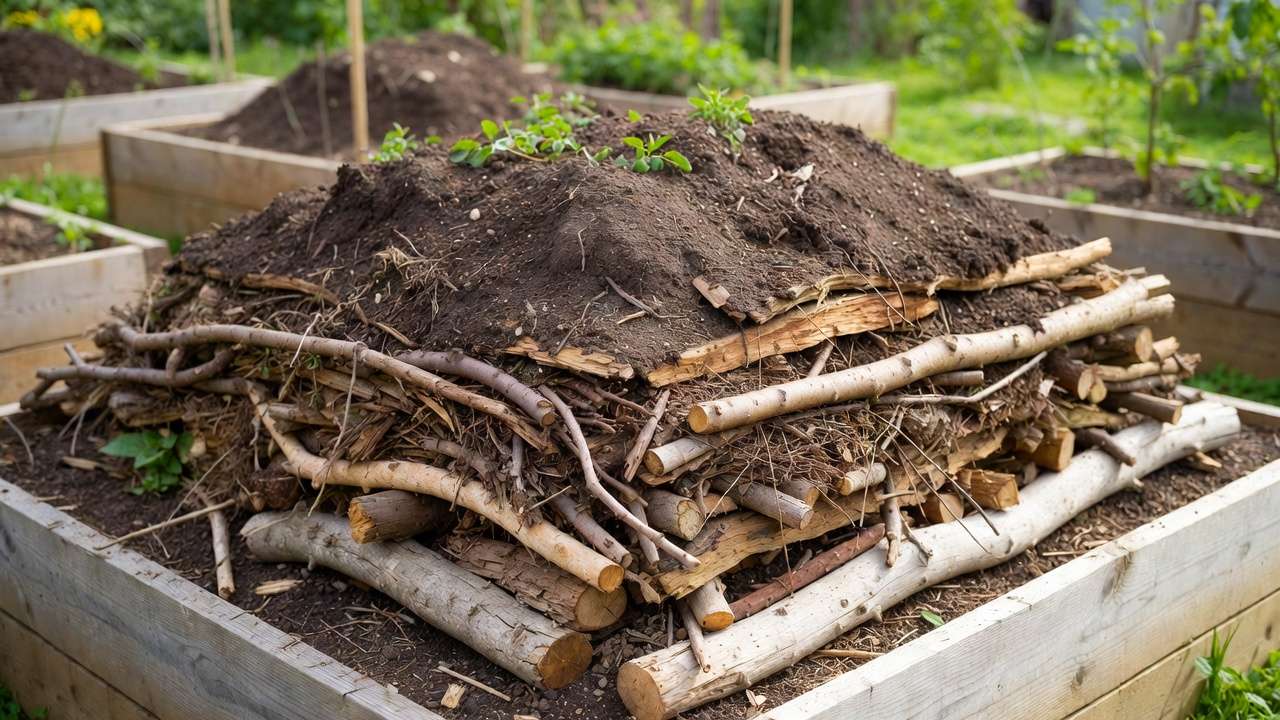
Step 3: Build the Successive Woody & Carbon Layers
Start with the largest pieces at the bottom.
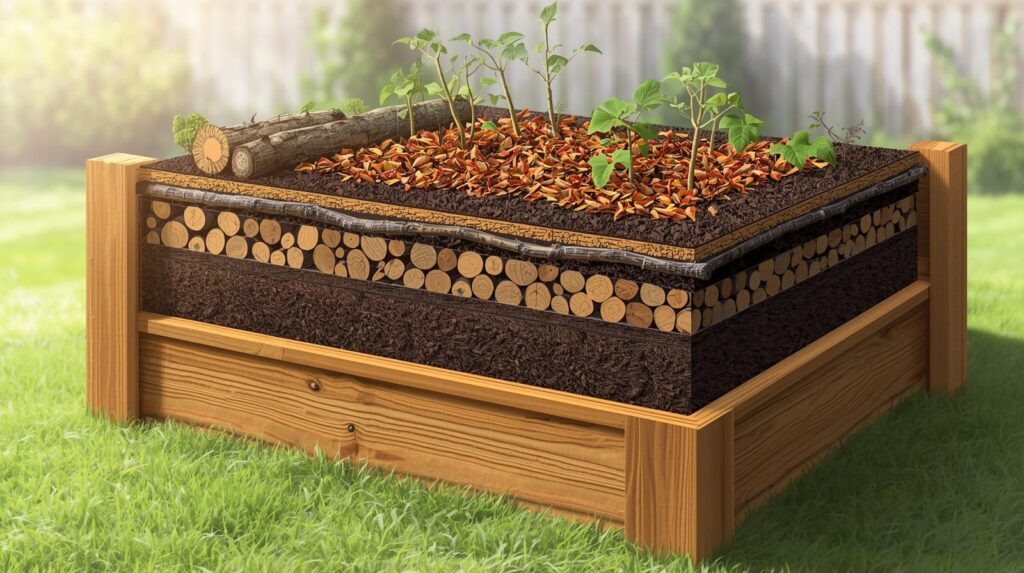
Layering sequence (bottom to top):
- Largest logs / thick branches (4–12 inches diameter) laid horizontally → Leave small air gaps — do not pack tightly.
- Medium branches and thick twigs (1–4 inches diameter) → Fill major gaps between the big logs.
- Smaller twigs, brush, and shredded branches (0–1 inch) → Create a dense, coarse matrix.
- Shredded leaves, straw, or coarse wood chips (optional but helpful) → Acts as a transitional layer before adding nitrogen materials.
Pro tip: Soak each woody layer thoroughly with a hose before moving to the next one. This starts the decomposition process and prevents the finished bed from being too dry at the bottom.
Step 4: Add Nitrogen & Moisture-Retaining Layers
This is the most important step for avoiding early nitrogen deficiency.
Recommended materials (mix and match):
- Fresh grass clippings (thin layers only — avoid thick mats)
- Well-aged manure or chicken manure pellets
- Vegetable kitchen scraps (chopped)
- Coffee grounds
- Comfrey leaves (excellent dynamic accumulator)
- Blood meal, feather meal, or organic nitrogen fertilizer (follow package rates)
- Legume cover crop residues (clover, vetch, peas)
Apply in 3–6 inch thick bands, interspersing them throughout and especially above the wood layers. Water each addition deeply.
Rule of thumb: You should see roughly 1 part green/nitrogen-rich material for every 2–3 parts brown/woody material by volume.
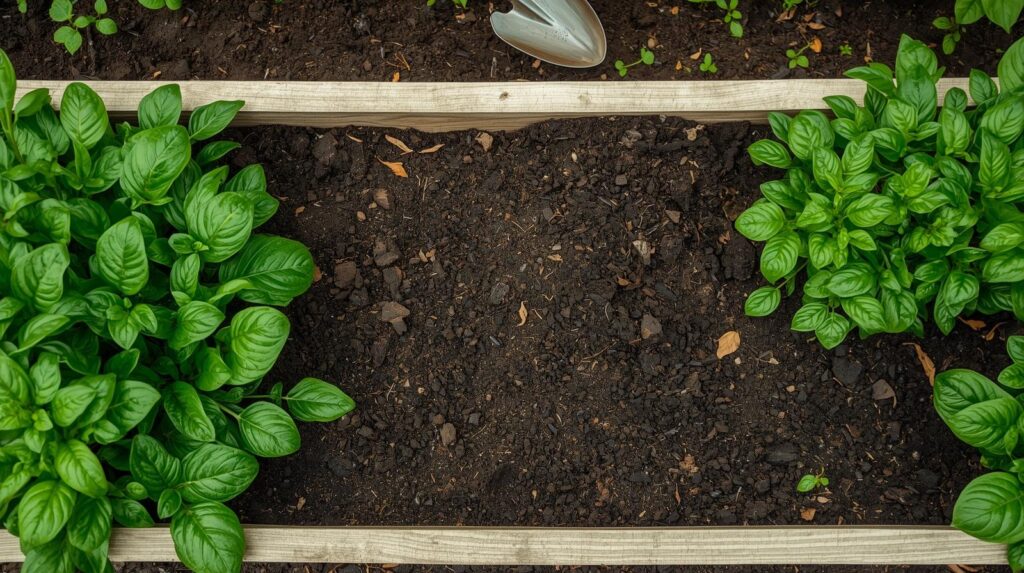
Step 5: Finish with Growing Medium
Final depth of soil/compost mix: 10–16 inches (deeper is better for root crops and perennials).
Recommended blend:
- 40–60% high-quality screened topsoil or garden loam
- 40–60% mature compost (mushroom compost, homemade, municipal, or bagged)
- Optional additions: worm castings (5–10%), biochar (5–10%), azomite or rock dust (light dusting), mycorrhizal fungi inoculant
Rake smooth, then create a slight concave shape (saucer-like center) so water pools toward the middle rather than running off the edges.
Step 6: Shape, Water & Initial Planting Strategy
- Give the entire bed a very deep soak — aim to wet all layers down to the bottom logs (this may take 30–60 minutes with a slow hose or soaker hose).
- Let it sit 1–7 days before planting (gives initial settling and allows some microbial activity to begin).
- Year 1 planting strategy:
- Prefer transplants over direct seeding
- Choose relatively forgiving, heavy-feeding crops: zucchini, cucumbers, pumpkins, beans, peas, lettuce, kale, chard, sunflowers, marigolds
- Space plants slightly wider than normal to reduce early competition
- Water deeply 2–3 times per week during the first summer
Best Plants & Planting Strategies for Hugelkultur-Style Raised Beds
The decomposition dynamics change over time, so your planting strategy should evolve with the bed.
Year 1 – Establishment Phase The system is still “eating” nitrogen and the soil mass is settling. Focus on forgiving, relatively shallow-rooted, nitrogen-loving or neutral crops.
Strong performers in year 1:
- Summer squash / zucchini / pattypan
- Cucumbers (trellised)
- Pole beans and bush beans
- Pumpkins and winter squash (give them space)
- Lettuce, spinach, arugula, mustard greens
- Kale, Swiss chard, collards
- Annual flowers: marigolds, zinnias, sunflowers, cosmos
- Herbs: basil, dill, cilantro, parsley
Planting tips for year 1:
- Use transplants rather than direct sowing whenever possible
- Space plants 10–25% wider than normal to reduce early competition
- Side-dress with compost tea, fish emulsion, or a balanced organic fertilizer every 3–4 weeks if growth seems slow
- Mulch heavily on top (2–4 inches of straw, shredded bark, or compost)
Year 2 & Beyond – Peak Performance Phase By the second full season, nitrogen drawdown usually stabilizes, moisture retention improves dramatically, and fungal networks become more established. You can grow almost anything — including more demanding crops.
Excellent long-term choices:
- Tomatoes (especially indeterminate varieties)
- Peppers (bell, hot, sweet)
- Eggplant
- Root crops: carrots, beets, parsnips, turnips (in the top 10–12 inches)
- Onions, garlic, leeks
- Perennial vegetables: asparagus, rhubarb, artichokes, walking onions
- Strawberries (especially everbearing types)
- Fruiting shrubs in larger beds: dwarf blueberries, currants, dwarf raspberries
- Herbs: oregano, thyme, sage, rosemary (drought-tolerant Mediterranean types thrive)
Companion Planting Ideas That Work Especially Well
- “Three Sisters” adapted version: corn + pole beans + winter squash
- Tomatoes + basil + marigolds
- Peppers + onions + nasturtiums
- Brassicas (kale, cabbage, broccoli) + aromatic herbs (dill, thyme) to deter pests
- Heavy feeders surrounded by nitrogen-fixers (bush beans, clover understory)
The fungal-dominant soil environment that develops favors plants that form strong mycorrhizal associations — most vegetables and many fruits do very well once the system matures.
Maintenance & Long-Term Care
One of the biggest advantages of Hugelkultur-style raised beds is how little ongoing work they require after establishment.
Watering Evolution
- Year 1: deep watering 2–3 times per week (depending on climate and rainfall)
- Year 2: usually 1–2 times per week
- Year 3+: often only during prolonged dry spells (many gardeners water once every 10–21 days in summer)
Annual Maintenance Routine
- Early spring: add 1–3 inches of compost or aged manure across the surface
- Mid-spring: refresh mulch (straw, shredded leaves, wood chips, grass clippings)
- Growing season: occasional foliar feed or compost tea if plants show stress
- Fall: chop and drop spent plants (except diseased material), add another light mulch layer
- Every 3–5 years: top up with 4–6 inches of new soil/compost mix if significant settling has occurred
Monitoring Signs of Health
- Good: dark, crumbly soil; lots of earthworms; mushrooms appearing (fungal activity is beneficial); plants stay hydrated longer after rain
- Watch for: persistent yellowing (may need extra nitrogen), water pooling on surface (improve drainage or reduce woody material next top-up), excessive settling (normal but plan to add soil)
Real Results: What Gardeners Experience After 1–5 Years
Gardeners who have used this method for several seasons commonly report the following timeline:
End of Year 1
- Noticeable water savings compared to conventional beds
- Soil level has dropped 3–8 inches
- Plants generally healthy but sometimes slower to bulk up than in pure compost beds
Year 2
- Watering frequency drops significantly
- Soil feels spongier and stays moist longer
- Yields often match or exceed conventional raised beds
- First mushrooms and abundant earthworms usually appear
Years 3–5
- Watering becomes minimal except in extreme drought
- Soil structure is dramatically improved — dark, crumbly, full of fungal threads
- Plants show better heat and drought tolerance
- Very low need for purchased fertilizers
- Many gardeners report their best tomato, pepper, and squash yields in these older beds
The system continues to improve for 8–15+ years before the largest logs are mostly decomposed, at which point it behaves more like an exceptionally rich, no-dig raised bed.
Frequently Asked Questions (FAQ)
How deep should the wood layer be in a raised bed? Aim for 40–60% of the total bed depth to be woody material (logs, branches, twigs). Examples:
- In an 18-inch deep bed → 7–10 inches of wood/carbon layers
- In a 24-inch deep bed → 10–14 inches of wood/carbon layers
- In a 30-inch deep bed → 12–18 inches of wood/carbon layers
Deeper wood layers give more water storage and longer-term benefits, but require more initial material and a taller frame.
Can I use only wood chips or fresh wood? Fresh wood chips alone create very strong nitrogen drawdown and decompose slowly in a contained bed. Best practice: use a mix of larger logs/branches (for long-term structure and water holding) + smaller twigs + some wood chips. If you only have fresh wood chips, mix them with at least 30–40% nitrogen-rich materials (aged manure, grass clippings, kitchen scraps) and expect to supplement with organic nitrogen fertilizer in years 1–2.
Will it attract termites or rodents? It can — especially if you use large amounts of softwood or place the bed directly against a house foundation. Prevention tips:
- Keep beds at least 18–24 inches away from wooden structures
- Use hardware cloth (¼-inch mesh) on the bottom in high-rodent areas
- Prefer hardwoods over pine/cedar when possible
- Maintain good garden hygiene (no piles of debris around beds)
Most gardeners never experience serious pest issues when following basic precautions.
Is Hugelkultur-style suitable for clay soil, sandy soil, or very wet climates?
- Heavy clay — Excellent. The wood layers improve drainage and aeration over time. Add extra compost in the top layer.
- Very sandy / arid — Very good once established. Incorporate more moisture-retentive materials (aged manure, coconut coir, biochar) and mulch heavily.
- Very wet / poor drainage — Use caution. Raise beds higher, add a 2–4 inch gravel drainage base, use less wood volume (30–40% instead of 50–60%), and ensure the site doesn’t pond water.
How much money can I actually save on soil and water? Realistic estimates after year 2:
- Soil/compost savings: 30–60% less volume needed to fill and maintain beds
- Water savings: 50–80% reduction in irrigation frequency/volume in most climates
- Example: a 4×8×2 ft bed normally requires ~32 cubic feet of soil/compost. With hugelkultur-style layering you might use only 15–20 cubic feet of purchased soil/compost — saving $60–150+ per bed depending on local prices.
Can I convert an existing raised bed without emptying it? Yes — the “top-down” method works well:
- Remove 10–14 inches of soil/compost and set it aside.
- Add woody material, nitrogen layers, and carbon layers into the lower half.
- Replace the saved soil/compost on top (add extra if needed).
- Water deeply and mulch. This method gives partial benefits faster than building from scratch.
Do I really get mushrooms growing in the bed? Is that bad? Mushrooms (especially in years 2+) are a good sign — they indicate active fungal decomposition and a healthy soil food web. Almost all mushrooms that appear in garden beds are harmless saprophytes (decomposers). They do not compete with plants and often improve soil structure.
Conclusion & Next Steps
Building Hugelkultur-style layers in raised beds is one of the most effective ways to create resilient, low-maintenance, water-thrifty growing spaces without sacrificing aesthetics or accessibility.
You’ll spend more time and effort during the initial build — gathering materials, layering thoughtfully, and watering deeply at the start — but the payoff comes quickly and compounds over years:
- Far less watering during the hottest months
- Lower annual soil and fertilizer costs
- Healthier plants that better withstand drought, heat, and neglect
- A living, evolving soil ecosystem that gets better with age
- The satisfaction of turning yard “waste” into garden abundance
Recommended starting strategy for most gardeners
- Begin with one small-to-medium bed (4×4 or 4×8 ft) so you can learn the system without overwhelming effort
- Document your build (photos of each layer, materials used, initial plants)
- Observe and record changes over the first two seasons
- Share your results — the gardening community benefits enormously from real-world experiences
If you want to get started right away, here’s a quick checklist:
- Choose bed size and location
- Source woody debris and nitrogen-rich materials
- Prepare cardboard base
- Layer from large to small → add nitrogen → finish with soil/compost
- Water thoroughly and mulch
- Plant forgiving crops year 1
The best time to start is now — whether it’s early spring, late fall, or even mid-season. Each layer you add today builds a more forgiving, more abundant garden for tomorrow.
Happy layering — and enjoy the easier, greener gardening seasons ahead.