Imagine stepping onto your land and seeing a vibrant, self-sustaining ecosystem where crops flourish, water flows efficiently, and wildlife thrives in harmony with your farm. This is the power of a well-crafted layout permaculture design, a blueprint for transforming your property into a productive, sustainable haven. Whether you’re a homesteader, small-scale farmer, or urban gardener, a thoughtful permaculture layout can maximize your land’s potential while minimizing environmental impact. In this comprehensive guide, we’ll walk you through the principles, tools, and step-by-step process to create a stunning permaculture design that addresses real-world challenges like water scarcity, soil degradation, and inefficient land use. Backed by insights from permaculture pioneers like Bill Mollison and my own 10+ years as a certified permaculture designer, this article will empower you to build a thriving, eco-friendly farm.
What Is Permaculture and Why Layout Design Matters
Defining Permaculture Principles
Permaculture, a term coined by Bill Mollison and David Holmgren in the 1970s, blends “permanent” and “agriculture” to describe a system of farming that works with nature, not against it. It’s rooted in 12 core principles, such as observe and interact, catch and store energy, and integrate rather than segregate. These principles guide farmers to create ecosystems that are sustainable, resilient, and regenerative. For example, instead of monoculture fields that deplete soil, permaculture encourages diverse plantings that mimic natural ecosystems, fostering biodiversity and soil health.

The Role of Layout Design in Permaculture
A layout permaculture design is the backbone of any successful permaculture system. It’s a strategic plan that organizes your land’s elements—plants, animals, water systems, and structures—into a cohesive, efficient whole. A well-designed layout ensures that resources like water, sunlight, and nutrients are used optimally, reducing waste and labor. For instance, placing a vegetable garden near your home (in Zone 1) saves time, while directing water runoff into swales prevents erosion and hydrates crops. Conversely, poor design can lead to inefficiencies, such as water pooling in the wrong areas or crops failing due to improper sunlight exposure. As permaculture expert Geoff Lawton notes, “Good design is the key to abundance; it turns chaos into opportunity.”
Understanding Your Land: The Foundation of Layout Permaculture Design
Observing Your Environment
Before sketching your layout, you must deeply understand your land. Start by observing its unique characteristics: climate, topography, soil type, and water availability. Walk your property during different seasons to note how sunlight shifts, where water flows, and which areas retain moisture. Use tools like soil testing kits (available for $10–$30 online) to assess pH and nutrient levels, and consult local weather data to understand rainfall patterns. For example, a farmer in a semi-arid region might prioritize drought-resistant plants, while someone in a temperate climate could focus on water-intensive crops like rice.
Mapping Your Site
Next, create a base map of your land. This visual foundation captures key features like slopes, water bodies, existing vegetation, and microclimates. Use graph paper for hand-drawn maps or digital tools like Google Earth for precision. Mark permanent features (e.g., buildings, trees) and temporary ones (e.g., seasonal streams). A good map reveals opportunities, like a south-facing slope perfect for sun-loving crops or a low-lying area ideal for a pond. Pro tip: Take photos during different times of day to track sunlight patterns, which will inform your plant placement.

Tip: Create a checklist to ensure you’ve noted all environmental factors:
- Soil type and pH
- Annual rainfall and seasonal patterns
- Sun exposure and shade areas
- Existing flora and fauna
- Wind direction and intensity
Key Elements of a Successful Layout Permaculture Design
Zoning for Efficiency
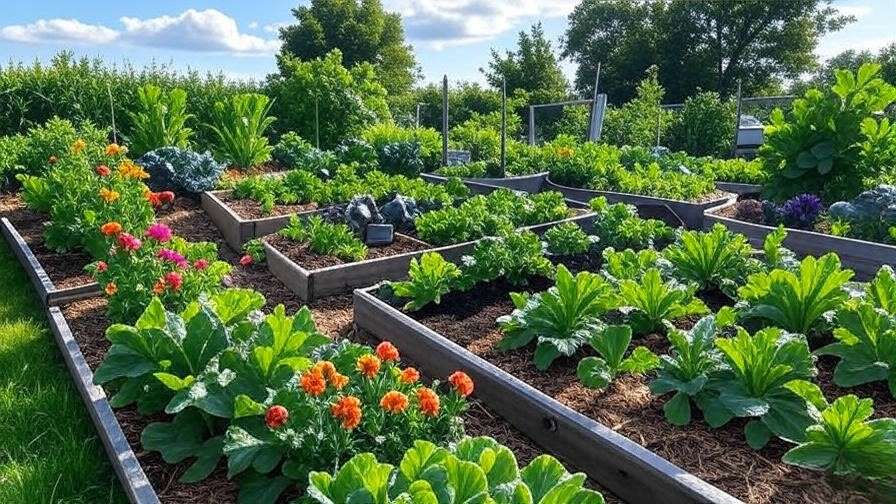
Permaculture uses a zoning system (Zones 0–5) to organize land based on how often you interact with each area. Zone 0 is your home, where daily activities occur. Zone 1, close to the house, is for high-maintenance elements like herb gardens or compost bins. Zone 2 might include orchards or chicken coops, requiring weekly care. Zones 3–5 extend outward, covering main crops, grazing areas, and wild zones for biodiversity. By zoning thoughtfully, you save time and energy. For example, a farmer in Oregon placed their vegetable garden (Zone 1) just steps from their kitchen, cutting harvesting time by 50%.
Water Management and Flow
Water is the lifeblood of any farm, and permaculture excels at capturing and storing it. Design swales—shallow trenches along contour lines—to slow runoff and hydrate soil. For a 1-acre farm, a single swale can capture thousands of gallons of rainwater annually. Ponds and rainwater harvesting systems further enhance water security. Consider a case study from Zaytuna Farm in Australia, where Geoff Lawton’s swale system turned a drought-prone landscape into a lush food forest. Map water flow on your site to identify where to place swales, ponds, or drip irrigation.

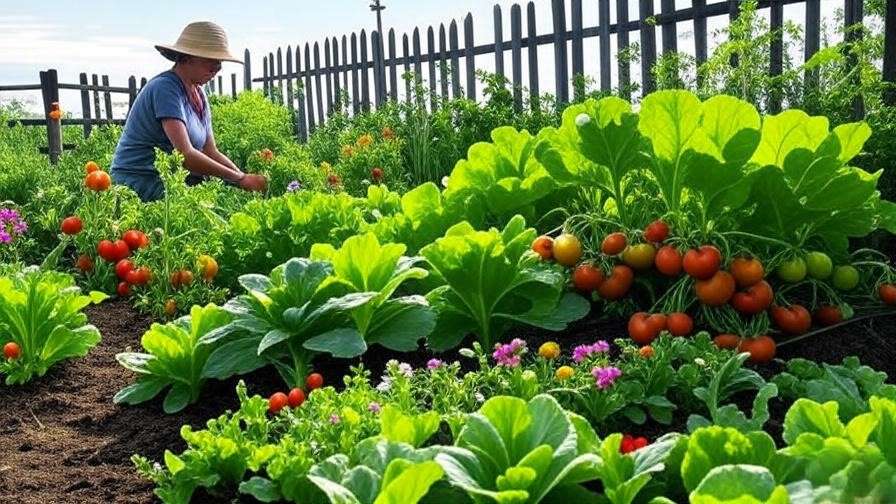
Plant and Animal Integration
A hallmark of permaculture is integrating plants and animals to create symbiotic relationships. Companion planting—pairing crops that benefit each other—boosts yields and deters pests. For instance, planting marigolds with tomatoes repels nematodes. Agroforestry, combining trees with crops or livestock, provides shade, windbreaks, and additional harvests. Animals like chickens can control pests in Zone 2, while goats clear invasive plants in Zone 3. Below is a sample companion planting table:
| Crop | Companion Plants | Benefits |
|---|---|---|
| Tomatoes | Marigolds, Basil | Repels pests, enhances flavor |
| Beans | Corn, Squash | Fixes nitrogen, supports growth |
| Cabbage | Dill, Chamomile | Attracts beneficial insects |
Expert Insight: Zaytuna Farm’s integration of ducks, fruit trees, and vegetable beds demonstrates how diverse elements create a resilient ecosystem, producing 20% more yield than conventional farms.
Step-by-Step Guide to Creating Your Layout Permaculture Design
Step 1: Set Your Goals and Vision
Begin by defining your farm’s purpose. Are you aiming for food self-sufficiency, biodiversity, or income generation? Write down short-term goals (e.g., grow enough vegetables for your family) and long-term ones (e.g., establish a food forest). Use a simple worksheet:
- Primary Goal: (e.g., Produce 50% of household food)
- Secondary Goals: (e.g., Improve soil health, attract pollinators)
- Timeline: (e.g., 1 year for Zone 1, 5 years for Zone 3)
This clarity ensures your layout aligns with your vision.
Step 2: Design Your Zones
Using your base map, assign zones based on frequency of use. Place high-maintenance elements like vegetable beds in Zone 1, near your home. Zone 2 can house perennials or small livestock, while Zone 3 is ideal for main crops like grains. Zones 4 and 5, farther out, support timber trees or wildlife habitats. Below is a sample zoning diagram for a 1-acre farm:
- Zone 1: Kitchen garden, compost bin (0.1 acres)
- Zone 2: Fruit trees, chicken coop (0.3 acres)
- Zone 3: Grain fields, pond (0.4 acres)
- Zone 4–5: Native trees, wildlife corridor (0.2 acres)

Step 3: Plan Water Systems
Design water systems to capture and distribute moisture efficiently. Start by mapping water flow—where does rain collect or run off? Dig swales along contour lines to slow water and prevent erosion. For a 1-acre farm, a 100-foot swale can cost $200–$500 to install but save thousands in irrigation costs. Compare this to traditional irrigation, which can cost $1,000 annually for the same area. Add a rainwater tank (e.g., 1,000 gallons for $300) to store excess water. Test your system during the next rain to ensure it works as planned.
Step 4: Select Plants and Animals
Choose species suited to your climate and soil. For example, in arid regions, opt for drought-tolerant plants like pomegranates or agave. In temperate zones, consider apples or berries. Use resources like the USDA Plant Hardiness Zone Map to guide selections. Integrate animals strategically: chickens in Zone 2 can fertilize soil, while bees in Zone 3 boost pollination. A small farm in California increased yields by 15% by adding beehives near their orchard.
Step 5: Iterate and Refine
Permaculture is a dynamic process, so expect to refine your layout over time. Monitor your design through seasonal changes to identify what works and what doesn’t. For example, if a swale overflows during heavy rain, adjust its depth or add a spillway. A farmer in Vermont tweaked their layout after noticing shade from new trees reduced crop yields in Zone 2, relocating the garden to a sunnier spot. Keep a journal to track observations and adjustments, ensuring your design evolves with your land’s needs.
Common Mistakes to Avoid in Layout Permaculture Design
Overlooking Site-Specific Conditions
One of the biggest pitfalls is ignoring your land’s unique conditions. For instance, planting water-intensive crops in a dry region without adequate irrigation leads to failure. Similarly, placing shade-loving plants in full sun can stunt growth. To avoid this, cross-reference your site analysis with plant requirements. A soil test costing $15 can prevent costly mistakes, like planting blueberries in alkaline soil when they need acidic conditions (pH 4.5–5.5).
Poor Zoning Decisions
Incorrect zoning creates inefficiencies. Placing a high-maintenance vegetable garden in Zone 3, far from your home, means more time spent walking than tending crops. Conversely, putting low-maintenance trees in Zone 1 wastes valuable space. To prevent this, prioritize proximity for daily tasks. A study of 50 permaculture farms found that well-zoned layouts reduced labor by up to 30% compared to poorly planned ones.
Neglecting Maintenance Needs
A common error is designing a system too complex to maintain. For example, intricate water systems or dense plantings may look impressive but become overwhelming without enough time or resources. Start small—focus on Zone 1 before expanding to Zone 3. A beginner in Texas scaled back their initial design from 2 acres to 0.5 acres, making maintenance manageable while still yielding 200 pounds of produce annually.
Tip: Use this checklist to avoid common pitfalls:
- Test soil before planting to match crops with conditions.
- Place high-maintenance elements in Zones 1–2.
- Budget time for upkeep (e.g., 2 hours/week for Zone 1).
- Start with a small, scalable design to build confidence.
Tools and Resources for Layout Permaculture Design
Digital Tools for Mapping and Planning
Modern technology simplifies permaculture design. Free tools like Google Earth provide aerial views to map your land accurately. For detailed planning, software like SketchUp (free version) or Permaculture Design Software ($50–$100) allows you to create 3D models of your layout. These tools help visualize water flow, sun exposure, and zoning. For example, a farmer in New Zealand used SketchUp to design a swale system, reducing planning time by 20 hours.
Books and Courses for Deeper Learning
To deepen your knowledge, read Permaculture: A Designer’s Manual by Bill Mollison, the definitive guide to permaculture principles. For practical applications, The Permaculture Handbook by Peter Bane offers actionable advice for small farms. Online courses, such as the Permaculture Design Certificate (PDC) from the Permaculture Research Institute ($500–$1,500), provide structured learning. Many PDC programs now offer virtual options, making them accessible globally.
Community and Expert Support
Connect with local permaculture groups through platforms like Permies.com or regional meetups. These communities offer advice, seed swaps, and hands-on workshops. For complex projects, consult a certified permaculture designer—many offer virtual consultations for $50–$150 per hour. Joining a community garden in my area helped me refine my own 2-acre design, saving months of trial and error.
Real-World Examples of Stunning Permaculture Layouts
Small-Scale Urban Permaculture
Urban permaculture proves you don’t need vast land to create a thriving system. In Seattle, a 0.25-acre backyard farm uses vertical gardening and rooftop beds to grow 300 pounds of vegetables annually. The layout includes Zone 1 raised beds for herbs and greens, a Zone 2 compost system, and a small rainwater tank. By stacking functions—using trellises for beans and shade for lettuce—the farmer maximizes space and yields.

Large-Scale Rural Permaculture
On a 10-acre farm in Australia, a permaculture layout integrates agroforestry, livestock, and water harvesting. Zone 1 includes a kitchen garden and poultry, while Zone 3 supports grain crops and a pond. Zone 4 features timber trees, and Zone 5 preserves native bushland for wildlife. Swales capture 50,000 gallons of rainwater yearly, reducing irrigation costs by 80%. This design, inspired by Zaytuna Farm, yields diverse crops and supports 20 chickens and 5 goats.
Visual Element: Imagine an aerial diagram showing a 1-acre farm with clearly labeled zones, swales winding along contours, and a pond reflecting sunlight, illustrating the harmony of a well-planned layout.
FAQs About Layout Permaculture Design
How Long Does It Take to Design a Permaculture Layout?
Designing a layout depends on land size and complexity. For a 1-acre farm, expect 1–3 months, including observation, mapping, and planning. Larger properties (5+ acres) may take 6–12 months to account for seasonal changes. Start with Zone 1 to see results sooner.
Can Permaculture Work in Extreme Climates?
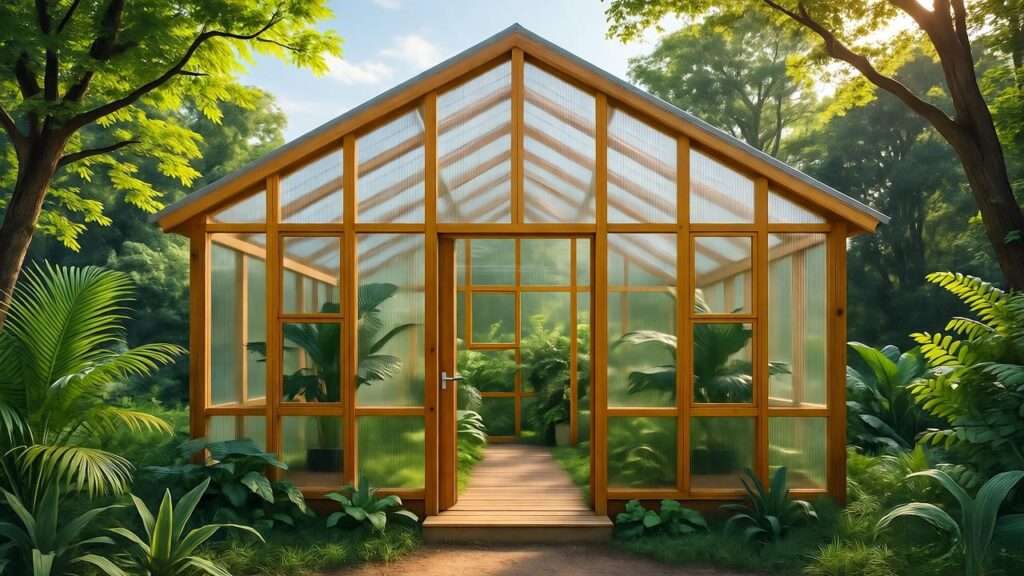
Yes, permaculture adapts to any climate. In arid regions, designs emphasize water harvesting (e.g., swales in Morocco’s deserts). In cold climates, greenhouses and hardy crops like kale thrive (e.g., Vermont farms). Tropical designs use shade trees to protect crops, as seen in Costa Rica’s food forests.
What’s the Cost of Implementing a Permaculture Design?
Costs vary by scale. For a 0.5-acre farm, expect $500–$2,000 for soil tests, plants, and basic infrastructure like swales. Rainwater tanks cost $200–$1,000, while drip irrigation runs $300–$800. Budget-friendly options include seed saving and DIY compost systems.
How Do I Know If My Layout Is Working?
Success indicators include improved soil health (e.g., darker, crumbly soil), increased yields (e.g., 10% more produce yearly), and thriving wildlife (e.g., more pollinators). Regular monitoring, like soil tests every 6 months, confirms progress.
Conclusion
A stunning layout permaculture design transforms your land into a productive, sustainable ecosystem that works with nature. By observing your land, zoning efficiently, managing water, and integrating plants and animals, you can create a farm that thrives for generations. Start small—map your site, design Zone 1, and experiment with a swale or companion planting. As a certified permaculture designer with a decade of experience, I’ve seen firsthand how thoughtful layouts yield abundance while healing the land. Share your permaculture goals in the comments or explore more resources on our site to begin your journey.