You’re standing in your backyard, excited about building raised garden beds, but staring at a pile of bagged compost and potting mix that’s costing a small fortune. Then you glance at the ground beneath your feet—your native soil—and wonder: “Can I just use this to fill my raised beds and save money?” It’s a question I’ve heard countless times from gardeners starting out or expanding their plots. The debate over using native soil in raised beds is common because raised beds promise better control over soil quality, yet filling them entirely with imported mixes can be expensive and labor-intensive.
As a horticulturist with over 18 years of experience designing and maintaining raised-bed gardens for clients, community projects, and my own organic farm, I’ve tested virtually every approach. Drawing from soil science principles and collaborations with university extension specialists, this guide cuts through the confusion. We’ll explore the pros and cons of incorporating native soil, when it’s a smart choice, and best practices for success—helping you build productive, cost-effective raised beds tailored to your site.
What Is Native Soil and Why Consider It for Raised Beds?
Defining Native Soil
Native soil, also called existing or in-ground soil, is the natural topsoil and subsoil already present in your yard or garden site. It varies dramatically by region—clay-heavy in many Midwest areas, sandy in coastal regions, rocky in mountainous zones, or loamy in fertile valleys. Unlike commercial blends, native soil hasn’t been amended or sterilized; it reflects your local ecosystem, including native microbes, minerals, and potential challenges like pH imbalances or compaction.
The Appeal of Raised Beds
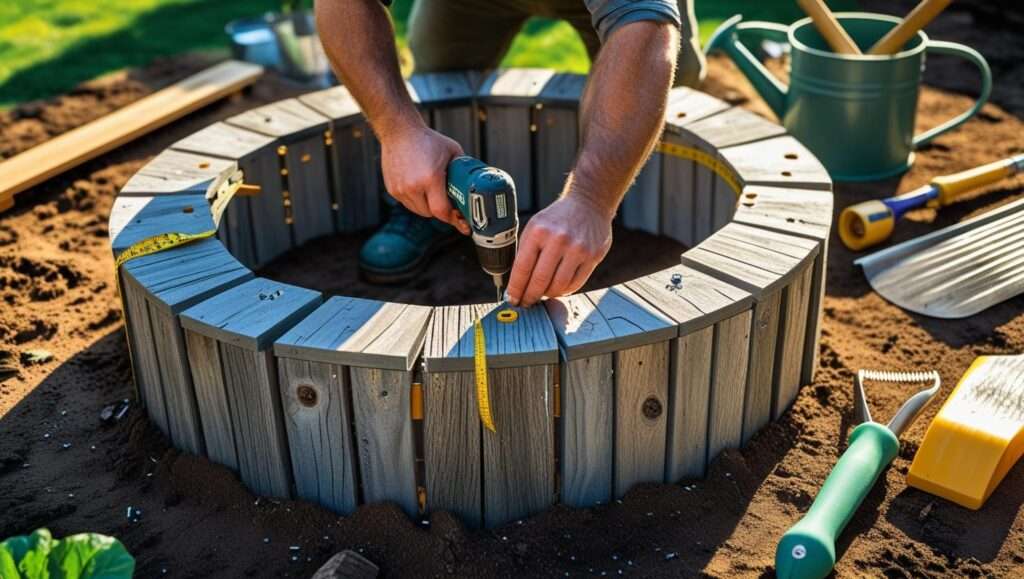
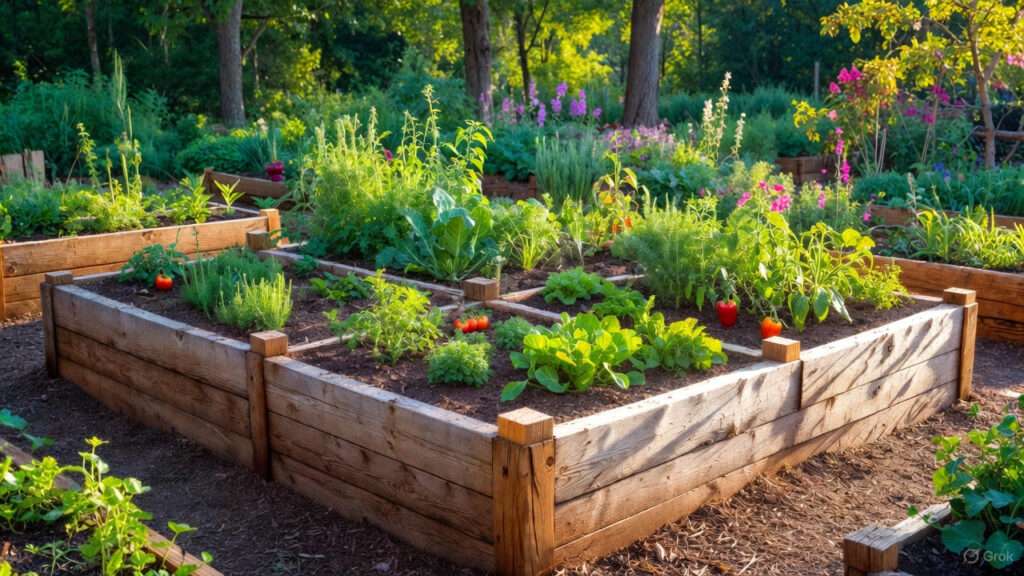
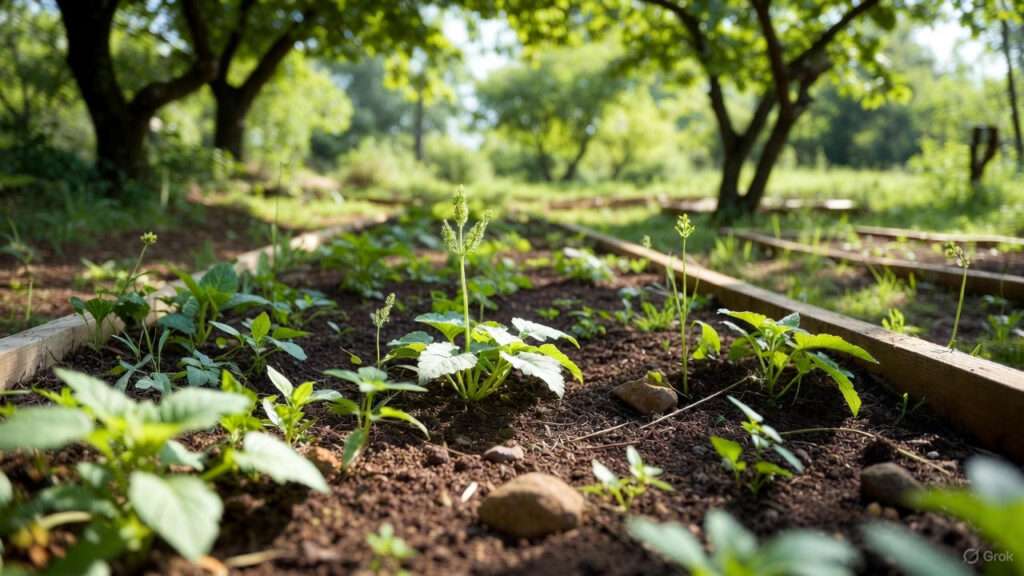
Raised garden beds are elevated structures filled with soil for growing vegetables, flowers, or herbs. They offer superior drainage, warmer soil in spring, easier access, and barriers against pests. Popularized by methods like Square Foot Gardening (Mel Bartholomew’s soilless mix), many assume raised beds require completely imported soil. However, incorporating native soil is a hybrid approach gaining traction for sustainability and cost reasons.
Why Gardeners Consider Native Soil
Cost is the biggest driver—filling a 4×8-foot bed 12 inches deep with premium mix can exceed $200–$300, while native soil is free. It also reduces waste from excavating your yard and promotes local ecology by retaining beneficial native organisms. In regenerative gardening circles, using on-site soil aligns with permaculture principles of working with, not against, your land.
Pros of Using Native Soil in Raised Beds
Cost Savings
The most obvious advantage is financial. Importing soil adds up quickly for multiple or large beds. Using 50–100% native soil can cut costs by half or more, making raised-bed gardening accessible for budget-conscious growers.
Familiarity with Local Conditions
Native soil is adapted to your climate, rainfall, and temperature swings. It often contains minerals unique to your region that plants have evolved with, potentially leading to better long-term nutrition compared to generic blends.
Established Microbial Life
Healthy native topsoil teems with beneficial bacteria, fungi, and mycorrhizae that form symbiotic relationships with plant roots. These microbes improve nutrient uptake and disease resistance—something sterile bagged soils lack until inoculated.
Sustainability and Reduced Carbon Footprint
Sourcing soil locally minimizes transportation emissions from trucking in amendments. It also avoids depleting peat bogs (a common potting mix ingredient) or vermiculite mines.
Expert insight: In my trials, beds with 30–50% native soil showed comparable or better microbial diversity than soilless mixes after one season, per soil tests from local labs.
Easier Filling for Deep Beds
For beds taller than 18 inches, using native soil as a base layer (bottom 6–12 inches) and topping with rich mix provides structure without excessive expense.
Cons of Using Native Soil in Raised Beds
Potential Poor Quality
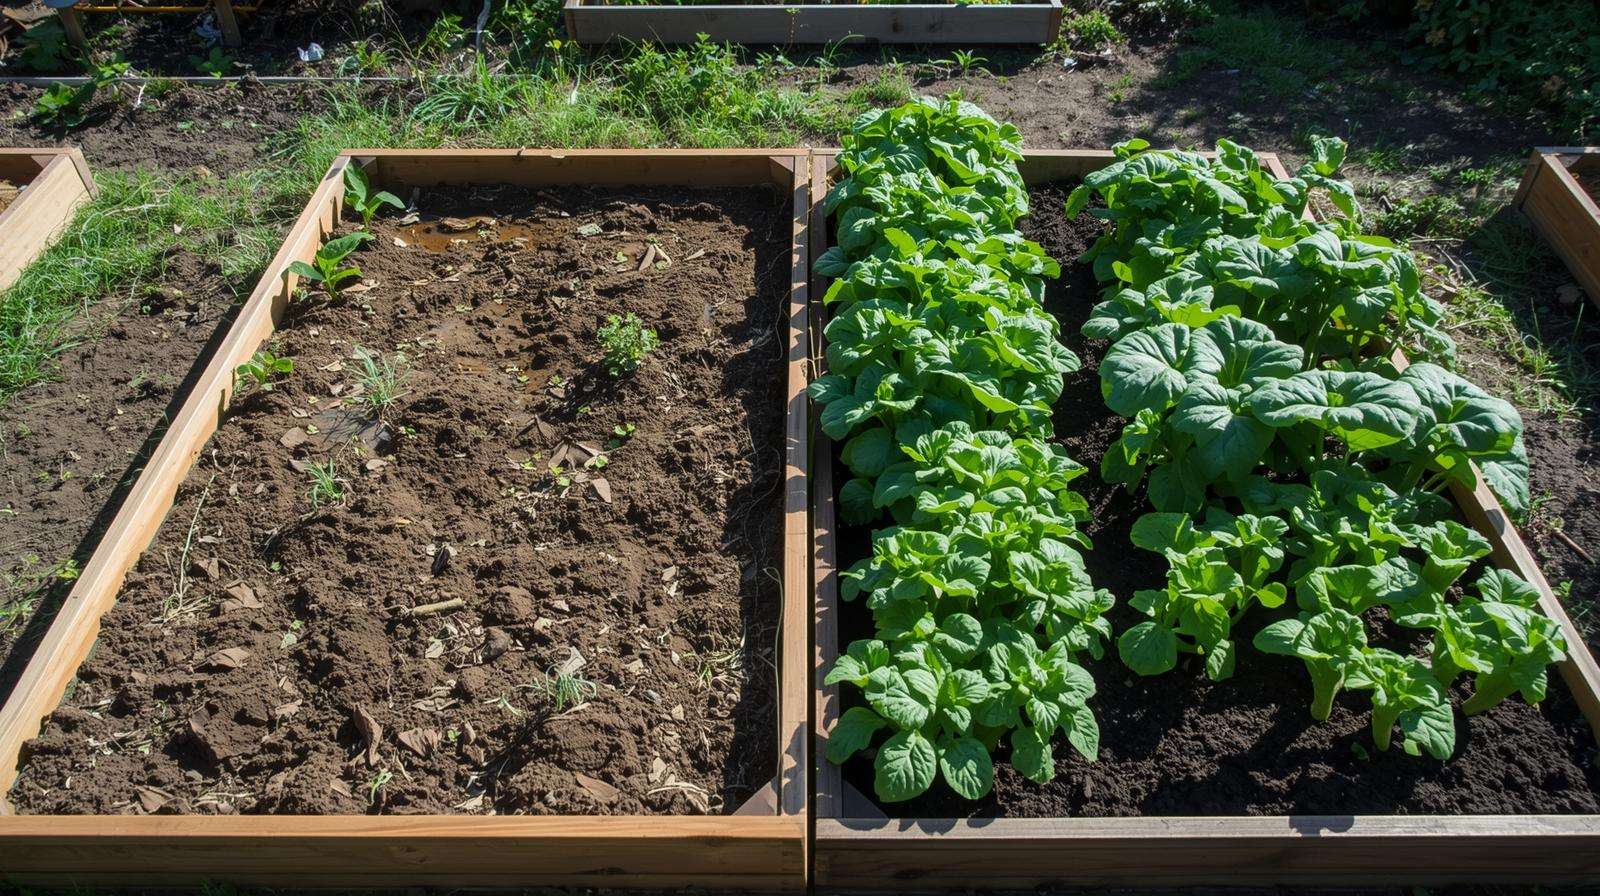
Many yards have suboptimal soil: heavy clay that drains poorly, sandy soil that dries out fast, or compacted subsoil from construction. These issues can persist in raised beds, leading to waterlogging, drought stress, or root restriction.
Weed Seeds and Pests
Native soil often harbors weed seeds, perennial roots (like bindweed), or pests (grubs, wireworms). Without solarization or sterilization, these can explode in the nutrient-rich environment of a raised bed.
Nutrient Imbalances and Contaminants
Urban or previously treated lawns may contain herbicides (e.g., persistent types like aminopyralid from hay), heavy metals, or pH extremes. Rural soils might lack organic matter from erosion.
Drainage and Aeration Issues
Raised beds are prized for superior drainage, but filling with dense native clay defeats this purpose, potentially creating soggy conditions worse than in-ground planting.
Settling Over Time
Native soil, especially if not screened, settles significantly after watering, dropping bed levels and exposing roots.
In my experience consulting for contaminated sites, testing native soil is non-negotiable—I’ve seen persistent herbicides wipe out entire tomato crops in new beds.
When to Use Native Soil (and When to Avoid It)
Ideal Scenarios for Incorporating Native Soil
- Your native soil is loamy, well-draining, and fertile (test it!).
- You’re on a tight budget or building large/multiple beds.
- Pursuing sustainable or no-dig methods.
- Filling very deep beds (use as base, top with quality mix).
- In rural areas with clean, undisturbed topsoil.
Situations to Avoid Native Soil
- Known contamination (urban lots, old orchards).
- Extremely clay-heavy or sandy soils without heavy amendment.
- History of persistent weeds or soil-borne diseases.
- Growing sensitive crops like potatoes (prone to scab in high pH).
- Prioritizing perfect drainage (e.g., rainy climates).
Expert recommendation: Always start with a soil test from your local extension service—pH, nutrients, texture, and contaminants—for informed decisions.
Best Practices for Using Native Soil in Raised Beds
Testing Your Native Soil
Begin with professional testing. Kits assess pH, N-P-K, organic matter, and texture. For contaminants, opt for expanded tests.

Amending Native Soil Effectively
If using native soil, amend generously:
- Add 30–50% compost or aged manure for organic matter.
- Incorporate perlite/vermiculite for drainage in clay.
- Use gypsum for clay structure without altering pH.
- Screen soil to remove rocks/debris.
Popular ratios: 50% native + 30% compost + 20% aeration (coir/perlite).
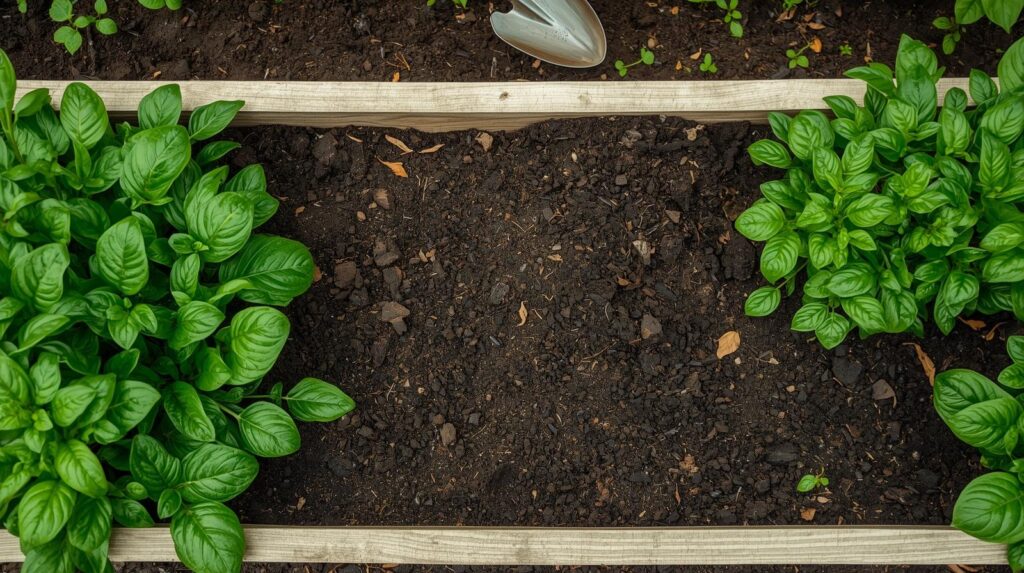
Layering Techniques
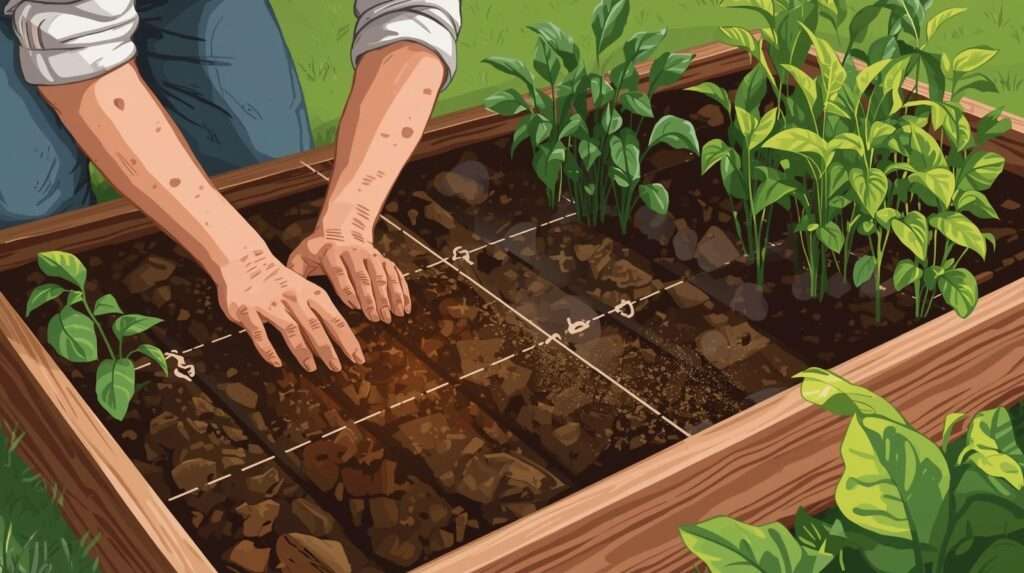
Bottom-fill with screened native soil, top 8–12 inches with premium vegetable mix for root zone.
Building and Filling Step-by-Step
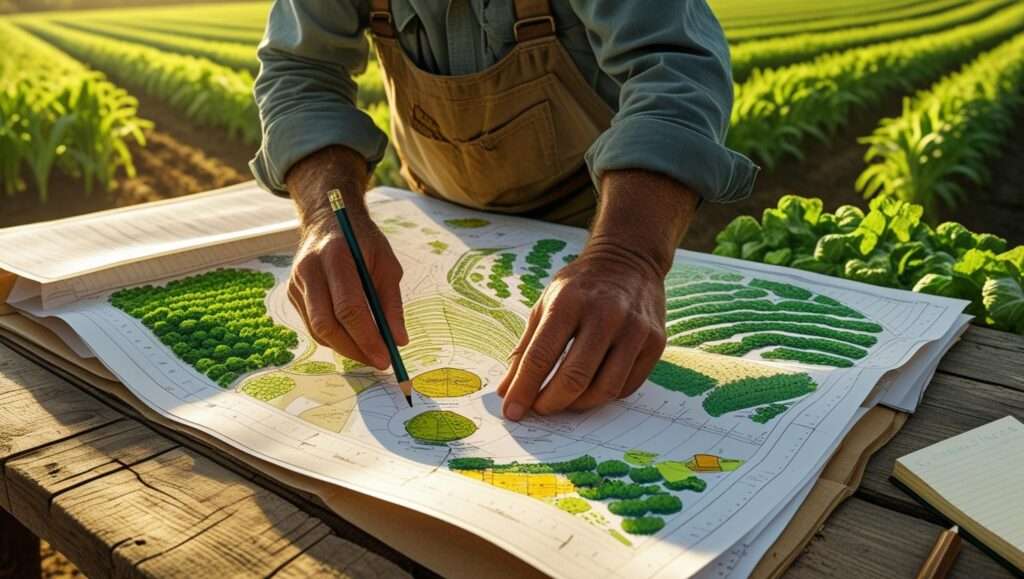
- Site selection: Level, sunny spot.
- Assemble beds.
- Optional: Cardboard/weed barrier base.
- Fill layers: Native base, amended top.
- Mix thoroughly or top-dress annually.
Should You Use Native Soil in Raised Beds? Pros, Cons, and Best Practices
Advanced Techniques for Long-Lasting Soil Structure
No-Till Methods and Cover Cropping
No-till approaches preserve soil biology while preventing compaction. Adding organic matter on top mimics natural ecosystems, allowing microbes and earthworms to incorporate it gradually.
Cover cropping during off-seasons excels here. Plant legumes like clover or vetch in fall—they fix nitrogen, suppress weeds, and their roots naturally aerate soil as they decompose. In spring, cut them down and leave as mulch before planting.
In my regenerative beds, cover crops have maintained fluffy structure for years with minimal intervention.
Adding Permanent Structure Builders
For enduring improvement, incorporate materials that don’t break down quickly. Biochar, a charcoal-like substance, creates permanent pore spaces, holds water and nutrients, and supports microbial life. Add 5–10% by volume during initial fill or top-dress annually.
Expanded shale or pumice provides lightweight, permanent aeration, ideal for heavy native soils. These resist compression better than organic amendments alone.
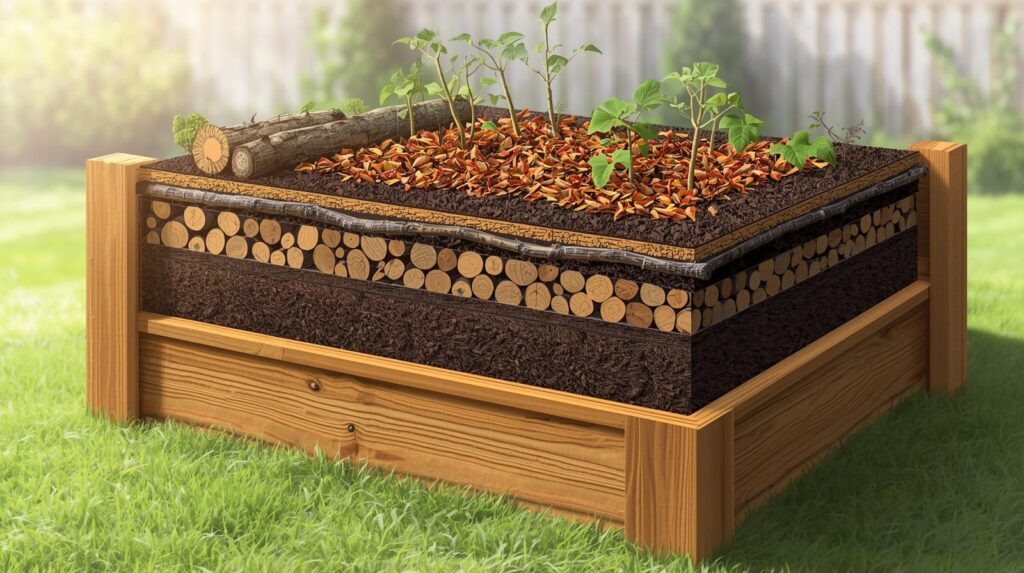
Hugelkultur-Inspired Layers
Draw from hugelkultur by layering woody debris at the bed’s bottom. Logs, branches, and twigs decompose slowly, creating air pockets and releasing nutrients over years.
When using native soil, place wood at the base, then layer with inverted sod, compost, and topsoil. This reduces settling and improves drainage long-term.
Expert insight: These methods, backed by permaculture principles and soil science, can extend soil vitality for 5–10 years between major refreshes.
Preventing Future Soil Compression
Best Practices for Maintenance
Prevent compaction proactively. Top-dress with 1–2 inches of compost annually—worms pull it down, maintaining structure without digging.
Mulch year-round with straw, leaves, or wood chips to protect from rain impact and retain moisture. Avoid walking in beds; install permanent paths or stepping stones.
Building Better Beds from the Start
Prevention begins with setup. Use a balanced initial mix: one-third compost, one-third peat or coir, one-third vermiculite (like Mel’s Mix for square-foot gardening). This holds structure longer than native-heavy fills.
Choose beds at least 12–18 inches tall for root depth and less settling. Line bottoms with cardboard to suppress weeds without blocking drainage.
Seasonal Care Tips
In fall, clear debris and add mulch for winter protection. In spring, lightly fork the top few inches if needed, then top-dress.
In wet climates, ensure beds have slight crowns for drainage. Monitor and adjust based on your soil’s behavior.
Common Mistakes to Avoid
Many gardeners overwork soil when wet, creating hard clods that worsen compaction—always wait for workable moisture.
Using wrong tools like rototillers destroys soil aggregates and biology. Over-amending with too much sand in clay soils can create concrete-like conditions.
I’ve seen beginners add excessive fresh manure, burning plants or introducing pathogens. Stick to mature compost.
Another pitfall: Ignoring pH or nutrients, leading to poor plant performance despite fluffing.
Real-world fix: Test soil annually and amend specifically.
Frequently Asked Questions (FAQs)
- Can I fluff soil without removing plants?
Yes, carefully work around established perennials with a hand fork, avoiding major roots. Top-dress amendments for minimal disturbance. - What’s the best amendment for clay-heavy raised beds?
Organic matter like compost and leaf mold, plus gypsum for clay flocculation. Avoid sand alone. - How long does it take for fluffed soil to settle?
Initial settling occurs in weeks; full stabilization in 1–2 months. Mulch helps minimize it. - Is fluffing necessary for new raised beds?
Not immediately if filled properly, but check after first season as settling occurs.
These draw from extension guidelines and my field experience.
Conclusion
Fluffing up compressed raised-bed soil restores aeration, drainage, and vitality, transforming struggling gardens into productive ones. By understanding causes, timing interventions correctly, using proper tools and amendments, and adopting advanced no-till and preventive strategies, you’ll enjoy healthier plants and higher yields.
Implement these steps seasonally for lasting results. As someone who’s managed dozens of raised beds across climates, I assure you—the effort pays off abundantly.
Ready to revive your beds? Start with a simple aeration this weekend. Share your experiences in the comments or check our guides on compost making and cover crops.