You’ve carefully chosen your favorite heirloom tomato or vibrant zinnia seeds, filled your trays with fresh potting mix, and placed them under grow lights with high hopes. A week later, half the seeds never sprout, the ones that do are pale and stretched like spaghetti, and the rest collapse overnight into a sad, moldy mess. Sound familiar? If you’ve ever experienced the heartbreak of seed-starting failures, you’re definitely not alone.
Starting seeds indoors is one of the most rewarding parts of gardening—it saves money, gives you access to far more varieties than local nurseries offer, and extends your growing season. Yet poor germination, leggy seedlings, damping-off, and other common seed-starting failures frustrate gardeners every year, often leading to wasted time, money, and missed harvests. The good news? Nearly every setback is preventable with the right knowledge and techniques.
In this comprehensive guide, we’ll walk through the 10 most common seed-starting failures, explain exactly why they happen (backed by horticultural science), and give you proven, step-by-step solutions so you can grow strong, healthy seedlings ready for the garden. Whether you’re a complete beginner or an experienced gardener looking to boost your success rate, this article will help you avoid costly mistakes and enjoy a thriving seedling season.
Why Seed-Starting Success Matters
Starting your own seeds isn’t just about saving a few dollars on transplants. It’s about control—control over varieties, timing, and plant health. Garden centers typically offer only a handful of popular cultivars, while seed catalogs give you hundreds of choices: disease-resistant tomatoes, rare peppers, or pollinator-friendly flowers you’ll never find as transplants.
When you start seeds yourself, you also get a head start on the season. By the time the last frost passes, your plants are already 6–12 weeks old and ready to hit the ground running, often producing earlier and more abundant harvests.
Unfortunately, statistics show that beginners lose 40–60% of their seeds to common failures such as poor germination, damping-off, or weak, leggy seedlings. Experienced gardeners aren’t immune either—many still struggle with timing, lighting, or disease issues. The difference lies in understanding the critical stages of the seed-to-seedling journey and knowing exactly where things go wrong.
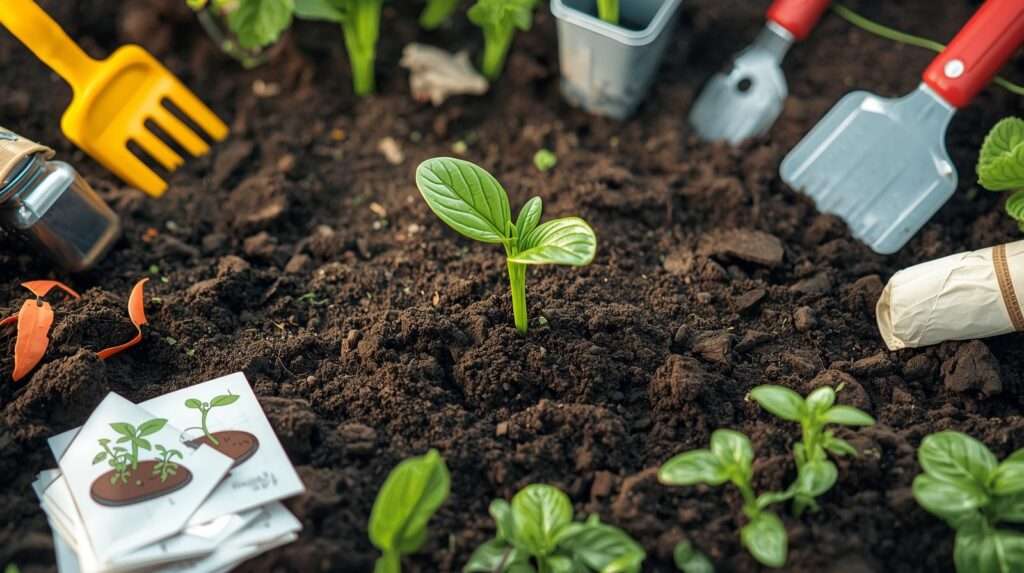
Essential Setup for Success: Get This Right First
Before we dive into specific failures, let’s cover the non-negotiable foundations. Get these right and you’ll eliminate the majority of problems before they start.
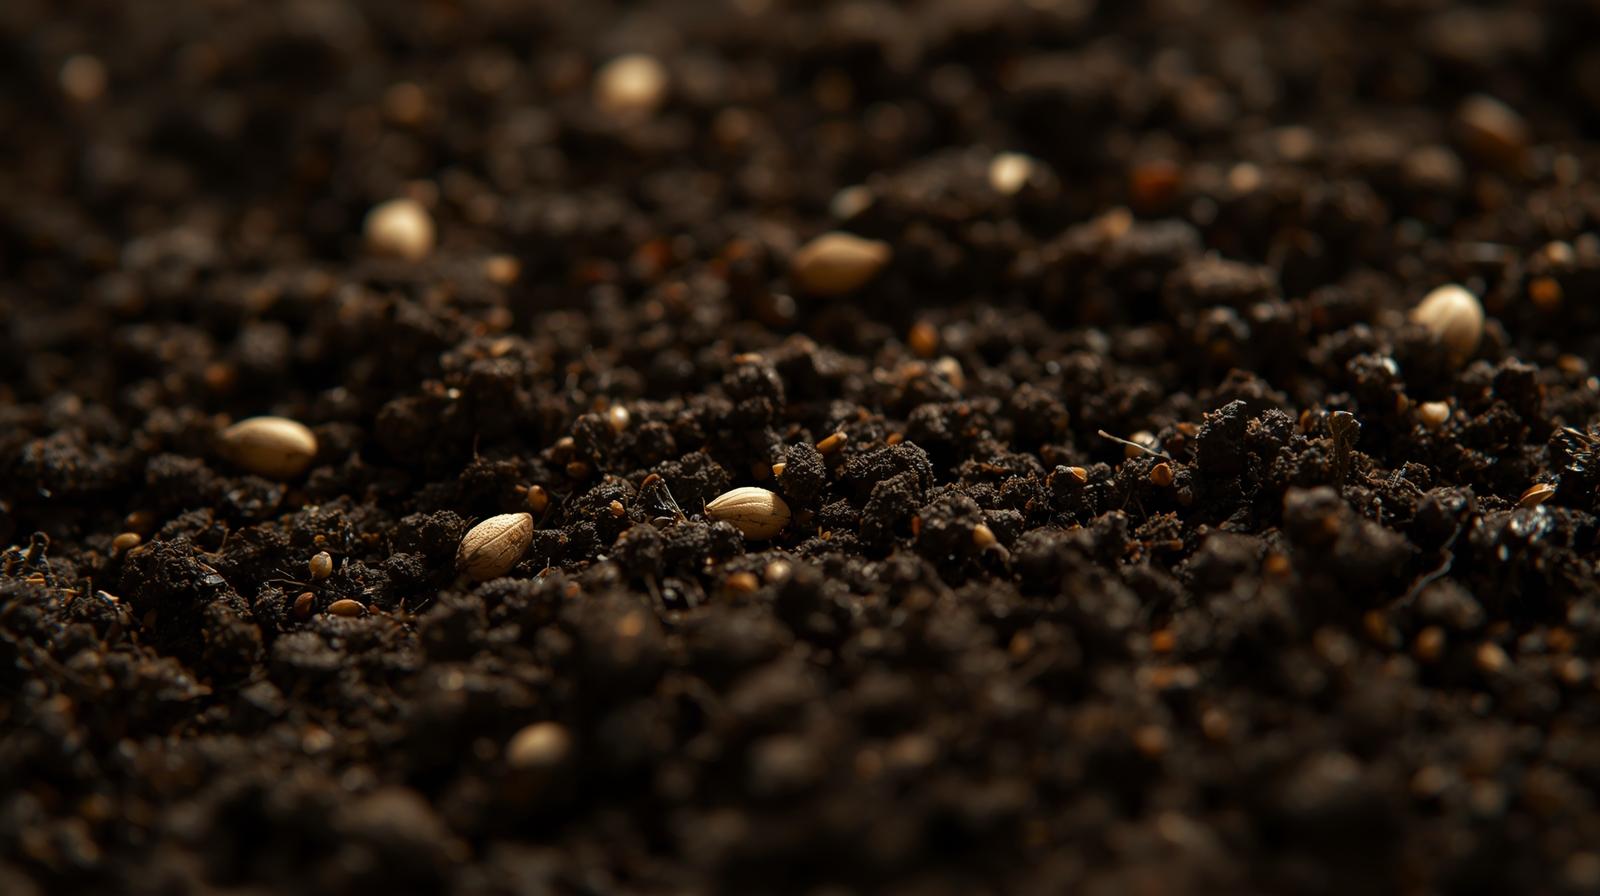
Choosing the Right Seeds
Always start with fresh, high-quality seeds from reputable suppliers. Seeds lose viability over time—most last 1–3 years at best. Perform a simple germination test: place 10 seeds between damp paper towels inside a sealed plastic bag and keep them warm (70–80°F/21–27°C). After 7–14 days, count how many sprout. If fewer than 70% germinate, discard the packet.
Best Seed-Starting Medium
Garden soil is one of the biggest culprits behind seed-starting failures. It’s often too dense, harbors pathogens, and compacts quickly. Use a sterile, soilless seed-starting mix specifically formulated for germination. Look for mixes containing peat moss, vermiculite, and perlite (or coconut coir as a sustainable alternative). A good DIY recipe: 1 part peat or coir, 1 part vermiculite, 1 part perlite, plus a pinch of dolomitic lime for pH balance.
Containers and Trays
Proper drainage is non-negotiable. Use cell trays, peat pots, or soil blocks with drainage holes. Avoid reusing old containers without thorough cleaning and sanitizing (10% bleach solution or hydrogen peroxide).
Lighting, Temperature, and Tools
Invest in a basic setup:
- Heat mat with thermostat (keeps soil 70–85°F/21–29°C for germination)
- Full-spectrum LED or T5 fluorescent grow lights
- Small oscillating fan for air movement
- Thermometer/hygrometer to monitor conditions
Top 10 Common Seed-Starting Failures and How to Avoid Them
Failure #1: Poor or No Germination
This is the most discouraging problem—seeds simply don’t sprout.
Causes:
- Soil temperature too low or too high (most seeds need 70–85°F/21–29°C)
- Old or improperly stored seeds
- Planting depth incorrect (rule of thumb: 2× the seed diameter)
- Medium too dry or waterlogged
Prevention & Fixes:
- Use a soil thermometer to verify temperature.
- Pre-soak large seeds (beans, peas) overnight.
- Bottom-water trays to maintain consistent moisture without disturbing seeds.
- Cover trays with clear plastic domes or bags to create a mini-greenhouse, but remove once germination begins.
Failure #2: Leggy, Stretched Seedlings
Seedlings grow tall and spindly, with weak stems and widely spaced leaves.
Why it happens:
- Insufficient light intensity or duration
- Excessive warmth without adequate light
Solutions:
- Provide 14–16 hours of bright light daily. Place lights 2–4 inches above seedlings and raise them as plants grow.
- Choose full-spectrum LEDs (6500K–5000K) or T5 fluorescents. Avoid cheap shop lights—they lack the necessary blue wavelengths for compact growth.
- If seedlings are already leggy, gently bury the stem deeper when transplanting (tomatoes and peppers especially love this).
Failure #3: Damping-Off Disease
One day your seedlings look perfect; the next they’re lying flat at the soil line with a pinched, water-soaked appearance.
Causes:
- Fungal pathogens (Pythium, Rhizoctonia, Fusarium) thrive in cool, wet, poorly aerated conditions.
Prevention Strategies:
- Always use sterile seed-starting mix.
- Bottom-water instead of overhead sprinkling.
- Use a small fan to promote airflow and reduce humidity around seedlings.
- Sprinkle a thin layer of cinnamon powder (natural antifungal) or use chamomile tea as a gentle preventive drench.
Failure #4: Overwatering or Underwatering
Water management is one of the trickiest aspects of seed starting. Too much or too little moisture can doom your seedlings quickly.
Signs of Overwatering:
- Surface mold or algae growth
- Soggy medium that smells musty
- Seedlings wilting despite wet soil (root rot)
- Yellowing lower leaves
Signs of Underwatering:
- Medium pulling away from tray edges
- Seedlings wilting with dry soil
- Slow or stalled growth
Best Watering Practices:
- Water from the bottom: Place trays in a shallow pan of water for 10–20 minutes, allowing capillary action to draw moisture up. This keeps the surface drier and reduces fungal risk.
- Use room-temperature water to avoid shocking roots.
- Check moisture daily by feel—insert a finger ½ inch into the mix. It should feel like a wrung-out sponge.
- Use clear humidity domes during germination to retain moisture, but vent daily and remove as soon as most seeds sprout to prevent excess humidity.
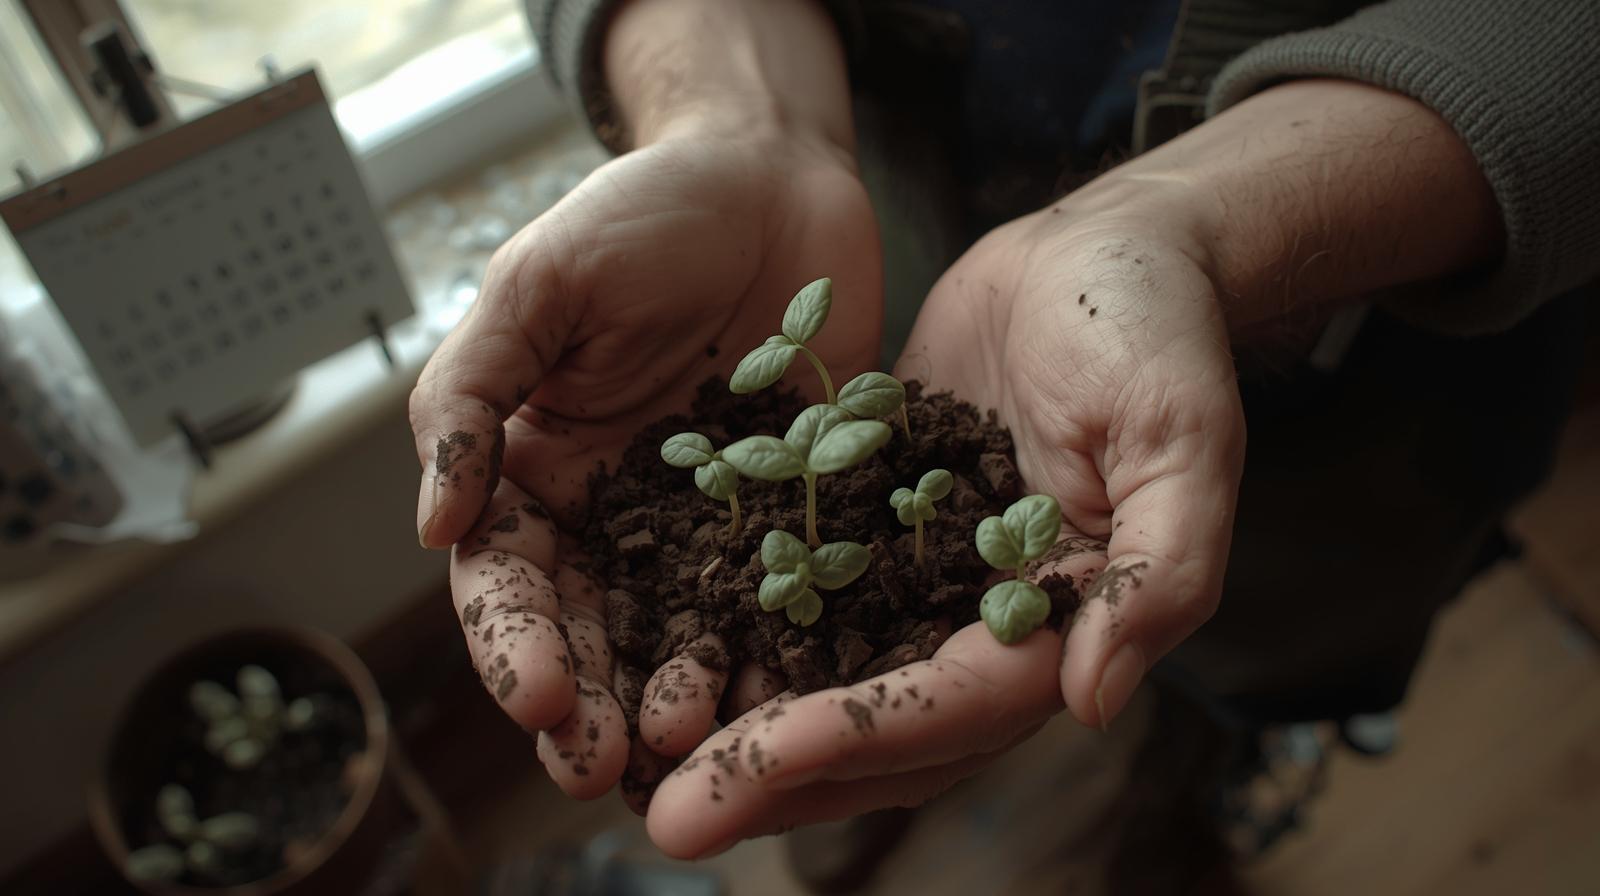
Failure #5: Starting Seeds at the Wrong Time
Timing mistakes lead to either overgrown, root-bound monsters or tiny, immature seedlings that struggle after transplant.
Too Early:
- Plants become leggy or pot-bound indoors
- Increased pest/disease risk from prolonged indoor time
- Higher stress when finally transplanted
Too Late:
- No head start on the season
- Plants compete poorly with weeds or weather extremes
Timing Guide: Calculate backward from your average last frost date (find yours via USDA zone or local extension service). Common timelines:
- Tomatoes, peppers: 6–8 weeks before last frost
- Brassicas (broccoli, cabbage): 4–6 weeks
- Lettuce, onions: 8–10 weeks (onions can be started even earlier)
- Warm-season flowers (zinnias, cosmos): 4–6 weeks
Use a seed-starting calendar app or spreadsheet to track dates for each crop.
Failure #6: Inadequate Light After Germination
Many gardeners nail germination under warm, humid conditions, only to watch seedlings stretch hopelessly once they emerge.
Window Light Myths: South-facing windows sound ideal, but in most homes (especially in winter/spring), natural light is too weak and one-sided. Seedlings lean desperately toward the glass and still become leggy.
Lighting Setup Tips:
- Provide 14–16 hours of direct artificial light daily.
- Use full-spectrum grow lights (5000–6500K for vegetative growth).
- Keep lights 2–4 inches above seedlings; adjust daily as they grow.
- If using LEDs, aim for 2000–3000 lumens per square foot or 20–40 watts per square foot of tray space.
Failure #7: Incorrect Temperature Management
Seeds and seedlings have different temperature needs at different stages.
Germination Phase: Most vegetables and flowers germinate best at 70–85°F (21–29°C) soil temperature. Below 60°F, germination slows dramatically or stops.
Growth Phase: Once sprouted, cooler temperatures (65–75°F day, 55–65°F night) promote sturdy, compact growth and reduce legginess.
Tools and Monitoring:
- Use a waterproof soil thermometer probe.
- Place heat mats under trays for germination only—remove or turn off once 50%+ have sprouted to avoid excessive warmth without matching light.
Failure #8: Skipping or Rushing Hardening Off
Hardening off is the gradual acclimation process that prepares tender indoor seedlings for outdoor conditions. Skipping it is a guaranteed recipe for disaster.
Consequences:
- Sunburned, bleached leaves
- Wind-whipped, broken stems
- Transplant shock leading to stunted growth or death
Step-by-Step Hardening-Off Process (7–10 days):
- Days 1–2: Place trays outdoors in a shaded, protected spot for 1–2 hours.
- Days 3–4: Increase to 3–4 hours, introduce dappled morning sun.
- Days 5–7: Gradually increase sun exposure and time (up to 6–8 hours).
- Days 8–10: Leave out all day and overnight if temperatures stay above 50°F (10°C).
- Water consistently and watch for wilting—bring inside if severe weather threatens.
Failure #9: Over-Fertilizing or Nutrient Issues
Seedlings have built-in food reserves in their cotyledons (seed leaves) for the first 2–3 weeks.
When They Need Food: Begin fertilizing only after true leaves appear and at half-strength.
Safe Fertilizing:
- Use a balanced, water-soluble organic fertilizer (e.g., fish emulsion or seaweed) diluted to ¼–½ recommended strength.
- Apply every 10–14 days.
- Watch for signs of burn (brown leaf tips) or deficiency (pale leaves, purple stems).
Failure #10: Crowding and Poor Thinning
Sowing too thickly or failing to thin/prick out leads to weak, disease-prone plants.
Competition Effects:
- Limited light and airflow increase damping-off risk
- Stunted root and shoot development
- Higher pest attraction
Thinning and Pricking Out Techniques:
- Thin to one seedling per cell as soon as true leaves appear (use scissors to snip extras at soil level—pulling disturbs roots).
- For broadcast sowing, prick out (transplant) seedlings into individual cells when they have 2–4 true leaves.
- Handle by leaves only, not stems.
Expert Tips for Thriving Seedlings
Crop-Specific Advice:
- Tomatoes & Peppers: Bury stems deeply when potting up—adventitious roots form along buried stems for stronger plants.
- Brassicas: Keep cooler (60–65°F) to prevent bolting tendencies.
- Herbs (basil, parsley): Provide extra warmth and avoid overwatering.
- Flowers: Many annuals (marigolds, sunflowers) prefer direct sowing outdoors—reserve indoor starting for frost-tender varieties.
Organic vs. Conventional Approaches: Both work well. Organic gardeners favor coconut coir mixes, compost teas, and biological controls (beneficial microbes like mycorrhizae).
Troubleshooting Chart:
| Symptom | Likely Cause | Quick Fix |
|---|---|---|
| No germination | Cold soil/old seeds | Heat mat, fresh seeds |
| Leggy seedlings | Low light | Lower lights, increase duration |
| Collapsed at soil line | Damping-off | Improve airflow, bottom water |
| Mold on surface | Overwatering/high humidity | Remove dome, use fan |
| Yellow lower leaves | Overwatering/nutrient issue | Allow drying, dilute fertilizer |
| Purple stems/leaves | Phosphorus deficiency/cold | Warm up, light feeding |
Real Gardener Scenarios: Many experienced growers report that their biggest early failures came from relying on window light and overwatering. Switching to proper grow lights and bottom watering often doubles success rates overnight.
Advanced Techniques to Elevate Your Seed Starting
- Bottom Heat Only: Use heat mats under trays but keep air temperature moderate to encourage sturdy growth.
- Soil Blocking: Eliminates containers entirely—seedlings develop stronger roots with less transplant shock.
- DIY Grow Light Setups: Build affordable shelving units with shop-light fixtures or LED strips.
- Succession Sowing: Start new trays every 2–3 weeks for continuous harvests of lettuce, radishes, and greens.
Frequently Asked Questions (FAQs)
What if my seedlings are moldy? Surface mold is usually harmless (saprophytic fungi), but indicates excess moisture. Scrape it off, increase airflow, and reduce watering. If damping-off is present (collapsed stems), unfortunately those seedlings are lost—start fresh with sterile practices.
Can I save leggy seedlings? Yes, often! Repot deeper (up to cotyledons), provide intense light immediately, and brush stems gently daily to strengthen them.
How do I know when to transplant outdoors? After hardening off, when seedlings have 4–6 true leaves, soil temperatures are suitable, and nighttime lows stay above 50°F for warm-season crops.
What are the best seeds for beginners? Radishes, lettuce, beans, sunflowers, and zinnias—fast-germinating, forgiving, and rewarding.
What about indoor pests? Common culprits: fungus gnats (from wet soil) and aphids. Use yellow sticky traps, allow surface drying between waterings, and apply insecticidal soap if needed.
Mastering seed starting transforms your gardening experience—from frustrating failures to consistent success and bountiful harvests. By understanding and avoiding these 10 common seed-starting failures—poor germination, leggy growth, damping-off, watering issues, timing errors, and more—you’ll grow stronger, healthier plants that outperform store-bought transplants every time.
Mistakes are inevitable when learning, but each setback teaches valuable lessons. With the right setup, vigilant monitoring, and the preventive strategies outlined here, your success rate will soar.
Now is the perfect time to plan your next seed-starting session. Check your frost dates, order fresh seeds, and set up your station. Your future garden will thank you.
Happy growing!