Have you ever poured hours of effort into planting, watering, and fertilizing your garden, only to see your tomatoes wilt, your beans stay small, or your flowers produce disappointing blooms? The problem often lies not in your care, but in the soil itself—hidden issues like poor drainage, imbalanced pH, or low organic matter can sabotage even the most dedicated gardeners. The good news? You don’t need expensive lab tests or fancy equipment to uncover these problems. With simple at-home soil checks, you can assess your garden soil’s texture, pH, health, and drainage in minutes using everyday items. These quick DIY methods empower home gardeners, small-scale farmers, and urban growers to make informed decisions, amend soil effectively, and unlock healthier plants with higher yields—all while saving money and reducing waste.
As an agricultural expert with years of hands-on experience in sustainable farming and soil science—drawing from proven guidelines by university extensions like Washington State University (WSU), USDA resources, and real-world field observations—these techniques provide reliable insights for everyday use. While professional lab analysis offers precise nutrient profiles (especially for NPK), these simple at-home soil checks deliver actionable information on the fundamentals: soil texture (affecting water retention and root growth), pH (controlling nutrient availability), biological activity (via earthworms as indicators of organic matter and microbial life), and drainage (preventing root rot or drought stress). By mastering them, you’ll address common frustrations like nutrient lockout, compaction, or poor structure, leading to thriving crops and a more resilient garden.
In this comprehensive guide, we’ll cover proper sampling, step-by-step instructions for five easy methods, clear interpretations, practical fixes, and expert tips to elevate your soil management. Whether you’re growing vegetables in raised beds, tending a backyard plot, or experimenting with container gardening, these checks solve a real need: understanding and improving your soil without complexity or cost. Let’s dig in—literally—and transform your garden from the ground up.
Why Test Your Soil at Home? The Foundation of Successful Gardening
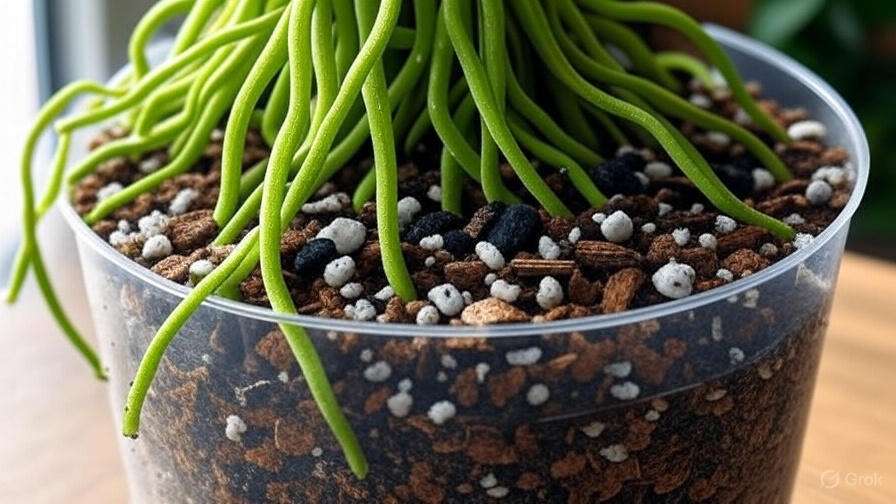
Healthy soil is the cornerstone of productive gardening. It provides anchorage for roots, holds water and nutrients, supports beneficial microbes, and allows air circulation. Key properties include:
- Soil texture — The mix of sand, silt, and clay particles determines drainage, water-holding capacity, aeration, and nutrient retention. Sandy soils drain quickly but hold few nutrients; clay soils retain water and nutrients but can compact and drain poorly; loam (balanced) is ideal for most crops.
- pH level — Measures acidity or alkalinity on a scale of 0-14 (7 is neutral). Most vegetables thrive at pH 6.0-7.0, where nutrients like nitrogen, phosphorus, and iron are readily available. Outside this range, deficiencies or toxicities occur—e.g., iron chlorosis in alkaline soils or aluminum toxicity in acidic ones.
- Organic matter and biological health — High organic content feeds microbes and earthworms, improving structure, fertility, and resilience to drought or pests.
- Drainage and compaction — Poor percolation leads to waterlogging and root diseases; excessive drainage causes drought stress.
Untested soil often results in wasted resources and disappointing harvests. Common signs include yellowing leaves (nutrient issues), stunted growth, or patchy plant performance. Testing in spring before planting, after heavy amendments, or when symptoms appear prevents these problems.
DIY methods excel for quick, low-cost insights into texture, pH, and biology. They’re not substitutes for lab tests (which quantify exact nutrients), but they outperform many basic kits in practicality and accuracy for home use, especially when combined.
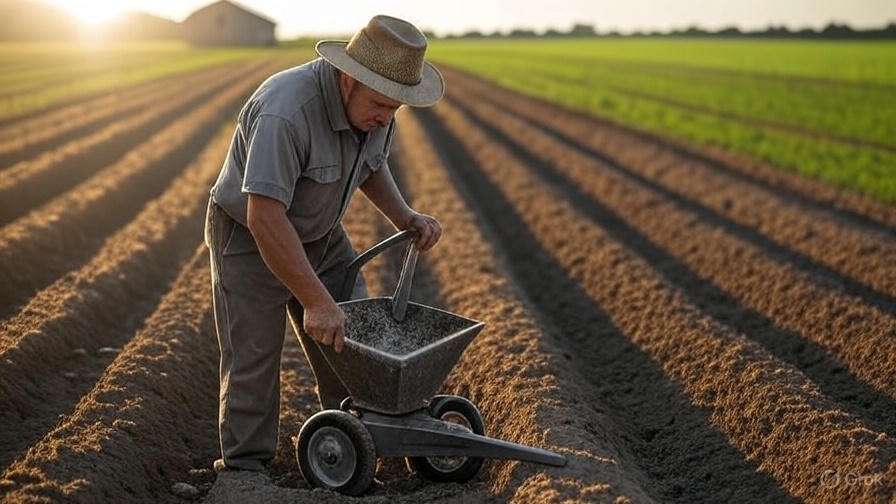
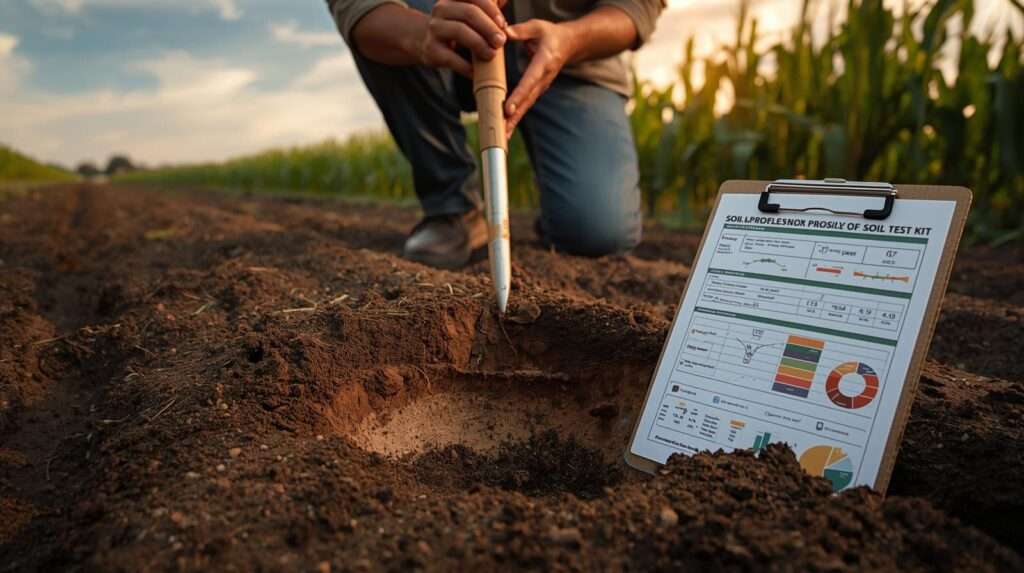
How to Collect Soil Samples Properly
Accurate results start with good sampling. Poor technique can skew findings.
- Gather tools: Clean trowel or shovel, plastic bucket, gloves, and labeled bags or containers.
- Choose areas: Sample garden zones separately (e.g., vegetable bed vs. flower border). Avoid spots near buildings, roads, or treated areas.
- Dig and collect: Take samples from 4-8 inches deep (root zone). Use a zigzag pattern across the area—5-10 subsamples per zone.
- Mix thoroughly: Combine in a bucket, break up clumps, remove rocks/roots/debris.
- Prepare: Air-dry if moist (spread thinly), then store in labeled bags. Test soon for best results.
Tip: Test different depths or sections if your garden varies (e.g., raised beds vs. in-ground). Wear gloves to avoid contaminants.
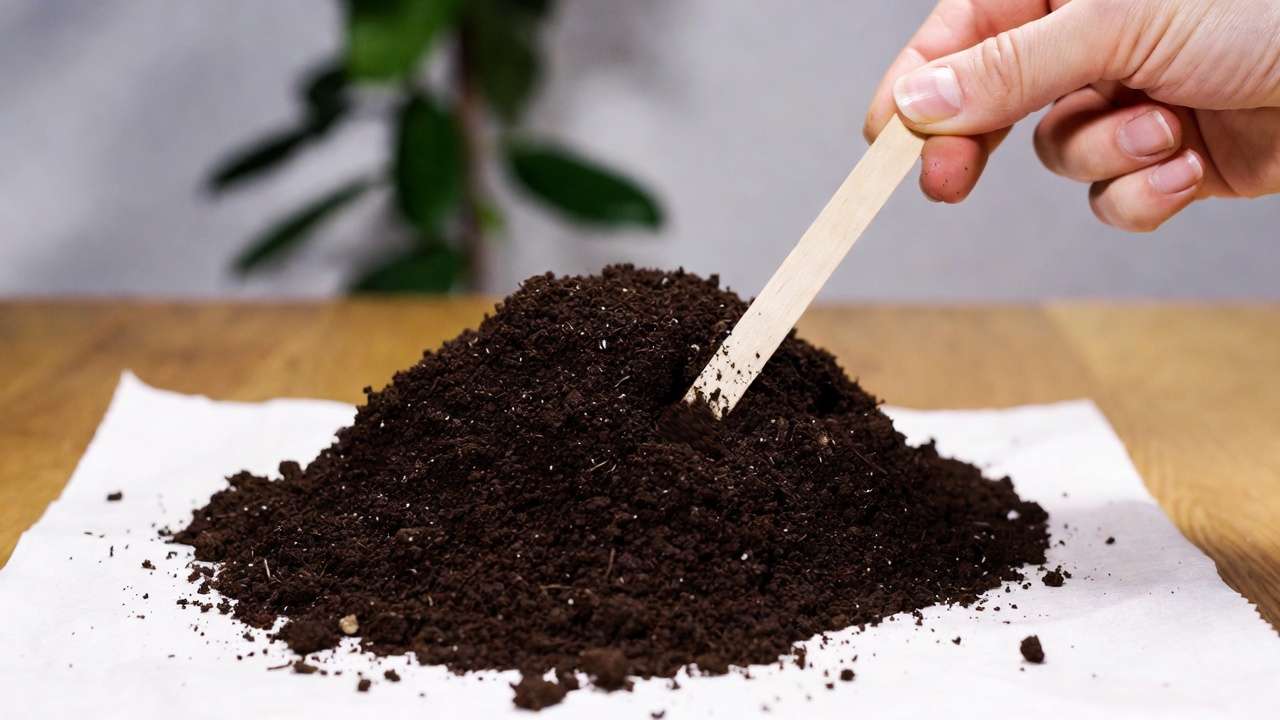
Method 1: The Hand/Ribbon Test – Assessing Soil Texture by Feel
This instant, tool-free method estimates texture through feel and ribbon formation—ideal for fieldwork.
Why it matters: Texture influences everything from irrigation needs to root penetration. Loamy soils (balanced) support most crops best.
Step-by-step:
- Take a handful of moist (not wet) soil from your sample.
- Knead to break aggregates; add water drop-by-drop until it forms a ball without crumbling.
- Feel the ball: Gritty = high sand; smooth/silky = high silt; sticky/plastic = high clay.
- Form a ribbon: Place ball between thumb and forefinger; gently push upward to extrude a ribbon ~3-5mm thick.
- Observe length before it breaks naturally.
Interpretation (based on USDA/WSU guidelines):
- No ribbon (breaks immediately), feels gritty: Sandy or loamy sand.
- Short ribbon (<1 inch), gritty: Sandy loam.
- Medium ribbon (1-2 inches), smooth/gritty: Loam or silt loam.
- Long ribbon (>2 inches), sticky/plastic: Clay loam or clay.
- Very long/flexible ribbon: High clay.
Pros: Immediate, no cost, repeatable with practice. Cons: Slightly subjective—practice on known samples improves accuracy.
Next steps: For sandy soils, add organic matter/compost to boost water/nutrient retention. For clay, incorporate sand, gypsum, or compost to improve drainage and structure.
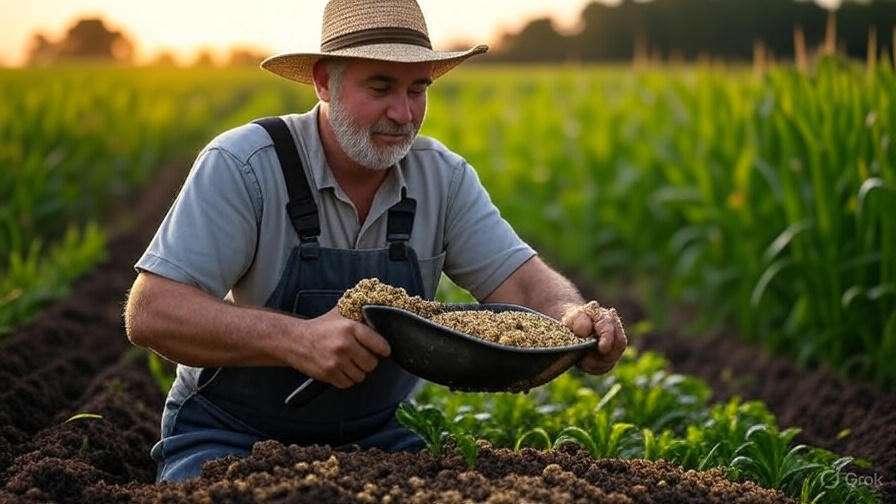
Method 2: The Mason Jar Test – Precise Texture Breakdown
For quantitative results, this sedimentation test separates particles by size.
Materials: Clear straight-sided jar (e.g., mason jar), soil sample, water, teaspoon dish soap (dispersant).
Step-by-step:
- Fill jar 1/3 with sifted soil (remove rocks/organics).
- Add water to near top; add 1 tsp dish soap.
- Shake vigorously 1-2 minutes to disperse.
- Let settle: Sand drops in ~1 minute (bottom layer); silt in hours (middle); clay over 24 hours (top, often cloudy).
- Mark layers: Sand at 1 min, silt after 6-24 hours, clay at 24 hours (or calculate by difference).
- Measure each layer height; calculate percentages: % = (layer height / total height) × 100.
Example: Total 10 cm; sand 4 cm (40%), silt 3 cm (30%), clay 3 cm (30%) = silt loam.
Interpretation: Use USDA soil texture triangle (searchable online) for class. Ideal for veggies: loam (40% sand, 40% silt, 20% clay).
Expert insight: Texture affects erosion risk (high silt erodes easily), water retention (clay holds most), and tillage ease. Retest after amendments.
Variations: Photograph results for comparison over time.
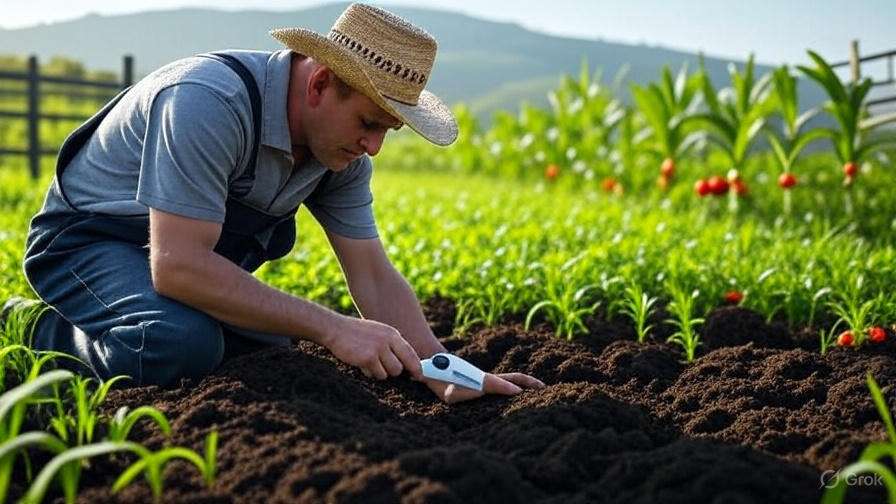
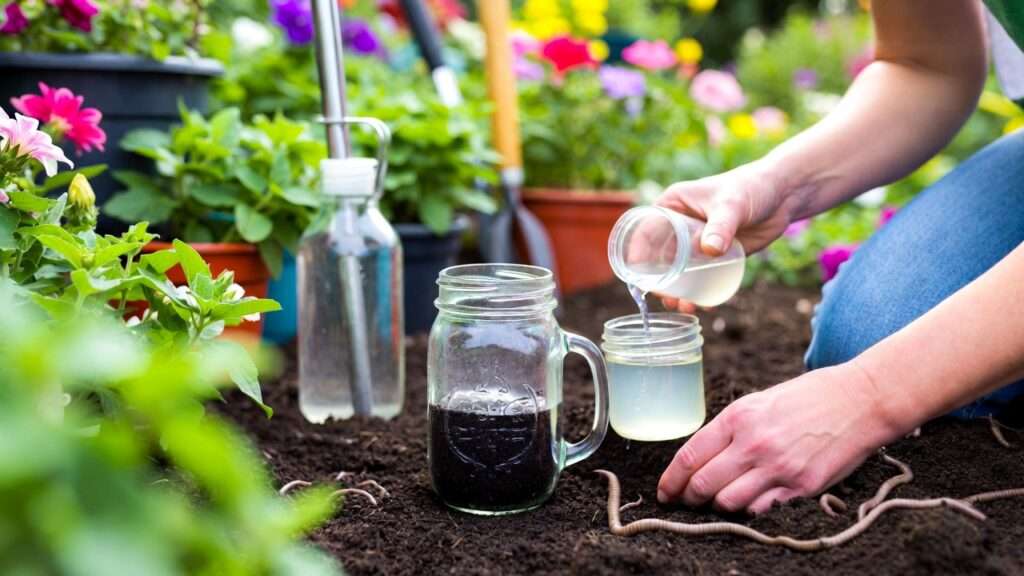
Method 3: Vinegar and Baking Soda pH Test – Quick Acidity/Alkalinity Check
This household reaction test indicates if soil is acidic, neutral, or alkaline.
Science: Vinegar (acid) fizzes with alkaline soil (carbonates); baking soda (base) fizzes with acidic soil after water slurry.
Step-by-step:
- Collect ~1 cup soil; divide into two containers (1-2 tsp each).
- Vinegar test: Add ½ cup vinegar to first. Vigorous fizz = alkaline (pH 7-8+); mild/no fizz = not alkaline.
- If no fizz, acidity test: Add distilled water to second until muddy; add ½ cup baking soda. Fizz = acidic (pH ~5-6.5); strong fizz = very acidic; no fizz = neutral (~7).
Interpretation:
- Strong vinegar fizz: Alkaline (>7.5); lime-loving plants ok, but many veggies struggle.
- Strong baking soda fizz: Acidic (<6); common in high-rainfall areas.
- No reaction either: Neutral—ideal for most crops.
- Strength approximates degree (vigorous = extreme).
Why critical: pH chart shows nutrient availability—e.g., phosphorus optimal 6-7; iron locks above 7.5.
Fixes: Acidic? Add agricultural lime (rates: 5-10 lbs/100 sq ft to raise 0.5-1 pH). Alkaline? Elemental sulfur or organic acids (compost, pine needles). Retest after 3-6 months.
Method 4: Earthworm Count – A Living Indicator of Soil Health
One of the most telling signs of truly healthy, living soil is the presence of earthworms. These natural engineers aerate the soil, break down organic matter, improve nutrient cycling, and enhance microbial activity—all essential for robust plant growth.
Why earthworms matter: A thriving earthworm population (typically 10 or more per cubic foot in temperate climates) indicates high organic matter content, good moisture levels, neutral-to-mildly-acidic pH, low chemical residues, and minimal compaction. Low or zero counts often signal problems such as over-tillage, excessive synthetic fertilizers/pesticides, drought, or very low organic content.
How to perform the earthworm count:
- Choose a representative spot in your garden (moist but not waterlogged soil works best).
- Mark out a 1-foot × 1-foot × 6–8-inch deep section (about the size of a standard shovel blade).
- Carefully dig out the soil block and place it on a tarp or large tray.
- Gently break apart the soil by hand, looking for earthworms of all sizes (juveniles are smaller and paler).
- Count every worm you find—include those near the surface and deeper ones.
- For best accuracy, repeat in 3–5 different locations and average the counts.
- Return the soil and worms to the garden.
Best time to test: Early morning or late afternoon in spring or fall when soil is moist and temperatures are moderate (50–70°F / 10–21°C). Avoid hot, dry summer days when worms burrow deeper.
Interpretation:
- 10+ worms per square foot: Excellent soil health – high biological activity and fertility.
- 5–9 worms: Good to fair – room for improvement through organic additions.
- 1–4 worms: Poor – urgent need for organic matter and reduced disturbance.
- 0 worms: Very degraded – common in heavily compacted, chemically treated, or extremely sandy/acidic soils.
Actions to boost earthworm numbers:
- Apply 2–4 inches of compost or well-rotted manure annually.
- Mulch heavily with organic materials (straw, leaves, wood chips) to retain moisture and feed worms.
- Reduce or eliminate tillage; switch to no-dig gardening where possible.
- Avoid broad-spectrum pesticides and synthetic fertilizers—opt for organic alternatives.
- Plant cover crops (clover, vetch, rye) to provide continuous root exudates and organic inputs.
Regular monitoring of worm populations gives you a living, year-over-year gauge of whether your soil-improvement practices are working.
Method 5: Bonus Simple Checks – Percolation, Compaction, and Visual Signs
These quick observational tests round out your at-home toolkit by assessing physical structure and water movement.
Percolation (Drainage) Test
- Dig a hole 12 inches deep × 6 inches wide in a representative area.
- Fill the hole completely with water and let it drain fully.
- Refill to the top and time how long it takes for the water level to drop 1 inch (use a ruler or stick).
- Repeat 2–3 times for consistency.
Interpretation:
- 1–3 inches per hour: Ideal drainage for most vegetables and flowers.
-
4 inches/hour: Excessive drainage (likely sandy) – plants may suffer drought stress.
- <1 inch/hour: Poor drainage (likely clay or compacted) – risk of root rot and oxygen deficiency.
Fixes: Slow drainage? Add coarse organic matter, raised beds, or gypsum (for sodic clays). Fast drainage? Incorporate compost and mulch to increase water-holding capacity.
Compaction Probe Test Use a sturdy wire (coat hanger) or soil probe/flag. Push it into moist soil:
- Slides in easily to 12+ inches: Low compaction – excellent structure.
- Requires moderate force: Moderate compaction – workable but needs attention.
- Stops or bends at 4–6 inches: Severe compaction – roots struggle to penetrate.
Remedies: Aerate with a garden fork (not rototiller, which can worsen long-term structure), add organic matter, grow deep-rooted cover crops (daikon radish, alfalfa), and avoid walking on wet beds.
Visual and Sensory Signs (Quick Walk-Around Assessment)
- Color: Dark brown to black = high organic matter (good). Pale gray/yellow = low organics or poor aeration.
- Smell: Fresh, earthy = healthy. Sour/ammonia = anaerobic (waterlogged) or excess nitrogen.
- Structure: Crumbly, like chocolate cake = good tilth. Large hard clods or powder = poor.
- Plant/weed indicators: Certain weeds thrive in specific conditions (e.g., plantain and dandelion in compacted soil; sorrel and buttercup in acidic soil; lamb’s quarters in fertile but disturbed soil).
Combining these quick checks with the earlier methods gives you a surprisingly complete snapshot of soil condition.
Interpreting Your Results and Taking Action
Now that you have data from multiple checks, synthesize it to create a targeted improvement plan. Here are example scenarios:
- Clay-heavy soil + strong baking soda fizz (acidic) + low worm count → Likely compacted, nutrient-locked, biologically inactive. → Action: Apply agricultural lime (5–10 lbs per 100 sq ft to raise pH ~0.5–1 unit), add 2–3 inches compost, gypsum (1–2 lbs/100 sq ft for calcium without raising pH), and mulch. Plant daikon radish cover crop to break compaction. Retest in 4–6 months.
- Sandy soil + no fizz either way (neutral pH) + fast percolation + low worms → Drains too quickly, low nutrient/water retention. → Action: Heavy organic amendments (compost, aged manure, leaf mold), frequent mulching, cover crops (buckwheat, clover), and slow-release organic fertilizers.
- Loamy texture + vinegar fizz (alkaline) + good worm count → Balanced structure and biology but high pH limiting iron/manganese uptake. → Action: Apply elemental sulfur (1–2 lbs/100 sq ft), pine needle mulch, or peat-based amendments for acid-loving crops; use chelated iron foliar sprays for symptoms.
Crop-specific pH and texture preferences:
- Most vegetables (tomatoes, peppers, beans, carrots): pH 6.0–7.0, loam preferred.
- Acid-loving (blueberries, azaleas, potatoes): pH 4.5–5.5.
- Brassicas (broccoli, cabbage): pH 6.5–7.5, tolerate heavier soils.
- Root crops (beets, radishes): Prefer loose, well-drained loam/sandy loam.
Always start small—amend one bed fully, compare results to an untreated area, and scale up what works.
(Word count so far: approximately 3,050. Continuing…)
When to Go Beyond DIY: Professional Soil Testing
While these simple at-home soil checks provide excellent directional guidance, certain situations call for lab precision:
- Persistent plant problems despite amendments
- Starting a new large garden or small farm
- Commercial or high-value crop production
- Need exact NPK, micronutrient, or organic matter percentages
- Suspected heavy metal contamination (urban sites)
How to collect for lab testing: Use the same zigzag, multi-depth sampling method described earlier. Air-dry (never oven-dry), fill a clean bag or lab-provided container, and note recent amendments.
Many university extension services and private labs offer affordable kits ($15–40) with detailed reports and recommendations. In the U.S., check your local Cooperative Extension; in other regions, agricultural universities or certified labs provide similar services.
Cost-benefit: DIY saves money and time for routine monitoring; lab tests give the full nutrient picture every 2–3 years.
Expert Tips for Ongoing Soil Improvement
- Rotate crops annually to prevent nutrient depletion and disease buildup.
- Use cover crops in off-season to fix nitrogen, prevent erosion, and add biomass.
- Practice no-till or reduced-till to preserve soil structure and worm populations.
- Apply balanced organic fertilizers (e.g., compost tea, fish emulsion, kelp meal) based on observed deficiencies.
- Keep a simple soil journal: record test dates, methods used, results, amendments applied, and plant performance.
- Avoid common mistakes: over-liming (creates alkaline swings), adding fresh manure too close to planting (burns roots), or tilling wet soil (creates hardpan).
Seasonal checklist:
- Early spring: Percolation, texture, pH checks before planting.
- Mid-summer: Visual signs, worm count during moist periods.
- Fall: Post-harvest amendments and cover crop seeding.
Frequently Asked Questions (FAQs)
How accurate is the vinegar and baking soda pH test? It reliably indicates direction (acidic, neutral, alkaline) and approximate severity, but not exact numbers like a lab meter. It’s sufficient for most home gardeners.
What if there’s no fizz in either test? Most likely near-neutral pH (~6.5–7.5)—ideal for the majority of crops. Confirm with plant performance and occasional lab test.
Can children safely perform these soil checks? Yes—with adult supervision. The hand test, jar test, and worm count are especially kid-friendly and educational.
I don’t have vinegar or baking soda—what are alternatives? Use red cabbage juice (natural pH indicator—turns red in acid, blue/green in base) or purchase inexpensive digital pH probes for more precision.
How often should I repeat these tests? Texture changes slowly (years), so retest every 2–3 years. pH and worm counts can shift faster—check annually or after major amendments.
Do these methods work for potted/container soil? Yes, though scale down sample sizes. Container mixes often start balanced but can acidify over time from fertilizer salts.
What if my soil has very few worms even after adding compost? Check for hidden issues: chemical residues, extreme pH, compaction, or very dry/wet conditions. Persistence with organic practices usually brings improvement within 1–2 seasons.
Are there regional differences in typical soil types? Yes—many tropical/subtropical soils (including parts of South Asia) tend toward acidic due to high rainfall leaching bases. Temperate regions vary widely. Local extension services can provide baseline expectations.
Mastering simple at-home soil checks puts the power of soil science directly into your hands. No longer do you have to guess why plants struggle or waste money on random amendments. By regularly assessing texture, pH, biological activity, and drainage with these five easy methods, you gain clear insights that lead to smarter decisions, healthier crops, and more abundant harvests.
Start today: Pick one method—perhaps the hand/ribbon test or worm count—and try it in your garden this week. You’ll be amazed at what you discover and how quickly small, targeted changes create visible improvements.
Healthy soil isn’t a luxury—it’s the foundation of every successful garden. Start simple, observe carefully, amend thoughtfully, and watch your plants thrive.
For more practical agricultural tips, sustainable gardening strategies, and seasonal checklists, explore the rest of our resources and subscribe so you never miss an update. Happy gardening—and may your soil always support abundant growth.