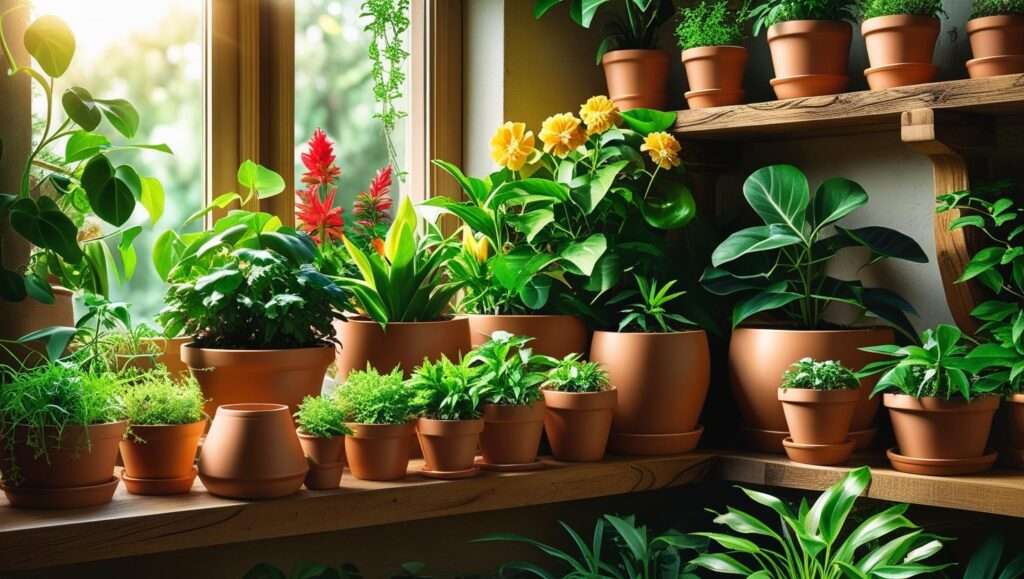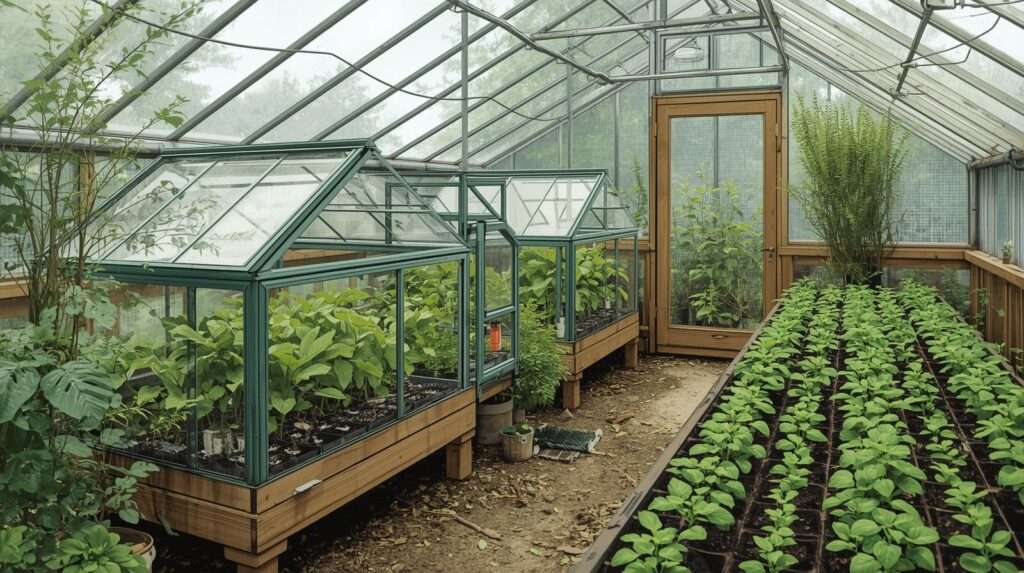
If you’ve ever stared at your greenhouse in late fall, watching frost creep across the glass while wishing you could squeeze just a few more weeks — or even months — out of your growing season, you’re not alone. Most gardeners and small-scale farmers face the same frustrating limitation: even a well-built greenhouse can’t always protect tender crops from the deepest winter cold or give seedlings the head start they need in early spring.Small Cold Frames Inside Bigger Greenhouses
Here’s the powerful, underutilized secret that serious growers have been quietly using for years: placing small cold frames inside bigger greenhouses. This simple “greenhouse-within-a-greenhouse” technique creates double-layered protection, dramatically boosts temperature stability, and can extend your productive season by 4–8 weeks on each end — sometimes more.
In this comprehensive guide, you’ll discover exactly why this method works so well, how to choose and set up the perfect small cold frames, which crops thrive in these super-protected microclimates, advanced temperature management techniques, and real-world examples that deliver exceptional results even in challenging climates.
Whether you’re a home gardener in zone 6 trying to harvest fresh salads in December, or a small-scale market grower wanting to start tomatoes six weeks earlier without expensive heating systems, this proven strategy will help you maximize every square foot of your greenhouse.
Let’s dive in.
Why Use Small Cold Frames Inside a Larger Greenhouse?
The real magic of this technique comes from double insulation and microclimate creation.
Double Insulation & Microclimate Creation
A standard greenhouse already provides significant frost protection and heat retention compared to the open garden. But when you place a smaller, well-sealed cold frame inside that greenhouse, you create an additional thermal barrier.
During the day, the outer greenhouse captures solar heat. At night, the inner cold frame traps much of that warmth close to your plants, often maintaining temperatures 5–15°F (3–8°C) warmer than the main greenhouse air temperature. On sunny winter days, the temperature differential can be even greater.
This creates stable microclimates perfect for cool-season crops that would otherwise struggle or bolt, and it gives tender seedlings and cuttings the consistent warmth they crave without the risk of sudden temperature swings.
Season Extension Power
Real-world growers using this layered approach routinely report:
- Starting cool-season crops (lettuce, spinach, kale, arugula) 4–8 weeks earlier in spring
- Harvesting hardy greens and root vegetables well into December, January, and even February in zones 5–7
- Overwintering tender perennials and herbs that would normally die back completely
- Producing fresh microgreens and salad greens year-round with minimal supplemental heat
Protection for Tender Plants
Small cold frames inside the greenhouse are ideal for:
- Hardening off seedlings before transplanting outside
- Rooting cuttings of woody perennials and shrubs
- Overwintering half-hardy annuals and perennials
- Growing heat-loving herbs (basil, cilantro) and tender greens during the coldest months
- Protecting young tomato, pepper, and eggplant starts from late frosts
Space & Cost Efficiency
You don’t need to heat your entire greenhouse to tropical levels. By concentrating protection where it’s needed most, you save dramatically on energy costs while maximizing limited growing space.
Pest & Disease Reduction
The extra physical barrier significantly reduces exposure to common greenhouse pests (aphids, whitefly, thrips) and airborne fungal spores. Many growers report noticeably fewer pest outbreaks when using this double-layer system.
Real-World Results
- In zone 6b (southern New England), one grower harvests fresh romaine, butterhead lettuce, and baby kale every week from November through March using only passive solar and small cold frames inside an unheated 10×20 ft greenhouse.
- In zone 5a (northern Midwest), a market gardener starts tomatoes and peppers in late February inside cold frames placed on benches in a hoop house, giving them a 6-week head start over direct outdoor sowing.
- In cooler parts of the UK and northern Europe, commercial herb growers use multiple small cold frames to produce basil and coriander for winter markets without expensive electric or gas heating.
Comparison to Standalone Use
A standalone cold frame in the open garden is excellent, but it’s still exposed to full winter winds, heavy snow loads, and extreme cold snaps. Placing it inside a larger greenhouse buffers those extremes, making the inner frame far more effective and reliable.
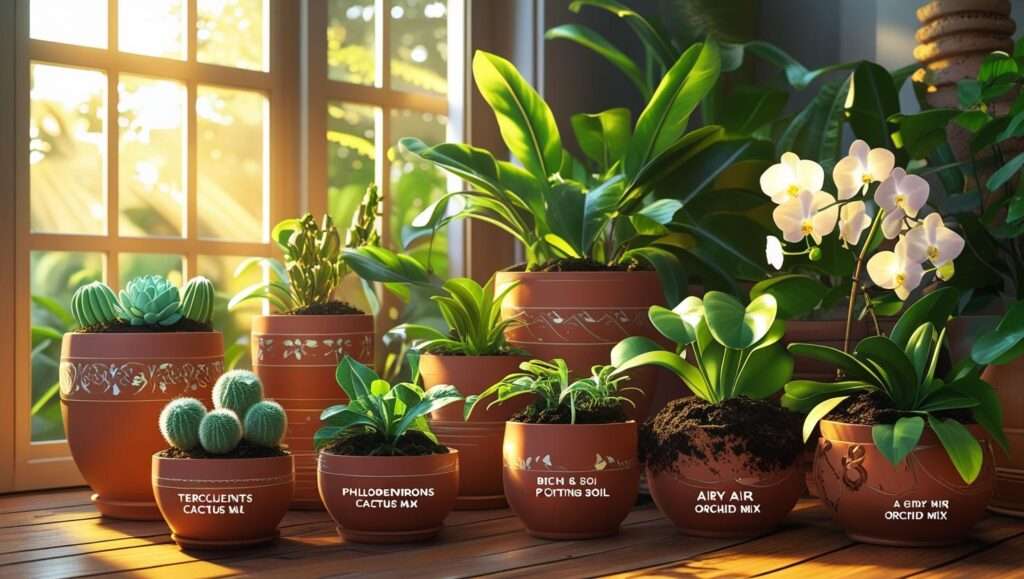
Choosing the Right Small Cold Frames for Your Greenhouse
Not all cold frames are created equal. Here’s how to select or build the perfect ones for indoor use.
Types of Cold Frames
- Portable / Lightweight — Easy to move around benches; great for flexibility
- Permanent / Built-in — Fixed to benches or tables; more stable and often better insulated
- Hinged Lid — Traditional style; easy to prop open for ventilation
- Sliding Lid — Excellent for larger frames; allows full access without lifting heavy lids
- Dutch Light Style — Large single pane of glass or polycarbonate; maximizes light transmission
Size Recommendations
For most greenhouse benches:
- Width: 2–4 ft (60–120 cm) — easy to reach across
- Length: 3–6 ft (90–180 cm) — fits standard bench sizes
- Height: 12–18 inches (30–45 cm) at the back, sloping to 8–10 inches (20–25 cm) at the front for optimal light angle
Multiple smaller units (e.g., 2×4 ft) are often easier to manage than one large frame.
Materials Comparison
| Material | Pros | Cons | Best For |
|---|---|---|---|
| Wood (cedar/redwood) | Natural insulation, attractive, repairable | Can rot over time, heavier | Permanent installations |
| Brick / Concrete Block | Excellent thermal mass, very durable | Permanent, difficult to move | High-end permanent setups |
| Polycarbonate Panels | Lightweight, excellent insulation (twin-wall), UV resistant | Can yellow over time (lower grades) | Most modern, versatile choice |
| Glass | Maximum light transmission, classic look | Heavy, breakable, poor insulation | Aesthetic or light-maximizing use |
| Recycled Windows | Very low cost, good light transmission | Varying quality, potential lead paint | Budget DIY projects |
Pro Tip: Twin-wall polycarbonate (8–10 mm) offers the best balance of insulation, light transmission, and durability for indoor cold frames.
Budget Options
- DIY using old windows — Often the cheapest route. Source discarded wooden sash windows from salvage yards or renovation sites.
- Commercial kits — Brands like Gardman, Palram, and Bootstrap Farmer offer excellent ready-to-assemble cold frames designed specifically for greenhouse use.
Step-by-Step Setup Guide: Placing Cold Frames Inside Your Greenhouse

Once you’ve selected your cold frames, proper installation is key to maximizing their performance. Follow these steps for a professional, long-lasting setup.
Optimal Placement
- Orientation: Position cold frames so their sloping lids face south (or as close to south as possible in your greenhouse). This maximizes solar gain during the short winter days.
- Height & Access: Place frames on sturdy greenhouse benches or tables at a comfortable working height (typically 28–36 inches / 70–90 cm from the floor). This improves airflow underneath, reduces soil splash, and makes daily opening/closing easier.
- Avoid Shading: Ensure no tall plants, hanging baskets, or structural elements cast shade over the frames, especially during the low winter sun.
Spacing & Arrangement
- Leave at least 18–24 inches (45–60 cm) between frames for easy access and good air circulation.
- Arrange in single or double rows along the longest greenhouse wall to create efficient growing zones.
- For larger greenhouses, create dedicated “cold frame zones” separated by pathways — this also helps with organization and pest monitoring.
Foundation & Stability
- Use level, sturdy benches rated to hold the weight of soil-filled frames (a 4×2 ft frame filled with moist soil can weigh 150–200 lbs / 70–90 kg).
- Secure portable frames with non-slip mats, Velcro straps, or small brackets to prevent shifting.
- For permanent installations, anchor frames directly to the bench frame with screws or brackets.
Ventilation Integration
- Coordinate ventilation between the outer greenhouse and inner cold frames — when you vent the greenhouse, also prop open the cold frame lids slightly.
- Install automatic vent openers (solar-powered or wax-cylinder types) on both levels for hands-free temperature control on sunny days.
Insulation Enhancements
- Wrap the base of each cold frame with bubble wrap, reflective insulation, or straw bales to reduce heat loss through the sides and bottom.
- Add a layer of polystyrene insulation underneath the frame if it sits directly on a cold bench surface.
Pro Tip: Many experienced growers paint the interior sides of wooden frames white or line them with reflective foil to bounce extra light onto plants.
Temperature Management& Monitoring Best Practices

The single biggest key to success with this system is smart temperature control. Overheating on sunny days is just as dangerous as freezing at night.
Daily Monitoring
- Place a minimum-maximum thermometer (or digital hygrometer/thermometer combo) inside each cold frame and one in the main greenhouse.
- Track daily highs and lows — aim for daytime temperatures of 65–75°F (18–24°C) and nighttime lows no lower than 40–45°F (4–7°C) for most cool-season crops.
Ventilation Rules
- Rule of Thumb: Open cold frame lids whenever the internal temperature reaches 75–80°F (24–27°C), even in winter. Overheating causes stress, bolting, and disease.
- On bright sunny days, prop lids open 2–6 inches (5–15 cm) or remove them completely if safe.
- Close lids in the late afternoon (before sunset) to trap heat for the night.
Automated Options
- Solar-powered vent openers (e.g., Bayliss Autovent models) are game-changers. They automatically open lids at around 70–75°F and close at 60–65°F — perfect for days when you’re away from the greenhouse.
- For very cold climates, consider low-wattage soil heating cables or small electric space heaters with thermostats set to kick in only below 35°F (2°C).
Nighttime Protection
- On forecast nights below 25°F (-4°C), add an extra insulating layer inside the cold frame: old blankets, bubble wrap, horticultural fleece, or even cardboard.
- Close lids tightly and seal any gaps with weather stripping or tape.
Common Mistakes to Avoid
- Leaving lids closed on sunny days → leads to cooking plants
- Poor airflow → causes mold, damping-off, and fungal diseases
- Inconsistent monitoring → sudden temperature swings kill seedlings
- Overwatering → excess humidity trapped inside cold frames promotes rot
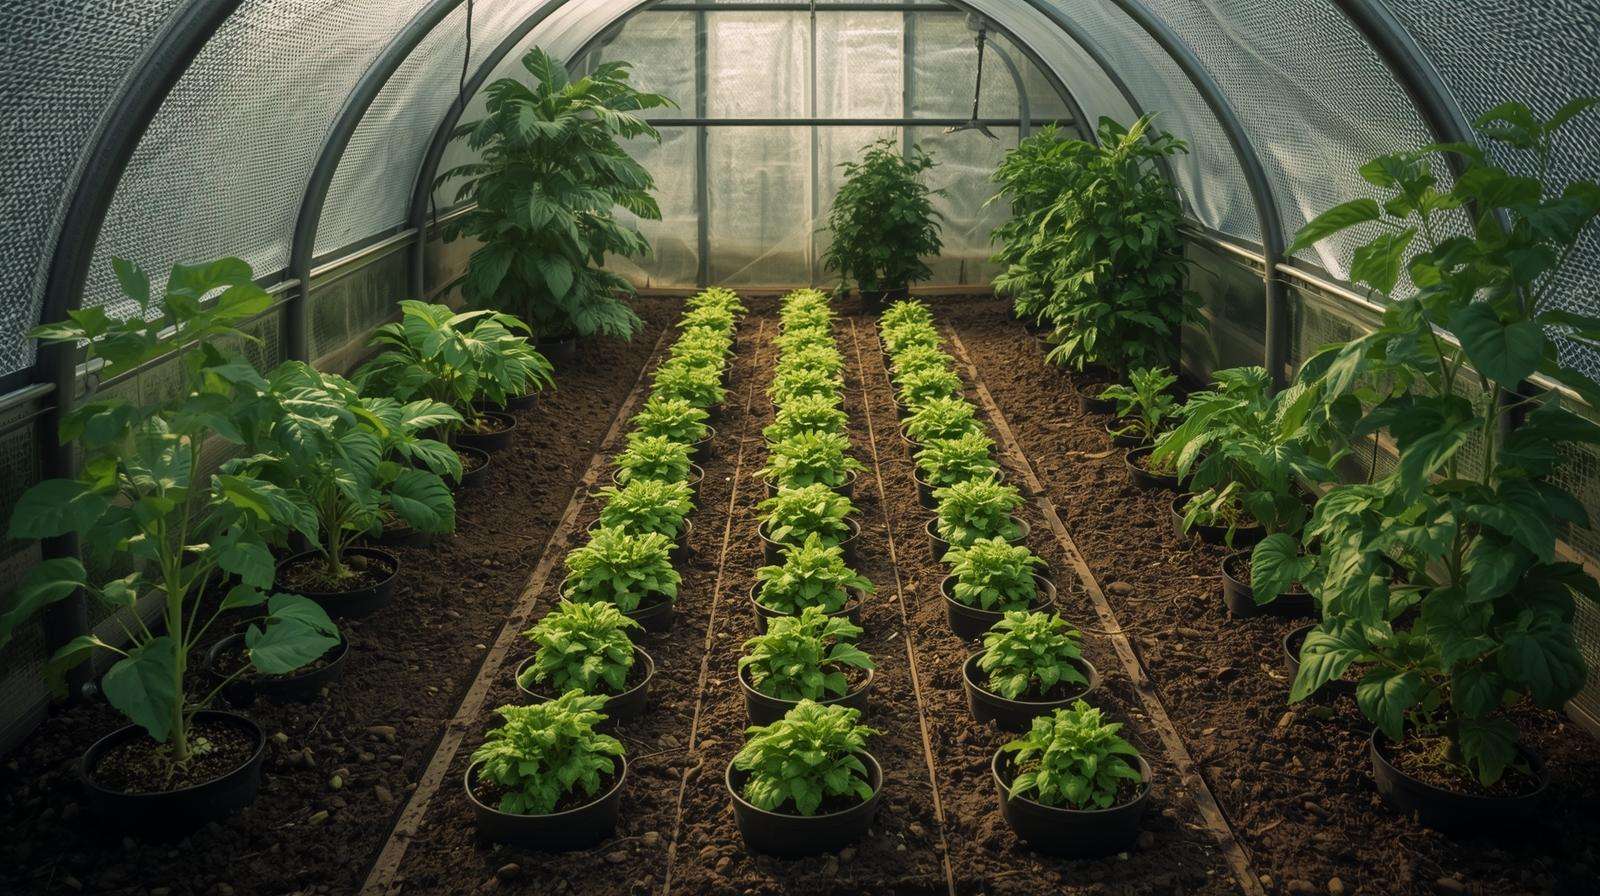
Best Crops & Planting Strategies for Double-Protected Microclimates
The beauty of small cold frames inside a larger greenhouse is how dramatically they expand what you can grow — and when. These super-protected zones allow you to push the boundaries of cool-season, hardy, and even some semi-tender crops far beyond normal limits.
Cool-Season Champions (Year-Round Production)
These crops thrive in the stable, cooler microclimates and can often be harvested continuously with succession planting:
- Lettuce varieties (romaine, butterhead, oakleaf, winter-density types) — harvest baby leaves every 3–4 weeks
- Spinach (winter-hardy cultivars like ‘Bloomsdale’ or ‘Winter Bloomsdale’)
- Kale (Lacinato/dinosaur, Red Russian, Winterbor)
- Arugula, mizuna, mustard greens, tatsoi, and Asian greens
- Radishes (fast-growing winter types like ‘Cherry Belle’ or ‘French Breakfast’)
- Carrots (short-season varieties like ‘Paris Market’ or ‘Little Finger’)
- Beets (for baby greens and small roots)
- Swiss chard (especially ‘Bright Lights’ and ‘Perpetual Spinach’)
Pro Tip: Sow densely and harvest as cut-and-come-again greens to maximize production in limited space.
Seed Starting & Hardening Off
Use cold frames as the ultimate protected nursery:
- Tomatoes, peppers, eggplants — start seeds 6–8 weeks earlier than direct greenhouse sowing
- Cucumbers, melons, squash — give them a head start without risking damping-off
- Brassicas (cabbage, broccoli, cauliflower, Brussels sprouts) — grow strong, stocky transplants
- Herbs (basil, parsley, cilantro, dill) — maintain consistent warmth for germination and early growth
Hardening-off strategy: Gradually open lids more each day over 7–10 days before moving seedlings outside — the double protection makes this process much safer.
Tender & Exotic Options
In milder winter climates (zones 7+) or with minimal supplemental heat, you can push further:
- Basil (keep alive all winter for early cuttings)
- Microgreens (radish, pea shoots, sunflower, broccoli) — continuous trays for fresh winter salads
- Strawberries (everbearing varieties in pots)
- Overwintering flowers (pansies, violas, primroses, snapdragons)
- Garlic and shallots (for green garlic shoots)
Succession Planting Guide
To achieve near-continuous harvests:
- Early fall — Sow cool-season greens directly into frames for winter harvest
- Late fall — Plant overwintering crops (kale, chard, spinach) for spring production
- Late winter — Start warm-season seeds indoors in frames
- Early spring — Transplant hardened-off seedlings outside; immediately reseed frames
- Late spring — Harvest early crops; plant summer succession greens
Rotate families to prevent disease buildup.
Crop-Specific Tips
- Lettuce & greens — Space 4–6 inches apart; thin aggressively for baby-leaf production
- Root crops — Use loose, well-draining soil mix; avoid overwatering
- Tomato & pepper starts — Bottom-water to keep foliage dry; provide bottom heat if possible
Maintenance & Troubleshooting Tips
Consistent care keeps your double-protected system performing at peak levels.
Watering & Humidity Control
- Bottom watering is ideal — place trays or saucers under pots to prevent excess moisture on foliage
- Water in the morning so plants dry before nightfall
- Keep humidity below 80% inside frames to prevent mold — good ventilation is essential
Pest & Disease Prevention
The extra layer reduces issues, but monitor closely:
- Slugs & snails — common in damp frames; use copper tape around bases or beer traps
- Aphids — introduce ladybugs or use insecticidal soap
- Powdery mildew — improve airflow and avoid overhead watering
- Damping-off — use sterile seed-starting mix and avoid overwatering seedlings
Seasonal Adjustments
- Spring: Increase ventilation as days lengthen
- Summer: Provide shade cloth (30–50%) over frames to prevent overheating
- Fall: Clean thoroughly; add fresh compost
- Winter: Insulate bases; close lids early
Cleaning & Storage
- At season’s end, empty soil, scrub frames with 10% bleach solution, rinse well, and dry completely
- Store portable frames in a dry shed or stack them neatly
Advanced Techniques & Expert Insights
Take your system to the next level with these proven enhancements.
Combining with Other Tools
- Row covers or horticultural fleece inside frames for triple protection on cold nights
- Heat mats under seed trays for faster germination
- Low tunnels or mini hoop houses inside frames for extra insulation
- Manure hotbeds — layer fresh horse manure under soil for natural bottom heat (classic technique)
Case Studies
- Home gardener in zone 6b: Harvests 12–15 heads of lettuce weekly from November–March using four 2×4 ft cold frames on benches in an unheated 12×16 ft greenhouse.
- Small organic farm in zone 5a: Starts over 1,000 tomato and pepper plants in February using cold frames, selling transplants by mid-April — 6 weeks ahead of competitors.
- Commercial herb grower in the UK: Maintains year-round basil production using multiple cold frames, saving thousands on heating costs.
Sustainability Angle
This passive solar technique reduces energy use, minimizes plastic waste (compared to heated greenhouses), and supports organic, low-input growing.
Frequently Asked Questions (FAQs)
How much warmer does this setup get compared to a regular greenhouse? Typically 5–15°F (3–8°C) warmer inside the cold frames, with peaks up to 20°F on sunny days.
Can I use this in very cold climates (e.g., zone 4–5)? Yes — with good insulation, automatic vent openers, and occasional minimal heat (small heater or heat mats), many growers succeed in zones 4–5.
What if my greenhouse is already heated — is this still worth it? Absolutely. Cold frames let you lower the main greenhouse temperature at night (saving energy) while keeping tender plants warmer.
How do I prevent condensation and mold? Ventilate aggressively on sunny days, avoid overwatering, and ensure good airflow under and around frames.
What’s the best way to build a cheap DIY cold frame? Use old wooden sash windows as lids on a simple cedar or pressure-treated frame. Line the inside with 1-inch rigid foam insulation for better heat retention.
Can cold frames be used for propagation year-round? Yes — in summer, use them for rooting cuttings under shade cloth; in winter, for seed starting and overwintering.
Placing small cold frames inside bigger greenhouses is one of the most powerful, cost-effective ways to dramatically extend your growing season, protect tender plants, and maximize every square foot of protected space.
Whether you’re battling short seasons, high heating costs, or simply want fresher, homegrown produce for more months of the year, this layered protection system delivers results that often surprise even experienced growers.
Start small — even one or two well-placed cold frames can transform your greenhouse productivity. Experiment, track your temperatures, and watch your harvests grow longer and more abundant.
Ready to build your own double-protected microclimates? Your winter salads (and early summer tomatoes) are waiting.