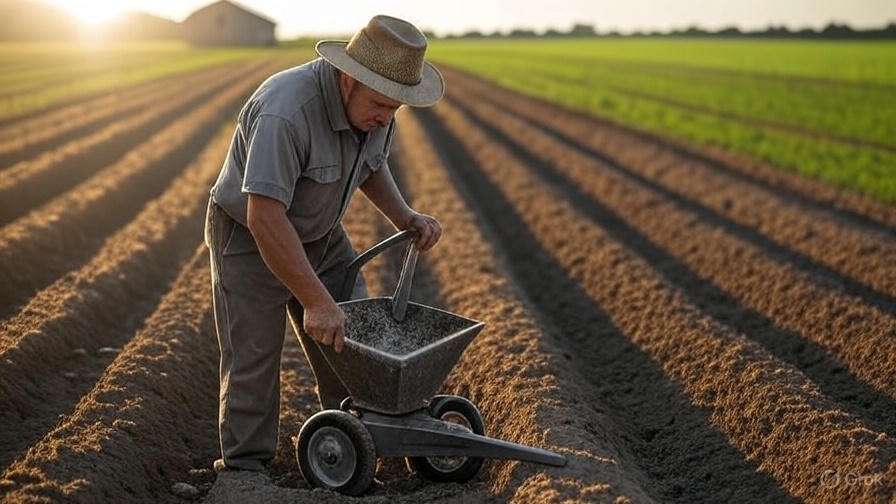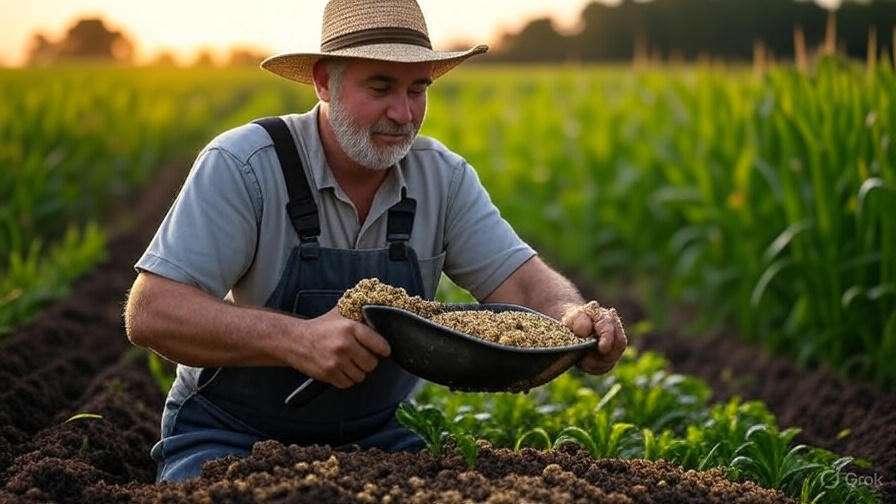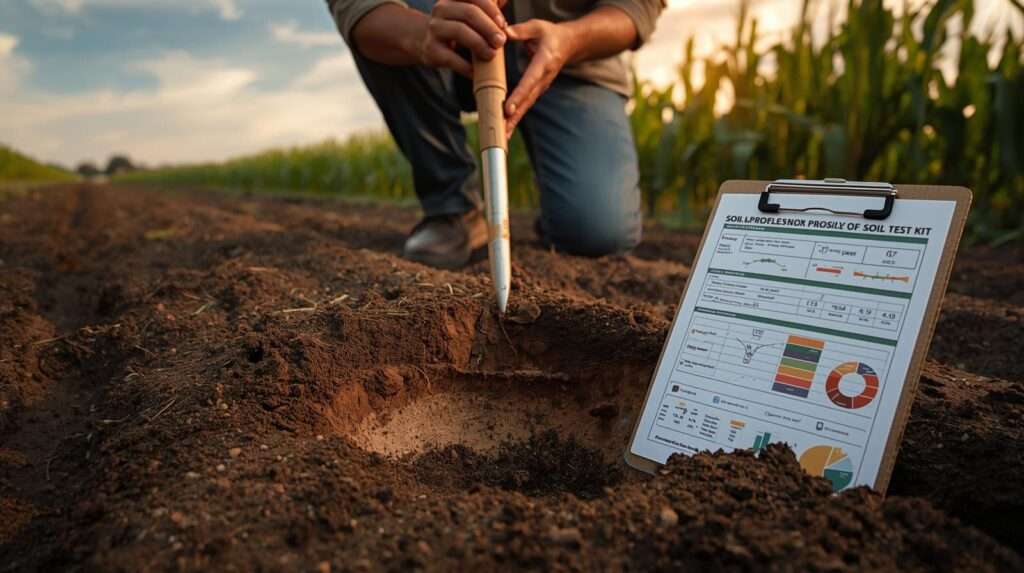
A $500 fertilizer, sulfur, or lime application strategy is only as good as the $10 laboratory analysis behind it—and that lab analysis is only as good as the physical dirt sample you send in. When you pull soil for testing, you are attempting to represent millions of pounds of field acreage with a few ounces of earth placed inside a plastic lined paper bag. If you use a rusty shovel or a standard garden trowel, you disturb the distinct horizon layers of your ground, scoop up uneven quantities of top-heavy dirt, and mix surface debris directly into the root zone. This sloppy collection method heavily corrupts your baseline data, leading to skewed lab reports and expensive, incorrect nutrient management choices. To secure highly accurate, repeatable, and scientific data from your property, you must utilize dedicated soil probes for soil testing to cleanly extract perfectly uniform, uncorrupted vertical cores across your entire management zone.
As a seasoned agronomist who has mapped field fertility across thousands of acres, I can confidently tell you that professional soil management requires precision tooling. A clean, smooth hollow-tube sampler provides a true, unskewed window into your soil profile’s chemical and physical reality. In this skyscraper-level guide, we will break down the structural engineering behind professional soil collection gear, outline the exact field protocols used by agricultural consultants, and guide you toward selecting the perfect core sampler for your unique acreage.
1. The Anatomy of a Professional Soil Probe: Features that Matter
At first glance, a soil probe looks like a basic metal tube welded to a handle. However, high-level agricultural field collection demands specific engineering details to prevent sample contamination and mechanical failure.
Material Selection: Why Stainless Steel Rules Never purchase an unrated steel or chrome-plated carbon steel soil probe. Chrome plating eventually scratches, chips, and flakes off after repeated strikes against subterranean gravel. Once the plating fails, the underlying raw carbon steel rusts, introducing highly elevated, artificial levels of iron, zinc, or chromium into your samples. This cross-contamination can completely ruin micro-nutrient analysis readings at the lab. Professional samplers are manufactured strictly from premium medical-grade stainless steel (such as 300-series or 400-series alloy steel). Stainless steel is highly resistant to corrosive fertilizers, entirely inert, and will not leach trace elements into your core samples.
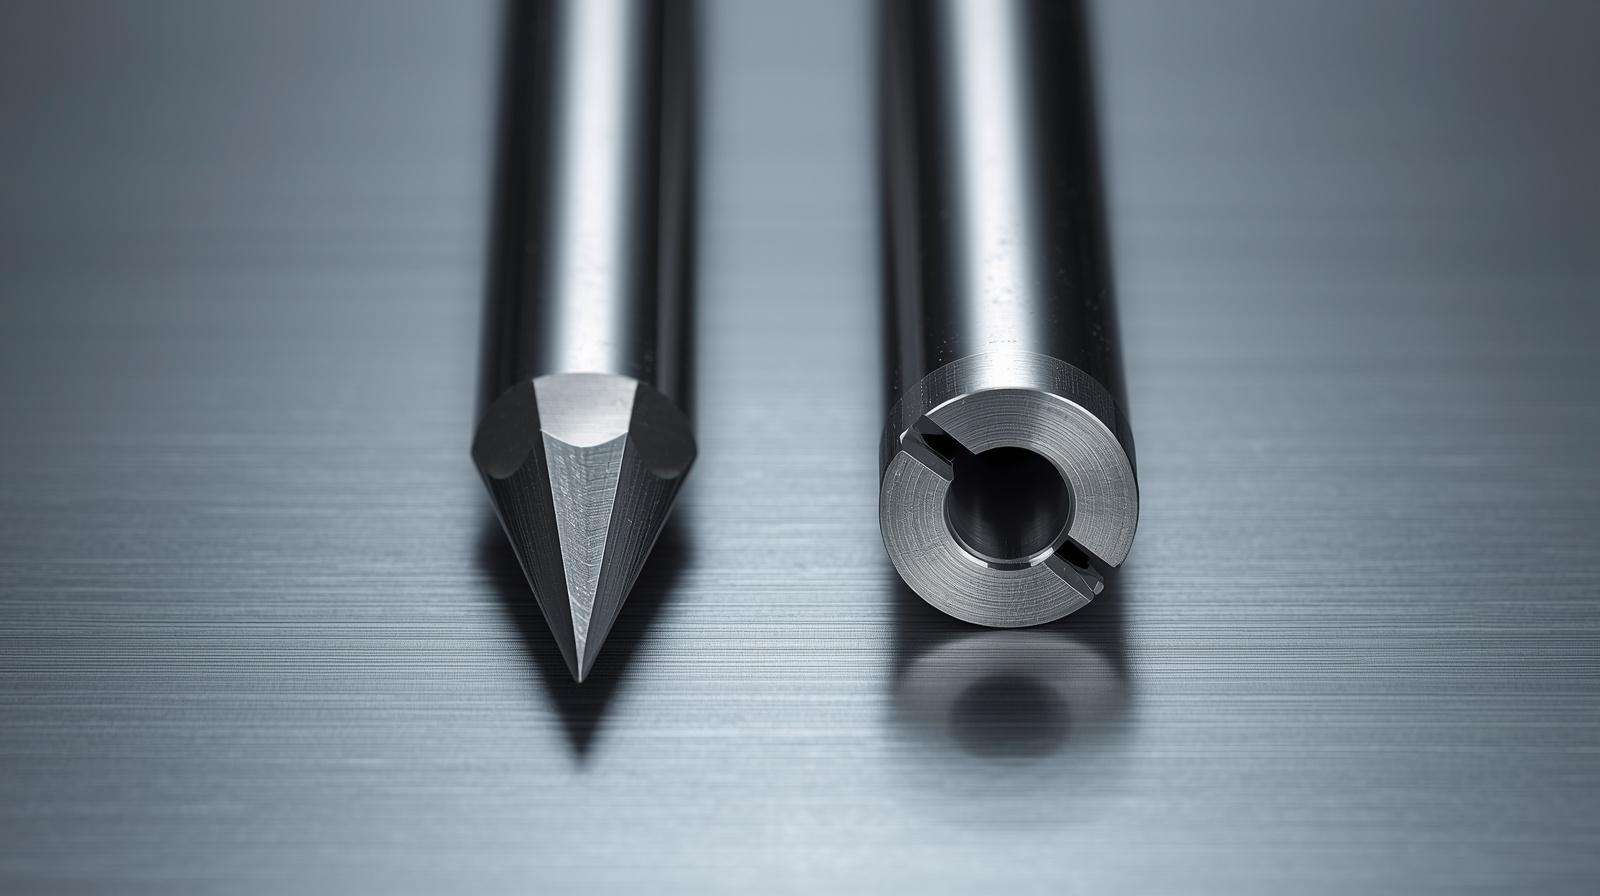
Tip Configurations: Conventional vs. Heavy Clay The business end of an open-slot soil sampler features a machined cutting tip designed to slice through soil without compressing it.
-
Standard Tapered Tips: These feature a slight internal taper that keeps the soil core intact as it glides up into the viewing window. They work flawlessly in loose loam, sandy soil types, and lightly moist pastures.
-
Heavy Clay Tips: Wet, high-plasticity clay is notorious for clogging core tubes, forming an immovable plug that pushes upcoming soil out of the way rather than capturing it. Specialized clay tips are machined with a slightly wider internal relief diameter just past the cutting edge. This design element allows sticky clay to easily slide up into the tube without jamming.
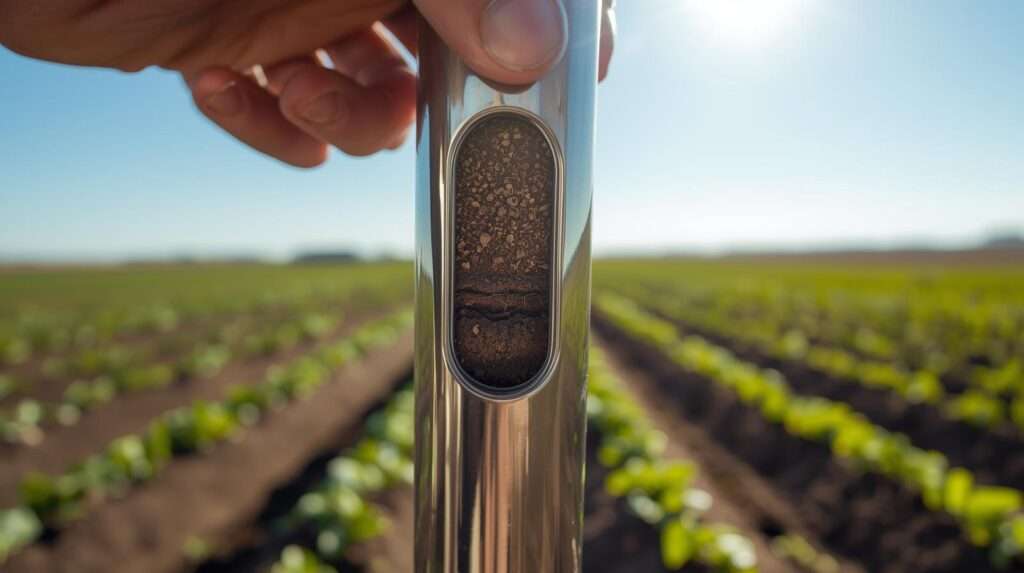
The Sampling Tube Window A high-quality probe features an open, elongated vertical slot machined along the length of the tube body. This open-slot window serves two functions. First, it allows the operator to visually inspect the core for proper depth, root distribution, and stratification verification—identifying distinct layers like the organic matter layer versus the underlying mineral topsoil. Second, it lets you check for anomalous objects, such as a buried fertilizer pellet or a piece of gravel, allowing you to instantly discard a corrupted sample before it enters your collection bucket.
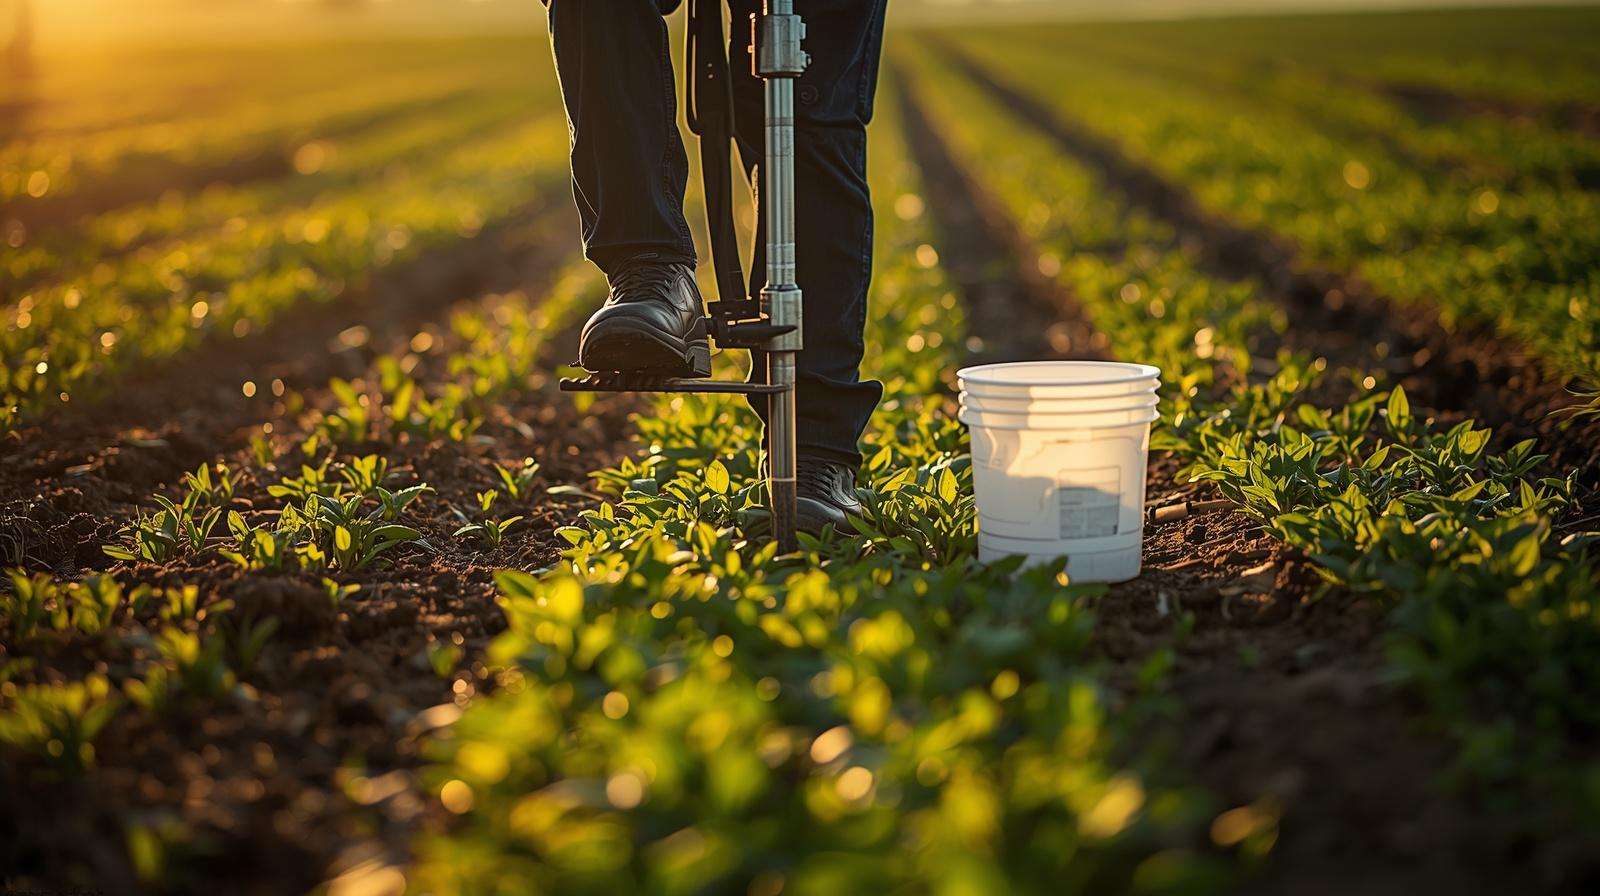
Handle Ergonomics and Foot Steps Driving a hollow metal tube 8 to 12 inches into dry, sun-baked earth requires significant mechanical force.
-
T-Handle Designs: A wide, cross-bar handle welded firmly to the top of the probe shaft allows you to use your upper body mass to press the tool straight down while maintaining a comfortable, non-slip grip.
-
Foot-Step Pedals: For hard-packed or un-tilled grazing land, a wide, heavy-duty foot pedal welded directly above the tube allows you to step up and use your full body weight to drive the tip through dense roots, saving your lower back from repetitive strain.
2. The Top Types of Soil Probes for Soil Testing
Different field environments require different mechanical drive configurations. Matching the style of your core sampler to your terrain is the easiest way to ensure long-term durability and sampling ease.
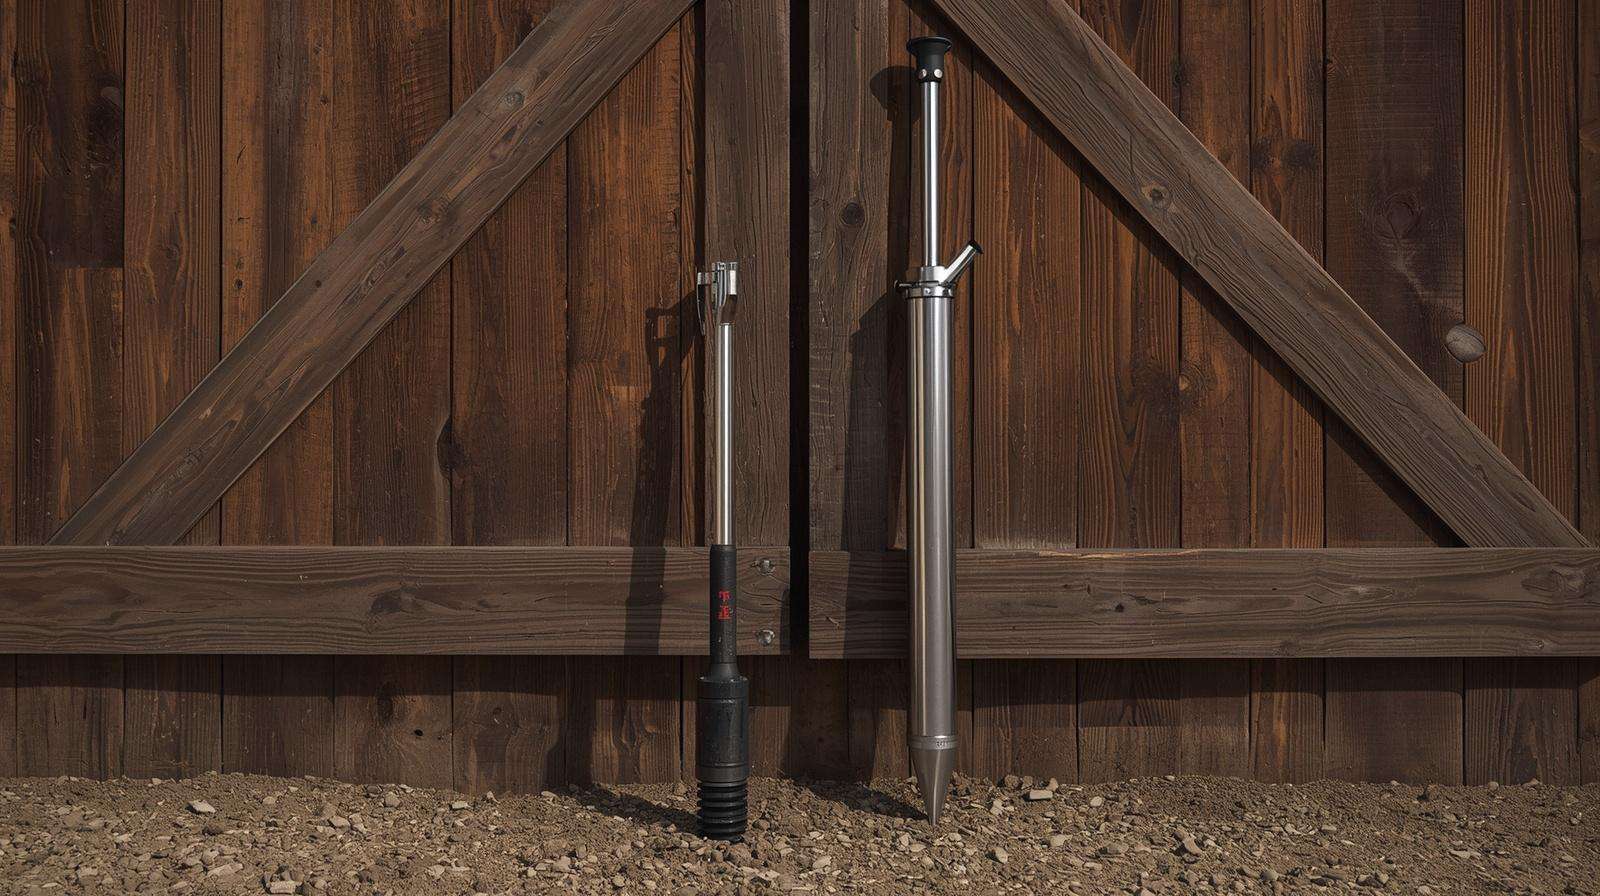
Handheld T-Handle Probes
These are the light, highly agile workhorses of the industry. Typically measuring between 20 and 36 inches in total length, they feature a simple T-bar at the top and a smooth 12-inch open-slot tube at the base.
-
Best For: Residential lawns, raised vegetable beds, golf course greens, and soft, well-managed organic market gardens where compaction is minimal.
-
Operation: The user relies entirely on upper body strength to push the probe vertically downward into the soil profile and pull it straight back up.
Foot-Step Soil Probes
This design incorporates a rigid metal step bracket welded to the main shaft, positioned right above the collection window.
-
Best For: Commercial pastures, no-till corn and soybean fields, orchards, and regional landscapes with firm, moderately packed clay.
-
Operation: You position the tip on the soil surface, place one foot onto the step pedal, and drive the tube down using your legs and core body weight, mirroring the action of stepping onto a ladder rung.
Slide-Hammer Core Samplers
When working with severely compacted subsoils, rocky glacial till, or dry-land ranching zones, a standard foot-step probe will bend or fail to penetrate. Slide-hammer units utilize a heavy, free-moving steel weight integrated around the upper shaft.
-
Best For: Industrial agronomic research, deep subsoil mapping (down to 24 or 36 inches), and heavily compacted agricultural clay.
-
Operation: The operator places the tip on the ground and repeatedly slams the heavy sliding handle downward against an internal anvil stop. This creates a high-impact kinetic drive that forces the heavy-duty tube through the hardest soils with minimal human effort.
Auger-Style Probe Kits
An auger sampler drops the hollow-tube cutting concept entirely in favor of an open-flighting spiral drill bit welded to a heavy collection bucket.
-
Best For: Extremely gravelly, stony, or root-choked forestry soils where a smooth hollow tube would instantly get blocked or dented by stones.
-
Operation: The user twists the T-handle clockwise, physically drilling the spiral bit downward into the earth. The soil cuts are collected inside the surrounding cylindrical bucket as the tool descends.
3. How to Choose the Right Probe for Your Soil Type and Scale
Investing in sampling hardware requires matching the tool’s engineering to your operational scale and landscape realities.
The Home Gardener and Small Homesteader
If your management zone consists of raised beds, a small backyard orchard, or a quarter-acre vegetable plot, a standard 12-inch stainless steel handheld T-handle probe is your ideal tool. Because garden soil is typically well-amended and soft, you do not need the added weight or expense of heavy foot-steps or slide-hammers. Look for a slim, 0.5-inch to 0.75-inch diameter tube, which easily extracts the small, clean volumes needed for standard home-scale testing bags without disrupting your crops.
The Commercial Farmer and Market Gardener
When managing large acreage where you must pull hundreds of core samples across multiple management zones every season, a heavy-duty foot-step probe is non-negotiable. Look for models featuring reinforced welds at the step join and a slightly thicker wall diameter. A 1-inch diameter tube with a specialized wide clay tip will allow you to quickly sample diverse fields without experiencing metal fatigue or constant plugging issues.
The Rocky and Hard-Pack Specialist
For growers dealing with un-tilled pastures, heavy rangeland, or glacial till filled with gravel and stone, lightweight tools will quickly bend or break. In these challenging environments, a slide-hammer core sampler or a bucket auger kit is a necessary investment. These systems are designed to withstand high-impact strikes and physical torque, ensuring you can consistently reach the required depth regardless of underground obstacles.
4. Step-by-Step Guide: How to Pull a Perfect Soil Core
Pulling a perfect core requires careful technique to ensure your sample accurately reflects the soil profile. Follow this professional, field-tested methodology:
Step 1: Clearing the Thatch
Before pushing your probe into the ground, use your boot or a clean tool to gently scrape away surface debris, including mulch, raw manure, and un-decomposed grass thatch. Be careful not to remove the dark, fine mineral topsoil underneath. Leaving organic debris on top can artificially inflate the organic matter readings on your lab report, throwing off your carbon-to-nitrogen ratios.
Step 2: The Vertical Drive
Position the cutting tip flat against the cleared soil surface. Holding the crossbar firmly, push or step the probe straight down at a precise 90-degree angle to the horizon. Never twist, rock, or rotate the probe while driving it downward. Twisting forces the soil to shear off horizontally inside the tube, compressing the sample and clogging the open window.
Step 3: Extraction and Depth Control
Pull the probe straight up out of the ground in one smooth, vertical motion. Ensure you are sampling to the exact depth recommended for your specific crop profile:
-
Turfgrass and Lawns: 3 to 4 inches ($7.5\text{–}10\text{ cm}$).
-
Row Crops and Vegetables: 6 to 8 inches ($15\text{–}20\text{ cm}$), matching the active plow layer.
-
Tree Orchards and Vineyards: 12 inches ($30\text{ cm}$) or deeper to monitor subsoil nutrient reserves.
If your core breaks or falls out of the tube during extraction, discard that attempt and pull a fresh sample a few inches away.
Step 4: Managing Core Release
Never use a finger, a dirty stick, or a screwdriver to dig the stuck soil out of the tube window. This introduces external elements and skin oils that can skew trace mineral data. Instead, use a clean wood dowel or a dedicated plastic plunger tool to gently push the intact core from the cutting tip up out of the open slot and straight into your collection container.
5. The Core Composite Protocol: Mapping and Sampling Your Field
A single core sample only tells you what is happening in one square inch of earth. To get an accurate reading for an entire field, you must follow a structured composite sampling protocol.
The Zig-Zag Pattern Strategy
Divide your property into distinct management zones based on soil type, topography, and crop history. For each zone, navigate the terrain in a random zig-zag pattern, pulling 15 to 20 individual core samples along the way. Combine all of these cores into a single container. This collective mixture is known as a composite sample, and it provides a reliable average of the nutrient levels across that specific area.
Areas to Strictly Avoid
When walking your zig-zag pattern, stay clear of unusual field anomalies that can skew your data. Avoid sampling within 50 feet of fence lines, gravel roads, limestone driveways, fertilizer bands, livestock water troughs, low-lying muddy spots, and historic burn piles. Samples taken from these areas can show highly elevated levels of calcium, sodium, or potassium that do not reflect the true condition of your main growing fields.
Tools for the Mix
Always collect and mix your core samples inside a clean plastic bucket. Never use a metal, steel, or galvanized pail. Galvanized metal is coated with zinc and cadmium, which can easily leach into dry or damp soil samples, artificially spiking your micronutrient readings and making the lab results unreliable.
6. Maintenance and Longevity: Caring for Your Sampling Equipment
A high-quality stainless steel soil probe can last a lifetime if properly maintained between field sessions.
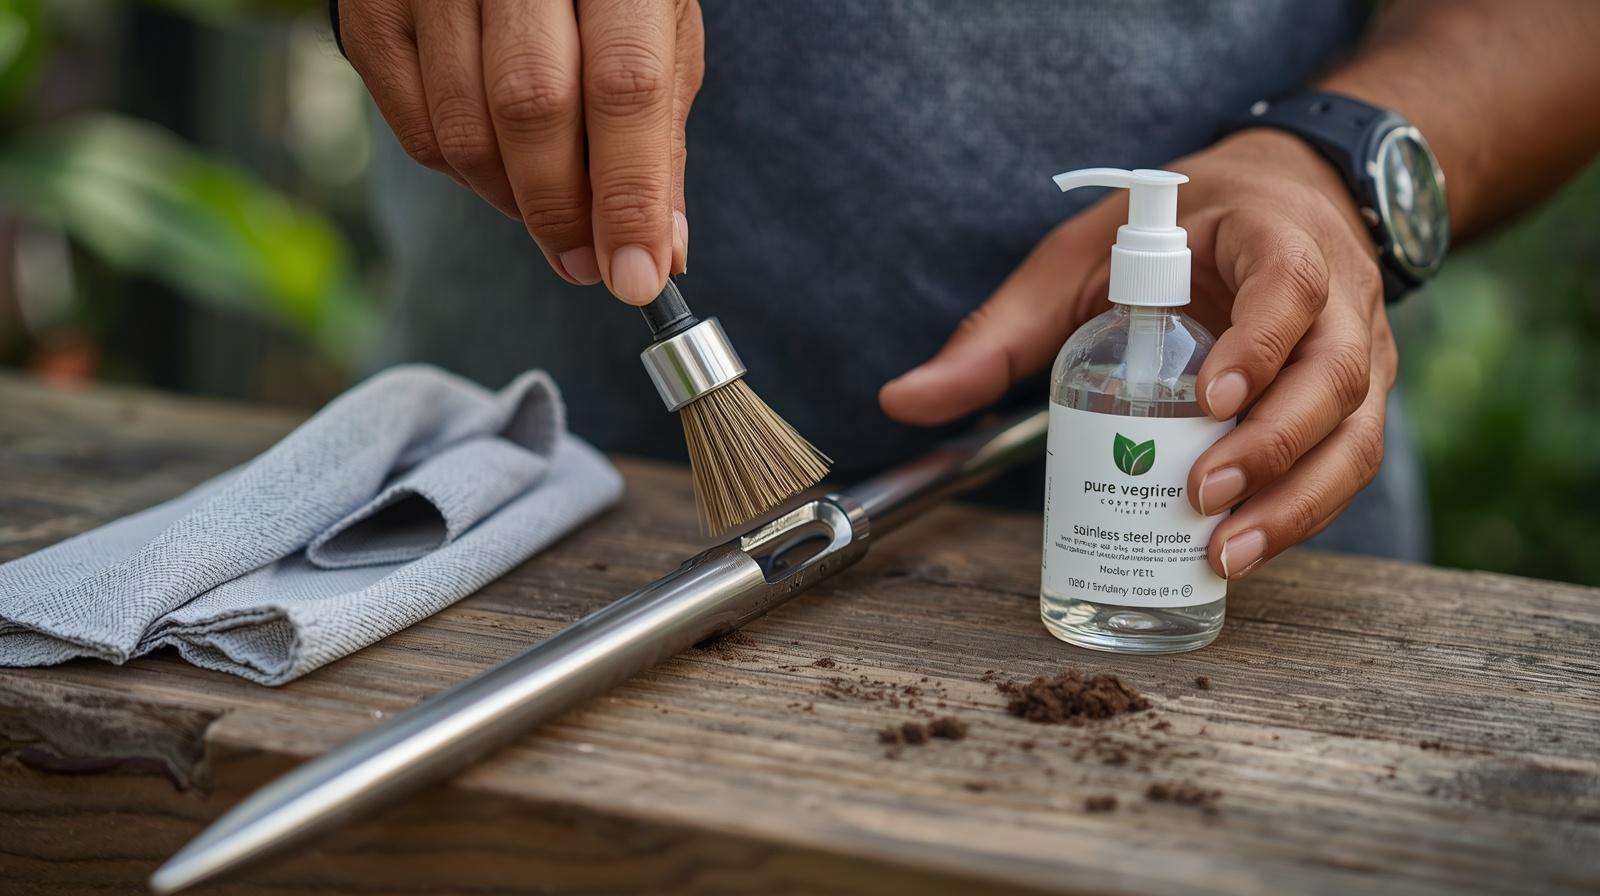
Cleaning Protocols
After finishing your fieldwork, thoroughly rinse your probe inside and out with clean water to remove all clinging dirt and mud. Use a stiff nylon bottle brush to clean the inside of the tube body. Finish with a final rinse of distilled water to remove any mineral salts from tap water, and wipe the entire tool dry with a clean towel to prevent pitting.
Lubrication Safety
If you are working with sticky clay, the soil may cling to the inside of the tube. Never use WD-40, motor oil, or standard industrial lubricants to slick the inside of your probe. These petroleum-based products are rich in hydrocarbon chains, which will contaminate your sample and artificially inflate the total organic carbon and organic matter readings at the lab. Instead, use a light mist of pure vegetable glycerin or a specialized food-grade silicone spray, both of which are approved by agronomists because they clean off easily and do not alter soil chemical readings.
Sharpening the Cutting Edge
Over time, striking small pebbles can dull or dent the sharp bevel on your probe’s cutting tip. Inspect the edge regularly. If you spot tiny burrs or a blunt lip, use a fine-grit round file to gently hone the inner bevel of the tip back to a sharp edge, ensuring smooth penetration on your next outing.
7. Comparative Analysis Matrix: Soil Probes at a Glance
| Probe Type | Max Depth | Ideal Soil Conditions | Contamination Risk | Physical Effort Required |
| Handheld T-Handle | 12 inches | Soft loam, raised beds, managed turf | Very Low | Moderate to High (Upper Body) |
| Foot-Step Probe | 12 – 18 inches | Standard pastures, firm agricultural clays | Very Low | Low (Uses Full Body Weight) |
| Slide-Hammer Sampler | 24 – 36 inches | Hard-pack, rocky till, frozen subsoils | Low | Low (Mechanical Advantage) |
| Auger-Style Probe | 36+ inches | Gravel, stony soils, forestry profiles | Medium (Mixes Layers) | Moderate (Requires Twisting Torque) |
8. Frequently Asked Questions (FAQ)
What is the best material for a soil testing probe?
Medical-grade stainless steel is the undisputed best material. It is completely inert, durable, and highly resistant to rust and corrosion, ensuring that no trace metals leach into your samples to skew your laboratory results.
How do I clean my soil probe between different fields or management zones?
To prevent cross-contamination, wipe all visible dirt off the probe using a clean rag, then spray the inside and outside of the tube with a quick mist of isopropyl alcohol or distilled water. Wipe it dry before moving on to sample your next zone.
Why is my soil core sticking inside the probe window, and how do I fix it?
Cores stick when the soil is too wet or contains high amounts of expanding clay. To resolve this, wait until the ground dries out slightly before sampling, or apply a light layer of vegetable glycerin inside the tube to help the core slide out smoothly.
What depth should I use when pulling cores for vegetable beds vs. tree orchards?
For vegetable beds and annual row crops, sample to a depth of 6 to 8 inches, as this is where the bulk of the root mass and nutrient management occurs. For deep-rooted tree orchards, you should pull samples at two depths: a shallow core at 0 to 6 inches and a deeper subsoil core at 6 to 18 inches.
9. Conclusion: Precision Agriculture Begins in the Tube
Investing in high-quality soil probes for soil testing is just as important as selecting a certified, premium analytical laboratory. Trying to manage your land’s fertility using un-aerated, uneven samples collected with a standard shovel often leads to incorrect fertilizer applications and wasted money.
By upgrading to a dedicated stainless steel core sampler and following a precise composite mapping protocol, you eliminate collection errors and secure reliable baseline data. Whether you choose an agile handheld T-handle probe for your garden or a heavy-duty foot-step model for your farm fields, professional tools deliver the clear insight needed to build healthy, productive, and perfectly balanced soil.