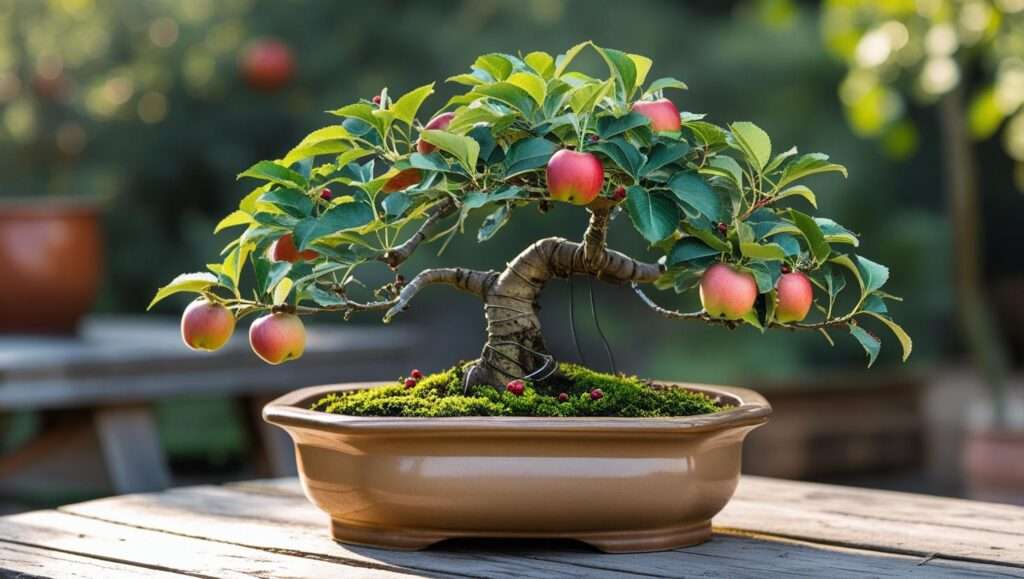
Picture this: a single tree in your backyard bursting with apples, pears, and plums, all thriving in perfect harmony. Sounds like a dream? It’s not—it’s the magic of tree grafting. This time-tested horticultural technique allows you to combine the best traits of different plants, transforming your orchard into a powerhouse of productivity and variety. Many novice gardeners shy away from tree grafting, intimidated by its technical nature or unsure where to start. But with the right guidance, anyone can master this skill to boost their orchard’s yield and diversity.
In this comprehensive guide, crafted by an agricultural expert with over a decade of hands-on experience in horticulture, we’ll walk you through every step of tree grafting. From selecting tools to mastering beginner-friendly techniques, this article equips you with the knowledge to succeed. Backed by insights from leading institutions like the University of California Agriculture and Natural Resources, this is your go-to resource for turning your orchard dreams into reality. Let’s dive into the world of tree grafting and unlock your garden’s full potential.
What is Tree Grafting? Understanding the Basics
Definition and Purpose of Tree Grafting

Tree grafting is the art and science of joining a scion—a cutting from a desired plant—to a rootstock, the root system of another plant, to create a single, thriving tree. The goal? To combine the best traits of both. For example, grafting a Honeycrisp apple scion onto a dwarf rootstock can produce a compact tree with high-quality fruit suited for small spaces. This technique enhances yield, improves disease resistance, adapts trees to specific climates, and even allows multiple fruit varieties to grow on one tree.
Grafting has been practiced for centuries, with historical records dating back to ancient China and Rome. Today, it remains a cornerstone of modern horticulture, enabling growers to cultivate resilient, productive orchards.
Why Beginners Should Try Tree Grafting
Tree grafting is surprisingly accessible, even for those new to gardening. With a few affordable tools and some practice, you can achieve professional results. It’s also cost-effective—why buy multiple trees when you can graft new varieties onto existing ones? Plus, grafting promotes sustainability by preserving heirloom varieties and maximizing land use. Imagine growing a multi-graft tree that produces both Granny Smith and Fuji apples, saving space while diversifying your harvest. For beginners, grafting is a rewarding way to elevate your gardening game.
The Science Behind Successful Tree Grafting
How Grafting Works: The Biology of Plant Fusion

At its core, tree grafting relies on the plant’s natural ability to heal and fuse tissues. The key is aligning the vascular cambium—a thin layer of tissue responsible for growth—between the scion and rootstock. When properly aligned, these tissues form a strong union, allowing water, nutrients, and sugars to flow seamlessly. Compatibility is critical; for instance, grafting works best within the same species (e.g., apple to apple) or closely related genera. Research from the University of California Agriculture and Natural Resources emphasizes that mismatched scion-rootstock combinations often fail due to physiological incompatibility.
Factors Affecting Grafting Success
Several factors influence grafting outcomes:
- Timing: Most fruit trees are grafted in late winter to early spring when the trees are dormant but temperatures are rising. Summer is ideal for bud grafting.
- Plant Health: Both scion and rootstock must be disease-free and vigorous. Weak or infected material reduces success rates.
- Environmental Conditions: Moderate temperatures (50–70°F) and adequate humidity promote healing. Post-graft care, like protecting the graft from extreme weather, is equally important.
Understanding these principles ensures your grafts have the best chance of thriving.
Types of Tree Grafting Techniques for Beginners

Whip-and-Tongue Grafting
Whip-and-tongue grafting is a beginner-friendly method ideal for branches of similar diameter (about ¼ to ½ inch). It creates a strong, secure union, making it perfect for apples, pears, and other deciduous fruit trees. The process involves making matching diagonal cuts on the scion and rootstock, each with a small “tongue” to interlock them. This technique ensures maximum cambium contact, boosting success rates.
Cleft Grafting
Cleft grafting suits larger rootstocks (1–2 inches in diameter) and is often used to rejuvenate older trees or top-work existing ones. It’s common for stone fruits like peaches and plums. The rootstock is split, and one or two scions are inserted into the cleft, ensuring tight alignment. This method is forgiving for beginners, as the larger rootstock provides stability.
Bud Grafting (Budding)
Bud grafting, or budding, involves attaching a single bud from the scion to the rootstock. Performed in summer, it’s ideal for citrus and ornamental trees. The T-cut method—making a T-shaped incision in the rootstock’s bark and inserting the bud—is simple yet effective. Budding requires precision but offers high success rates with practice.
Other Beginner-Friendly Techniques
- Side Grafting: Used when scion and rootstock diameters differ slightly, often for ornamental trees.
- Bark Grafting: Ideal for large rootstocks, where scions are inserted under the bark. It’s less common for beginners but useful for specific projects.
Each technique suits different tree types and goals. Start with whip-and-tongue or bud grafting for their simplicity and reliability.
Essential Tools and Materials for Tree Grafting
Must-Have Grafting Tools

To graft successfully, you’ll need:
- Grafting Knife: A sharp, specialized knife ensures clean cuts. Look for one with a thin, straight blade.
- Pruning Shears: Use for trimming scions and rootstocks. Bypass shears are best for clean cuts.
- Grafting Tape or Wax: Seals the graft to prevent drying and infection. Biodegradable tape is beginner-friendly.
- Sterilization Supplies: Rubbing alcohol or a 10% bleach solution keeps tools and cuts disease-free.
Investing in quality tools pays off in cleaner cuts and healthier grafts.
Choosing Quality Scions and Rootstocks
Select scions from healthy, productive trees with desirable traits (e.g., flavorful fruit or disease resistance). Rootstocks should match your climate and soil conditions—dwarf rootstocks like M26 for apples suit small spaces, while standard rootstocks support larger trees. Source materials from reputable nurseries or agricultural extensions to ensure quality. For example, the USDA’s National Clonal Germplasm Repository offers reliable scion wood for various fruit trees.
Step-by-Step Guide to Tree Grafting
Step 1: Plan Your Grafting Project
Before cutting, plan carefully:
- Choose Compatible Materials: Ensure scion and rootstock are compatible (e.g., apple scion to apple rootstock).
- Select a Technique: Match the method to your tree type and experience level. Whip-and-tongue is a great starting point.
- Check Timing: Late winter to early spring is ideal for most grafts. For bud grafting, aim for mid-summer when bark slips easily.
Step 2: Prepare Your Tools and Materials
- Sterilize all tools with alcohol to prevent disease transmission.
- Gather grafting tape, wax, and labels to track your grafts.
- Cut scions (6–8 inches long) from healthy, one-year-old growth, and store them in a cool, moist place until use.
Step 3: Perform the Graft
For whip-and-tongue grafting:
- Make the Cuts: Cut a 2-inch diagonal slice on both scion and rootstock. Add a small vertical “tongue” cut in each to interlock.
- Align the Cambium: Fit the scion and rootstock together, ensuring at least one side of the cambium layers aligns.
- Secure the Graft: Wrap tightly with grafting tape, covering the entire union to prevent moisture loss.
Visual aids, like diagrams of the tongue cut, can clarify this process for beginners.
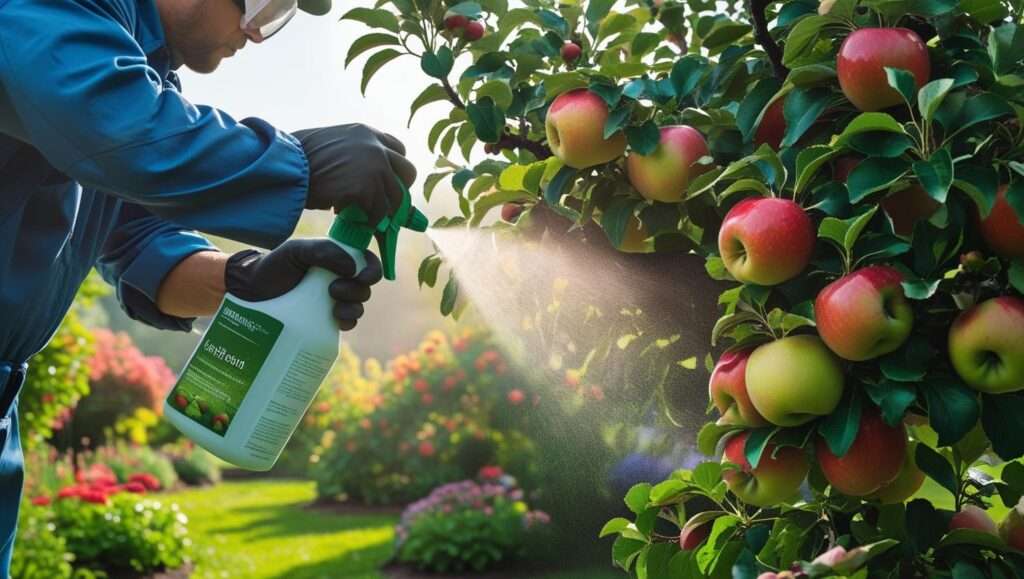
Step 4: Post-Graft Care
- Protect the Graft: Apply grafting wax or additional tape to seal the union.
- Water and Monitor: Keep the rootstock’s soil consistently moist but not waterlogged. Check for new growth after 6–8 weeks.
- Troubleshooting: If the scion wilts or blackens, the graft may have failed. Inspect for poor alignment or infection and try again.
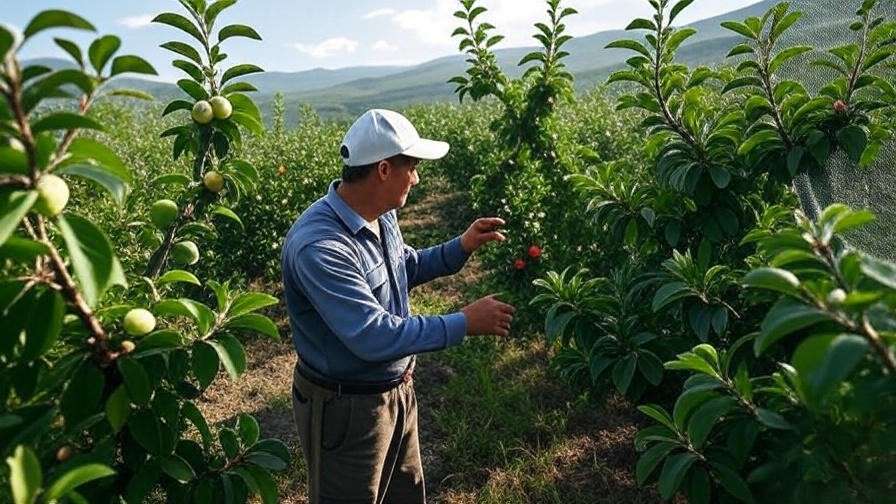
Common Mistakes to Avoid in Tree Grafting
Beginners often encounter pitfalls that can derail their efforts:
- Poor Cambium Alignment: Misaligned tissues prevent fusion. Practice precise cuts to maximize contact.
- Using Dull Tools: Jagged cuts hinder healing. Sharpen your knife before each session.
- Neglecting Aftercare: Grafts need protection from sun, pests, and drought. Regular checks in the first two months are crucial.
Expert Tip: Inspect grafts weekly for signs of growth or stress. Early intervention can save a failing graft.
Benefits of Tree Grafting for Your Orchard
Tree grafting offers transformative advantages:
- Increased Yield: Pair high-yielding scions with vigorous rootstocks for more fruit per tree.
- Space Efficiency: Multi-graft trees produce several varieties in one footprint, perfect for small gardens.
- Preservation of Rare Varieties: Grafting keeps heirloom or local cultivars alive for future generations.
Case Study: A small-scale orchard in Oregon doubled its apple production by grafting high-yield scions onto dwarf rootstocks, proving the technique’s value for hobbyists.
Advanced Tips for Scaling Up Your Grafting Skills
Once you’ve mastered the basics, try these advanced strategies:
- Multi-Graft Trees: Graft multiple scion varieties onto one rootstock for a diverse harvest. For example, a single apple tree can bear Gala, Fuji, and Honeycrisp.
- Climate-Specific Grafting: Choose rootstocks suited to your region, like cold-hardy M111 for northern climates or drought-tolerant B118 for arid areas.
- Join Grafting Communities: Connect with local agricultural extensions or online forums like GardenWeb for tips and scion exchanges.
- Recommended Resource: “The Grafter’s Handbook” by R.J. Garner offers in-depth guidance for advancing your skills.
FAQs About Tree Grafting
- What is the best time of year to graft fruit trees?
Late winter to early spring for deciduous trees; mid-summer for bud grafting when bark slips easily. - Can I graft different types of fruit trees together?
Only within compatible species or genera (e.g., apple to apple, not apple to citrus). Check compatibility charts from extension services. - How long does it take for a graft to heal?
Typically 6–8 weeks, depending on technique, tree type, and environmental conditions. - What are signs of a successful graft?
Look for new leaf growth, a firm graft union, and no signs of wilting or disease.
Conclusion
Tree grafting is more than a gardening technique—it’s a gateway to creating a thriving, diverse orchard tailored to your needs. With the right tools, techniques, and care, even beginners can achieve professional results, boosting yields and preserving unique varieties. Start small this season with a single graft, using this guide to ensure success. Share your grafting journey in the comments below or ask questions to keep learning. Your dream orchard is just a graft away—get started today!