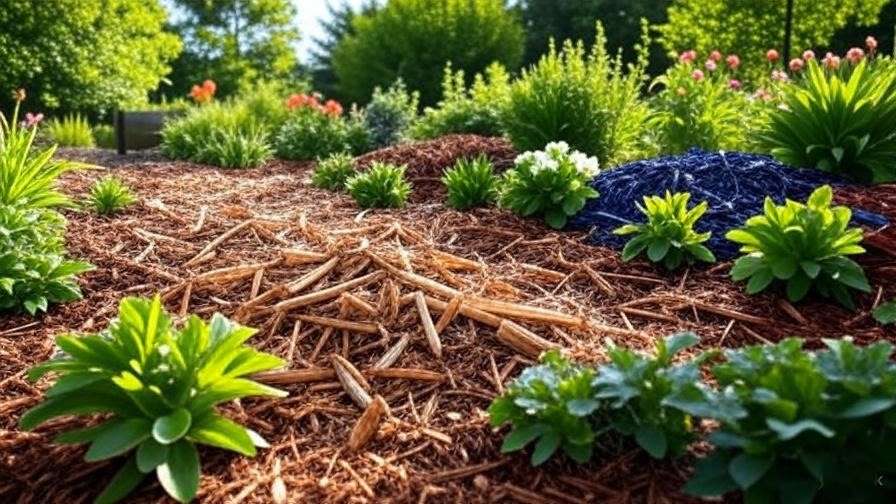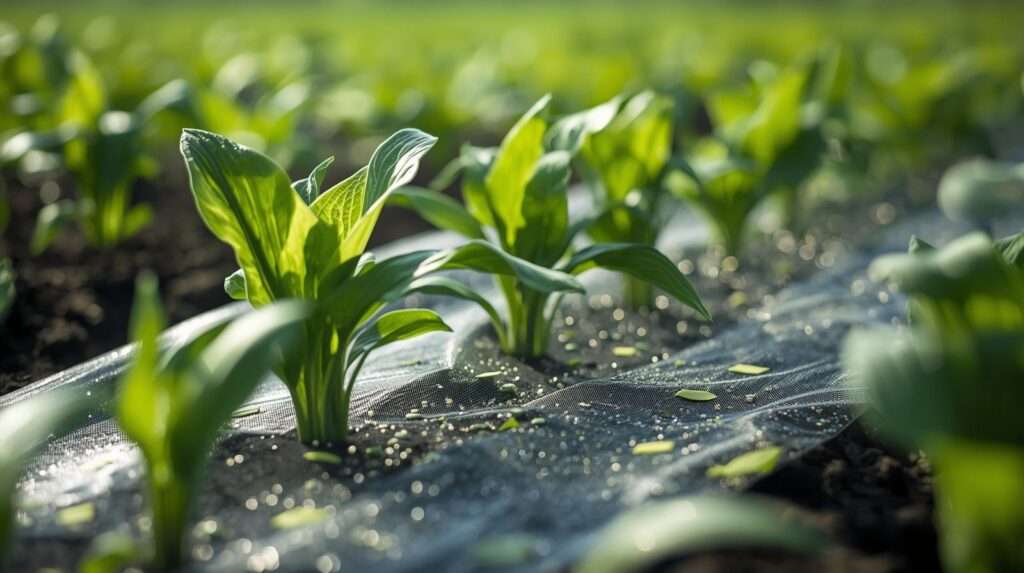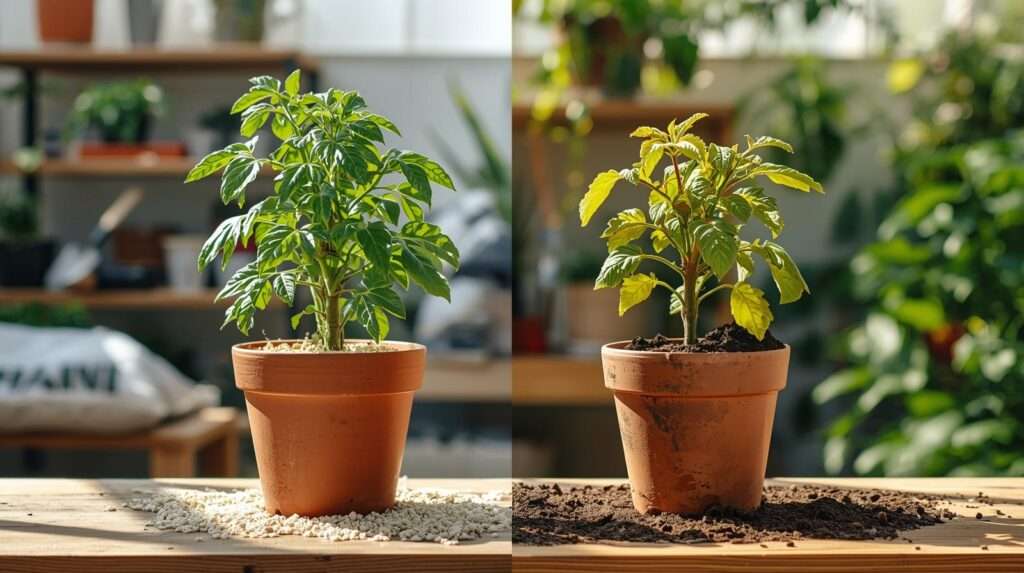
It is a classic weekend gardening scene: you invest over $100 in vibrant premium perennials, heirloom vegetable starts, or delicate exotic herbs, only to watch them slowly turn yellow, wilt, and die three weeks later. Perplexed, you review your watering habits and sunlight exposure, completely unaware that the silent killer is right beneath your feet, sealed within a cheap, heavy block of mud. The widespread confusion surrounding the practice of using garden soil in beds and pots is single-handedly responsible for the majority of residential container cultivation failures. To the untrained eye, dirt is simply dirt. However, to an agronomist, ground-level topsoil and specialized container substrates are two entirely different technological systems. Shoveling earth from your backyard—or grabbing a cheap bag explicitly labeled “Garden Soil” from a home improvement center—and packing it into a confined plastic planter is a fast track to root suffocation.
As an agricultural soil specialist, I have spent years analyzing root zone dynamics and container physics. To achieve a thriving landscape, you must realize that ground soil relies on an expansive, connected ecosystem of earthworms, natural drainage depth, and macro-fauna to stay aerated. When you isolate that same material inside a small pot, its structure collapses. This comprehensive, skyscraper-level guide delivers expert scientific clarity on where garden soil belongs, where it becomes deadly, and the exact physical recipes required to fix heavy, suffocating mixtures before they destroy your plants.
1. Soil Physics 101: Why Ground Soil Collapses in Containers
To understand why backyard dirt behaves so destructively inside a pot, we must evaluate the fundamental mechanics of soil physics, specifically looking at bulk density, porosity, and hydraulic conductivity.
The Agronomic Difference Out in an open field or a deep landscape bed, natural soil is part of a vast, continuous subterranean system. When a heavy rainstorm occurs, gravity pulls the excess water deep down through the subsoil layers and into the underlying water table. Simultaneously, an army of earthworms, insects, and decaying deep-root networks constantly tunnel through the earth, creating a vast web of microscopic highways. This natural activity keeps the soil’s bulk density low and preserves its structural integrity.
When you place that exact same soil inside a solid plastic or ceramic container, you sever it from this living network. There are no earthworms to maintain the tunnels, no deep subsoil layers to absorb excess water, and no wide pathways for natural drainage. The soil becomes entirely dependent on the physical boundaries of the pot.
Understanding Bulk Density and Porosity Soil structure is mathematically split between solid mineral particles (sand, silt, and clay) and pore space. In an ideal agricultural loam, exactly 50% of the soil’s volume consists of open pore space, which is shared equally between water and air.
-
Macro-pores: Large spaces between jagged soil particles that allow water to drain away quickly and let fresh oxygen rush into the root zone.
-
Micro-pores: Tiny spaces that hold onto water through capillary action, keeping moisture available for root hairs.
True ground-level “Garden Soil” is dominated by ultra-fine silt and clay particles. When confined inside a container, these tiny particles pack together under their own weight. This settling quickly destroys the vital macro-pores, significantly increasing the soil’s bulk density. Without macro-pores, the root zone lacks adequate gas exchange. The roots consume all available oxygen through respiration but cannot expel the resulting carbon dioxide. Trapped in a stagnant, toxic environment, the root cells quickly suffocate and die.
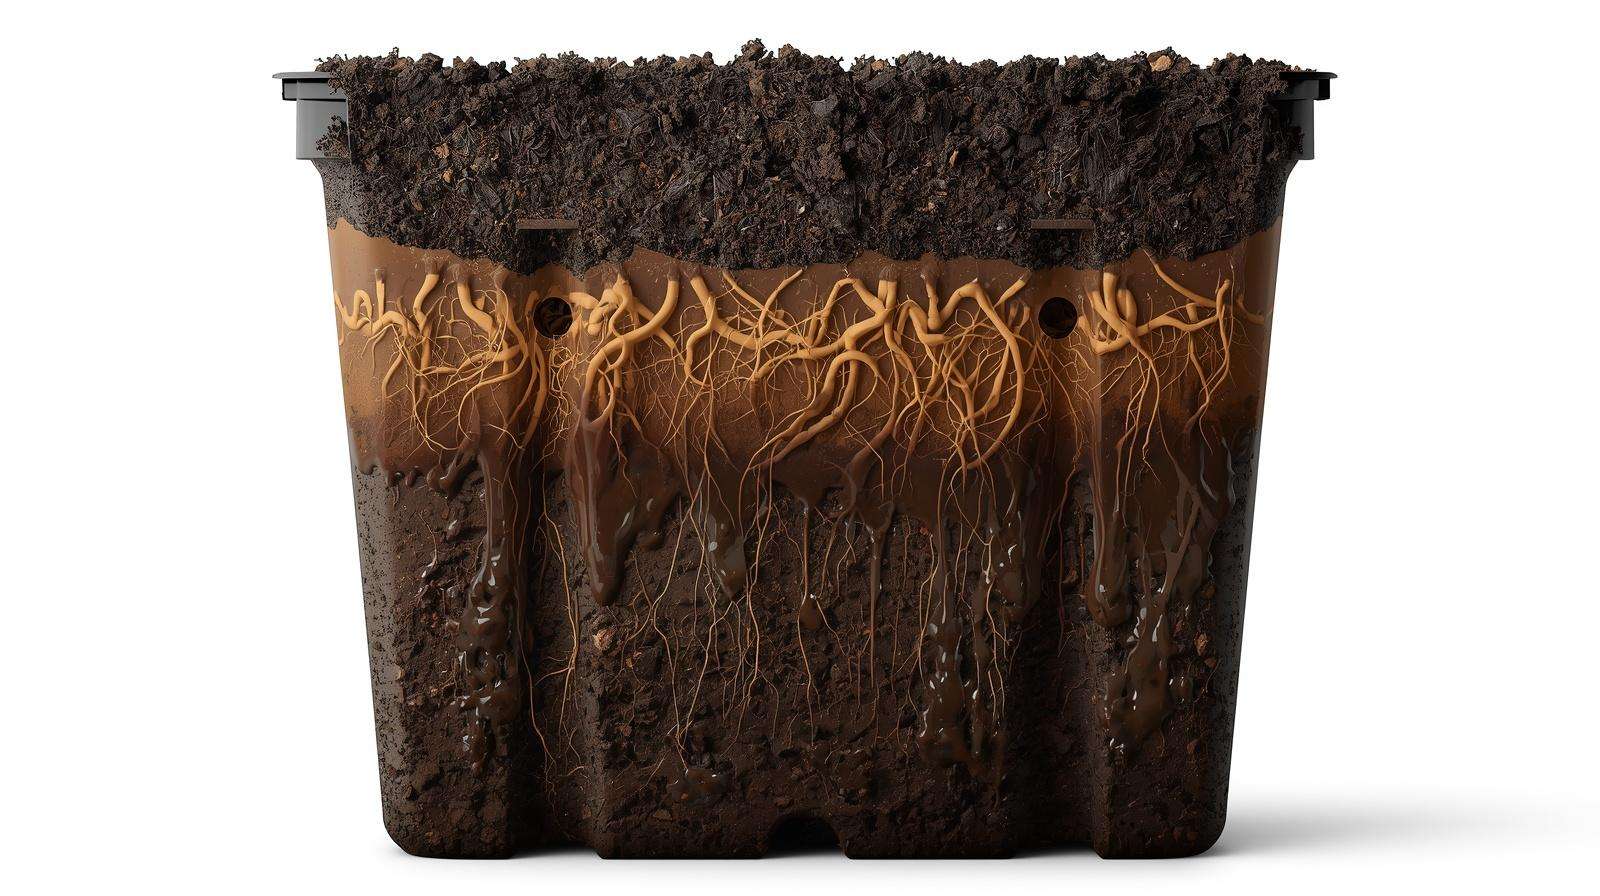
Capillary Action and the Perched Water Table Every container features a hidden physical barrier known as a perched water table. Gravity pulls water downward through the soil profile, while capillary action pulls it back up into the tiny micro-pores. At the bottom of the container, these two forces equalize, creating a layer of completely waterlogged soil that cannot drain naturally, regardless of how many drainage holes you drill in the pot.
In a professional, high-porosity potting mix made of coarse materials like peat and perlite, this saturated zone is very shallow, usually staying under half an inch. However, when you use a dense, fine-textured garden soil, the strong capillary pull draws the waterlogged zone much higher, often filling the bottom 3 to 4 inches of the container. This turns the lower half of your pot into an oxygen-depleted dead zone, where plant roots quickly rot.
2. Part I: When Using Garden Soil Works (and Why)
Despite its dangers in containers, bagged or native garden soil is a valuable agronomic resource when used in the right setting. It works exceptionally well wherever natural gravity and ground connectivity can support its heavy physical structure.
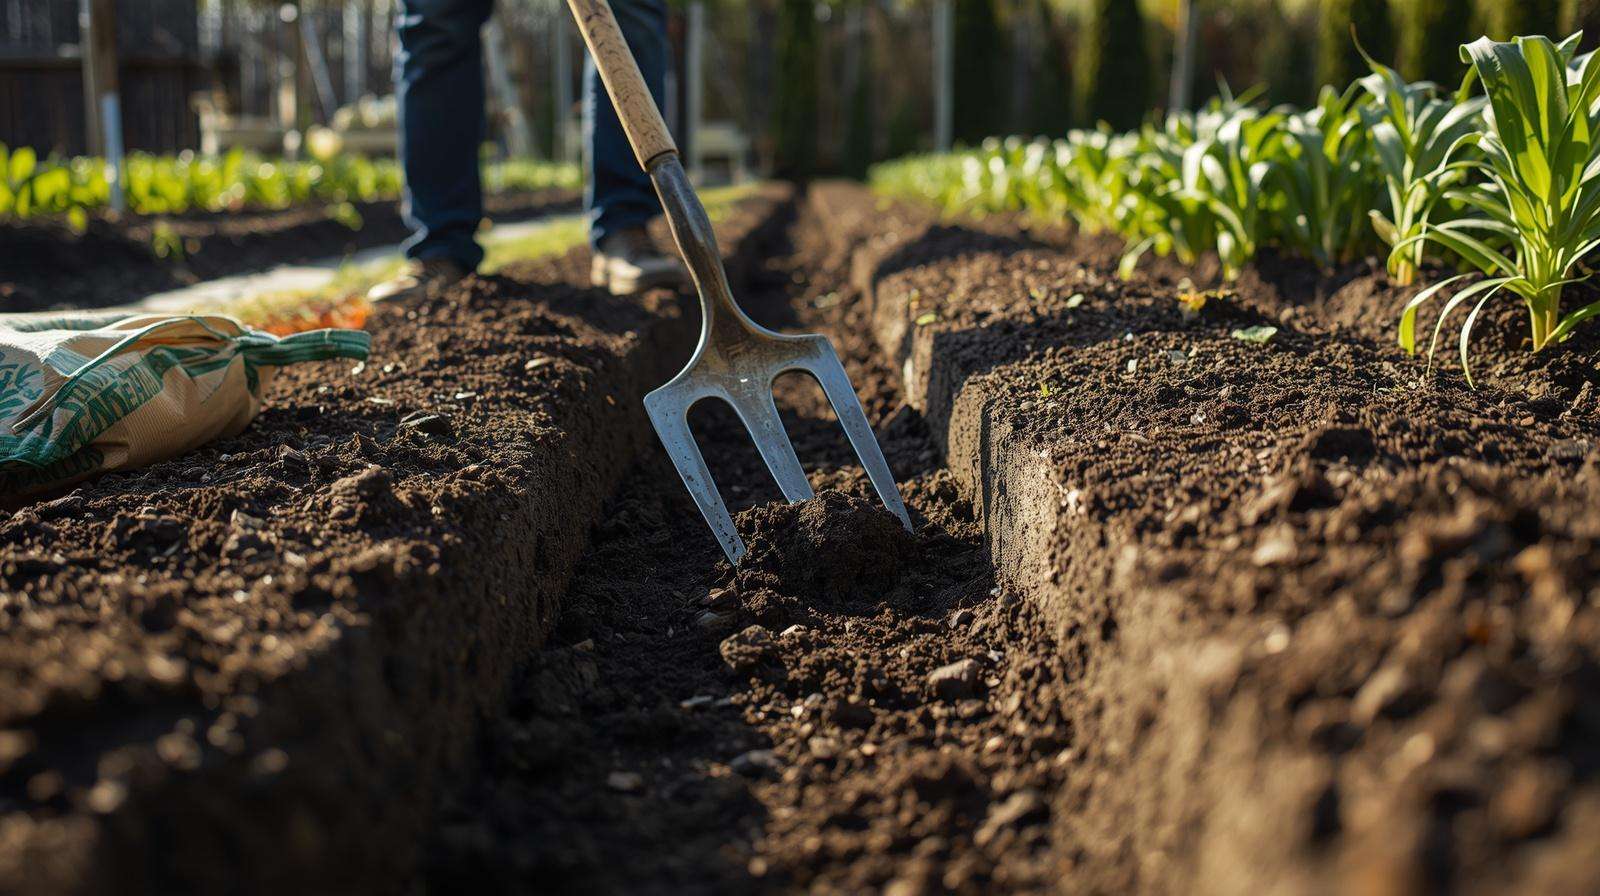
Scenario A: Amending Existing In-Ground Beds
Bagged garden soil is specifically engineered to be blended directly into native earth. If your backyard consists of hard, unworkable clay, mixing in a premium bagged garden soil introduces vital organic matter. This organic material forces the tight clay platelets apart, opening up new channels for air and water.
Conversely, if your native soil is overly sandy, blending in garden soil adds fine particles and organic elements that act like a sponge, helping the ground hold onto moisture and dissolved nutrients long enough for plants to absorb them. In these open-ground settings, the heavy weight of the soil is a benefit, helping to anchor large root systems safely.
Scenario B: Building New Raised Beds (with Restrictions)
Raised beds sit in a mechanical middle ground between open fields and small containers. If your raised bed is deep—at least 12 to 18 inches tall—and open to the native earth at the bottom, you can safely include garden soil as a core component of your soil mix.
However, you should never fill a raised bed with 100% pure garden soil. Because the sidewalls still restrict lateral water movement, a pure garden soil fill will quickly compact under heavy rain, forming a dense, unworkable crust. To maintain long-term fertility and structure, you must blend it with coarser materials using a balanced, structural ratio.
Scenario C: Landscape Projects and Topdressing
When you need to level an uneven lawn, fill a deep trench, or stabilize a eroding slope, heavy garden soil is the ideal choice. In these situations, low porosity is actually an advantage. The fine silt and clay particles bind tightly together, resisting the erosive forces of wind and heavy rainfall far better than a light, fluffy potting mix ever could.
3. Part II: When Using Garden Soil Fails (The Critical No-Go Zone)
While garden soil is an asset in the landscape, it becomes a biological liability the moment it is isolated within a container. Understanding the “failure sequence” is essential for every grower who wants to avoid the heartbreak of terminal plant loss.
The Confined Container Environment
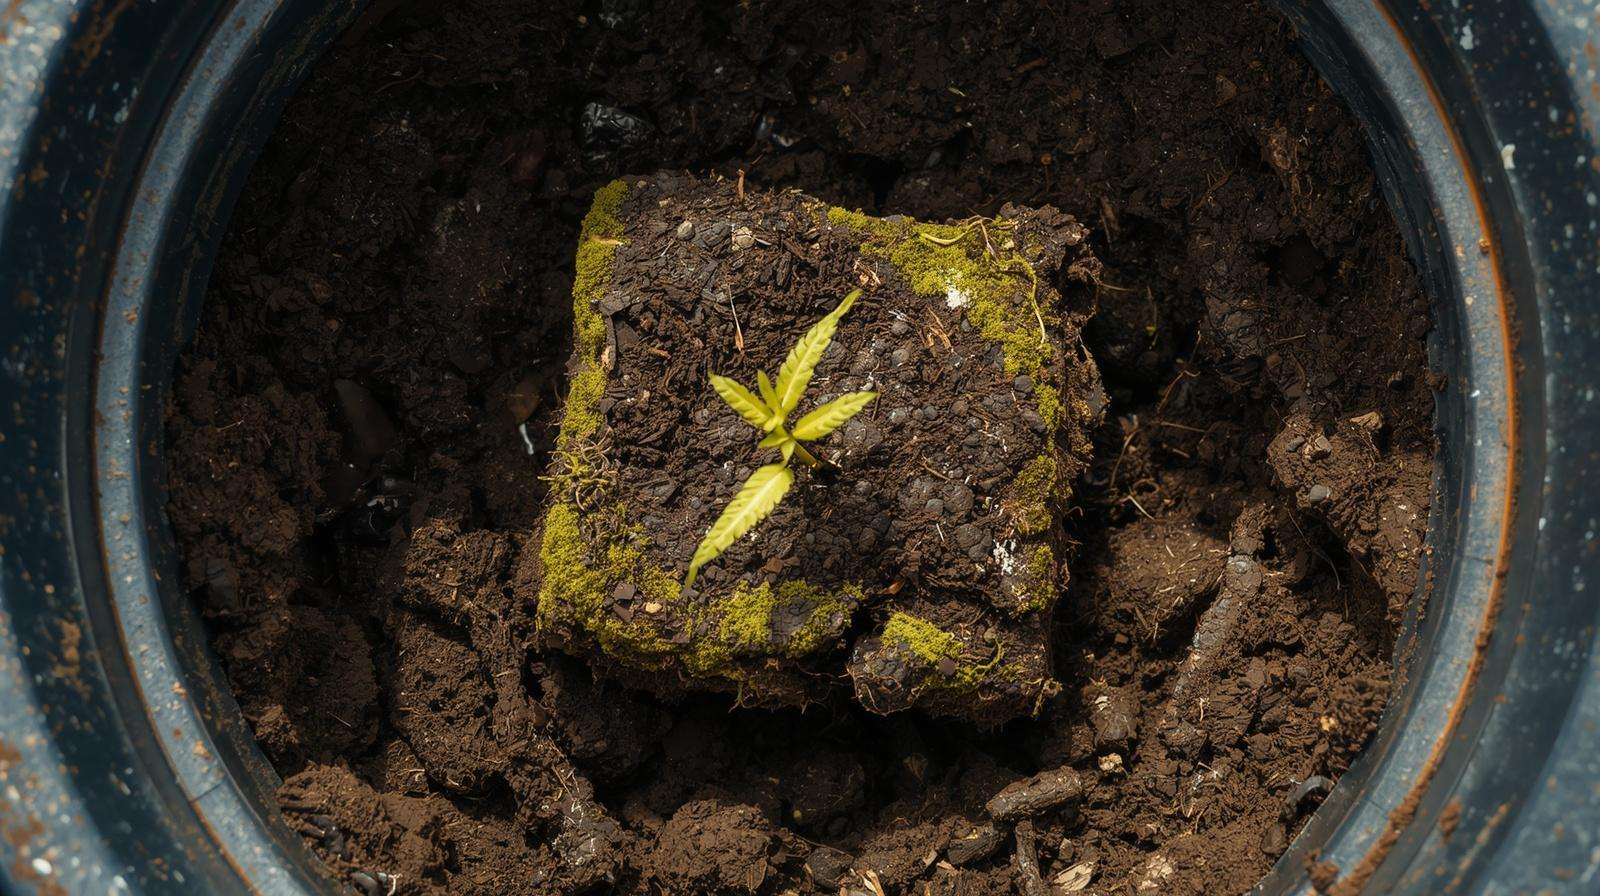
Every standard pot, planter, or hanging basket is a definitive “No-Go Zone” for standard bagged garden soil or native topsoil. In these small, non-connected environments, there is no subsoil to wick away excess moisture and no natural movement of micro-fauna to prevent compaction. Within weeks of potting, gravity and repeated watering cycles cause the fine silt and clay particles to settle into the bottom of the pot, creating a dense, impenetrable layer.
The Suffocation Sequence
The collapse of a plant in heavy soil follows a predictable, lethal trajectory:
-
Compaction: The fine particles pack tightly together, eliminating the macro-pores.
-
Anaerobic Shift: Without macro-pores, fresh oxygen cannot reach the roots. Carbon dioxide levels spike, and the soil chemistry shifts from aerobic (oxygen-rich) to anaerobic (oxygen-starved).
-
Pathogen Proliferation: Anaerobic conditions are the primary breeding ground for water-molds and fungal pathogens such as Phytophthora and Pythium. These “root rot” organisms thrive in wet, low-oxygen environments.
-
Terminal Rot: The weakened roots, already struggling to breathe, are quickly consumed by fungi. The plant loses its ability to take up water or nutrients, leading to the “sudden wilt” often seen in failing containers.
The Hydrophobic Trap
Counter-intuitively, heavy peat-based “garden soils” can also fail by becoming too dry. If you miss a watering session and the heavy soil dries out completely, the peat fibers become hydrophobic. They develop a waxy coating that actually repels water. When you eventually water the pot, the liquid simply runs down the inside edges of the container and out the bottom, leaving the central root ball as dry as a brick. The plant essentially dies of thirst while sitting in a pot of seemingly wet dirt.
4. Part III: How to Fix Heavy Garden Soil Mixes
If you have already filled your beds or pots with heavy soil, you do not necessarily need to throw it all away. As long as the plants are not yet displaying terminal rot, you can intervene with professional rescue protocols.
Diagnostic Checklist: Is Your Mix Too Heavy?
Before performing a “rescue mission,” look for these visual and olfactory clues:
-
Surface Algae or Moss: A green or velvety coating on the soil surface indicates permanent saturation and poor surface evaporation.
-
The “Gap” Test: When the soil dries, does it shrink away from the edges of the pot, leaving a wide gap? This indicates high clay/peat content and poor structural stability.
-
The Weight Test: A small 10-inch pot filled with heavy garden soil will feel significantly heavier than a similar pot filled with professional potting mix.
-
The Sour Smell: Pull a small sample of soil from a few inches down. If it smells like rotten eggs or stagnant swamp water, it has already gone anaerobic.
Strategy A: Fixes for In-Ground and Raised Beds (Large Scale)
For large-scale areas where the soil is simply too dense, you must physically and chemically change the soil structure.
-
Chemical Intervention (Gypsum): In soils with high clay content, adding gypsum (calcium sulfate) can help through a process called flocculation. It causes the tiny clay particles to clump together into larger “peds,” effectively creating new macro-pores for drainage.
-
Physical Separation: Incorporating high volumes of “coarse” organic matter—such as aged pine bark fines or rice hulls—physically prevents the soil particles from packing together.
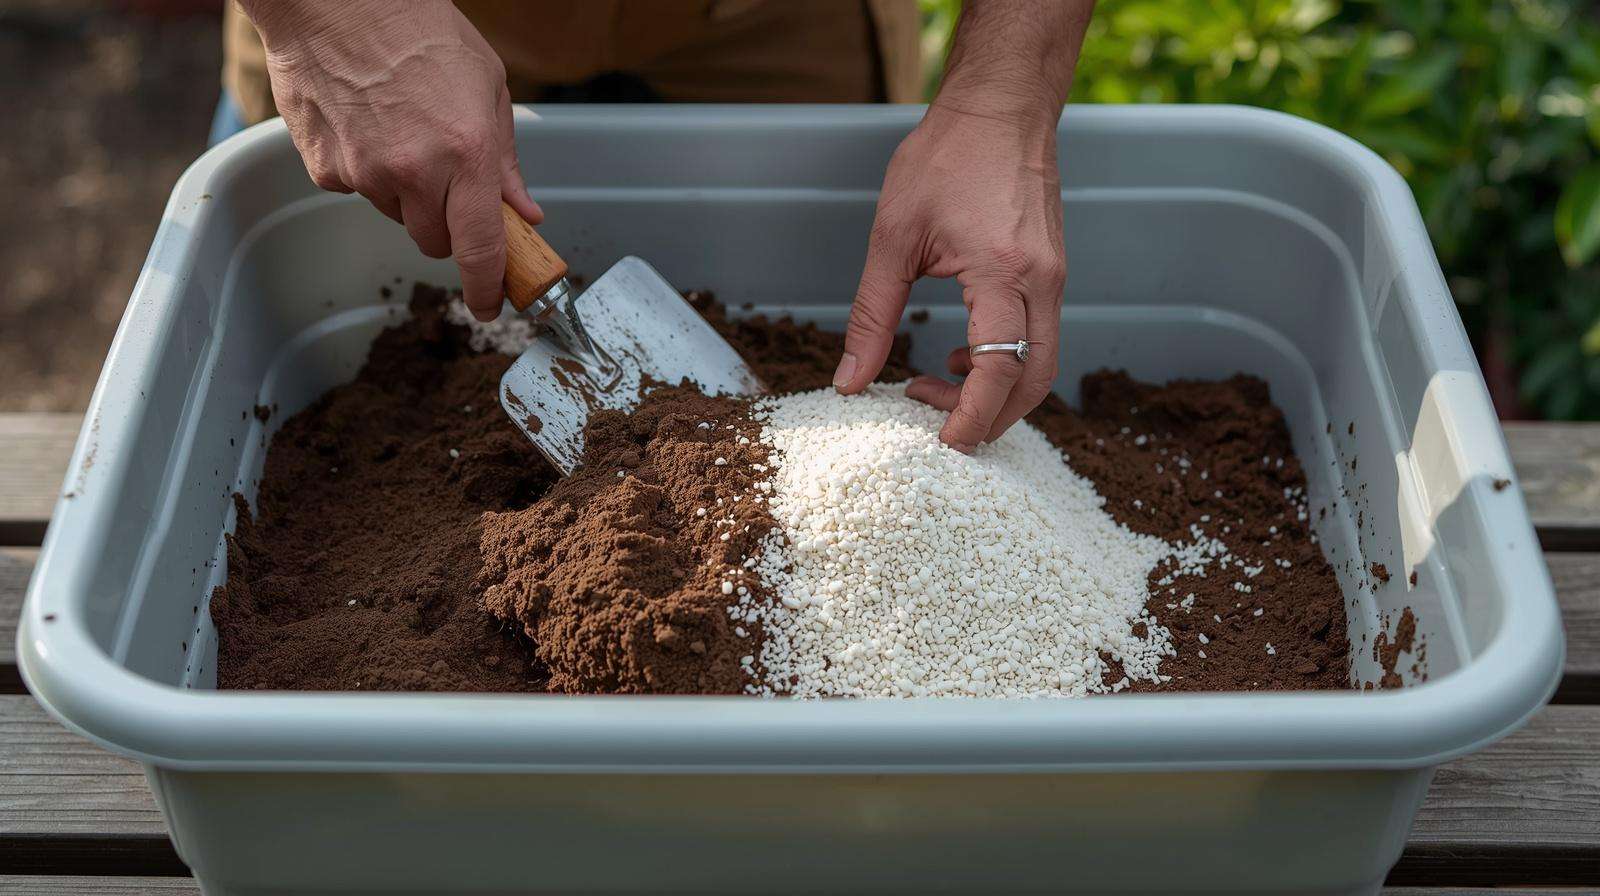
Strategy B: Fixes for Heavy Container Mixes (The Rescue Mission)
If your container is drowning, you must act fast to re-introduce oxygen.
-
The “Fluff and Aerate” Protocol: Use a long, thin wooden dowel or a chopstick to gently poke deep holes into the soil profile every two inches. This “vertical mulching” creates immediate chimneys for gas exchange without destroying the primary root structure.
-
The 50/50 Amendment Rule: If the soil is truly terminal, the only fix is to unpot the plant, shake off the heavy mud, and blend the existing soil with 50% high-porosity aggregate.
-
Top Aeration Agents:
-
Perlite: The most common fix. These white volcanic “popcorn” grains provide massive surface area for air.
-
Pumice or Scoria: For heavier plants (like citrus or large shrubs), use volcanic grit. It is heavier than perlite and will not float to the top over time.
-
Coconut Coir: A sustainable alternative to peat that resists compaction and re-wets much more easily.
-
5. Agronomic Cheat Sheets: The Ideal Blending Ratios
Use these professional formulas to ensure your soil structure matches your growing environment.
Cheat Sheet 1: The “Perfect” Raised Bed Fill (Large Scale)
For a 100-square-foot raised bed, do not use 100% bagged soil. Use this structural ratio:
-
50% Blended Topsoil / Bagged Garden Soil (The mineral base).
-
30% Coarse Organic Matter (Aged compost or leaf mold).
-
20% Drainage Grit (Coarse sand, pea gravel, or perlite).
Cheat Sheet 2: Rescuing a Heavy Potting Mix (Small Scale)
If you bought a bag of “Garden Soil” by mistake and want to use it for a patio pot:
-
1 Part “Garden Soil”
-
1 Part Coarse Perlite or Pumice
-
1 Part Coconut Coir or Peat Moss
-
Result: This creates a “cut” mix that has the aeration of a potting substrate with the nutrient density of garden soil.
6. Comparative Matrix: Garden Soil vs. Potting Mix
| Feature | Bagged Garden Soil | Professional Potting Mix |
| Primary Ingredients | Silt, Clay, Peat, Bark Fines | Peat/Coir, Perlite, Vermiculite |
| Weight / Density | High (Heavy) | Low (Lightweight) |
| Drainage Rate | Slow (High Water Retention) | Rapid (High Aeration) |
| Porosity | Low (Micro-pore dominant) | High (Macro-pore dominant) |
| Best Use Case | In-ground beds, landscaping | Containers, hanging baskets, pots |
| Risk in Pots | High (Root Rot/Suffocation) | Low (Safe for all containers) |
7. Frequently Asked Questions (FAQ)
Can I bake garden soil to use it in pots?
While baking soil (sterilization) kills weed seeds and soil-borne pathogens, it does nothing to fix the physical structure. Even sterile garden soil will still compact and suffocate your roots. Sterilization is a biological fix, not a physical one.
My bagged garden soil smells sour; is it ruined?
A sour or “swampy” smell indicates that the soil was stored wet and has gone anaerobic inside the bag. To fix it, spread the soil out on a tarp in the sun for 48 hours. The exposure to UV light and fresh oxygen will kill the anaerobic bacteria and “reset” the soil biology.
Does adding gravel to the bottom of a pot help heavy soil drain?
No. This is a dangerous gardening myth. As discussed in the “Perched Water Table” section, water will not move from the fine texture of the soil into the coarse texture of the gravel until the soil is 100% saturated. Adding gravel actually pushes the waterlogged zone higher up into the pot, closer to your plant’s roots.
8. Conclusion: The Foundation of Gardening Success
Understanding the nuances of using garden soil in beds and pots is the difference between a garden that merely survives and one that truly thrives. Soil is not a static material; it is a physical system that must be managed according to the laws of aeration and drainage.
If you are planting in the ground, embrace the heavy, nutrient-dense nature of garden soil to build your landscape’s foundation. But if you are planting in containers, you must act as a soil engineer—prioritizing macro-porosity and gas exchange above all else. By utilizing the blending ratios and rescue protocols outlined in this guide, you can ensure that your plants always have the “room to breathe” that they require for long-term health and productivity.