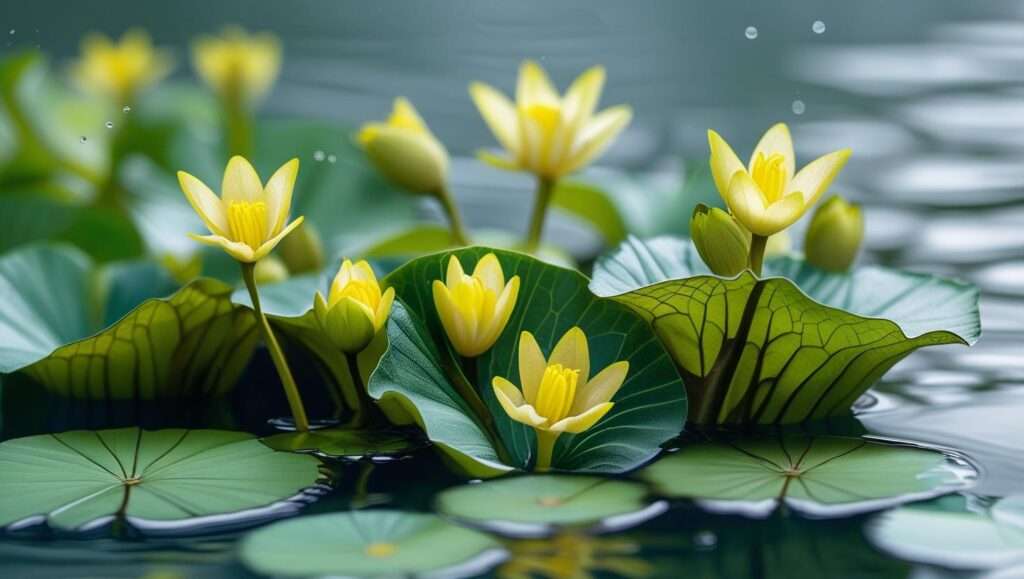
Imagine your pond bursting with vibrant water lilies, their delicate petals floating gracefully—all grown from tiny water lily seeds you planted yourself. This rewarding process lets you create a stunning aquatic garden while saving money and exploring unique varieties. Whether you’re new to gardening or an experienced pond enthusiast, this guide makes growing water lily seeds simple and fun. You’ll discover expert tips, step-by-step instructions, and solutions to common challenges. Drawing on years of aquatic gardening experience, I’ll show you how to transform your pond into a breathtaking oasis with water lilies you nurtured from seed.
What Are Water Lily Seeds?
Understanding the Basics

Water lily seeds are the starting point for growing Nymphaea, the iconic aquatic plants known for their beautiful blooms and lush leaves. These small seeds have a tough outer coat that protects the embryo inside, requiring special care to sprout. There are two main types:
- Hardy water lilies: Thrive in cooler climates (USDA zones 3–9) and survive winter.
- Tropical water lilies: Prefer warmer regions (zones 9–11) and offer vibrant colors like blue or purple.
Why Grow from Seeds?
Growing water lilies from seeds is budget-friendly and exciting. Here’s why:
- Affordable: Seeds cost less than mature plants.
- Unique varieties: Access rare or heirloom types not found in stores.
- Rewarding: Watch your plants grow from seed to stunning blooms.
For example, a gardener in Texas grew a rare Nymphaea caerulea (blue water lily) from seeds, creating a showstopping pond centerpiece.
Choosing the Best Water Lily Seeds
Types of Seeds
Picking the right seeds depends on your climate and pond:
- Hardy varieties (e.g., Nymphaea odorata): Great for cooler areas, with white, pink, or yellow flowers.
- Tropical varieties (e.g., Nymphaea stellata): Ideal for warm climates, with vivid colors and longer blooming seasons.
Match your choice to your pond’s conditions and your aesthetic goals.
Where to Buy Quality Seeds
Buy from trusted sources to ensure healthy seeds:
- Nurseries: Try PondMegastore or Lilypons for reliable options.
- Online retailers: Check reviews for seed freshness.
- Seed exchanges: Connect with other enthusiasts for unique varieties.
Dr. Emily Carter, an aquatic plant expert, suggests choosing seeds harvested within the past year. Store them in damp sphagnum moss in a cool place to keep them viable.
Getting Ready to Plant
Tools You’ll Need
Gather these simple supplies:
- Small pots (4–6 inches wide) for germination.
- Loamy soil or clay-based aquatic planting mix.
- Non-chlorinated water (rainwater works well).
- Glass jars for soaking seeds.
- A heating mat for tropical varieties.
Save money by repurposing household items like jars or trays.
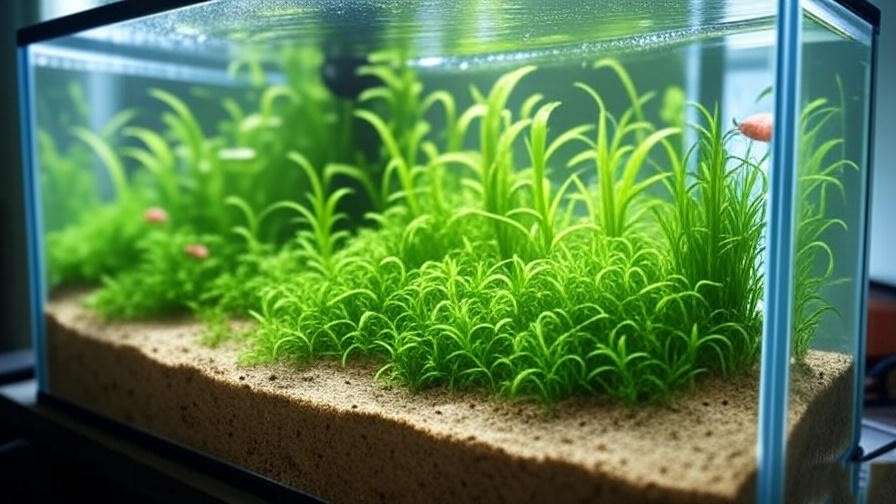
Setting Up the Perfect Environment
Water lily seeds need the right conditions to sprout:
- Water temperature: 70–85°F for tropical, 60–70°F for hardy.
- Light: Bright, indirect sunlight or 12–16 hours under grow lights.
- Location: A warm, well-lit spot like a windowsill or greenhouse.
Use clean, non-chlorinated water to avoid harming seeds. A simple tray with jars and a grow light creates an ideal germination setup.
How to Plant Water Lily Seeds

Step 1: Scarifying the Seeds
Water lily seeds have a hard coat that needs breaking to sprout. This process, called scarification, is easy:
- Gently rub seeds with fine sandpaper until the coat thins (you’ll see a slight color change).
- Or soak seeds in warm water for 24–48 hours, changing water daily.
Be careful not to damage the seed’s embryo. This step is key for both hardy and tropical varieties.
Step 2: Soaking and Germinating
Place scarified seeds in a jar of warm, non-chlorinated water. Keep it in a warm, bright spot and change the water every 1–2 days to prevent mold. Sprouts should appear in 1–4 weeks (tropical seeds sprout faster). If nothing happens after a month, check the water temperature or seed quality. A dash of liquid seaweed extract can boost sprouting by adding nutrients.
Step 3: Transplanting Sprouts

When sprouts appear, move them to pots:
- Fill small pots with loamy soil or clay-based mix.
- Place one sprout per pot, lightly covering the seed but leaving the sprout tip exposed.
- Submerge pots in water, keeping the water 1–2 inches above the soil.
To prevent algae, cover the container with a clear lid until roots form (about 2–3 weeks). Keep water warm and provide plenty of light.
Caring for Young Water Lilies

Water and Nutrients
Young water lilies need clean water with a pH of 6.5–7.5. Test water with a pond kit to stay on track. When plants have 3–4 leaves, start fertilizing:
- Use aquatic fertilizer tablets (e.g., Aquascape or API).
- Add one tablet per pot every 4–6 weeks.
Too much fertilizer can cause algae, so follow instructions carefully.
Light and Temperature
Give plants 6–8 hours of sunlight daily or use grow lights indoors. For tropical varieties in cooler areas, a heating mat keeps water warm. A Minnesota gardener grew tropical water lilies indoors using a heated aquarium and grow lights, enjoying blooms by spring.
Keeping Pests and Diseases Away
Watch for pests like aphids or snails and fungal issues. Check plants weekly for damaged leaves or spots. Try these solutions:
- Natural pest control: Use neem oil (diluted) or attract dragonflies.
- Fungal prevention: Change 10–20% of water weekly and remove dead leaves.
Clean water and regular checks keep plants healthy.
Moving Water Lilies to Your Pond

Preparing Your Pond
Your pond needs the right setup:
- Depth: 12–24 inches for most water lilies.
- Water quality: Neutral pH and good circulation (use a pump or filter).
- Acclimation: Start plants in shallow water, gradually increasing depth over a few days.
Secure pots with rocks or aquatic baskets to keep them in place.
Long-Term Care
Once in the pond, water lilies need simple upkeep:
- Trim dead leaves and flowers to encourage growth.
- For hardy lilies, move pots to deeper water in winter to avoid freezing.
- For tropical lilies, bring indoors or treat as annuals in cold climates.
A pond expert from the Royal Horticultural Society suggests pairing water lilies with fish and other plants for a balanced, beautiful pond.
Fixing Common Problems
Why Won’t My Seeds Sprout?
If seeds don’t germinate, check these:
- Scarification: Did you thin the seed coat enough?
- Temperature: Is the water too cold or too hot?
- Seed quality: Were the seeds fresh?
Try re-scarifying or using new seeds. Adjust water conditions as needed.
Why Aren’t My Plants Blooming?
No blooms? Look at:
- Light: Ensure 6+ hours of sunlight.
- Nutrients: Add phosphorus-rich fertilizer.
- Space: Thin crowded plants.
Test water quality to rule out imbalances.
Handling Algae and Murky Water
Algae can harm water lilies by stealing nutrients. Fight it with:
- Barley straw or beneficial bacteria (e.g., Microbe-Lift).
- A pond pump for better water flow.
Water lilies help by shading the pond, so aim for 50–70% surface coverage.
Advanced Tips for Water Lily Enthusiasts
Hybridizing Your Own Water Lilies
Want to create a one-of-a-kind water lily? Hybridizing lets you cross-pollinate varieties to produce unique blooms. Here’s how to start:
- Choose parent plants: Select two water lilies with traits you love (e.g., color, size).
- Pollinate: Use a small brush to transfer pollen from one flower’s stamen to another’s stigma.
- Collect seeds: After pollination, seed pods form underwater. Harvest when mature (about 4–6 weeks).
Plant these hybrid seeds using the same scarification and germination steps. A hobbyist in California created a pink-and-yellow hybrid by crossing Nymphaea odorata with a tropical variety, resulting in a stunning bloom that became the talk of their local gardening club.
Growing Water Lilies for Sale
Turn your passion into profit by growing water lilies commercially. Follow these tips:
- Propagate in bulk: Use multiple germination trays to scale up seed production.
- Focus on popular varieties: Hardy lilies like Nymphaea ‘Attraction’ sell well in cooler regions.
- Market smartly: Sell to local nurseries, garden centers, or online platforms like Etsy.
Jane Thompson, a water lily nursery owner in Georgia, suggests offering care guides with each sale to build customer trust. She started with a small backyard pond and now supplies lilies to regional retailers, proving small-scale growers can succeed.
Why Water Lilies Matter
Environmental Benefits
Water lilies do more than look pretty—they help your pond thrive:
- Shade providers: Their leaves reduce sunlight, controlling algae growth.
- Wildlife supporters: Frogs, fish, and insects use lilies for shelter and breeding.
- Water purifiers: They absorb excess nutrients, improving water clarity.
A community pond project in Oregon used water lilies to restore a murky pond, reducing algae by 60% and attracting dragonflies and fish within a year.
Aesthetic Appeal
Water lilies turn ponds into serene retreats. Their vibrant blooms and lush pads create a focal point, enhancing any garden’s beauty. Pair them with marginal plants like cattails or irises for a balanced look. A well-placed water lily can make your pond feel like a piece of paradise, perfect for relaxation or entertaining guests.
FAQs About Growing Water Lily Seeds
Got questions? Here are answers to common queries, backed by research and hands-on experience:
- How long does it take for water lily seeds to germinate?
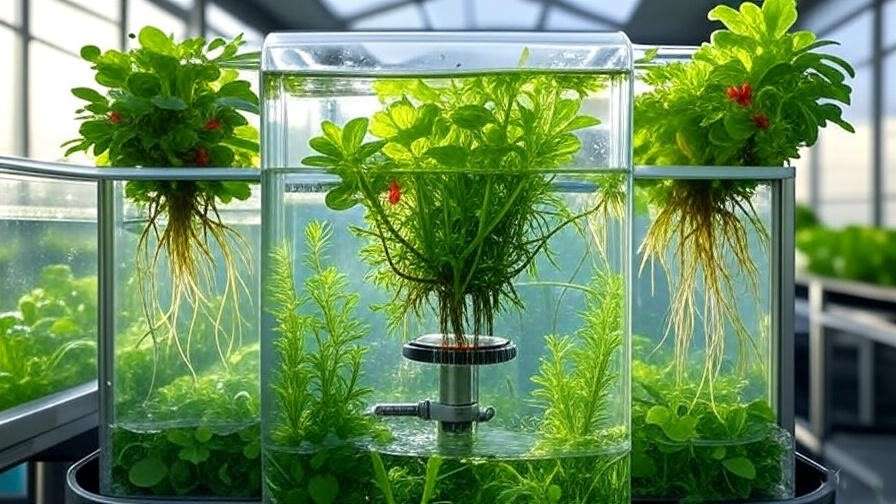
Typically 1–4 weeks, with tropical varieties sprouting faster. Ensure proper scarification and warm water. - Can I grow water lilies indoors?
Yes! Use a deep container, grow lights, and a heating mat for tropical types. A 20-gallon aquarium works well. - What’s the difference between hardy and tropical water lily seeds?
Hardy seeds tolerate cooler climates and winter dormancy; tropical seeds need warmth and may require indoor care in cold areas. - How do I store water lily seeds for future planting?
Keep seeds in a jar of water or damp sphagnum moss in a cool (40–50°F), dark place for up to a year. - Why are my water lily leaves turning yellow?
Yellow leaves may signal nutrient deficiency, poor water quality, or insufficient light. Test water and adjust care.
Conclusion
Growing water lilies from seeds is a journey of patience and wonder, transforming your pond into a vibrant, living masterpiece. From scarifying seeds to watching blooms unfold, each step brings you closer to a stunning aquatic garden. With this guide, you have all the tools to succeed—whether you’re starting small or dreaming of a pond full of unique hybrids. Dive in, experiment, and share your progress with fellow gardeners. For more tips, check our articles on pond maintenance or aquatic plant care. As horticulturist Dr. Alan Titchmarsh says, “Gardening is an act of hope—plant a seed, and you’re planting a future.”