Did you know that the average American household throws away more than 400 pounds of food scraps and yard waste every year—much of which ends up in landfills, releasing harmful methane gas as it decomposes? The good news is that most of those scraps can be diverted right in your own backyard or balcony through home composting. If you’ve ever wondered what can I compost at home, you’re in the right place. This comprehensive guide will walk you through everything you need to know to turn everyday kitchen and garden waste into rich, nutrient-packed compost—often called “garden gold”—that will supercharge your soil and plants.
As an agricultural specialist with over 15 years of hands-on experience advising home gardeners, small-scale farmers, and community composting programs, I’ve helped thousands of beginners successfully start and maintain compost systems. In this ultimate guide, we’ll cover the science, the do’s and don’ts, setup options, troubleshooting, and practical tips that go far beyond basic lists—giving you the confidence and knowledge to create high-quality compost safely and efficiently.
Why Compost at Home? The Real Benefits for Your Garden and the Planet
Home composting isn’t just a trendy eco-hobby; it’s one of the most impactful actions an individual can take for both personal and planetary health.
According to the U.S. Environmental Protection Agency (EPA), food scraps and yard waste together make up more than 28% of what we throw away. When these materials decompose in landfills without oxygen, they produce methane—a greenhouse gas 25 times more potent than carbon dioxide over a 100-year period. By composting at home, you directly reduce these emissions while creating a free, organic soil amendment.
For gardeners, the benefits are even more tangible:
- Nutrient-rich fertilizer: Finished compost provides a balanced supply of nitrogen, phosphorus, potassium, and micronutrients in a slow-release form that plants love.
- Improved soil structure: It increases water-holding capacity in sandy soils and enhances drainage in clay soils.
- Boosted microbial life: Healthy compost introduces beneficial bacteria, fungi, and other microorganisms that suppress plant diseases and improve nutrient uptake.
- Cost savings: No need to buy commercial fertilizers, soil conditioners, or even potting mixes when you can make your own.
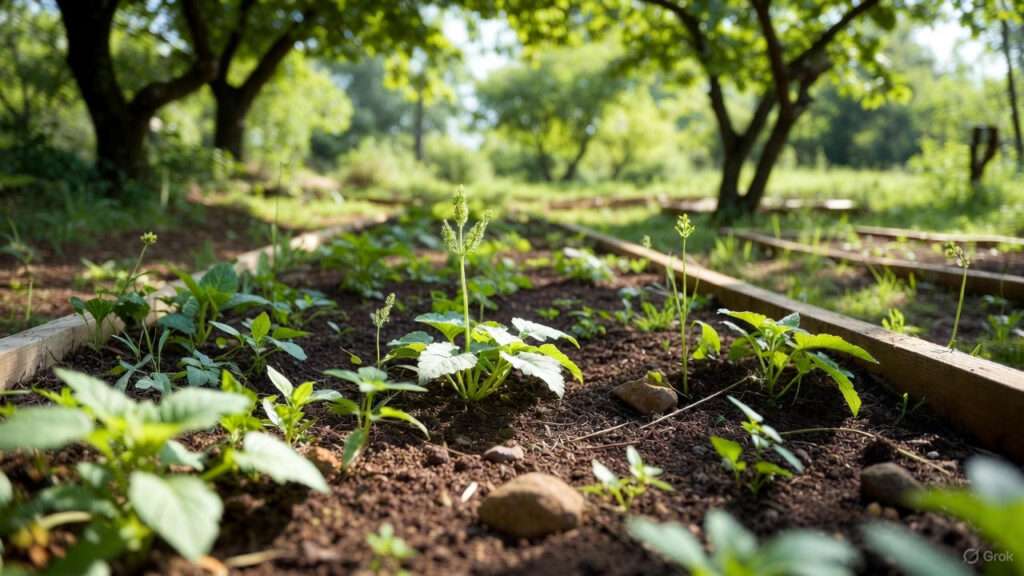
In my experience working with soil samples from hundreds of gardens, those regularly amended with homemade compost consistently show higher organic matter content, better tilth, and healthier plant growth—even in challenging climates.
Composting Basics: How It Works and Why Balance Matters
Successful composting is essentially managed decomposition. Microorganisms (primarily bacteria and fungi) break down organic matter, generating heat as a byproduct. Understanding a few core principles will help you avoid common pitfalls and produce high-quality compost faster.

The Science Behind Composting
There are two main types:
- Hot composting: Temperatures reach 130–160°F (55–71°C), killing most weed seeds and pathogens while speeding decomposition (finished compost in 2–4 months).
- Cold composting: Slower and cooler (below 100°F), ideal for low-maintenance piles but takes 6–12 months or longer.
Hot composting requires more attention to balance and aeration but yields superior results for serious gardeners.
Greens vs. Browns – The Key to Success
All compostable materials fall into two categories:
- Greens (nitrogen-rich): Provide protein for microbes to grow and multiply. Examples include fruit/vegetable scraps, coffee grounds, grass clippings, and fresh plant trimmings.
- Browns (carbon-rich): Supply energy and help maintain airflow. Examples include dry leaves, cardboard, paper, straw, and wood chips.
The ideal carbon-to-nitrogen (C:N) ratio is approximately 25–30:1, which translates practically to 2–3 parts browns to 1 part greens by volume. Too many greens lead to a smelly, soggy pile; too many browns result in slow decomposition.
Essential Elements for a Healthy Pile
Microbes need four things to thrive:
- Carbon and nitrogen (balanced as above)
- Oxygen (provided by turning the pile)
- Moisture (should feel like a wrung-out sponge—about 50–60% moisture)
- Suitable temperature (monitored with a compost thermometer for hot piles)
A pile at least 3×3×3 feet (1 cubic yard) generates and retains enough heat for efficient hot composting. Smaller piles work but decompose more slowly.
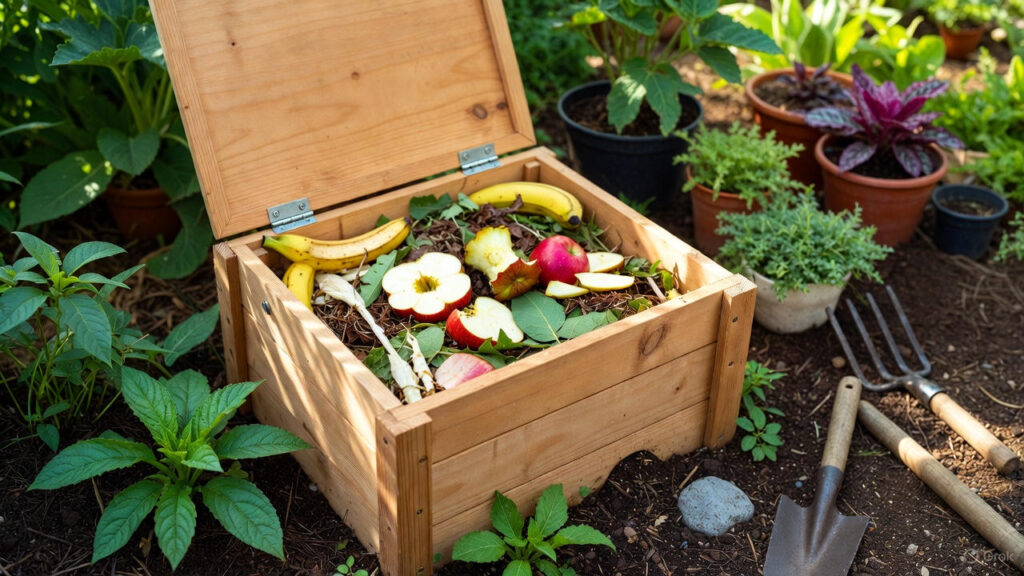
What You CAN Compost at Home – The Ultimate Yes List
The beauty of home composting is how much everyday waste you can repurpose. Here’s a detailed, categorized list of safe and effective materials.
Kitchen Scraps (Greens)
These are usually the easiest to collect and add valuable nitrogen:
- Fruit and vegetable peels, cores, trimmings, and leftovers (apples, carrots, potatoes, lettuce, etc.)
- Coffee grounds and paper filters
- Loose-leaf tea and staple-free tea bags
- Crushed eggshells (excellent calcium source; rinse and crush to speed breakdown)
- Stale bread, cereal, grains, and pasta (in moderation to avoid pest attraction)
- Herbs, spices, and nutshells (except black walnut)
Yard and Garden Waste
Perfect carbon or nitrogen sources straight from your landscape:
- Grass clippings (from untreated lawns only)
- Dry or fresh leaves (shred for faster breakdown)
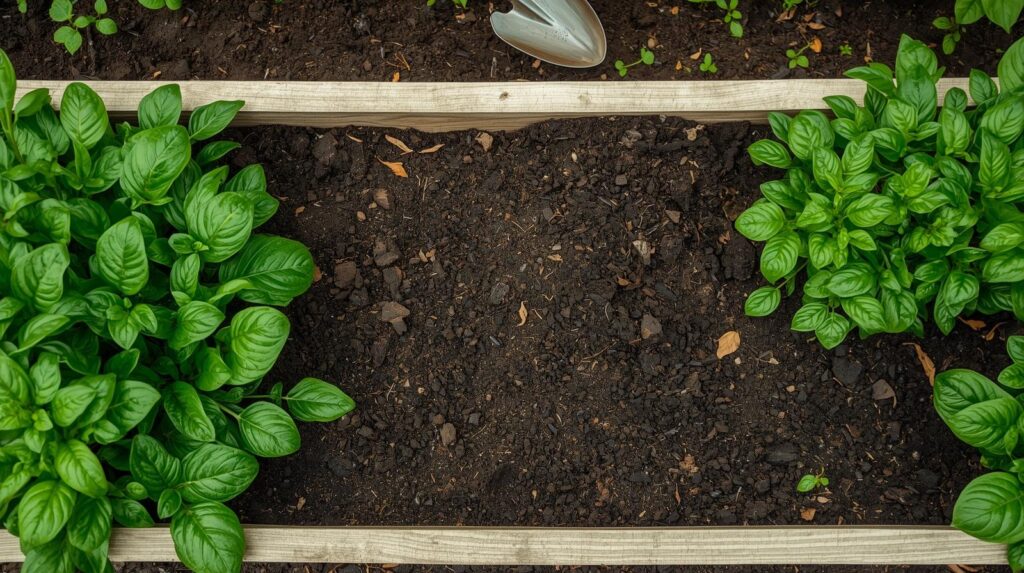
- Plant trimmings, spent flowers, and pruned branches (chopped small)
- Weeds without mature seeds
- Straw or hay (avoid hay treated with persistent herbicides)
Household Items (Surprising Additions)
Many common items are compostable if they’re natural and uncontaminated:
- Shredded plain cardboard and paper (remove tape and glossy coatings)
- Paper towels, napkins, and tissues (used for non-toxic cleanup)
- Natural fiber fabrics (100% cotton or wool scraps, cut small)
- Hair and pet fur (human or from brushing pets)
- Wood ash from untreated firewood (small amounts only—very alkaline)
- Untreated sawdust or wood shavings
Advanced or Conditional Yes Items
These can work well but require caution:
- Citrus peels and onions (in moderation; excess acidity can slow microbial activity)
- Corn cobs and stalks (chop or shred first)
- Avocado pits (break with a hammer or let decompose slowly)
- Small amounts of cooked vegetables without oil or salt
Expert Tip: Always chop or shred larger items. Smaller pieces increase surface area, allowing microbes to work faster—often cutting decomposition time in half.
What You Should NEVER Compost at Home – Avoid These Mistakes
While composting is forgiving, certain materials can create serious problems: bad odors, pest infestations, harmful pathogens, or toxic compounds that damage your plants. Knowing what to exclude is just as important as knowing what to include.
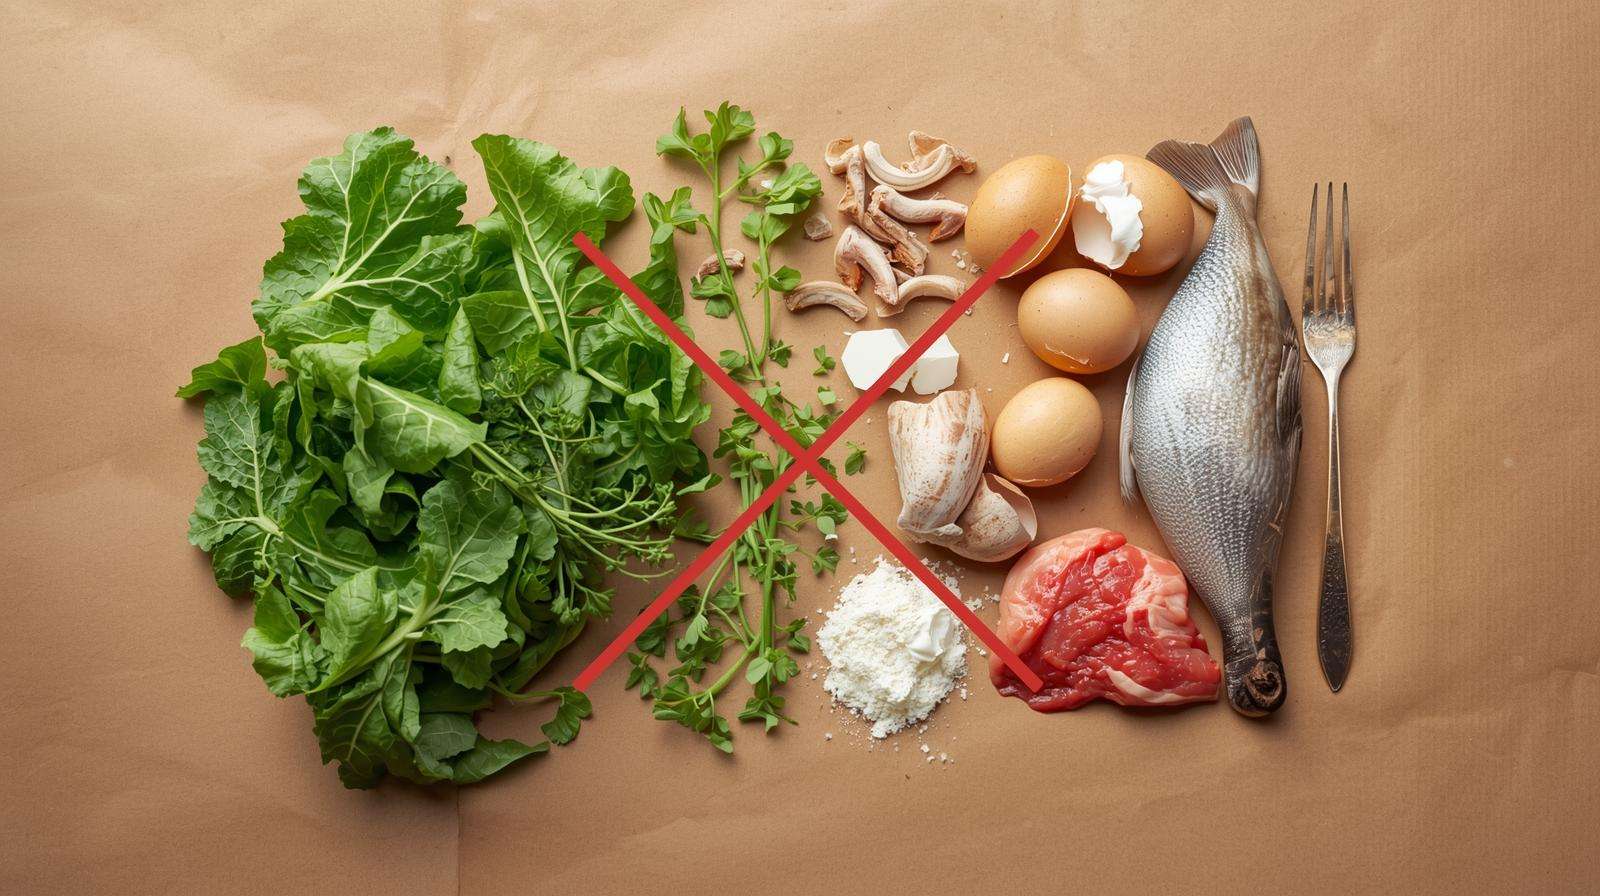
Items That Attract Pests or Create Odors
Animal-based products decompose anaerobically (without oxygen) in home systems, producing foul smells and drawing rodents, flies, raccoons, and other unwanted visitors:
- Meat, fish, poultry, and bones
- Dairy products (cheese, butter, yogurt, milk)
- Oils, grease, lard, and fatty foods
- Sauces, dressings, and mayonnaise
Even small amounts can cause issues. If you want to compost these, consider specialized methods like Bokashi (covered later), but they’re not suitable for standard backyard piles.
Disease and Pathogen Risks
Some materials can harbor human or plant pathogens that don’t reliably reach high enough temperatures in home compost to be destroyed:
- Dog, cat, or other carnivore/omnivore pet waste (high risk of parasites like Toxoplasma or E. coli)
- Human feces (unless using a certified humanure system with strict hot composting protocols)
- Diseased or insect-infested plants
- Weeds with mature seeds (many survive cold composting and sprout in your garden)
Toxic or Non-Biodegradable Materials
These either won’t break down or release substances harmful to soil biology and plants:
- Plastics, even those labeled “compostable” or “biodegradable” (most require industrial facilities with sustained high heat)
- Synthetic fabrics, rubber, or foam
- Glossy or coated paper (magazines, thermal receipts, stickers)
- Treated lumber, plywood, or particle board (contain preservatives and glues)
- Coal or charcoal ash (high sulfur and heavy metals)
- Yard waste treated with synthetic pesticides or herbicides
Slow or Problematic Items
These aren’t dangerous but can stall your pile or create imbalances:
- Large woody branches (take years to decompose unless chipped)
- Black walnut leaves, twigs, or hulls (contain juglone, a natural herbicide toxic to many plants)
- Excessive pine needles (very acidic and slow to break down)
Quick Reference Table: Yes / No / Maybe
| Material | Compost? | Notes |
|---|---|---|
| Fruit & vegetable scraps | Yes | Core of most piles |
| Coffee grounds | Yes | Great nitrogen source |
| Meat/fish/dairy | No | Attracts pests, causes odor |
| Pet waste (dog/cat) | No | Pathogen risk |
| Grass clippings (untreated) | Yes | Excellent green |
| Treated lawn clippings | No | Chemical contamination |
| Cardboard (plain) | Yes | Shred for faster breakdown |
| Glossy paper | No | Coatings don’t decompose |
| Eggshells | Yes | Crush for faster breakdown |
| Citrus peels | Maybe | In moderation; can be acidic |
| Wood ash (untreated) | Maybe | Small amounts only; very alkaline |
Setting Up Your Home Compost System – Options for Every Space
You don’t need a big yard to compost successfully. Modern options make it possible almost anywhere.
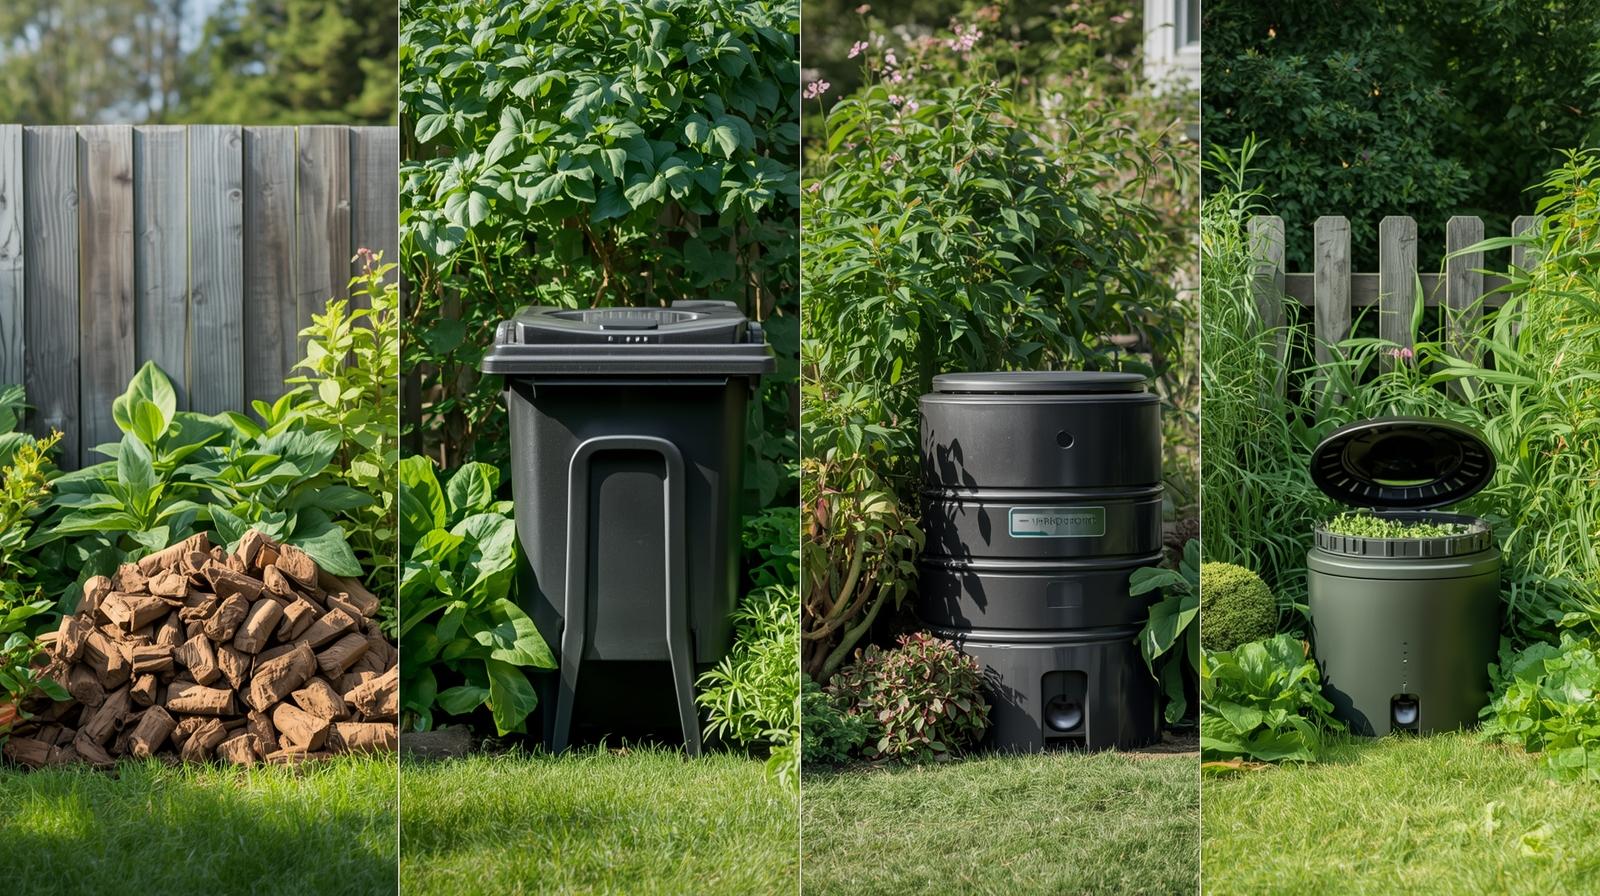
Choosing the Right Method
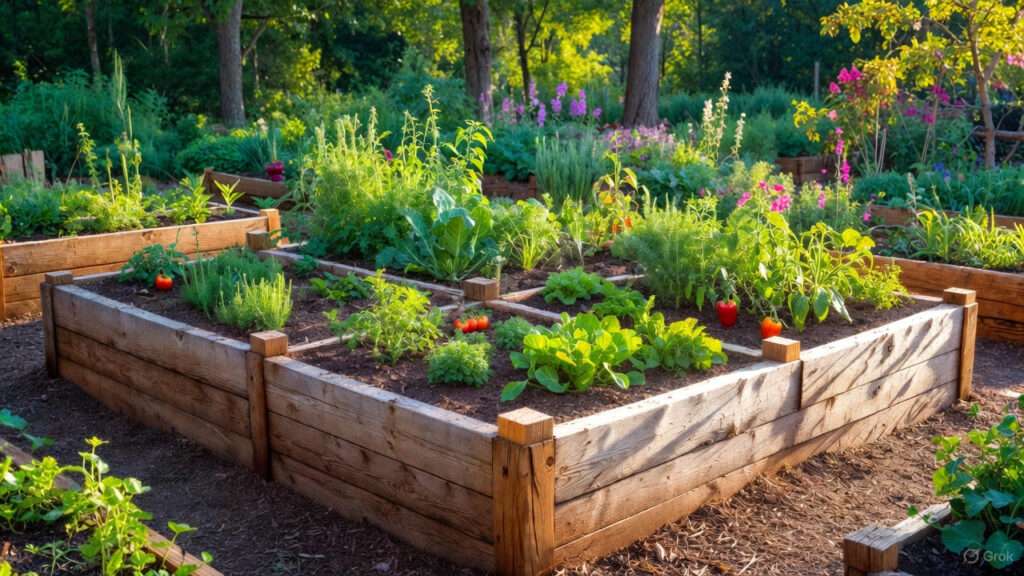
- Traditional Backyard Bin or Pile: Ideal for houses with yards. Use a stationary bin (plastic or wood) or a simple wire enclosure. Tumbling bins speed turning and are rodent-resistant.
- Vermicomposting (Worm Bins): Perfect for apartments, balconies, or garages. Red wigglers (Eisenia fetida) process kitchen scraps quickly in a compact bin. Produces both solid castings and liquid “worm tea” fertilizer.
- Bokashi Bran System: A fermented anaerobic method using inoculated bran. Allows composting of meat, dairy, and cooked foods indoors with minimal odor. Finished product must still be buried or added to a traditional pile to fully decompose.
- Trench or Direct Composting: Dig scraps directly into garden beds (great for fall leaves and light kitchen waste).
Location and Setup Tips
- Place in partial shade to prevent drying out in summer while retaining warmth.
- Ensure good drainage—elevate bins or choose a well-drained spot.
- Keep it convenient: Close enough to the kitchen for regular additions but far enough from the house to avoid any potential odors.
- Minimum effective size for hot composting: 3×3×3 feet (1 cubic meter). Smaller systems work well for cold composting or vermicomposting.
Tools You’ll Need
Basic setup:
- Compost bin or designated area
- Pitchfork or aerator tool for turning
- Kitchen scrap collection container (with lid and charcoal filter for odor control)
- Compost thermometer (highly recommended for hot composting)
- Shredder or lawn mower (for processing browns)
Step-by-Step Guide to Starting and Maintaining Your Compost Pile
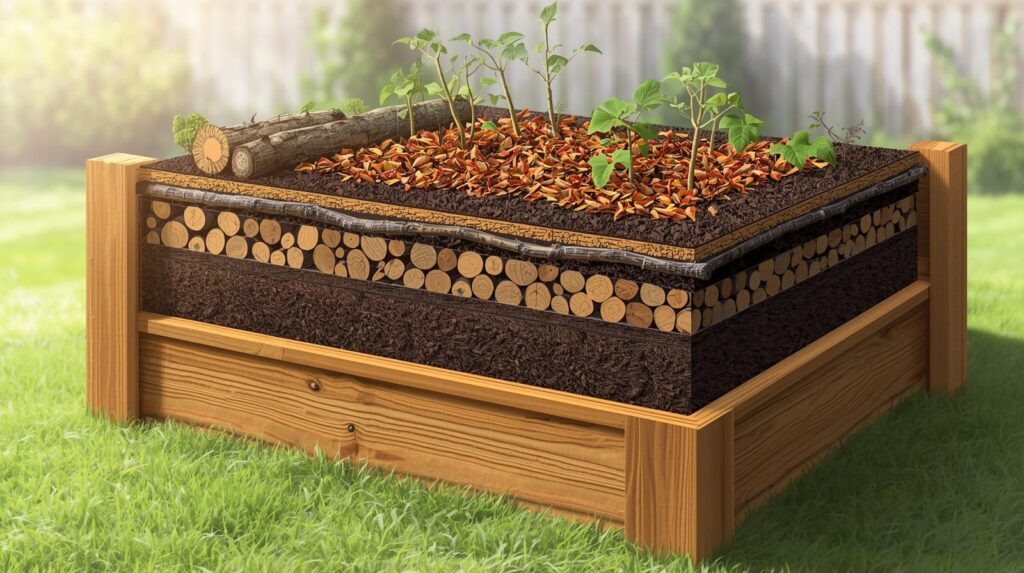
- Prepare the site: Clear the ground and add a base layer of coarse browns (twigs or straw) for airflow.
- Add layers: Alternate browns and greens, starting and ending with browns. Moisten each layer.
- Build volume quickly: Aim to reach critical mass (1 cubic yard) within a few weeks for best heat generation.
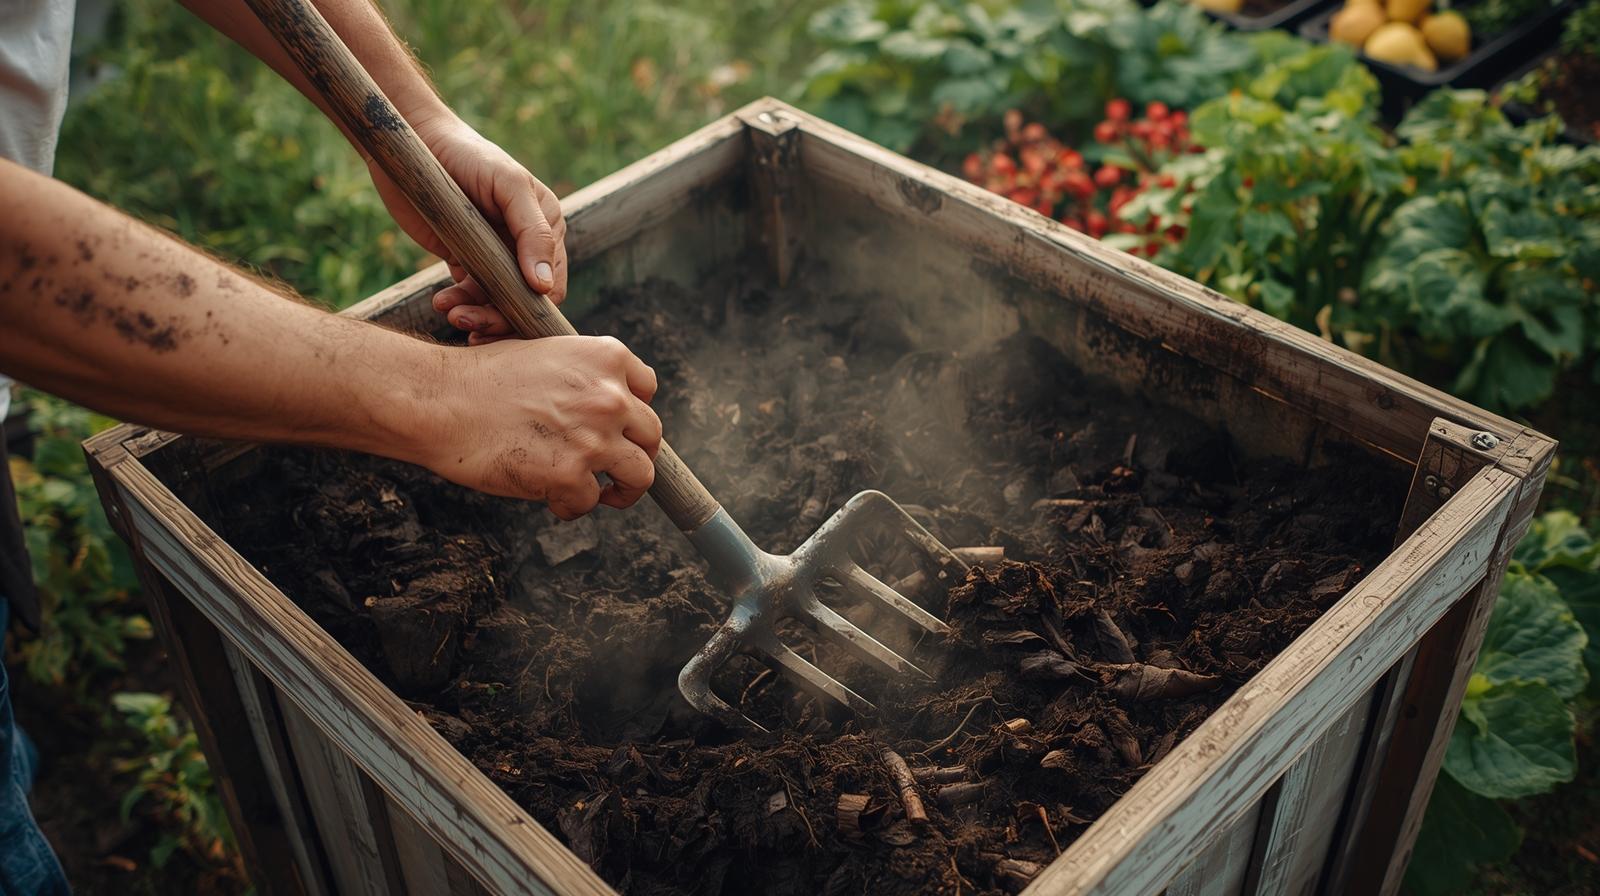
- Monitor and maintain:
- Turn the pile every 1–2 weeks (more often for hot composting).
- Check moisture weekly—add water if dry, browns if soggy.
- Track temperature: Ideal hot phase is 130–160°F for several days.
- Add material ongoing: Bury new kitchen scraps in the center to minimize pests and odors.
- Be patient: Hot piles can finish in 2–4 months; cold piles take 6–12 months.
Common Composting Mistakes and How to Fix Them
Even experienced composters encounter issues. Here’s how to diagnose and correct the most frequent problems:
- Pile smells bad (ammonia or rotten eggs): Too wet or too many greens. Fix: Add browns and turn immediately.
- Pile is too dry and not breaking down: Not enough greens or water. Fix: Add nitrogen-rich material and moisten thoroughly.
- Attracting flies or rodents: Exposed food scraps. Fix: Bury scraps deeper and cover with browns; consider a enclosed bin.
- Pile not heating up: Too small, wrong ratio, or too dry. Fix: Add greens/water, increase volume, or rebuild with better balance.
- Slow decomposition overall: Items too large or insufficient turning. Fix: Chop materials smaller and aerate more frequently.
Troubleshooting Table
| Symptom | Likely Cause | Solution |
|---|---|---|
| Foul odor | Excess greens / anaerobic | Add browns, turn pile |
| No heat | Imbalance or low volume | Adjust ratio, add material |
| Fruit flies | Exposed scraps | Cover with soil or browns |
| Pile too wet | Poor drainage / rain | Add browns, improve site drainage |
| Mushrooms growing | Normal (fungi at work) | No action needed |
Harvesting and Using Your Compost – Turning Scraps into Garden Gold
Finished compost is dark, crumbly, smells like fresh earth, and has no recognizable original materials.
- When it’s ready: Usually 2–12 months depending on method and management.
- Harvesting: Dig from the bottom of the pile or empty the bin. Screen out large unfinished pieces (return them to the new pile).
- Uses:
- Top-dress lawns and beds (½–1 inch layer)
- Mix into potting soil (up to 30%)
- Side-dress vegetables or trees
- Brew compost tea for foliar feeding
Store excess in sealed bins or bags in a cool, dry place—it keeps indefinitely.
Frequently Asked Questions (FAQs)
Can I compost citrus peels and onions? Yes, in moderation. Large quantities can make the pile too acidic or slow microbial activity. Chop them and balance with plenty of browns.
What if my compost pile smells? Almost always due to excess moisture or nitrogen. Turn it, add dry browns, and ensure good aeration.
Can I compost in winter? Yes—insulate the pile with straw or leaves, or move to a sheltered spot. Activity slows but continues.
How do I compost in an apartment? Use vermicomposting (worm bin) indoors or on a balcony. They’re odor-free when managed properly.
What’s the difference between home and industrial composting? Industrial facilities reach much higher temperatures (over 160°F sustained) and can process meat, dairy, and certified compostable plastics that home systems cannot.
Will composting attract rats or raccoons? Only if you add meat/dairy or leave scraps exposed. Stick to plant-based materials and bury scraps in the center.
Is it normal to see worms in my pile? Absolutely—earthworms and other macro-organisms are welcome helpers.
How much compost will I get? Typically 50–70% volume reduction. A full kitchen scrap bucket per week can yield several cubic feet of finished compost per year.
Conclusion
Starting home composting is one of the simplest, most rewarding steps you can take toward sustainable living and healthier gardening. By diverting kitchen scraps and yard waste from landfills, you’re not only reducing greenhouse gases but also creating the best possible amendment for your soil—completely free.
Remember the golden rules: balance greens and browns, maintain moisture and air, and avoid the forbidden items. Start small if you’re unsure—one bin, one bucket of scraps—and build from there. In a few months, you’ll be harvesting your own “garden gold” and watching your plants thrive like never before.
As someone who has guided countless gardeners through their first compost piles, I can promise you this: once you see the transformation from waste to rich, living soil, you’ll never look at banana peels or fallen leaves the same way again.
Happy composting!