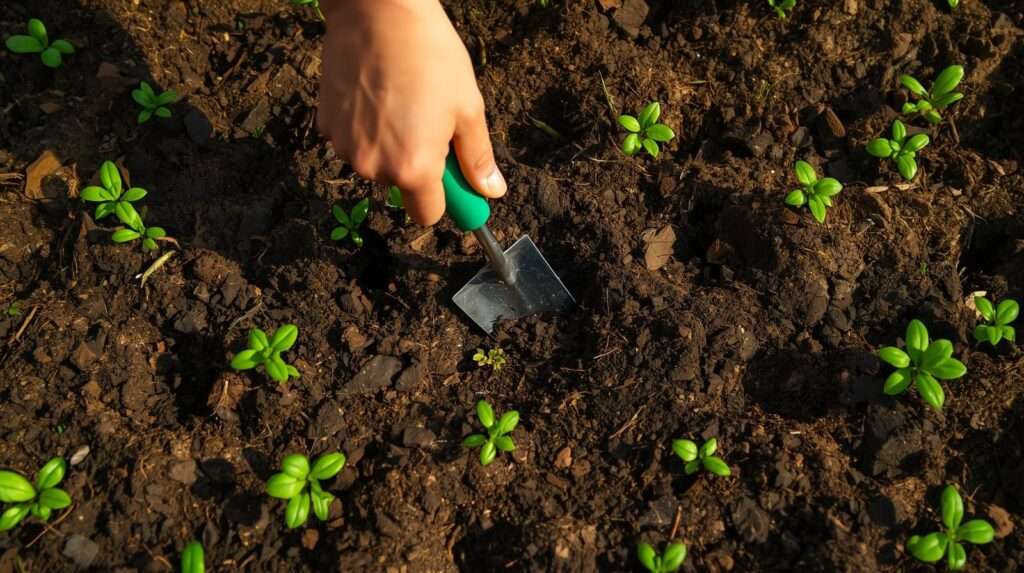
Congratulations—you’ve just closed on a piece of land for your dream garden! The vision of fresh vegetables, blooming flowers, or a thriving homestead is exhilarating. But as you stand on your new property, staring at overgrown brush, uneven terrain, or bare dirt, a wave of questions hits: Where do I even start? Can I plant right away? What if the soil is terrible or there are legal restrictions?
Rushing into planting without proper preparation is one of the biggest mistakes new landowners make. Poor soil leads to stunted crops, invasive weeds take over, drainage problems cause root rot, and—worst of all—you might discover zoning issues or boundary disputes that force you to stop everything. What to do first after buying land for a garden is not grabbing seeds and a shovel. It’s following a methodical, expert-backed sequence of steps to assess, protect, and prepare your land for long-term success.
As an agricultural consultant with over 20 years of experience helping homeowners, small farmers, and homesteaders transform raw land into productive gardens—drawing on guidelines from USDA Natural Resources Conservation Service, university cooperative extensions (including Oregon State, North Carolina State, and University of Minnesota), and real-world projects across diverse climates—this guide gives you the exact prioritized checklist I share with clients. Follow these steps, and you’ll avoid costly setbacks while building healthy, fertile soil that produces abundant harvests for years.
Let’s dive into the essential actions you should take immediately after purchase.
Step 1: Secure Legal and Administrative Basics
Before you drive a single stake into the ground, confirm that your land is truly yours to garden as planned. Legal oversights can derail projects months or years down the line.
Review Title, Survey, and Boundaries
Start with your closing documents. Verify the legal description matches the physical property. If the survey is older than 5–10 years or boundaries seem unclear (e.g., old fences don’t align), hire a licensed surveyor to mark corners and lines accurately. This typically costs $500–$2,000 depending on acreage and terrain, but it prevents neighbor disputes.
Walk the perimeter with the survey map in hand. Look for encroachments—neighbor structures or plantings crossing the line—and easements (utility or access rights). Resolve any issues through your title insurance or attorney early.
Understand Zoning and Land Use Regulations
Contact your county or municipal planning/zoning office within the first week. Ask specifically:
- Is residential or agricultural gardening permitted?
- Are there restrictions on structures (greenhouses, hoop houses, sheds over certain sizes)?
- Do HOA or covenant rules apply (common in rural subdivisions)?
- Are livestock, bees, or compost piles regulated?
Many rural areas offer agricultural tax exemptions (e.g., ag/timber valuation in some states) that significantly lower property taxes—but they often require minimum acreage in production and annual reporting. Missing deadlines can cost thousands.
Assess Access, Utilities, and Insurance
Confirm legal and physical access to the property (deeded easement vs. prescriptive). Note utility locations—call 811 (national “Call Before You Dig” service) to mark underground lines for free. This prevents accidental damage during future fencing or tilling.
Update your homeowner’s or rural property insurance policy. Standard policies may exclude agricultural activities or vacant land risks. Add coverage for tools, structures, and liability if you’ll have visitors or farm stands.
Research Water Rights and Sources

Water availability is make-or-break for gardening. Check county records or state water resources department for:
- Existing wells (permit, depth, yield test).
- Surface water rights (streams, ponds).
- Rainwater collection legality (allowed in most states now, but restrictions exist in a few).
- Groundwater regulations for new wells.
If water is limited, plan conservation strategies from day one.
Quick-Reference Checklist: Legal & Administrative Steps
| Task | Timeline After Purchase | Estimated Cost | Why It Matters |
|---|---|---|---|
| Review title & survey | Week 1 | $0–$2,000 | Prevents boundary disputes |
| Contact zoning office | Week 1–2 | $0 | Ensures gardening is allowed |
| Call 811 for utility marks | Before any digging | Free | Avoids damage & liability |
| Research water rights | Week 2–4 | $0–$500 (well test) | Secures irrigation source |
| Update insurance | Month 1 | Varies | Protects investment |
Step 2: Conduct a Professional Soil Test
Once legal foundations are solid, turn to the most critical gardening asset: your soil.
Healthy soil is alive—teeming with microbes, balanced in nutrients, and well-structured for root growth. Testing reveals exactly what you’re starting with and guides precise amendments.
Why Soil Testing is Essential
University extensions and USDA consistently rank soil testing as the #1 first step for new gardens. It measures:
- pH (acidity/alkalinity) – most vegetables prefer 6.2–6.8.
- Macronutrients (nitrogen, phosphorus, potassium).
- Micronutrients (calcium, magnesium, sulfur, iron, etc.).
- Organic matter percentage.
- Texture (sand/silt/clay ratio) and potential contaminants (lead, arsenic in old orchard sites).
Without data, you risk over- or under-fertilizing, wasting money and harming the environment.
How to Properly Collect and Submit Samples
Timing: Ideally test in fall or winter so amendments have time to react before spring planting. But test as soon as possible after purchase.
Tools needed: Clean stainless steel trowel or soil probe, plastic bucket, sample bags/boxes from lab.
Method:
- Divide property into zones based on visible differences (slope, vegetation, past use).
- From each zone, take 10–15 subsamples: scrape away surface debris, dig 6–8 inches deep for gardens (deeper for trees).
- Mix subsamples thoroughly in bucket, then fill lab container with composite.
- Label clearly and air-dry if required.
Where to send: Your local cooperative extension office often offers low-cost or free testing (search “[your county] soil testing”). Private labs like Waypoint Analytical or Logan Labs provide detailed reports for $20–$60.
Interpreting Results and Initial Amendments
Common findings on new land:
- Low organic matter (<3%) – add compost, cover crops.
- Acidic pH (<6.0) – apply lime (rate based on test).
- Low phosphorus – incorporate rock phosphate or organic sources.
Follow recommendations precisely—more is not better. Retest every 3–5 years or after major changes.
Step 3: Evaluate Site Conditions and Observe the Land
With legal hurdles cleared and soil test results on the way (or in hand), shift focus to understanding your land’s physical characteristics. Every plot has unique topography, microclimates, and challenges that influence what—and where—you can successfully grow.
Assess Topography, Drainage, and Sun Exposure
Begin with a site walk during different times of day. Use a smartphone app (like Sun Seeker or Planta) or simply note shadows to map sunlight patterns. Most vegetables and fruits need 6–8 hours of direct sun daily; fruit trees often require 8+. Identify full-sun areas for tomatoes/peppers, partial shade for leafy greens, and shaded spots for compost piles or resting benches.
Examine slopes and low spots. Gentle slopes aid drainage, but steep ones risk erosion. Low-lying areas may flood during heavy rains, leading to waterlogged roots and disease. On sloped land, plan contour rows or terraces early to retain soil and water.
Wind exposure matters too—prevailing winds can dry out soil quickly or damage tall plants. Note sheltered areas behind trees or hills for tender crops.
Identify Existing Vegetation and Potential Issues
Catalog what’s already growing:
- Beneficial natives or remnant prairie plants? Consider preserving patches for biodiversity.
- Invasive species (e.g., kudzu, Japanese knotweed, autumn olive)? Flag for immediate control.
- Healthy trees or shrubs worth keeping for shade, windbreaks, or wildlife?
Look for signs of past use: old dump sites, chemical spills, or compacted areas from machinery. Rocky outcrops or heavy clay subsoil will influence bed type (raised beds often solve these).
Test Drainage and Water Availability
Dig several 12–18 inch test holes across the site. Fill with water and time how long it takes to drain:
- Ideal garden soil: 1–2 inches per hour.
- Less than 1 inch/hour: Poor drainage—plan raised beds or drainage tiles.
- Faster than 6 inches/hour: Sandy—will need frequent irrigation and organic matter.
If relying on rainfall or limited wells, calculate needs early (e.g., a 1,000 sq ft garden may require 600–1,000 gallons/week in peak summer).
Expert tip: Spend at least one full season observing if possible. Visit during heavy rain to see water flow, in spring for natural emergence, and summer for heat stress patterns. This “year of observation” prevents expensive redesigns later.
Step 4: Clear and Prepare the Land Safely
Only after assessment do you begin physical clearing. The goal is minimal disturbance to preserve topsoil structure and microbial life.
Sustainable Clearing Methods
Avoid heavy tillage on new land—it brings weed seeds to the surface and destroys soil aggregates. Preferred methods:
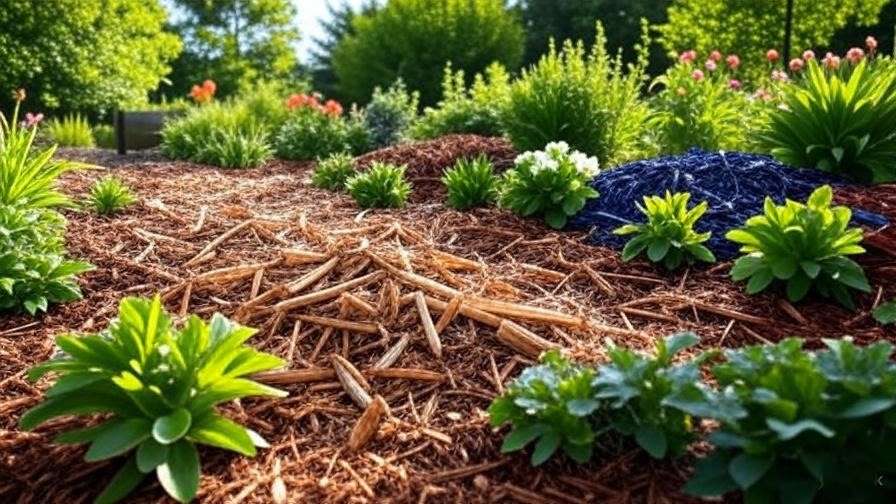
- Smothering (sheet mulching): Lay cardboard or landscape fabric, topped with 6–12 inches of wood chips, compost, or straw. Kills grass/weeds without chemicals; builds soil as it decomposes. Takes 6–12 months but excellent for no-till gardens.
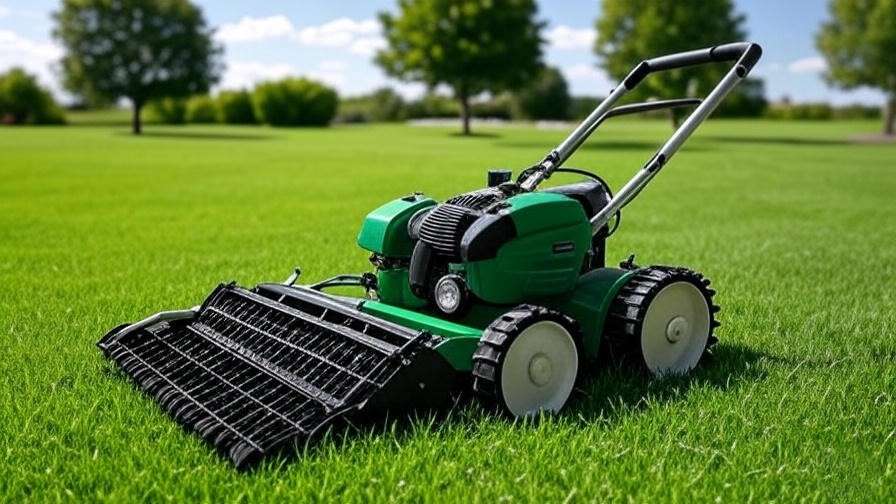
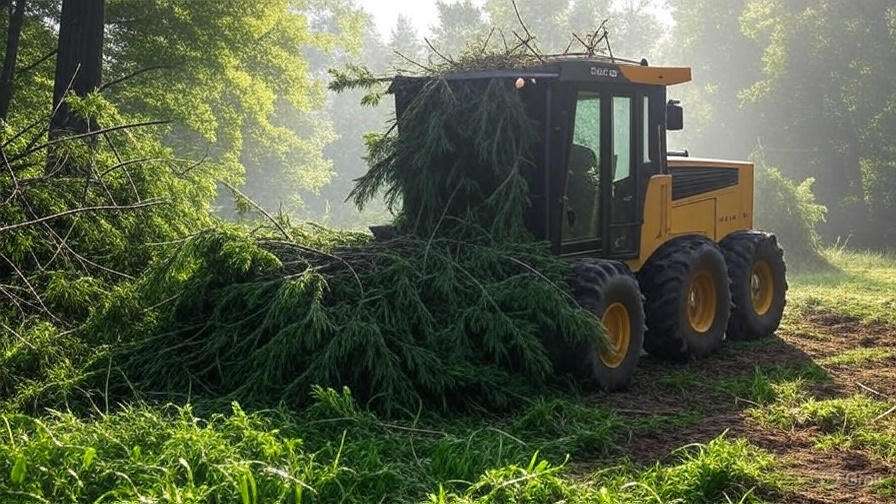
- Manual or light mechanical: Use brush cutters, scythes, or small tractors with flail mowers for initial cutting. Rent goats or pigs for eco-friendly brush removal on larger plots.
- Selective removal: Keep desirable trees/shrubs; remove only what blocks garden areas.
Never burn brush piles without permits and fire safety measures.
Weed and Pest Management Initially
Focus on prevention:
- Solarize stubborn areas: Clear plastic over moist soil in summer kills weeds/seeds via heat.
- Plant fast-growing cover crops (buckwheat, rye, clover) in cleared zones to outcompete weeds and add organic matter.
- Monitor for early pest signs (deer trails, vole tunnels) and plan fencing or repellents.
Erosion Control Measures
On any slope >3%, install immediate controls:
- Temporary silt fencing or straw wattles along contours.
- Seed fast-germinating annual rye or native grasses.
- Mulch bare soil heavily.
USDA NRCS offers cost-share programs (EQIP) for erosion control on agricultural land—check eligibility early.
Safety note: Hire licensed professionals for large tree removal or heavy equipment operation. Wear proper PPE and check for poison ivy/oak during clearing.
Step 5: Plan Your Garden Layout and Long-Term Vision
With land cleared and understood, design a layout that maximizes productivity and minimizes future work.
Design Principles for Productivity
Key considerations:
- Orientation: Align rows north-south for even sunlight exposure.
- Wind and sun: Place tall crops (corn, sunflowers, trellised beans) on the north side to avoid shading shorter plants.
- Access paths: Permanent 18–24 inch paths (mulched or grass) prevent soil compaction.
- Bed types:
- In-ground rows: Best for good native soil.
- Raised beds (8–12 inches high): Ideal for poor drainage, heavy clay, or contaminated sites.
- Keyhole or mandala designs: Efficient for small plots.
Incorporate companion planting and crop rotation zones from the start to reduce pests/diseases.
Start Small and Scale Up
Resist the temptation to cultivate everything year one. Begin with 100–400 square feet (e.g., four 4×8 raised beds or equivalent rows). Choose easy, high-value crops:
- Leafy greens, radishes, bush beans, zucchini.
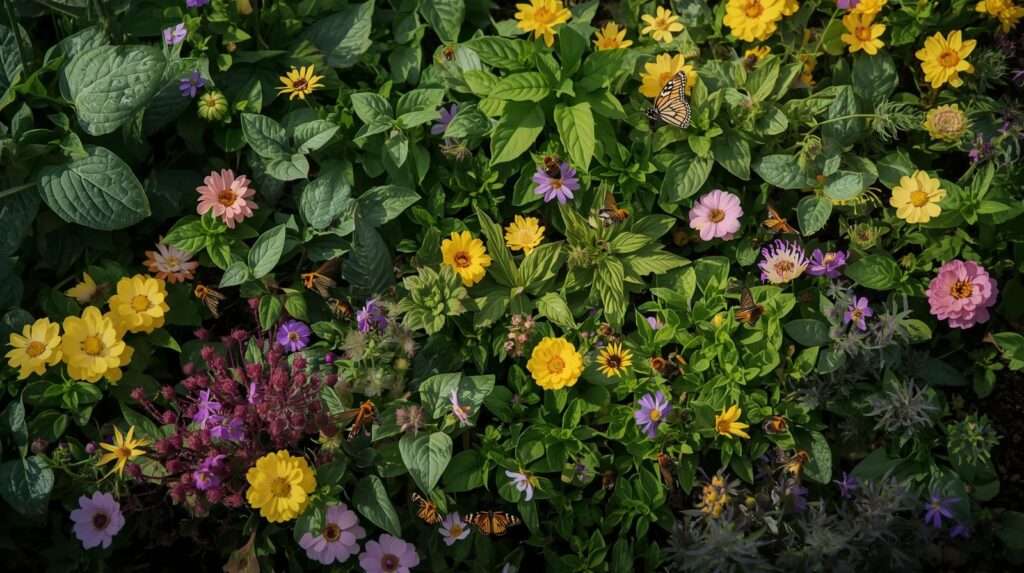
- Herbs and flowers for pollinators.
Success breeds confidence and allows soil improvement observation.
Incorporate Sustainability
Plan permanent features:
- Compost bins or piles near garden.
- Rainwater catchment (gutters on sheds to barrels or cisterns).
- Pollinator strips or hedgerows.
- Perennial borders (berries, asparagus, fruit trees) placed where they won’t interfere with annual beds.
Quick-Reference Checklist: Overall First Steps Timeline
| Step | Ideal Timeline | Priority Level | Estimated Cost Range |
|---|---|---|---|
| Legal/administrative | Weeks 1–4 | Critical | $0–$3,000 |
| Soil testing | Months 1–3 | Critical | $20–$150 |
| Site evaluation/observation | Ongoing, minimum 1 season | High | $0–$200 (apps/tools) |
| Clearing & prep | Months 3–12 | High | $200–$5,000+ |
| Layout planning & planting | After soil amendments react | Final | Varies |
Expert Tips and Common Mistakes to Avoid
- Mistake: Planting immediately → leads to failure and discouragement. Fix: Patience pays off.
- Mistake: Over-tilling → destroys soil structure. Fix: Adopt no-till or minimal till.
- Mistake: Ignoring water → drought stress kills crops. Fix: Secure source and irrigation plan early.
- Pro tip: Document everything—photos, test results, maps. This becomes invaluable for future management and troubleshooting.
Real-world example: A client in the Midwest bought 5 acres with “rich farmland” history. Rushed planting revealed severe compaction and low pH—crops failed. After following this sequence (soil test → lime/cover crops → raised beds), yields tripled in year three.
Frequently Asked Questions (FAQs)
How soon after buying land should I test the soil? Ideally within the first 1–3 months. Fall/winter testing allows amendments to integrate before spring.
What if my soil test shows major problems (e.g., contamination or extreme pH)? Raised beds with imported soil/compost are safest for edibles. Consult extension specialists for remediation options.
Do I need permits for a simple vegetable garden? Usually not for in-ground or small raised beds, but check local rules for structures, water diversion, or commercial sales.
How much should I budget for these initial steps on 1–5 acres? $500–$5,000 typical (survey, testing, basic clearing, amendments). Larger or challenging sites cost more.
Is this process different for small urban lots vs. large rural acreage? Core steps remain the same, but urban lots often face more zoning/HOA scrutiny and contamination risks; rural focuses more on water rights and erosion.
Turning raw land into a thriving garden is one of the most rewarding journeys in agriculture—but success depends on doing the right things first. By securing legal foundations, testing and understanding your soil, evaluating site conditions, clearing sustainably, and planning thoughtfully, you lay the groundwork for decades of abundant harvests.
Don’t let excitement override preparation. Follow these expert-recommended steps, consult your local cooperative extension or NRCS office for region-specific advice, and start small. Your future self—and your dinner table—will thank you.