Struggling with dry patches in your garden while other areas stay soggy? Tired of spending hours every week hauling hoses or watching your water bill climb during the hot season? Many beginners face these exact frustrations — uneven watering, wasted time, and disappointing plant growth, especially in variable climates with erratic rainfall.
Beginner drip irrigation offers a simple, highly effective solution. This low-pressure system delivers water slowly and precisely directly to the roots of your plants, mimicking natural soil moisture without waste.
By following this easy step-by-step guide, you can set up your own beginner drip irrigation system, potentially saving 50-70% on water usage compared to traditional methods like flood or sprinkler irrigation, while growing healthier, more productive plants with less effort.
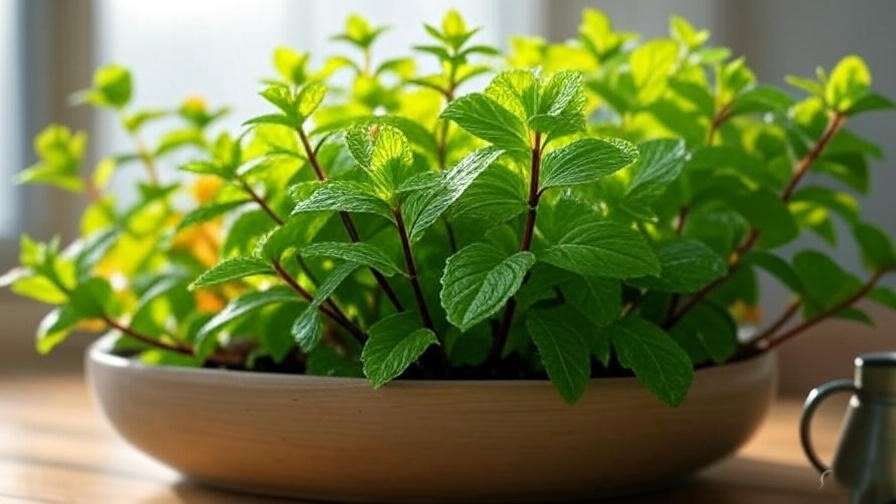
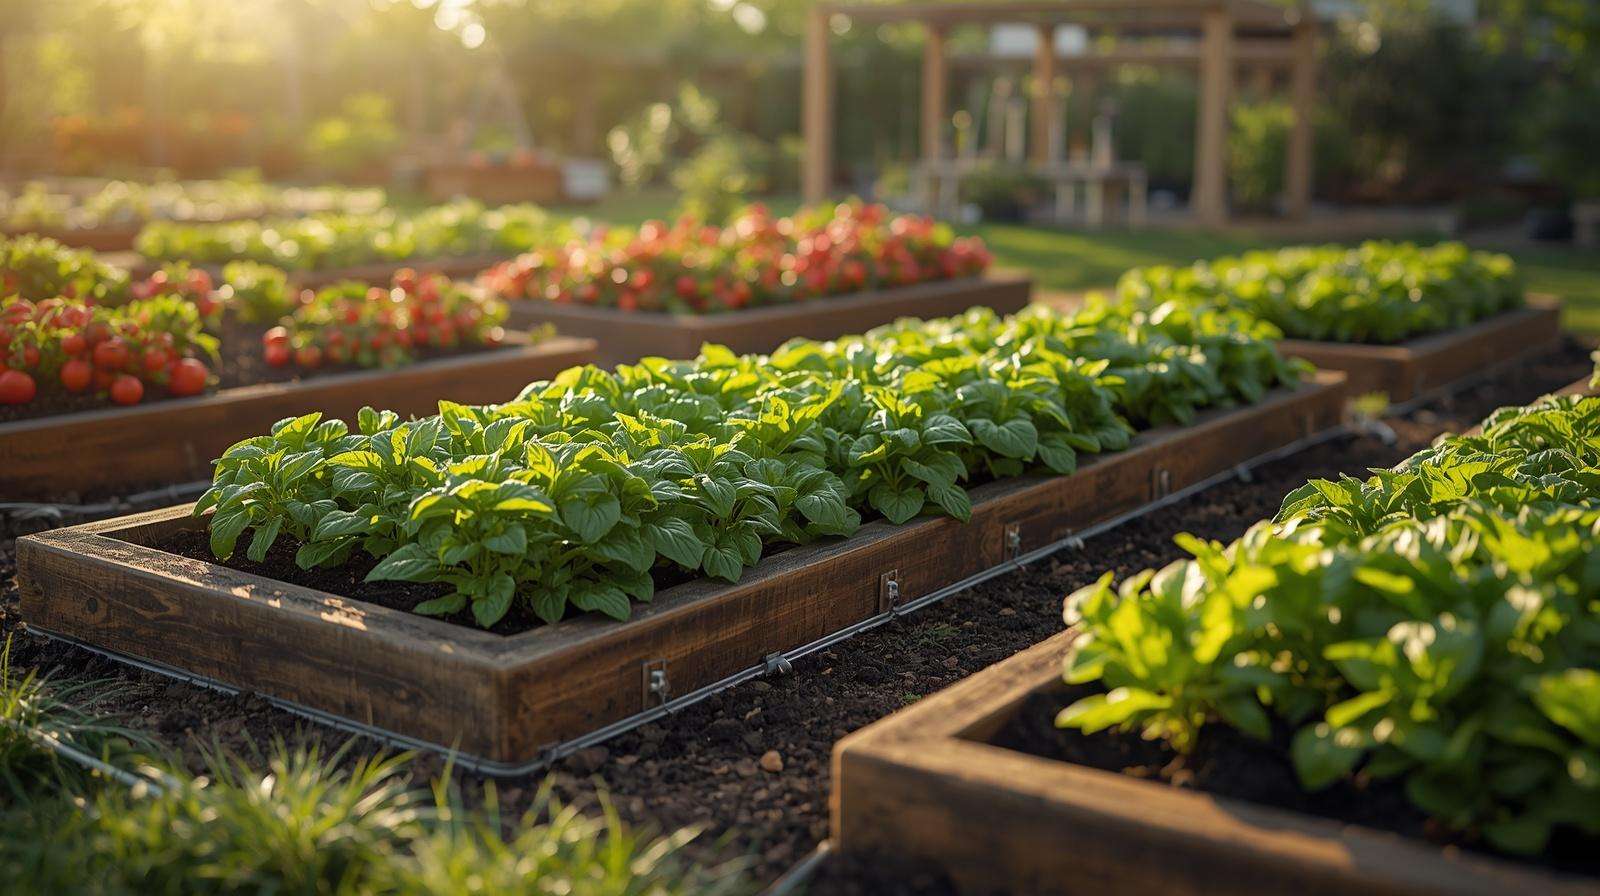
Whether you have a small backyard vegetable garden, raised beds, container plants, or a modest homestead plot, this comprehensive guide is written for complete beginners. No prior experience is needed. You’ll learn how to plan, assemble, install, maintain, and troubleshoot a reliable drip system that saves water, reduces weeds and diseases, cuts labor, and boosts yields.
In the following sections, we’ll cover everything from understanding the basics and choosing components to detailed installation steps, common mistakes to avoid, and long-term care tips. By the end, you’ll have the confidence and practical knowledge to build a system tailored to your garden — and watch your plants thrive while conserving precious water.
What Is Drip Irrigation and Why Beginners Should Start With It?
Drip irrigation, also known as trickle or micro-irrigation, is a method that applies water slowly through a network of tubes and emitters (small outlets) placed near plant roots. Unlike sprinklers that spray water broadly or flood irrigation that soaks large areas, drip systems target the root zone with precise, low-volume delivery — typically 0.5 to 2 gallons per hour (GPH) per emitter.
This targeted approach minimizes evaporation, runoff, and overspray, making it one of the most water-efficient irrigation technologies available. For beginners, drip irrigation stands out because it is forgiving, scalable, and requires minimal tools or technical skills to get started.
Why Drip Irrigation Is Perfect for Beginners
- Simplicity: You can start with a basic kit connected to a garden faucet and expand later.
- Low learning curve: Installation uses simple fittings and basic hand tools like scissors or a hole punch.
- Visible results quickly: Plants often show improved growth within weeks due to consistent soil moisture.
- Flexibility: Works well for raised beds, in-ground rows, containers, and even vertical gardens.
- Cost-effective entry: A small DIY starter system can cost as little as $25–$150, depending on coverage area.
Drip systems reduce labor dramatically. Once set up with a timer, you can automate watering and free up hours previously spent manually watering.
Benefits of Beginner Drip Irrigation
The advantages go far beyond convenience:
- Significant water savings: Studies and field reports show drip irrigation can reduce water use by 50–70% compared to conventional methods by cutting evaporation and delivering water only where needed. In water-scarce regions or during dry spells, this efficiency is a game-changer.
- Healthier plants and higher yields: Consistent moisture at the root level promotes deeper, stronger root systems. Many gardeners report 20–90% yield improvements depending on crops and conditions, along with reduced stress on plants.
- Fewer weeds and diseases: Surface soil stays drier, discouraging weed germination. Foliage remains dry, lowering the risk of fungal issues like powdery mildew or blight.
- Fertigation potential: You can easily inject soluble fertilizers through the system (fertigation), ensuring nutrients reach roots directly and reducing waste.
- Time and cost savings: Automation reduces daily chores. Over time, lower water and labor bills plus better harvests deliver strong returns on a modest initial investment.
- Environmental benefits: Reduced runoff means less nutrient pollution in waterways. It’s a sustainable choice that aligns with water conservation goals.
Real-World Example: A small-scale vegetable grower in a tropical climate switched from hand-watering to a basic drip setup on 200 square feet of raised beds. Within one season, they cut watering time from 4–5 hours weekly to under 30 minutes (mostly monitoring the timer), saved noticeably on their water bill, and harvested nearly double the tomatoes and leafy greens due to steady moisture without overwatering.
These benefits make beginner drip irrigation one of the smartest upgrades for home gardeners and small farmers looking to garden more efficiently.
Essential Components of a Beginner Drip Irrigation System
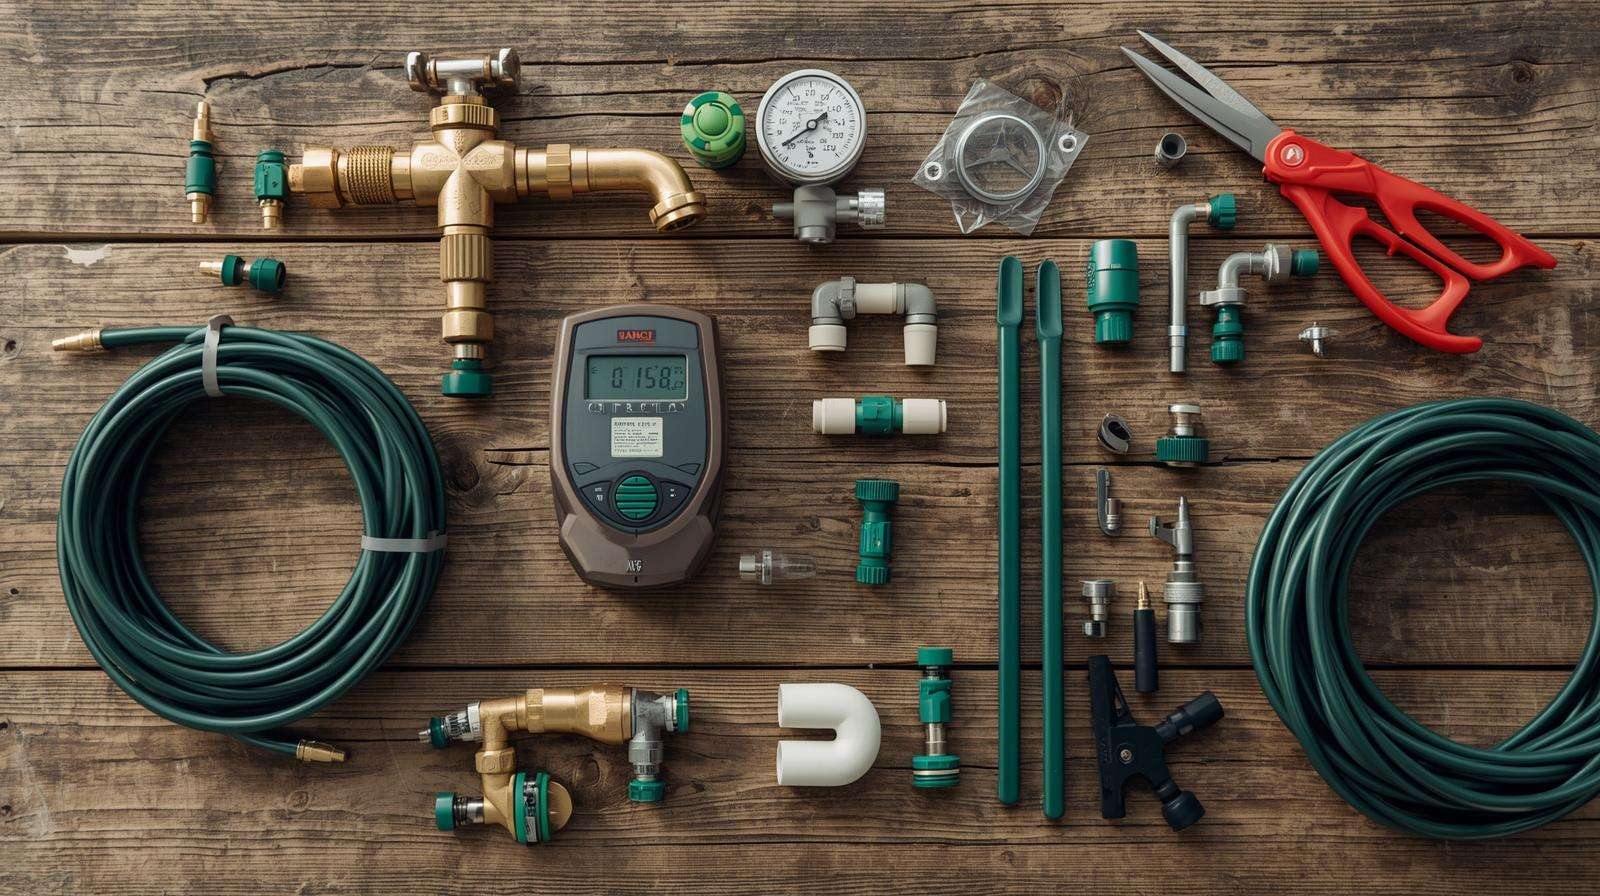
Understanding the parts is key to building a reliable system. Here’s a breakdown of what you’ll need:
Key Components You’ll Need
- Water Source Connection: Garden faucet (hose bib) is the most common starting point for beginners.
- Backflow Preventer: Stops dirty garden water from contaminating your household supply — a critical safety feature.
- Filter: Screen or disc filter (at least 150–200 mesh) catches sediment and debris that could clog emitters.
- Pressure Regulator: Most household water pressure (40–80 PSI) is too high for drip systems, which operate best at 15–30 PSI. A regulator prevents damage and ensures even flow.
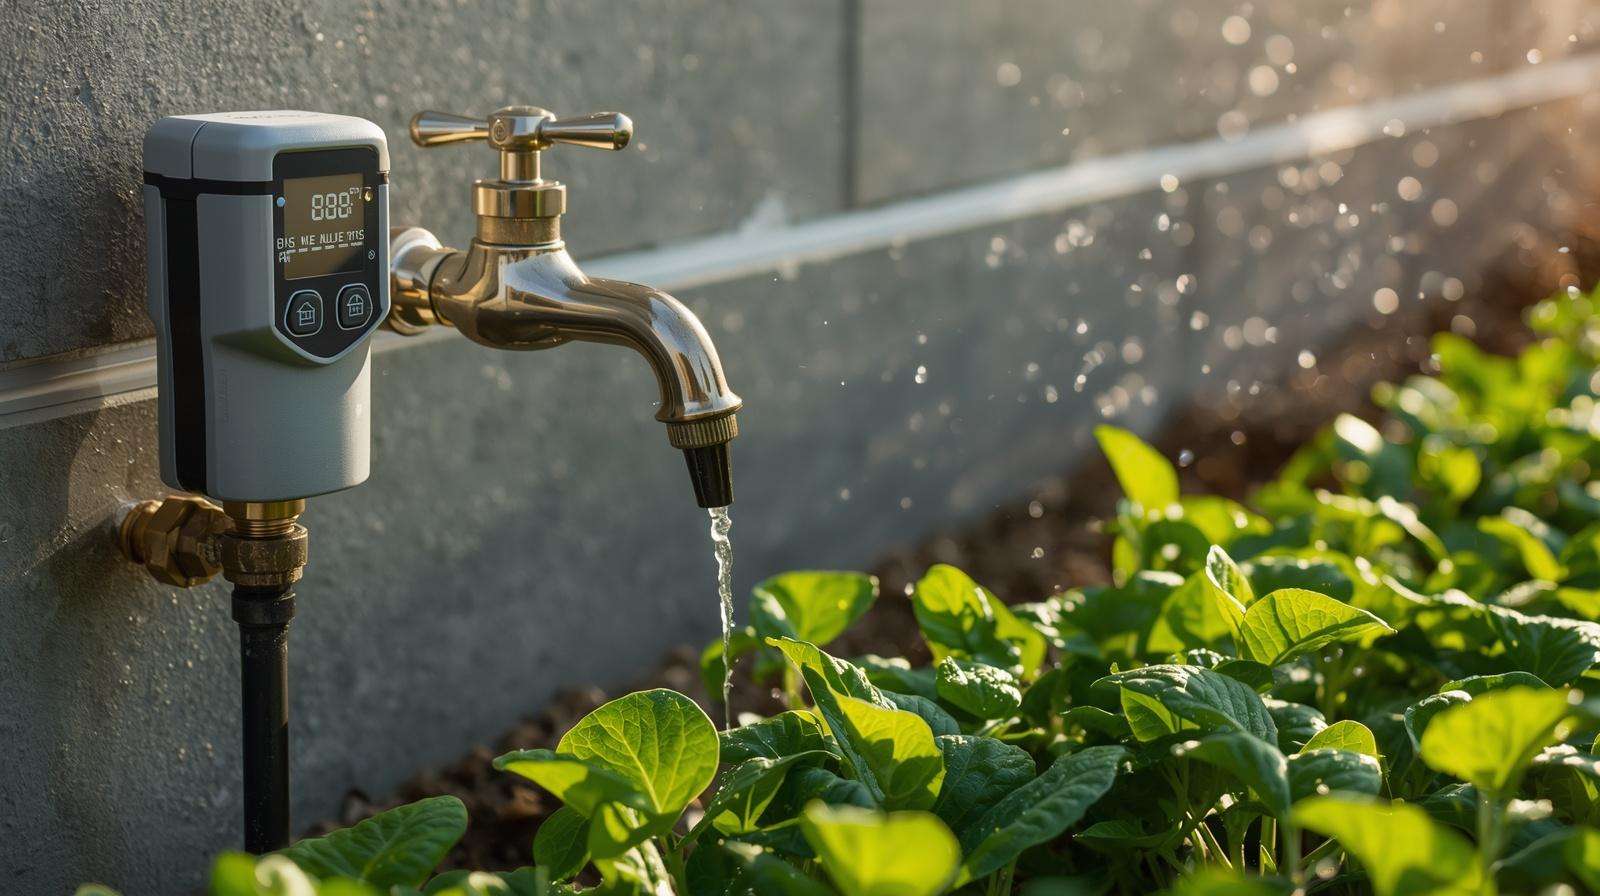
- Timer: Manual or battery/digital timer (or smart Wi-Fi timer for advanced control) automates watering schedules.
- Main Supply Tubing: Usually ½-inch polyethylene (poly) tubing — the “backbone” that carries water from the source to your garden beds.
- Distribution Tubing / Drip Tape / Emitter Tubing: ¼-inch tubing or inline drip tape for delivering water to plants.
- Emitters / Drippers: Small devices that control flow rate (common options: 0.5 GPH, 1 GPH, or 2 GPH). Choose pressure-compensating emitters for consistent output on sloped ground.
- Fittings and Connectors: Tees, elbows, couplers, end caps, and stakes to secure lines.
- Optional but Recommended: Fertilizer injector, rain sensor, soil moisture sensor, goof plugs (for repairing accidental holes), and mulch to cover lines.
Recommended Starter Kit vs. Buying Individually
For true beginners, a pre-packaged DIY drip irrigation kit is often the easiest and most affordable entry point. Basic kits covering 100–300 square feet typically range from $25–$150 in 2026 pricing, while larger or more complete systems can cost $200–$600 depending on quality and coverage.
Pros of Kits: Everything included, compatible parts, quick start. Cons: May need customization for odd-shaped gardens.
Buying components separately gives more flexibility but requires careful matching of sizes and flow rates.
Tools Required (Minimal for Beginners):
- Sharp scissors or tubing cutter
- Hole punch tool (for inserting emitters)
- Mallet or hammer (for stakes)
- Measuring tape
- Optional: Adjustable wrench for faucet connections
Keep your setup simple at first. You can always expand by adding more tubing and emitters later.
Planning Your Beginner Drip Irrigation System
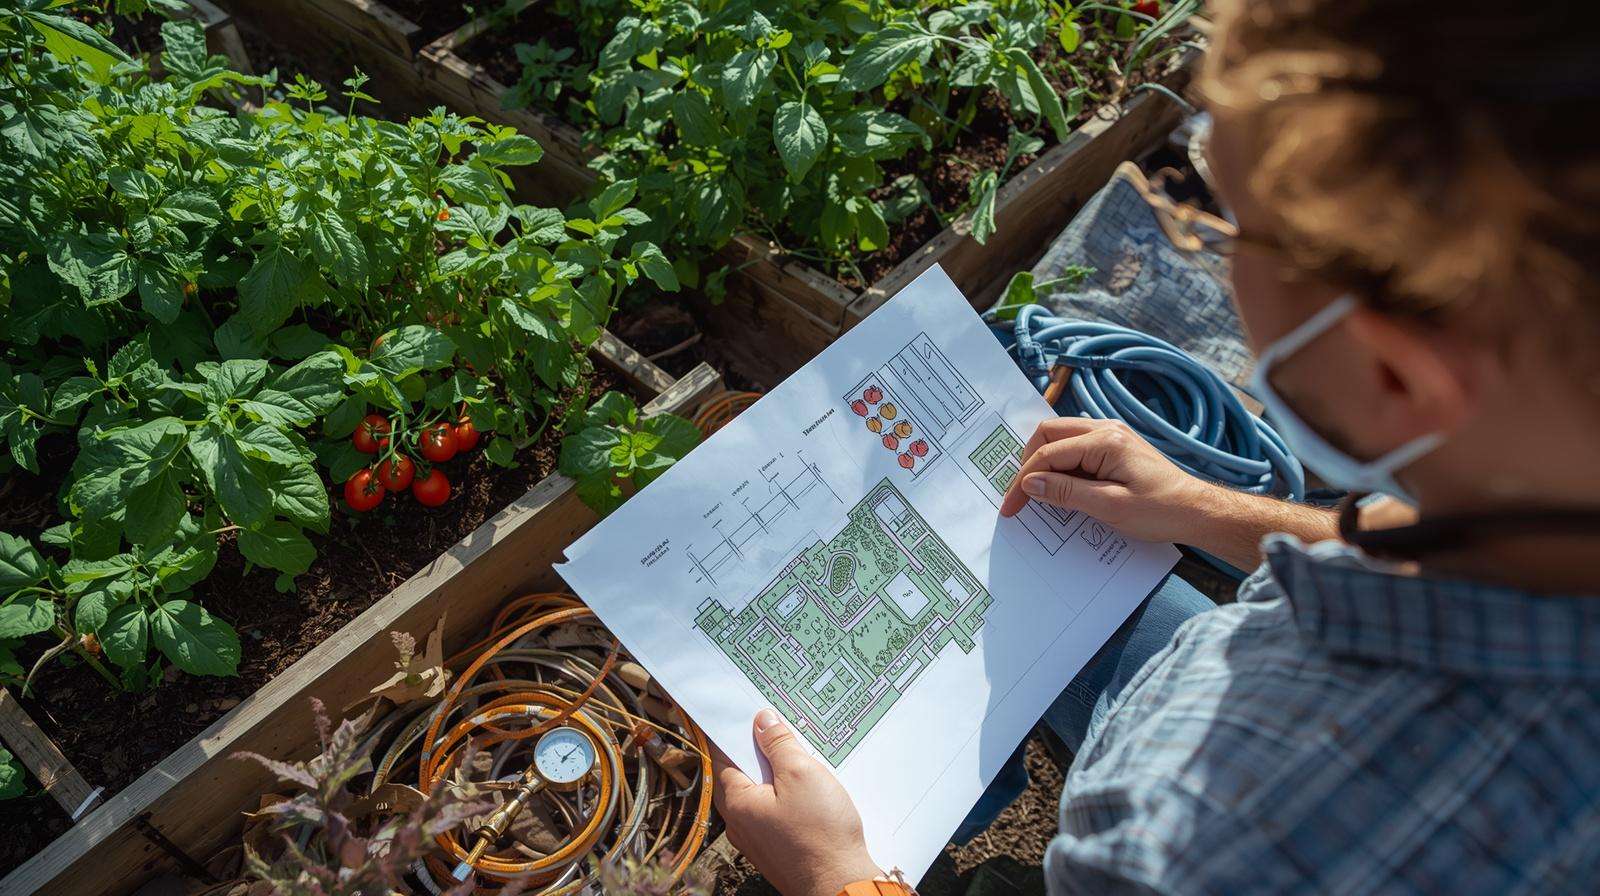
Proper planning prevents most installation headaches and ensures efficient performance.
Step-by-Step Planning Process
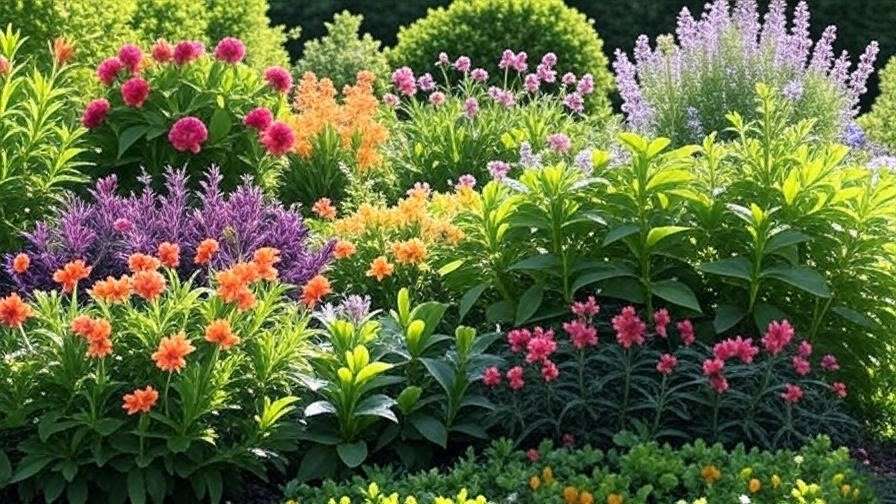
- Assess Your Garden Layout and Plant Types Sketch your garden on paper or use a simple app. Group plants with similar water needs (e.g., thirsty tomatoes and cucumbers together, drought-tolerant herbs separately).
- Measure Water Pressure and Flow Rate Check your faucet’s pressure with a gauge (inexpensive at hardware stores). Test flow rate by timing how many gallons fill a bucket in one minute. This helps size your system correctly.
- Calculate Water Needs Estimate daily water requirements based on crop type, climate, and soil. Vegetables in hot weather may need 1–2 inches of water per week, delivered slowly.
- Sketch Layout Plan main lines along bed edges or between rows. Run laterals (branch lines) perpendicular to plants. Keep ½-inch main lines under 200 feet per zone to maintain pressure.
- Choose Emitter Spacing and Flow Rates
- Sandy soil: Closer spacing (6–12 inches), higher flow if needed.
- Clay soil: Wider spacing (12–18 inches), lower flow to avoid runoff.
- Common recommendation: 1 GPH emitters every 12 inches for many vegetables.
Plant-Specific Watering Tips
- Leafy greens and shallow-rooted crops: 0.5–1 GPH emitters, closer spacing.
- Tomatoes, peppers, eggplants: 1–2 GPH per plant, often 2–4 emitters per mature plant.
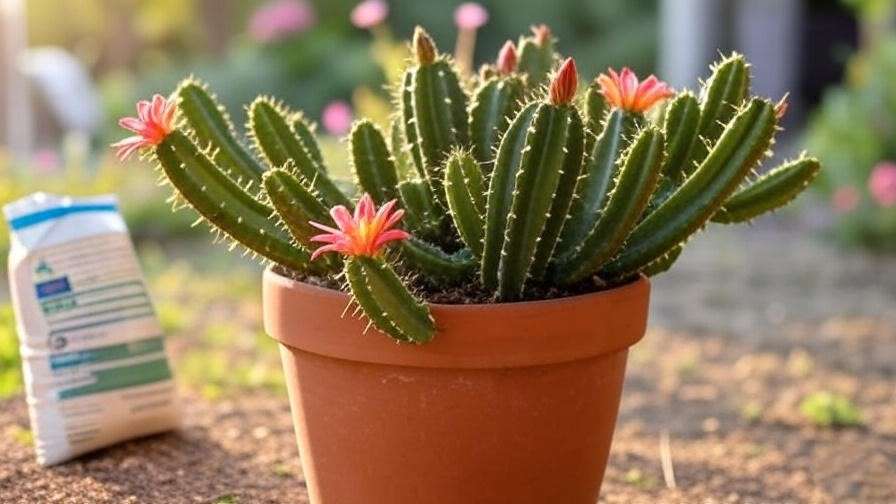
- Containers or pots: One or two adjustable drippers per pot.
- Trees/shrubs: Multiple emitters in a circle around the drip line as the plant grows.
Budget Planning Start small — irrigate one or two beds first. A basic 200 sq ft system might cost $80–$200 in parts. Factor in expansion: quality components last 5–10 years with proper care.
Easy Step-by-Step Installation Guide
This is the heart of the guide — clear, beginner-friendly instructions.
Step 1: Prepare Your Water Source
- Shut off the faucet.
- Attach the backflow preventer, then the filter, pressure regulator, and timer in that order (filter before regulator in most setups).
- Connect the ½-inch main tubing to the outlet using the proper adapter.
Flush the line briefly to clear any debris.
Step 2: Lay Out the Main Supply Line
- Roll out the ½-inch poly tubing along your planned path.
- Secure it with stakes every few feet, keeping it straight but allowing some slack for expansion/contraction.
- Use elbows or tees to branch off where needed.
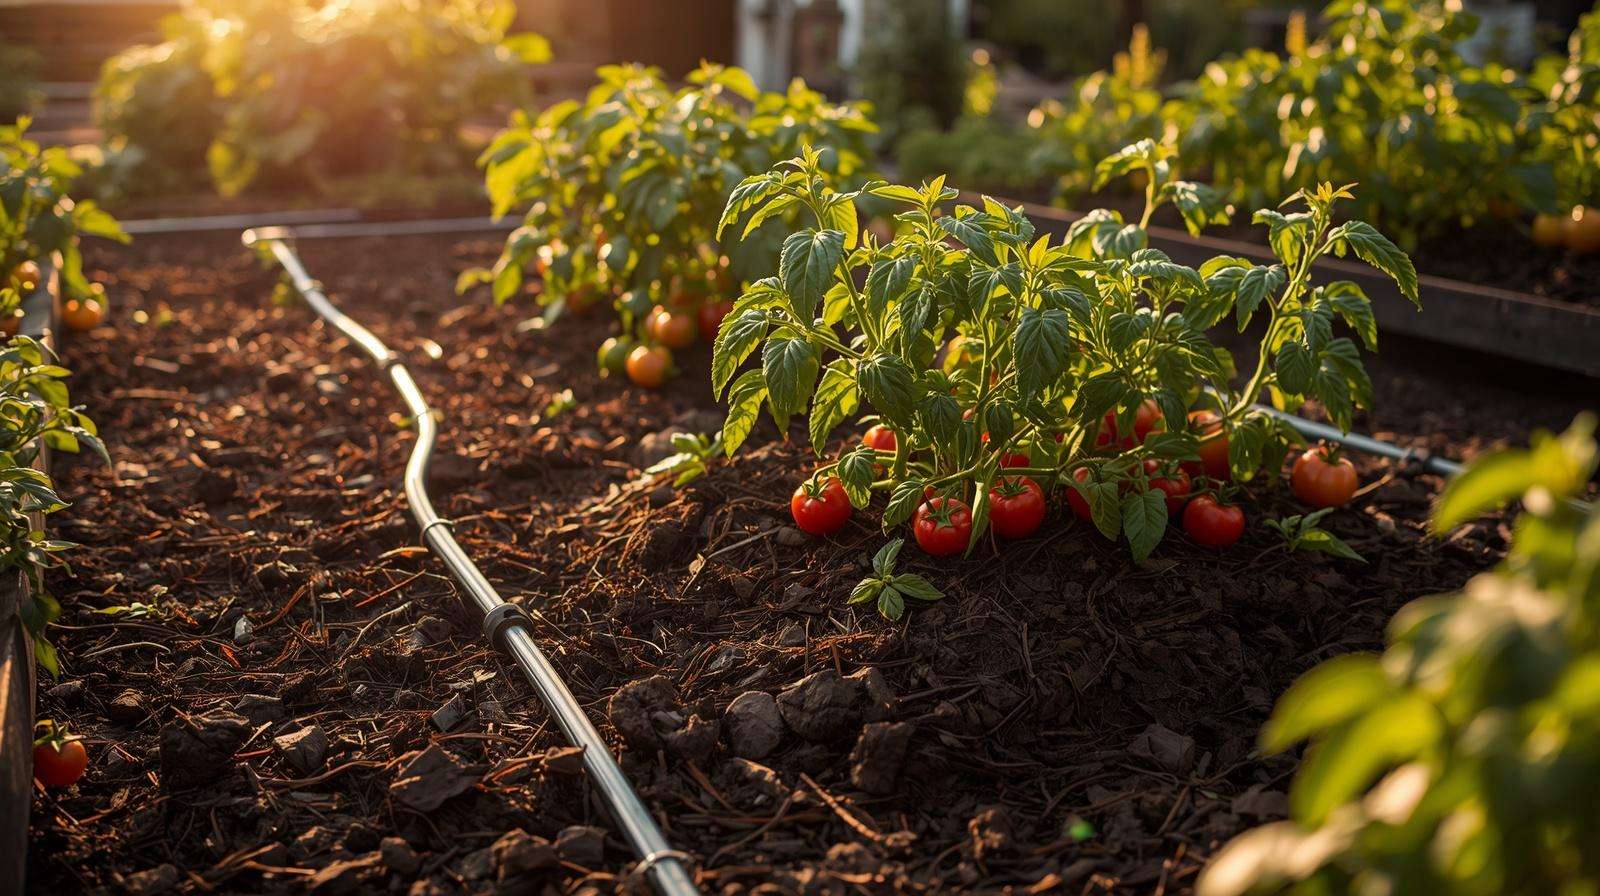
Step 3: Install Branch Lines and Emitters
- For rows: Use drip tape or ¼-inch tubing with inline emitters.
- Punch holes in the main line and insert barbed connectors or emitters.
- Run ¼-inch lines to individual plants or along rows.
- Place emitters 6–12 inches from plant stems (avoid touching the base to prevent rot).
- Cap the ends of all lines.
Variations:
- Raised beds: Loop tubing in a grid or snake pattern.
- Containers: Use individual drippers or micro-tubing to each pot.
- In-ground: Bury main lines slightly or cover with mulch.
Step 4: Secure and Test the System
- Stake all tubing securely.
- Turn on the water slowly and check for leaks at every connection.
- Walk the entire system while running to observe emitter flow. Adjust as needed.
- Flush the system initially by opening end caps to clear any installation debris.
Pro Tips for Smooth Installation
- Install in the cooler part of the day when tubing is more flexible.
- Avoid kinks in tubing.
- Make the system expandable by adding extra tees with caps for future zones.
- Mulch over lines (after testing) to protect from sun damage, reduce evaporation, and hide tubing.
With careful following of these steps, most beginners complete a small system in a single afternoon.
Common Beginner Mistakes and How to Avoid Them
Even with a simple system, beginners often encounter preventable issues that can reduce efficiency or cause frustration. Drawing from years of helping gardeners and small farmers set up drip irrigation, here are the most frequent mistakes and practical ways to avoid them.
Overwatering or Underwatering
Many new users assume “more water is better” and run the system too long or too frequently. Others set it and forget it without adjusting for weather or plant growth stages.
How to avoid it: Start conservatively. Run the system for 20–40 minutes every 2–3 days and observe soil moisture 4–6 inches deep (use a screwdriver or moisture meter as a quick check). Adjust based on climate — more frequent short cycles in sandy soils, less frequent deeper watering in clay soils. Factor in rainfall and use a rain sensor when possible.
Incorrect Water Pressure
Running drip systems at household pressure (often 50–80 PSI) can blow out emitters, cause leaks, or result in uneven watering.
How to avoid it: Always install a quality pressure regulator rated for 15–30 PSI. Test pressure at the faucet before purchasing components.
Skipping the Filter or Backflow Preventer
Debris from the water source quickly clogs emitters, while missing backflow protection risks contaminating drinking water.
How to avoid it: Never skip these two essential safety and performance parts. Clean the filter every 2–4 weeks or after heavy rain.
Using the Wrong Emitters or Spacing
Placing high-flow emitters too close together or using mismatched flow rates leads to puddling in some areas and dry spots in others.
How to avoid it: Match emitter flow rate (GPH) and spacing to your soil type and plant needs. For most vegetable gardens, 1 GPH emitters spaced 12 inches apart work well as a starting point. Use pressure-compensating emitters on slopes.
Exceeding Maximum Run Lengths
Long runs of ¼-inch tubing or too many emitters on one zone cause the end of the line to receive little to no water.
How to avoid it: Keep ½-inch main lines under 200 feet and ¼-inch laterals under 50–100 feet per zone, depending on flow. Divide larger gardens into multiple zones with separate valves or timers.
Poor Emitter Placement
Placing emitters directly against plant stems can cause stem rot, while placing them too far away leaves roots thirsty.
How to avoid it: Position emitters 6–12 inches from the base of plants, adjusting as plants grow. For larger plants like tomatoes or eggplants, use 2–4 emitters in a circle around the root zone.
Ignoring Expansion and Future Needs
Many beginners build a rigid system that’s difficult to modify when the garden grows.
How to avoid it: Install extra tees with end caps during initial setup so you can easily add new lines later.
Quick Do’s and Don’ts Checklist
Do’s:
- Test the entire system before covering with mulch
- Group plants with similar water needs on the same zone
- Label valves or zones for easy management
- Keep spare fittings, goof plugs, and emitters on hand
Don’ts:
- Bury tubing too deeply (makes repairs difficult)
- Use cheap, non-UV resistant tubing in direct sunlight
- Run the system during the hottest part of the day (increases evaporation)
- Forget to winterize or drain the system in frost-prone areas
Avoiding these common pitfalls will save you time, money, and disappointment, helping your beginner drip irrigation system perform reliably from day one.
Setting a Watering Schedule and Automation
One of the biggest advantages of drip irrigation is the ability to automate watering, giving you consistent results with minimal daily effort.
How Often and How Long Should You Run the System?
Watering needs depend on several factors:
- Climate and season: Hot, dry, or windy conditions increase water demand.
- Soil type: Sandy soils drain quickly and need more frequent watering; clay soils hold moisture longer.
- Plant stage: Seedlings and young plants need lighter, more frequent watering than established plants.
- Crop type: Leafy greens need steady moisture, while root crops and many herbs tolerate drier conditions.
General beginner guidelines (adjust after observing your garden):
- Vegetables in warm weather: 30–60 minutes every 2–3 days
- Containers: Daily short cycles (10–20 minutes) during peak heat
- Established fruit trees: Longer, less frequent sessions (1–2 hours weekly)
A good rule of thumb is to deliver the equivalent of 1 inch of water per week, split into several sessions. Use the “can test” method: Place shallow tuna cans under emitters and measure how long it takes to collect 1 inch of water.
Using Timers for Automation
For beginners, a simple battery-operated digital timer attached to your faucet is an excellent starting point. These timers are inexpensive, reliable, and easy to program with multiple start times and days.
More advanced users can upgrade to smart Wi-Fi timers that connect to weather data and adjust schedules automatically based on local conditions or integrate with soil moisture sensors.
Recommended progression:
- Start with a basic digital timer
- Add a rain sensor to skip watering after rainfall
- Later consider soil moisture sensors for precise, data-driven scheduling
Seasonal Adjustments
In regions with distinct wet and dry seasons (common in many parts of Bangladesh and similar climates), adjust your schedule accordingly:
- Rainy season: Reduce or pause the system and rely more on natural rainfall
- Dry/hot season: Increase frequency and duration
- Cool season: Reduce overall watering as plant growth and evaporation slow
Monitor soil moisture regularly during the first month after installation. Over time, you’ll develop an intuitive sense of your garden’s needs.
Maintenance and Troubleshooting Your Drip System
A well-maintained drip irrigation system can last 5–10 years or more. Regular care prevents small issues from becoming major problems.
Routine Maintenance Checklist
Weekly/Monthly Tasks:
- Visually inspect lines for leaks, kinks, or damage from animals or tools
- Check emitter flow — walk the garden while the system runs
- Clean or flush the filter
- Observe plant health and soil moisture levels
Seasonal Tasks:
- Flush the entire system at the beginning and end of the growing season
- Clear debris from around emitters
- Check and replace any worn fittings or damaged tubing
- Drain and store timers and sensitive components during off-season or winter
Winter Care: In areas with frost, drain all water from the lines and store above-ground components indoors. In mild climates, you can often leave the system in place with proper draining.
Common Problems and Fixes
- Uneven Watering or Low Pressure at End of Lines
- Cause: Too many emitters, long runs, or clogged filter
- Fix: Clean filter, reduce number of emitters per zone, or split into additional zones
- Clogged Emitters
- Cause: Sediment, algae, or mineral buildup
- Fix: Flush lines regularly. Use filtered water. For stubborn clogs, remove and soak emitters in vinegar solution
- Leaks at Connections
- Cause: Loose fittings, damaged tubing, or high pressure
- Fix: Tighten connections, replace damaged parts, ensure pressure regulator is working
- No Water Flow
- Cause: Closed valve, empty timer battery, clogged filter, or kinked tubing
- Fix: Check power/source, replace batteries, clean filter, straighten lines
Expert Tip: Keep a small “drip repair kit” handy containing extra emitters, goof plugs, connectors, and tubing cutters. Addressing issues quickly prevents bigger headaches and water waste.
Advanced Tips to Maximize Results with Your Beginner Drip Irrigation System
Once your basic system is running smoothly, you can take it to the next level:
- Mulching: Cover drip lines with 2–3 inches of organic mulch. This dramatically reduces evaporation, suppresses weeds, and moderates soil temperature.
- Fertigation: Install a simple fertilizer injector to deliver diluted liquid fertilizers or soluble nutrients directly through the drip lines. This ensures efficient nutrient uptake and reduces runoff.
- Zoning: Create separate zones for high-water and low-water plants to optimize schedules.
- Rainwater Integration: Connect your system to a rainwater harvesting tank for even greater sustainability and cost savings.
- Soil Health Monitoring: Over time, consistent drip irrigation often improves soil structure and microbial activity by maintaining steady (not fluctuating) moisture levels.
Many experienced gardeners report that combining drip irrigation with good mulching and compost practices leads to noticeably healthier soil and more resilient plants over multiple seasons.
Frequently Asked Questions (FAQs)
How much does a beginner drip irrigation system cost? A basic system for a small garden (100–300 sq ft) typically costs between $40–$200. Larger or more automated setups range from $300–$800 depending on quality and coverage area.
Is drip irrigation better than sprinklers for vegetables? Yes, in most cases. Drip systems use significantly less water, keep foliage dry (reducing disease), minimize weed growth, and deliver water directly to roots for better uptake.
Can I install drip irrigation without any experience? Absolutely. This guide is designed for complete beginners. With basic tools and following the step-by-step instructions, most people complete a small system in one afternoon.
How do I prevent emitters from clogging? Use a good filter, flush lines regularly, avoid using hard water without treatment if possible, and choose quality pressure-compensating emitters.
What’s the best timer for beginners? A simple digital battery-operated timer is reliable, affordable, and easy to use. Upgrade to smart timers once you’re comfortable with the basics.
Does drip irrigation work in clay or sandy soil? Yes. Adjust emitter spacing and flow rates — closer spacing and lower flow for clay soils, slightly wider spacing for sandy soils.
How long does installation take? For a small to medium garden, expect 2–6 hours depending on size and complexity. Planning adds extra time but saves effort during installation.
Can I use drip irrigation for container gardens? Yes — it’s actually excellent for pots. Use adjustable drippers or micro tubing for precise control in each container.
Conclusion
Beginner drip irrigation is one of the most practical and rewarding upgrades you can make to your gardening routine. By delivering water directly to the root zone, you save significant amounts of water, reduce weeds and disease pressure, save valuable time, and grow healthier, more productive plants.
The system is scalable — start small with one or two beds and expand as your confidence and garden grow. The initial effort in planning and installation pays off quickly through lower water bills, reduced labor, and better harvests.
Remember: Success with drip irrigation comes from starting simple, observing your plants and soil, and making small adjustments over time. Don’t aim for perfection on the first try. Focus on getting water to the roots efficiently and consistently.
Ready to transform your garden with less water and more results? Gather your components, follow the step-by-step guide, and take that first step today. Your plants — and your water bill — will thank you.
If you have questions about your specific setup or run into challenges during installation, feel free to share them in the comments below. I regularly help readers troubleshoot their systems and am happy to offer personalized tips.
For more agricultural tips and guidelines, explore our other guides on water conservation, organic soil improvement, and high-yield vegetable gardening.
Start small. Save water. Grow more.