What if the biggest mistake in farming isn’t what you plant—but when you start planting?
Many farmers rush straight into cultivation, investing time, seeds, and money—only to face poor yields, pest issues, and soil problems later. The truth is, successful and sustainable farming begins long before the first seed touches the soil. It begins with observation.
To observe your land like a permaculture designer is to unlock a deeper understanding of your environment—its soil, water flow, sunlight patterns, and natural ecosystems. This approach doesn’t just improve productivity; it reduces risk, lowers costs, and builds long-term resilience.
In this comprehensive guide, you’ll learn how to read your land like an expert—step by step—so you can make smarter, more profitable, and environmentally sound farming decisions.
What It Means to Observe Your Land Like a Permaculture Designer
The Core Philosophy of Permaculture Observation
At the heart of permaculture lies one powerful principle: “Observe and interact.”
Before making any changes, permaculture designers spend time watching how nature already works. They study patterns—how water moves, where sunlight falls, how plants grow naturally—so they can design systems that align with these forces rather than fight them.
Observation is not passive. It is a deliberate, analytical process that reveals:
- Hidden opportunities
- Potential risks
- Natural efficiencies
Conventional Farming vs. Permaculture Observation
| Conventional Approach | Permaculture Approach |
|---|---|
| Immediate action | Careful observation first |
| Input-heavy (fertilizers, chemicals) | Nature-based solutions |
| Short-term yield focus | Long-term sustainability |
| Reactive problem-solving | Preventive design thinking |
Why Observation Matters More Than You Think
Proper land observation can help you:
- Increase crop yields naturally
- Reduce irrigation costs
- Prevent soil degradation
- Improve pest control through ecological balance
- Adapt to climate variability
When and How Long Should You Observe Your Land?
The Ideal Observation Timeline
While even a few days of observation can be helpful, the gold standard is observing your land over a full seasonal cycle (12 months).
However, if you’re eager to start:
- Minimum: 2–4 weeks of focused observation
- Better: One full growing season
- Best: A complete year covering all weather patterns
Daily, Weekly, and Seasonal Observation Practices
Daily Observations:
- Sun movement (morning vs afternoon light)
- Wind patterns
- Animal activity
Weekly Observations:
- Soil moisture changes
- Plant growth patterns
- Pest presence
Seasonal Observations:
- Rainfall distribution
- Flooding or drought trends
- Temperature fluctuations
Tools to Record Observations Effectively
To observe like a professional, document everything:
- Field notebook or farm journal
- Smartphone photos/videos
- Hand-drawn maps
- Weather tracking apps
Consistency is key—patterns only emerge when data is recorded over time.
Step 1 – Reading Your Soil Like an Expert
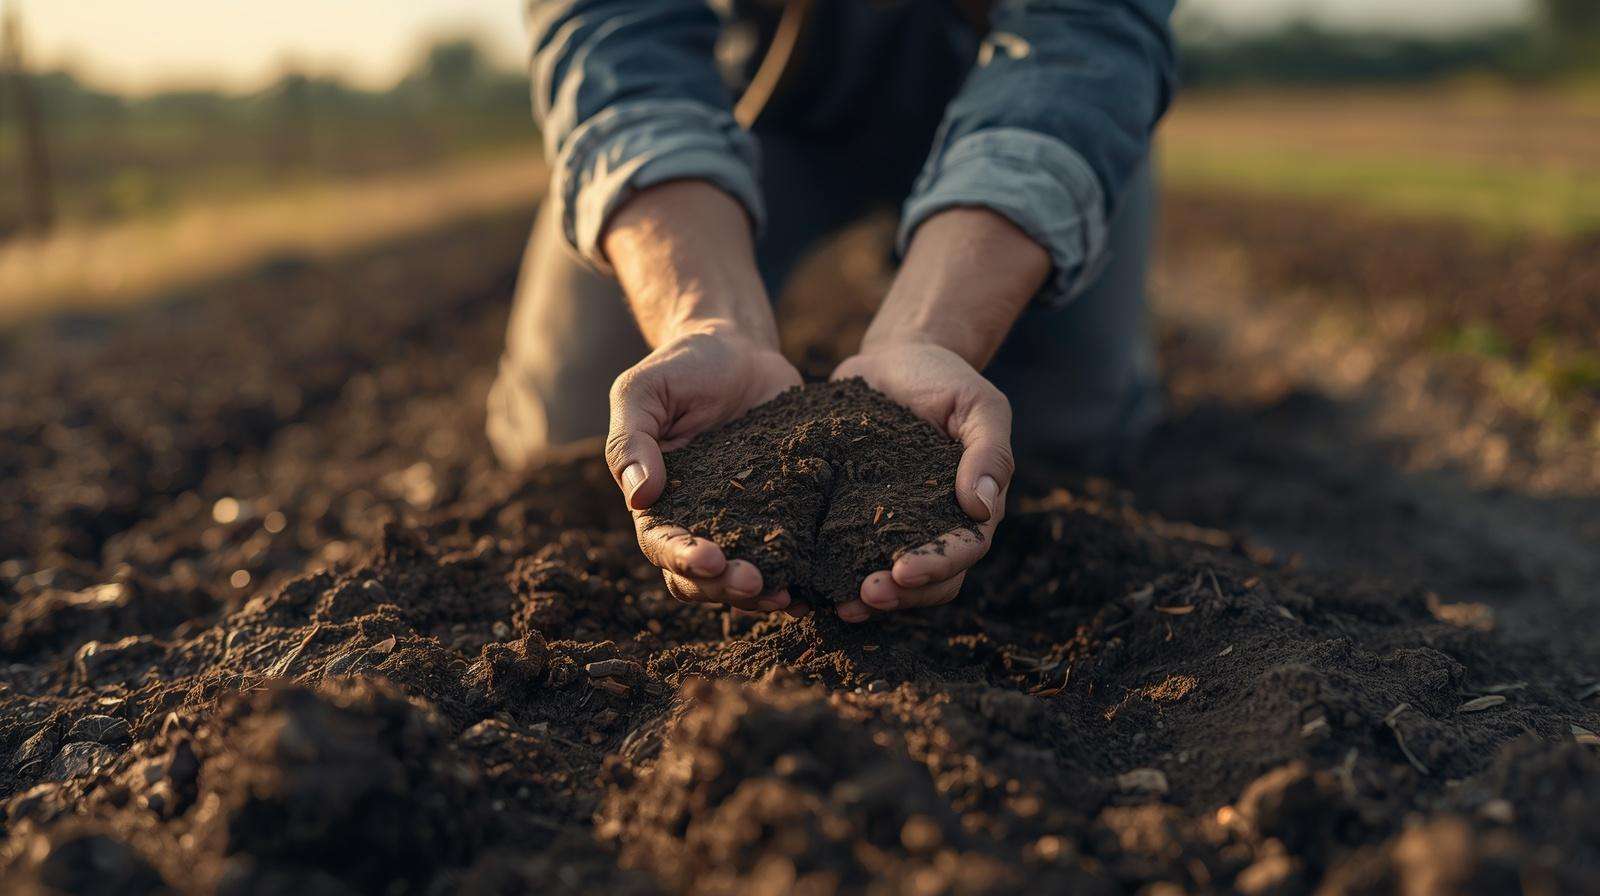
How to Identify Soil Types Without Lab Tests
You don’t need expensive lab equipment to understand your soil.
Simple Texture Test:
- Sandy soil: gritty and loose
- Clay soil: sticky and forms a ball
- Loamy soil: balanced and crumbly (ideal)
Visual Clues:
- Dark soil: rich in organic matter
- Pale soil: low fertility
- Red/yellow soil: iron content, possible drainage issues
Smell Test:
- Healthy soil smells earthy and fresh
- Poor soil smells sour or lifeless
Signs of Healthy vs Degraded Soil
Healthy Soil:
- Presence of earthworms
- Good moisture retention
- Deep root penetration
- Rich organic matter
Degraded Soil:
- Hard, compacted layers
- Cracking or crusting
- Poor drainage
- Lack of biological activity
Simple DIY Soil Tests for Farmers
- Jar Test: Mix soil with water, let settle to identify layers
- Drainage Test: Measure how fast water infiltrates
- pH Test Kits: Easily available and affordable
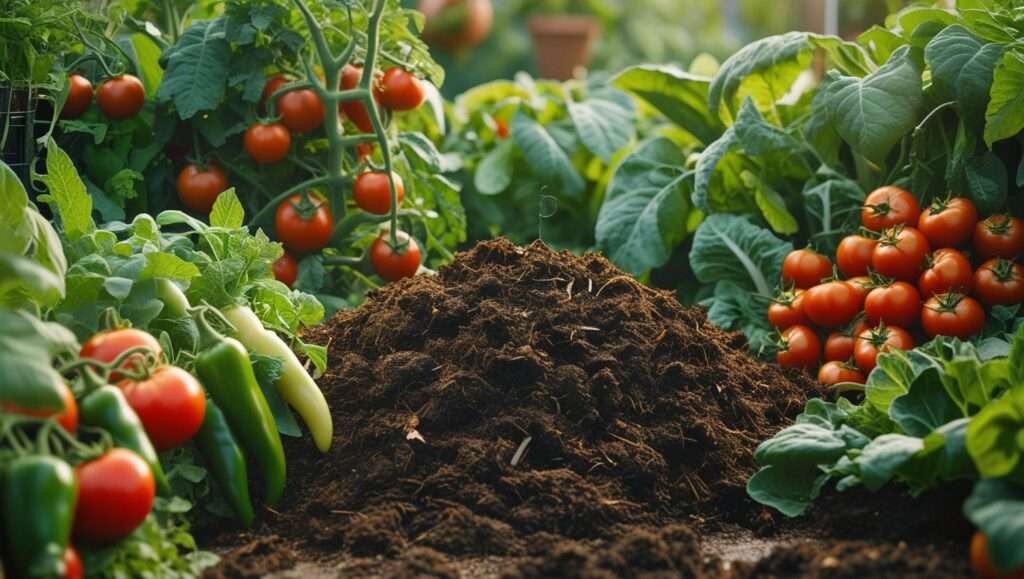
Improving Soil Based on Observations
Once you understand your soil:
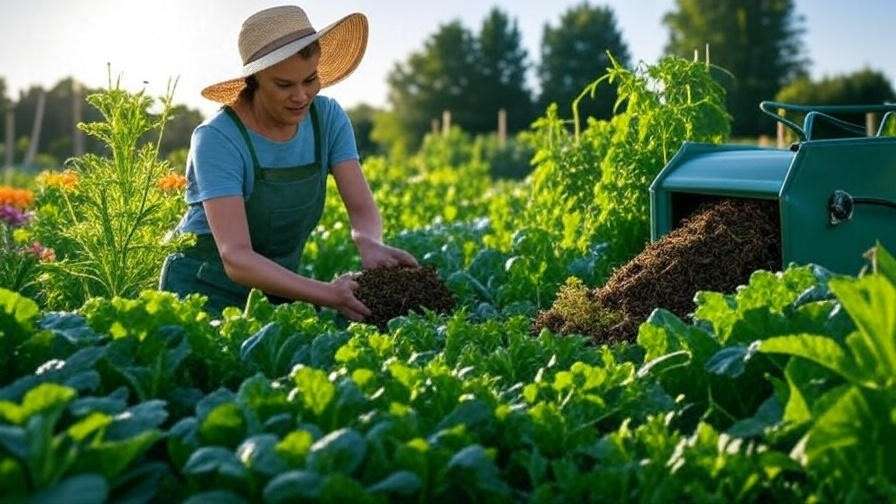
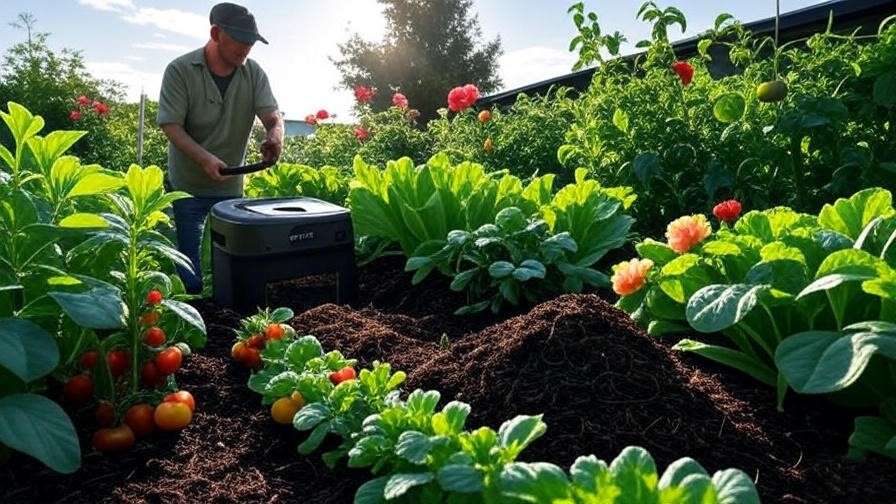
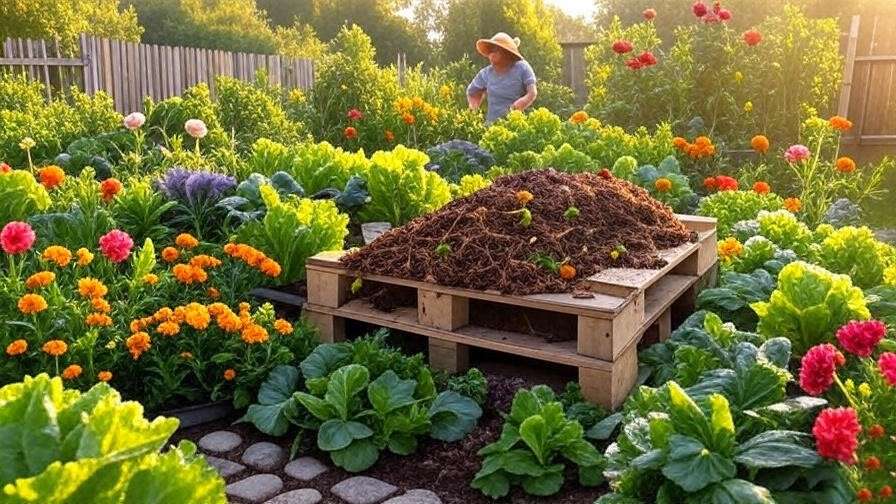
- Add compost to improve fertility
- Use mulch to retain moisture
- Plant cover crops to restore structure
- Avoid over-tilling to protect soil biology
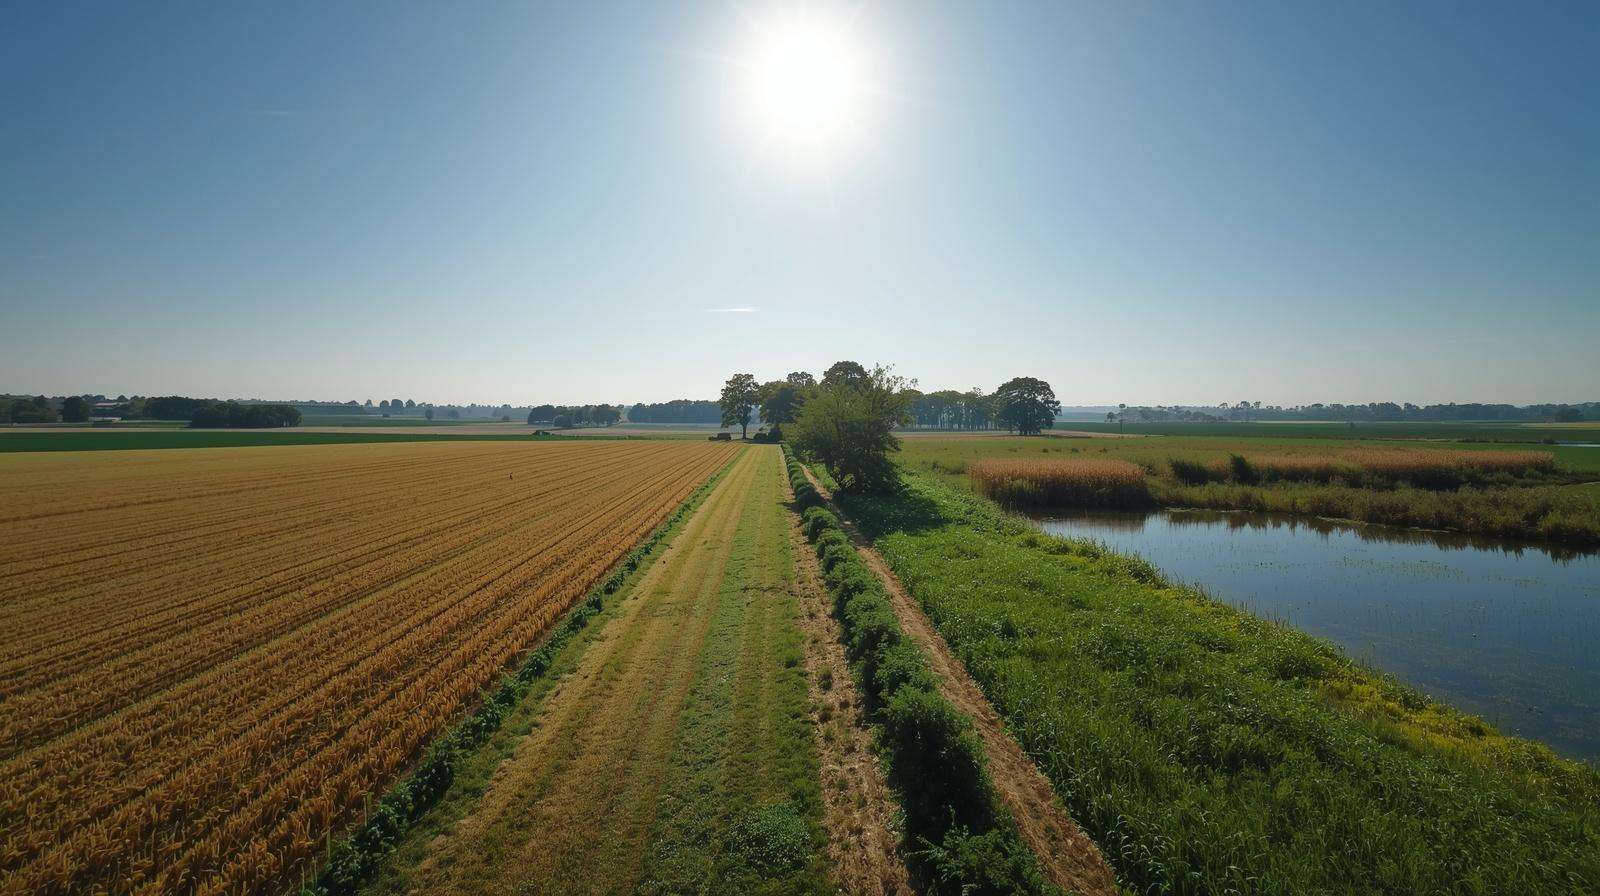
Step 2 – Understanding Water Flow and Retention
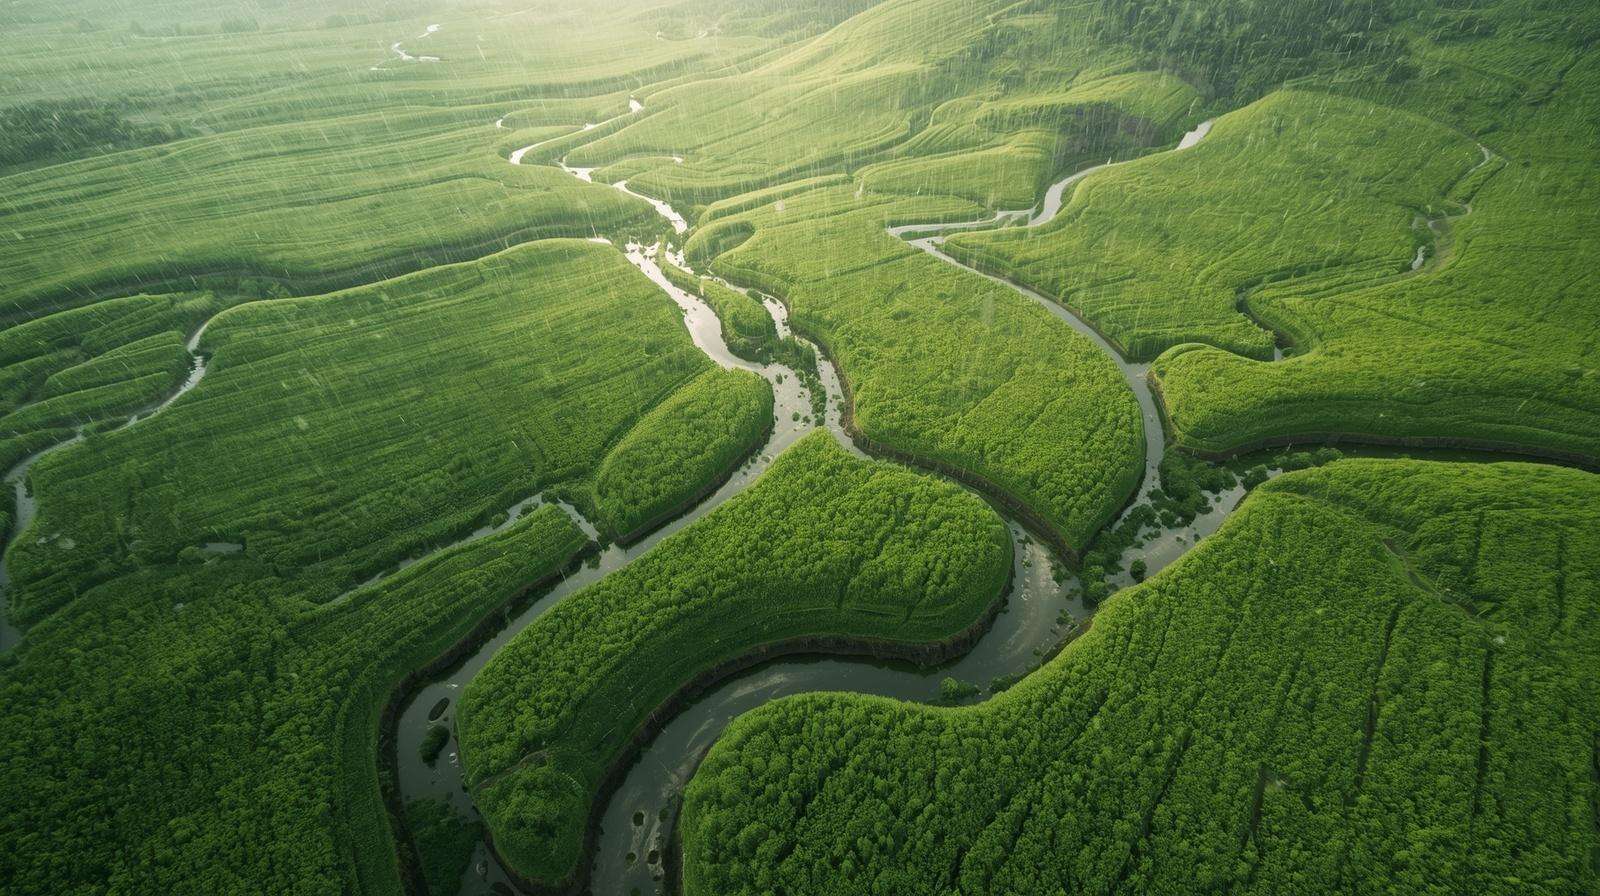
How Water Moves Across Your Land
Water is one of the most important—and often misunderstood—elements in farming.
Observe your land during rainfall:
- Where does water accumulate?
- Where does it flow quickly?
- Where does it disappear?
Look for:
- Natural slopes
- Drainage paths
- Low-lying areas
Detecting Problem Areas
Watch for:
- Flood-prone zones (waterlogging)
- Dry patches (poor retention)
- Erosion signs (soil being washed away)
These areas represent both challenges and opportunities.
Mapping Water Resources
Identify all water sources:
- Rainfall patterns
- Ponds, canals, or wells
- Seasonal streams
Create a simple map showing water movement across your land.
Applying Permaculture Water Strategies
Once you understand water flow, you can manage it effectively:
- Swales: Trenches that slow and capture water
- Contour planting: Aligning crops with land shape
- Rainwater harvesting systems
- Mulching: Reduces evaporation
Step 3 – Identifying Microclimates on Your Land
What Are Microclimates and Why They Matter
A microclimate is a small area within your land that has slightly different conditions—temperature, humidity, sunlight—than the surrounding area.
Even a small farm can have multiple microclimates.
How to Spot Microclimates Easily
Observe:
- Areas with full sun vs partial shade
- Wind-exposed vs sheltered zones
- Heat-retaining areas near walls or rocks
Using Microclimates to Your Advantage
Strategic planting can dramatically improve yields:
- Grow heat-loving crops in warmer zones
- Place sensitive crops in shaded areas
- Use windbreaks to protect delicate plants
Microclimate awareness allows you to maximize every inch of your land.
Step 4 – Observing Plants, Wildlife, and Natural Indicators
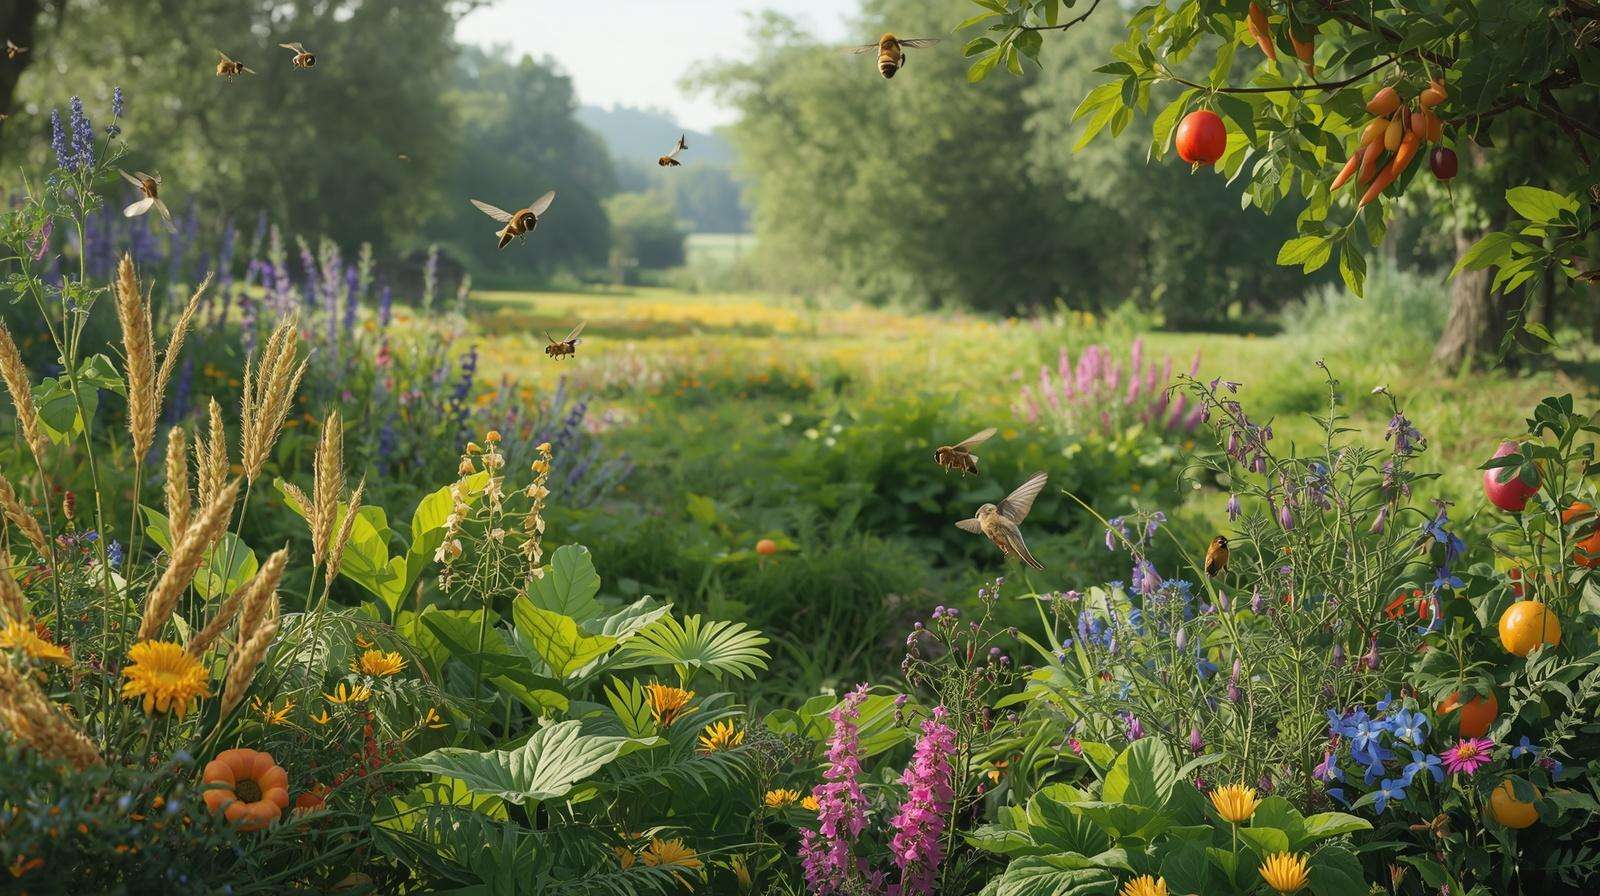
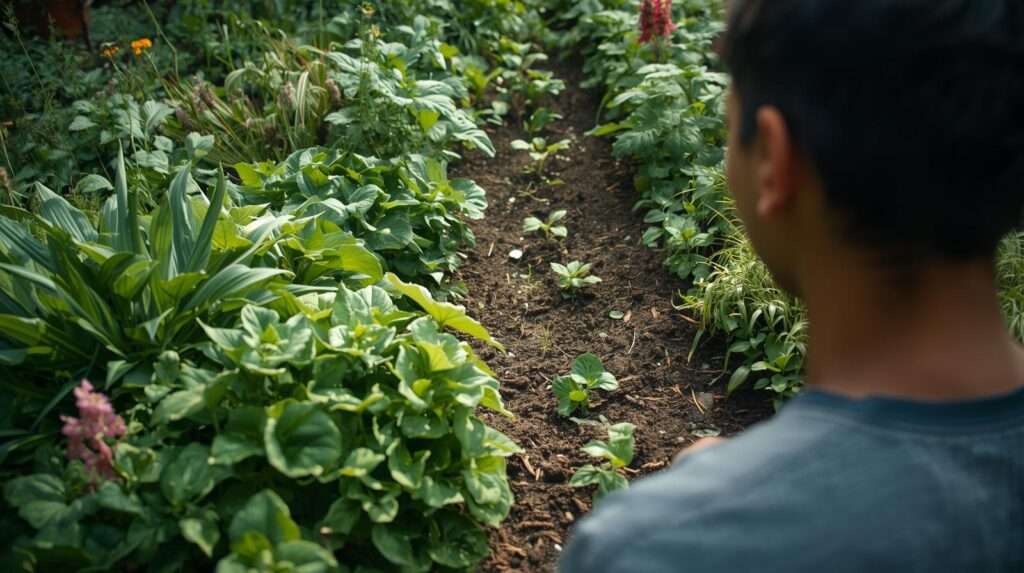
What Existing Vegetation Tells You
Nature already provides clues about your land.
Indicator Plants:
- Certain weeds indicate soil compaction
- Others suggest high fertility or acidity
Instead of removing them immediately, study what they reveal.
Learning from Local Ecosystems
Observe nearby natural areas:
- What plants grow without human intervention?
- How do they survive seasonal changes?
These insights can guide your crop selection and farming strategy.
Role of Insects, Birds, and Animals
A healthy ecosystem includes:
- Pollinators (bees, butterflies)
- Natural pest controllers (birds, frogs)
If your land lacks biodiversity, it may signal imbalance.
Step 5 – Mapping and Analyzing Your Land Like a Professional Designer
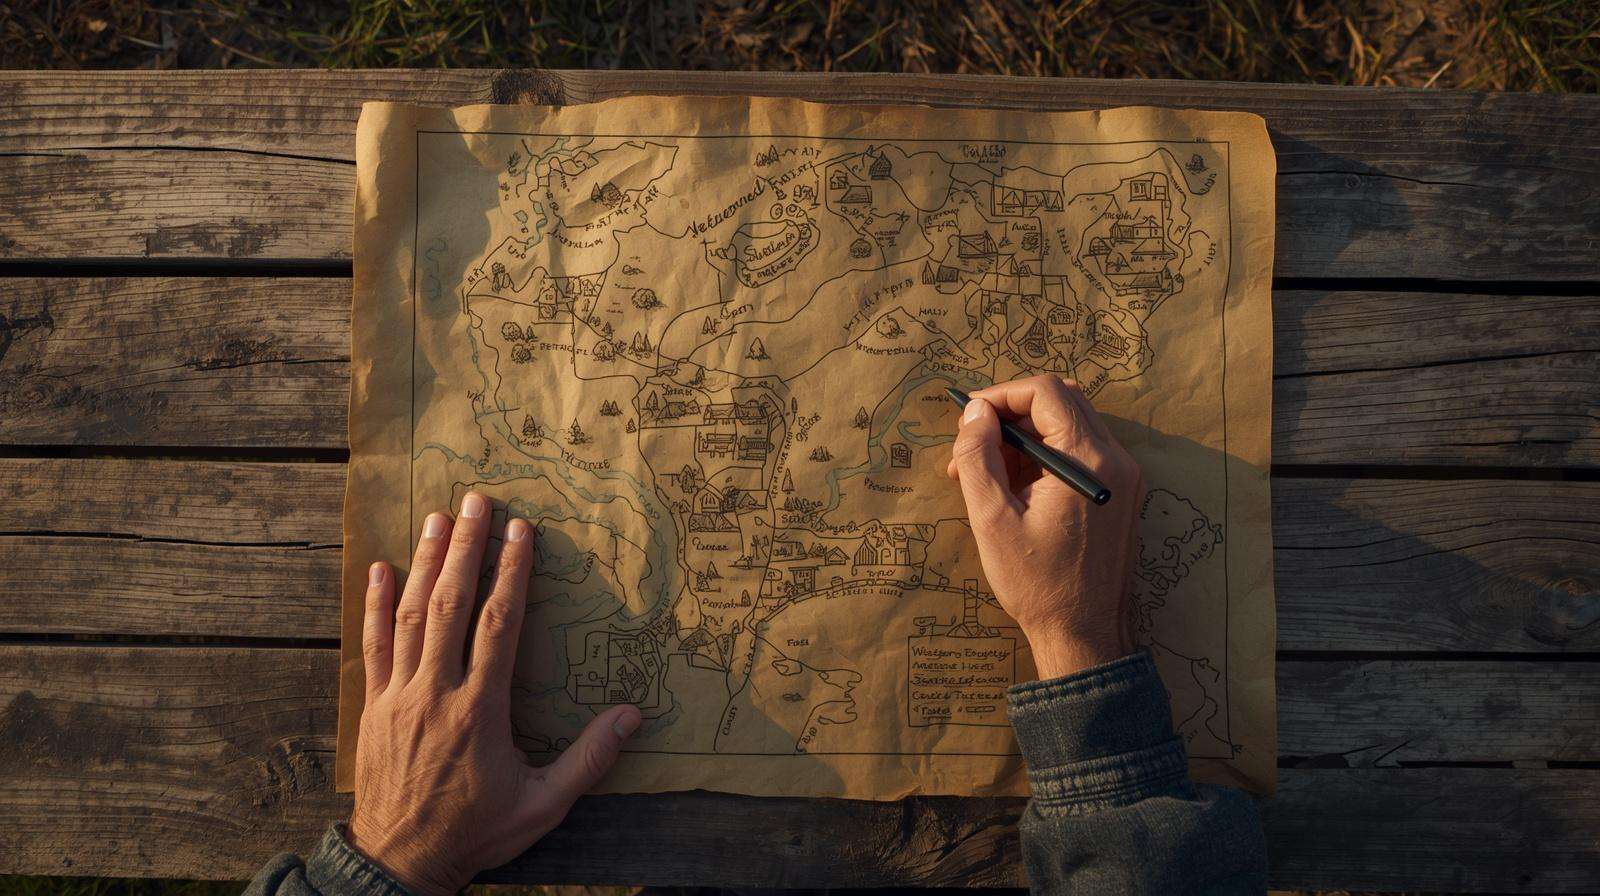
Once you’ve spent time observing your land, the next step is to organize your insights into a clear, visual system. This is where observation transforms into intelligent design.
Creating a Simple Base Map
You don’t need advanced tools—start simple:
- Sketch your land boundaries on paper
- Mark key features:
- House or structures
- Trees and vegetation
- Water sources
- Slopes and elevation changes
- Add directions (North, South, etc.)
This base map becomes your decision-making blueprint.
Zoning Your Land (Permaculture Zones 0–5)
Permaculture divides land into zones based on how frequently you use or manage them:
- Zone 0: Your home or central hub
- Zone 1: Frequently visited areas (kitchen garden, herbs)
- Zone 2: Managed crops (vegetables, small livestock)
- Zone 3: Larger-scale farming (grains, staple crops)
- Zone 4: Semi-wild (firewood, forage areas)
- Zone 5: Wild, untouched ecosystem (for observation and biodiversity)
Why this matters:
Efficient zoning reduces labor, saves time, and increases productivity.
Sector Analysis: Understanding External Forces
Unlike zones (which are about use), sectors are about natural energies entering your land:
- Sunlight direction (seasonal changes)
- Wind patterns (strong seasonal winds)
- Water flow (rain, flooding)
- Fire risk (dry zones)
- Noise or pollution (roads, nearby activity)
By mapping these sectors, you can:
- Protect vulnerable areas
- Position crops strategically
- Design smarter layouts
Turning Observations Into Actionable Decisions
Now connect the dots:
- Poor drainage area → Create swales or plant water-tolerant crops
- Windy zone → Add windbreak trees
- Dry patch → Improve soil organic matter and mulching
Observation without action is incomplete. The goal is to design with intention.
Common Mistakes to Avoid When Observing Your Land
Even experienced farmers sometimes overlook critical details. Avoid these common pitfalls:
1. Rushing the Observation Phase
Starting too early leads to costly mistakes. Patience saves money and effort.
2. Ignoring Seasonal Changes
Land behaves differently across seasons. What looks dry today may flood during monsoon.
3. Relying on Assumptions Instead of Evidence
Never assume soil quality, water availability, or fertility—verify through observation.
4. Overlooking Small Patterns
Tiny details—like recurring damp spots or insect activity—often reveal major insights.
5. Focusing Only on Crops, Not Ecosystems
Healthy farms are ecosystems. Ignoring biodiversity reduces long-term success.
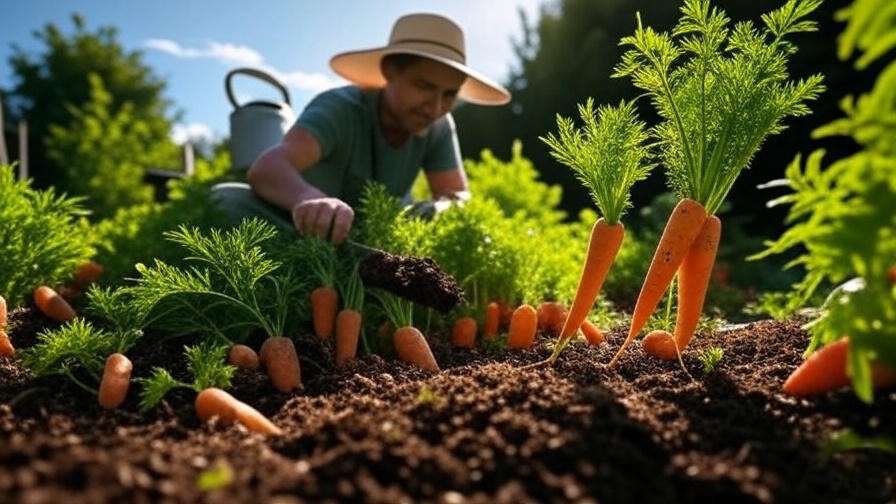
Practical Example: Observing a Small Farm Step-by-Step
Let’s bring everything together with a real-world style example.
Initial Observations
A small farmer notices:
- Water collects in one corner after rain
- One side of the land is always drier
- Certain weeds dominate specific areas
Key Findings
After careful observation:
- The land has a slight slope causing water runoff
- Soil in dry areas lacks organic matter
- Weed types indicate compacted soil
Design Decisions Made
- Built swales to capture rainwater
- Added compost and mulch to dry zones
- Introduced cover crops to improve soil structure
Results After Implementation
- Improved water retention
- Increased crop yield
- Reduced need for irrigation and fertilizers
Lesson: Thoughtful observation leads to smarter, low-cost solutions.
Expert Tips to Observe Your Land Like a Pro
These insights come from real-world permaculture practice and agricultural expertise:
Start Small and Stay Consistent
Focus on one section at a time. Depth matters more than speed.
Revisit the Same Spots Regularly
Patterns become visible only through repetition.
Use All Your Senses
- Sight: plant health, water movement
- Touch: soil texture and moisture
- Smell: soil vitality
Combine Observation With Experimentation
Test small changes before scaling:
- Try different crops in microclimates
- Compare mulched vs non-mulched areas
Learn From Others—but Trust Your Land
Every farm is unique. Use external advice as guidance, not rules.
Frequently Asked Questions (FAQs)
How long should I observe my land before planting?
Ideally, observe for at least one full growing season. However, even 2–4 weeks of focused observation can provide valuable insights.
Can I apply this method to small farms or home gardens?
Absolutely. In fact, smaller areas are easier to observe in detail and can benefit even more from permaculture design.
Do I need special tools or training?
No. Basic tools like a notebook, simple maps, and observation skills are enough to get started.
What if my land is already developed or heavily used?
Observation is still valuable. You can identify problems, restore balance, and gradually improve the system.
Is permaculture observation suitable for all climates?
Yes. Whether tropical, dry, or temperate—observing natural patterns is universally beneficial.
Final Thoughts: Observation Is Your Most Powerful Farming Tool
To observe your land like a permaculture designer is to shift from guesswork to informed decision-making.
Instead of forcing the land to fit your plans, you:
- Understand its natural patterns
- Work with its strengths
- Improve its weaknesses sustainably
This approach leads to:
- Healthier soil
- Better water management
- Higher yields
- Lower costs
- Long-term resilience
The most successful farmers are not just growers—they are keen observers of nature.