If you have ever tried to dig a planting hole only to have your shovel bounce off the ground like it was struck against solid concrete, you are intimately familiar with the misery of heavy clay soil. In the heat of summer, this material bakes into a dense, cracked expanse; during spring rains, it transforms into an impermeable, sticky mire that holds standing water for days on end, drowning delicate roots and suffocating soil biology. It is the ultimate agronomic frustration, leading many growers to aggressively till their plots, a desperate measure that actually shatters the ground’s fragile natural networks and leaves it more compacted than before. To permanently fix this structural nightmare without destroying your land’s ecosystem, you must stop fighting the dirt mechanically and instead use chemistry to open it up. Learning how and when to apply gypsum for clay soil is the scientific key to breaking up compacted dirt, optimizing subsoil aeration, and restoring drainage to your property.
As a subject matter expert in soil science and agricultural agronomy, I must emphasize a critical caveat right from the beginning: gypsum is a highly effective tool, but it is not a magical cure-all for every piece of hard ground. Its success depends entirely on the unique chemical footprint of your local landscape. In this skyscraper-level guide, we will look deep into the structural chemistry of clay, strip away the widespread gardening myths, and establish a precise, data-backed protocol to transform your difficult soil into a thriving, highly productive growing medium.
1. The Soil Science: How Gypsum Transforms Clay at the Microscopic Level
To understand why clay behaves like concrete, we have to look at it under a microscope. Unlike sand particles, which are large, rounded grains, clay particles are microscopic, flat, negatively charged plates. In a healthy soil profile, these tiny plates are bound together into small clusters or clumps, creating spaces between them for air and water to travel. However, when your soil structure collapses, these plates stack tightly on top of one another like a deck of cards, creating an impermeable barrier.
The Mechanism of Flocculation
Gypsum is chemically known as calcium sulfate dihydrate ($CaSO_4 \cdot 2H_2O$). When applied to wet ground, it dissolves into its component parts: positively charged calcium ions ($Ca^{2+}$) and sulfate ions ($SO_4^{2-}$). Clay particles naturally carry a strong negative charge, causing them to naturally repel one another when left alone. The introduction of calcium ions changes everything. Because calcium carries a strong double positive charge, it acts like a microscopic magnet, attracting the negatively charged clay plates and binding them together into larger aggregates. In soil science, this binding process is called flocculation. Instead of a tight, dense wall of flat plates, your clay is physically restructured into small, loose crumbly aggregates.
The War on Sodium
The primary culprit behind a collapsed, muddy clay structure is often an excess of sodium ions ($Na^+$). Sodium carries a single positive charge but features a very large hydration radius, meaning it surrounds itself with a thick jacket of water molecules. When sodium wedges itself between clay plates, it pushes them apart, causing the soil structure to completely dissolve when wet—a destructive process known as dispersion. Dispersive clay quickly turns into a slick, structureless slime that seals the surface, creating puddles and blocking oxygen entry. When you apply gypsum, the abundant calcium ions physically crowd out the weaker sodium ions, kicking them off the soil’s exchange sites. The sulfate ions then bond with the displaced sodium to form sodium sulfate ($Na_2SO_4$), a highly soluble compound that safely leaches downward past the root zone during subsequent rainstorms.
Pore Space and Aeration
Once flocculation occurs and the sodium is removed, the physical architecture of your dirt changes dramatically. The creation of larger, stable soil aggregates immediately opens up critical macro-pores. These macro-pores act as subterranean drainage highways, allowing heavy rainwater to move down through the profile instead of puddled on the surface. Concurrently, as water drains away, it pulls fresh oxygen down into the root zone, creating the ideal aerobic environment required for plant roots and beneficial microorganisms to breathe and thrive.
2. The Reality Check: When Gypsum Works—and When It Fails
Because gypsum is widely praised across the internet, thousands of growers dump tons of it onto their land every year, only to see zero improvement. This occurs because they are treating a mechanical problem with a chemical amendment. To save time and money, you must understand where gypsum succeeds and where it is completely useless.
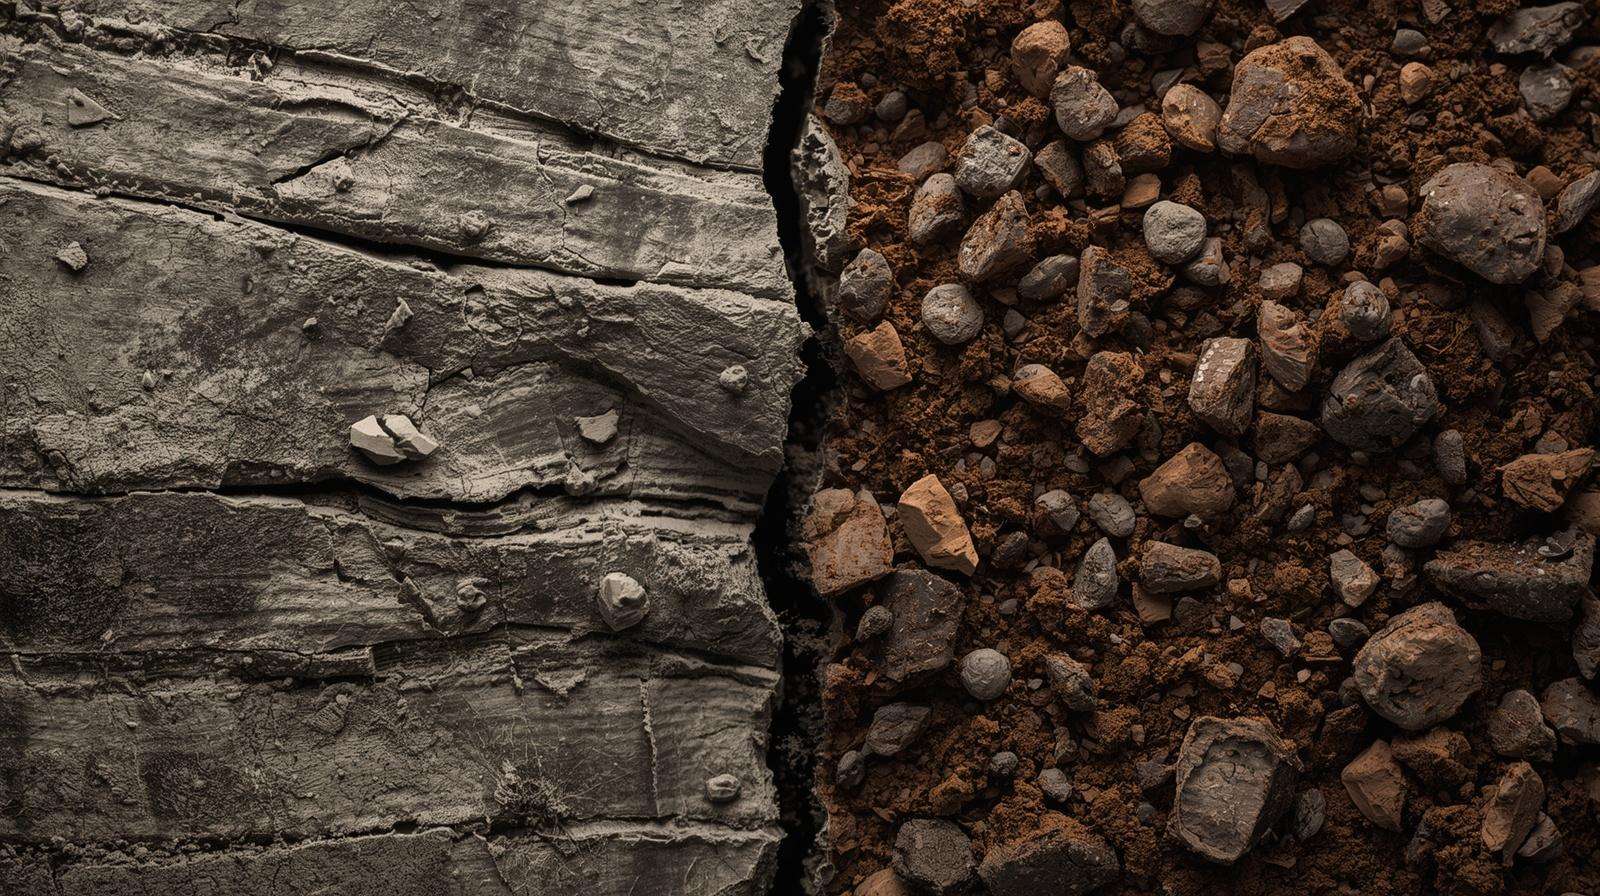
Dispersive vs. Mechanically Compacted Soil
-
Where Gypsum Succeeds: Gypsum works miracles on sodic soils or high-sodium clays that suffer from true chemical dispersion. If your soil forms a hard, glass-like crust on the surface after a rainstorm, or if your puddles remain cloudy and muddy for days without settling, your clay is chemically dispersed. Gypsum will fix this beautifully by providing the calcium needed to flocculate the particles.
-
Where Gypsum Fails: Gypsum cannot fix mechanical compaction. If your soil is hard because heavy construction equipment drove over it, because you have walked along the same garden path for ten years, or because you till the dirt repeatedly when it is wet, you have physically squeezed all the air spaces out of the ground. Gypsum cannot magically push those particles apart. Mechanical compaction can only be resolved through physical aeration, deep ripping, and the heavy addition of structural organic matter.
The pH Myth Debunked
One of the most pervasive myths in backyard agriculture is that gypsum can be used to alter soil acidity. Let us be absolutely clear: gypsum is a neutral salt and will not change your soil pH. If you have highly acidic clay soil and you want to raise the pH to make it more alkaline, you must use agricultural lime (calcium carbonate). If you have highly alkaline soil and want to lower the pH, you must use elemental sulfur. Gypsum provides vital calcium and sulfur nutrients without budging your pH line even a fraction of a point, making it an incredibly safe amendment for neutral or slightly alkaline plots that desperately need structural repair.
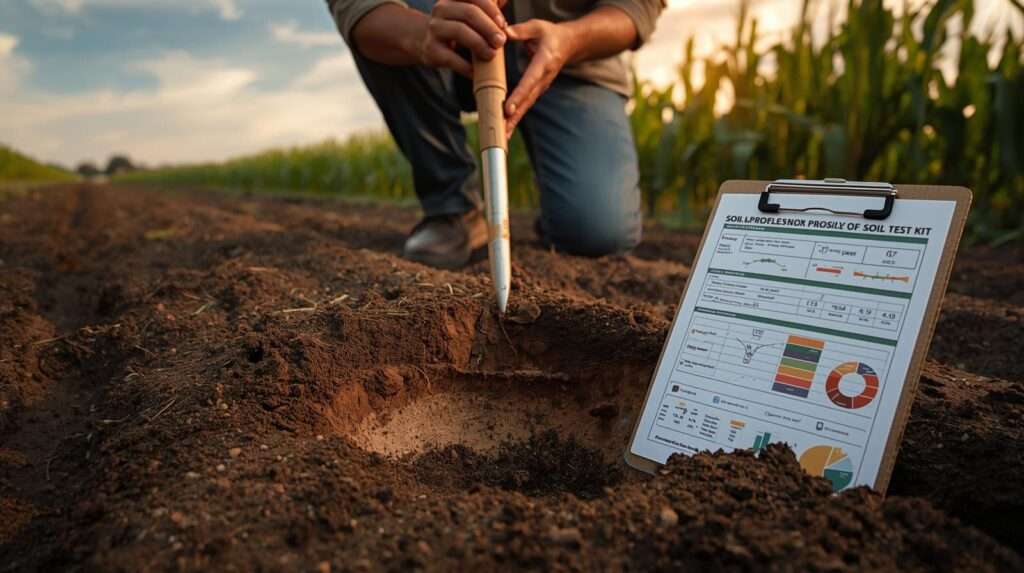
3. Step-by-Step Diagnostic: Does Your Soil Actually Need Gypsum?
Before purchasing bags of gypsum, you should run a quick diagnostic check to prove your clay is a candidate for chemical flocculation.
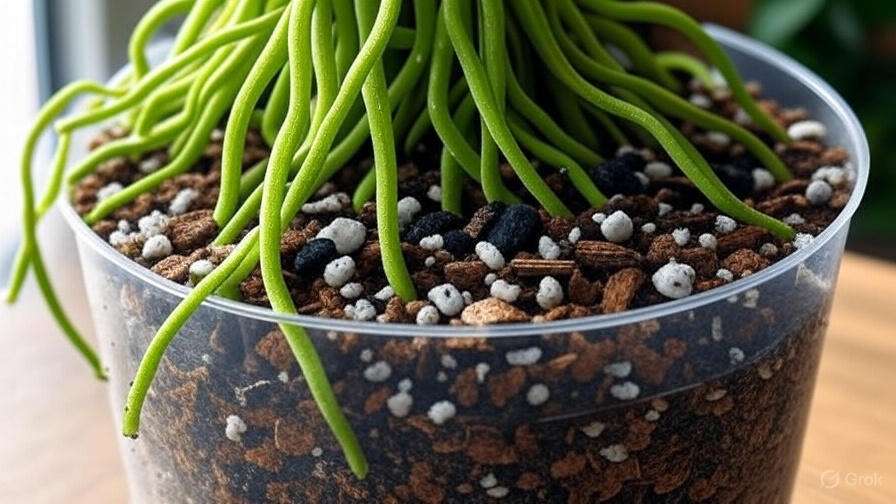
The Simple DIY “Jar Infiltration” Test
This is a straightforward, zero-cost experiment that you can run in your kitchen to identify clay dispersion:
-
Dig down roughly 4 inches ($10\text{ cm}$) and collect a small, intact clod of dry clay soil about the size of a marble.
-
Fill a clean glass jar with distilled water (do not use tap water, as the minerals in tap water can skew the results).
-
Gently place the dry soil clod into the center of the jar and set it on a flat surface where it will not be disturbed.
-
Watch the jar closely over the next 1 to 2 hours.
-
If the clod slowly crumbles into a pile of small grains at the bottom but the water remains perfectly crystal clear, your soil is not dispersive. It is mechanically compacted, and you do not need gypsum.
-
If the clod sits in the water and a milky, cloudy “halo” of suspended clay begins to bleed out into the water, turning the entire jar murky, your soil is chemically dispersive. This proves your clay is high in sodium and is a perfect candidate for gypsum application.
-
Reading a Professional Soil Lab Report
For commercial-level accuracy, submit a sample to a local university extension office for a professional soil analysis. Look closely at these three specific metrics on your report:
-
Cation Exchange Capacity (CEC): Heavy clay soils typically feature a high CEC (above 25). This number indicates your soil’s capacity to hold onto nutrients like calcium, magnesium, potassium, and sodium.
-
Base Saturation of Calcium: In a perfectly balanced clay soil profile, calcium should occupy between 70% and 80% of the soil’s total exchange sites. If your base saturation of calcium is below 65%, your clay lacks the structural backbone to maintain aggregate stability, indicating a clear need for gypsum.
-
Exchangeable Sodium Percentage (ESP): This is the ultimate deciding factor. If your soil report reveals an ESP greater than 5%, your soil is classified as sodic. An ESP above 5% means you have a high concentration of sodium actively breaking apart your clay particles, making the application of gypsum highly necessary to save your land’s structure.
4. Application Rates: Calculating Your Dosage Safely
Once you have verified that your soil will benefit from gypsum, you must calculate the correct dosage. Applying too little will not yield visible structural changes, while applying an extreme overdose can strip your soil of other essential nutrients like magnesium and potassium.
Small-Scale Garden Rates (Raised Beds and Residential Plots)
For home gardeners managing small plots, raised vegetable beds, or landscape borders, rates are best calculated by square footage.
-
Maintenance Rate: If your clay is moderately heavy but already has some organic material, apply 1 to 2 pounds per 100 square feet ($500\text{–}1000\text{g}$ per $10\text{ m}^2$) annually.
-
Correction Rate: For raw, uncultivated, heavy clay that easily puddles, increase the dosage to 4 to 5 pounds per 100 square feet ($2\text{–}2.5\text{ kg}$ per $10\text{ m}^2$). Broadcast this evenly across the surface before planting.
Large-Scale Agricultural Rates (Per Acre)
For commercial growers, orchards, or large pasture regenerations, application rates should mirror the USDA Natural Resources Conservation Service (NRCS) Conservation Practice Standard 333.
-
Light-to-Moderate Sodic Clay: Apply 0.5 to 1 ton per acre annually.
-
Severe Dispersive Sodic Clay (CEC greater than 25, ESP greater than 5%): Apply 1.5 to 2.5 tons per acre. Always pair these heavy treatments with irrigation or time them ahead of a reliable rainy season to ensure the displaced sodium is thoroughly leached out of the upper soil profile.
Form Factors: Powdered vs. Pelleted
-
Powdered Gypsum (Sieving Grade): This is a fine, flour-like dust. It is highly soluble and goes to work almost immediately when watered in. However, it is incredibly difficult to spread evenly by hand, easily blows away in a light breeze, and can create an inhalation hazard. Use this primarily for liquid soil drenches or when tilling a new bed on a calm day.
-
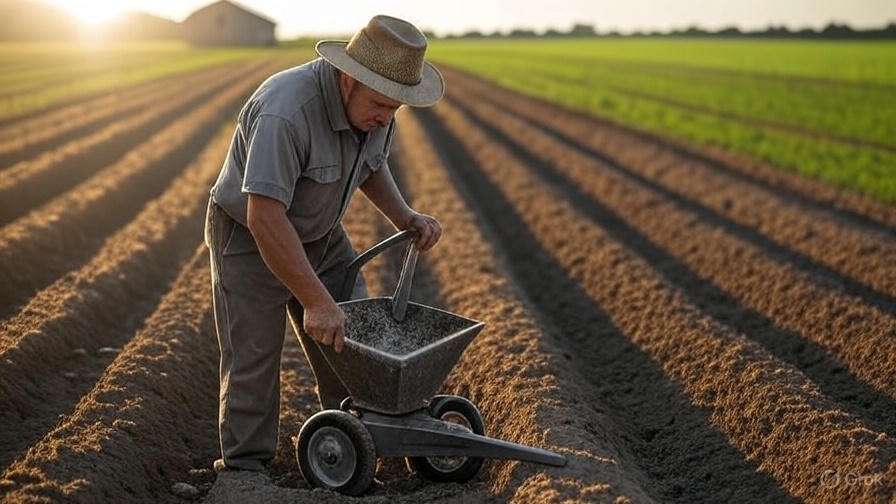
Pelleted Gypsum: This form binds the fine powder into clean, durable granules using a water-soluble lignosulfonate binder. It is incredibly easy to distribute evenly using a standard lawn broadcast spreader. The pellets break down quickly upon contact with moisture, offering a safer, cleaner, and more controlled release for backyard applications.
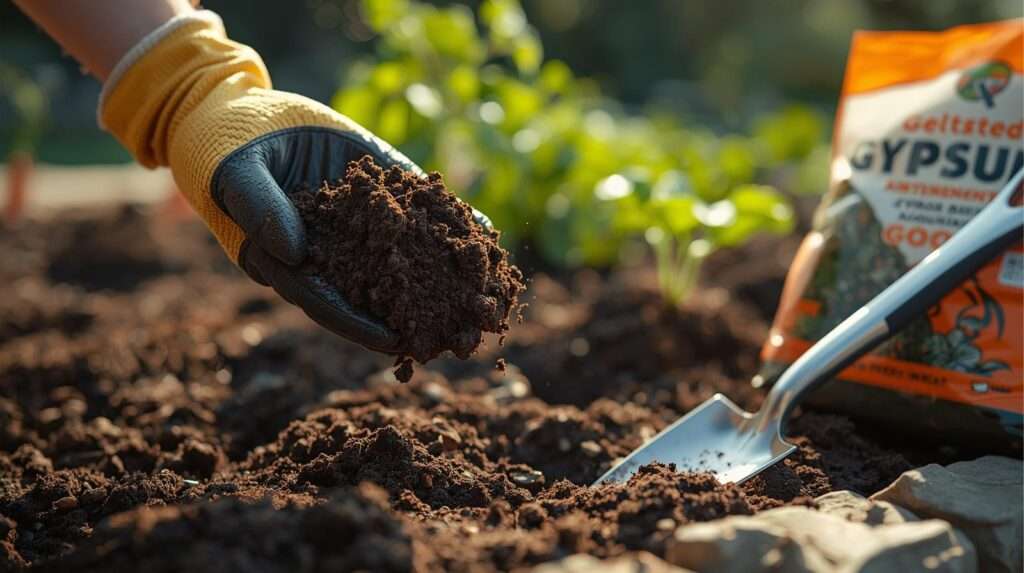
5. How to Apply Gypsum: Execution Methods for Maximum Impact
The physical application method depends on whether you are working with an established lawn or preparing a brand-new garden bed.
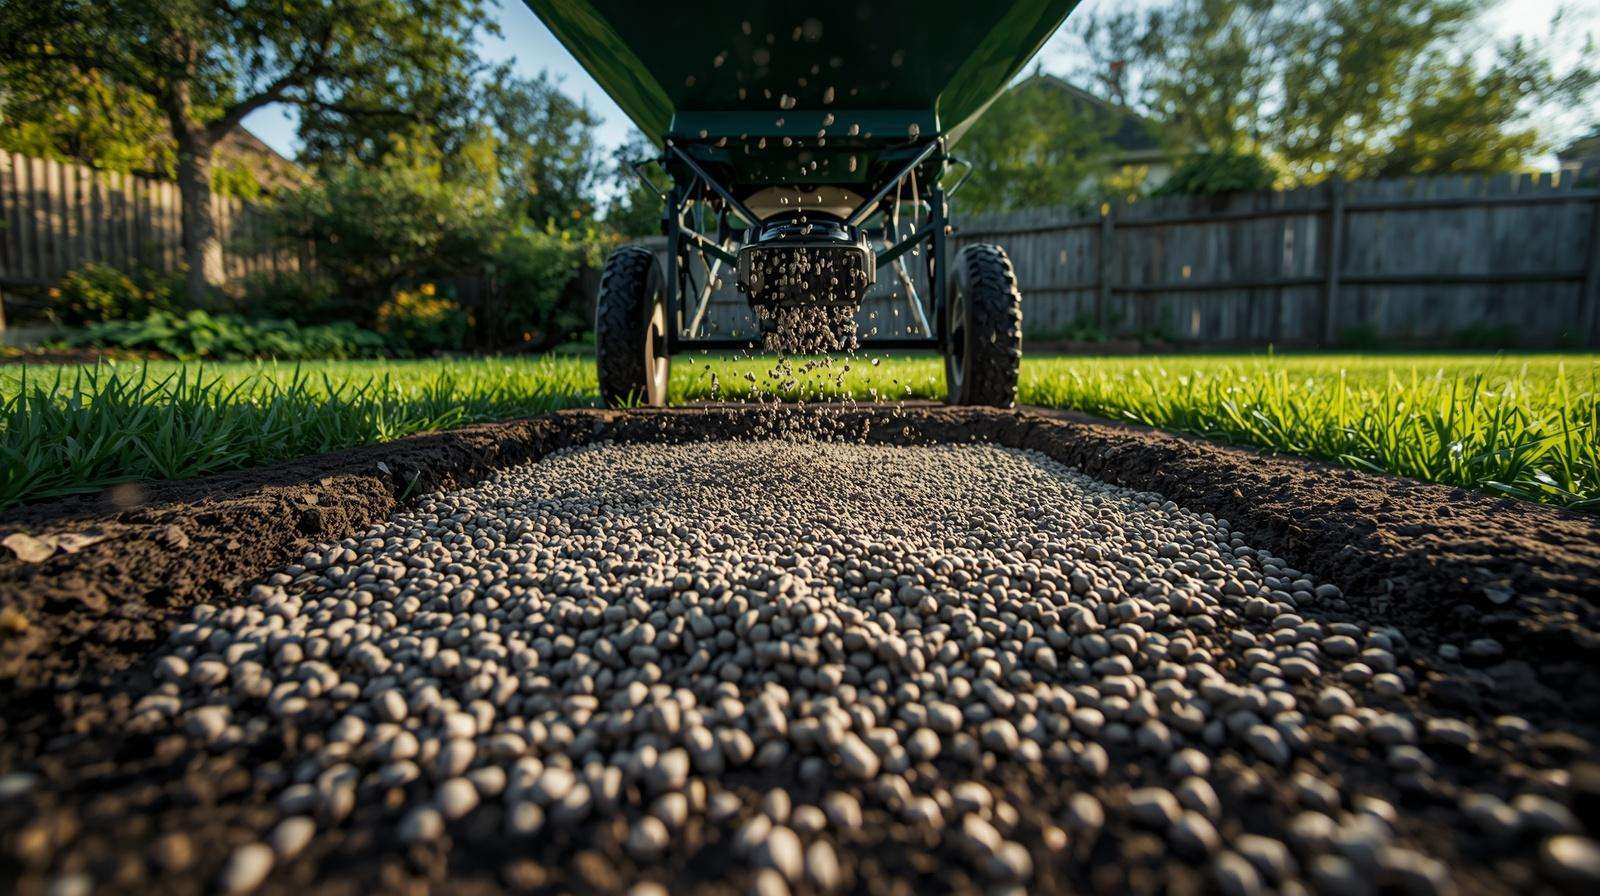
The No-Till/Surface Broadcast Method
Because gypsum has moderate water solubility, you do not need to mechanically rip up your soil to get it down to the root zone.
-
Application: Simply broadcast the pelleted gypsum evenly across your established lawn, pasture, or perennial garden beds.
-
Activation: Run a sprinkler system over the treated area for 20 to 30 minutes, or time your application immediately before a steady, gentle rainstorm. The water will dissolve the granules and carry the calcium ions down into the clay macro-pores naturally, saving your soil’s delicate fungal networks from the destruction of mechanical tilling.
The Incorporation Method (New Beds and Landscaping Plots)
If you are breaking ground on a new garden plot or preparing an intensive vegetable bed, incorporating the mineral accelerates the structural transformation.
-
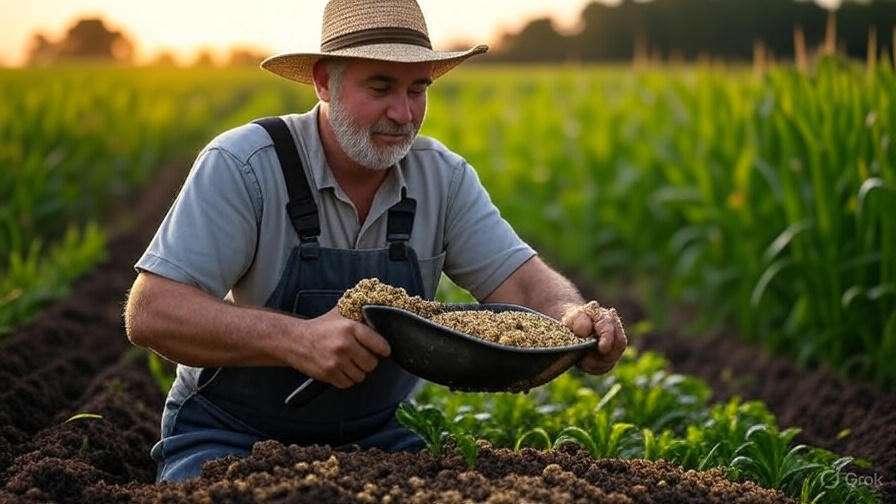
Application: Spread the calculated dosage of gypsum evenly over the dry topsoil.
-
Mixing: Use a garden fork, spade, or mechanical tiller to gently mix the amendment into the top 4 to 6 inches ($10\text{–}15\text{ cm}$) of the soil profile. This places the calcium directly in the zone where young transplant roots will develop, speeding up drainage improvements. Water the area deeply immediately after incorporation.
The Cold-Climate Tactic
For northern growers facing freezing winters, late autumn is the ultimate time to apply gypsum. Broadcast the mineral over your empty garden beds right after your final fall cleanup. As winter snow accumulates and melts through the spring thaw, the slow, consistent movement of water dissolves the gypsum completely. By the time you are ready to plant in the spring, the calcium will have already bound with the clay plates, giving you a looser, warmer, and more workable soil structure for early planting.
6. Advanced Agronomy: Pairing Gypsum with Biological Management
Flocculating your clay with gypsum is only half the battle. Calcium ions create the physical spaces between the clay particles, but biology is what locks that new structure into place permanently.
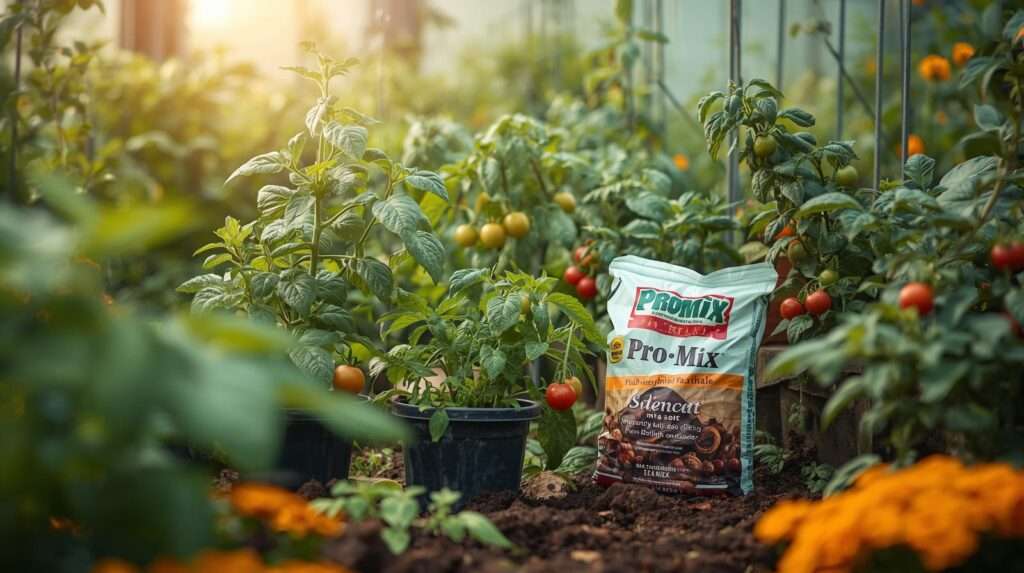
The Synergy of Organic Matter
Think of gypsum as the framing of a house and organic matter as the cement that holds it together. Once the calcium creates loose crumbs out of your clay, you must immediately add carbon-rich materials like compost, aged manure, or shredded leaves. As soil microorganisms digest this organic matter, they exude sticky compounds called glomalin and humic acids. These biological glues coat the newly formed clay aggregates, preventing them from melting back down into a dense sheet when the calcium eventually leaches away over time.
Microbial Inoculants
Heavy, compacted clay is an anaerobic environment where beneficial organisms suffocate. The moment gypsum opens up pore space and introduces oxygen, you should introduce beneficial microbes. Applying a high-quality compost tea or inoculating with mycorrhizal fungi right after a gypsum treatment can kickstart biological activity. These organisms will quickly move into the new macro-pores, expanding their networks and stabilizing the loose soil structure through active biological burrowing.
The Cover Crop Multiplier
To accelerate subsoil aeration, use a living root system alongside your mineral amendments. Plant a cover crop of deep-rooted taproot plants, such as Tillage Radishes (Daika) or alfalfa, immediately after applying gypsum. The gypsum chemically loosens the clay plates, making it much easier for the thick radish taproots to bore deep down into the subsoil. When winter kills the radishes, their massive roots rot away in place, leaving open, structurally sound vertical drainage shafts that are deeply lined with rich organic matter.
7. Comparative Matrix: Gypsum vs. Other Soil Amendments
Choosing the wrong bag at the garden center can worsen your clay problems. This matrix isolates exactly how gypsum compares to other common additions.
| Amendment | Impact on Soil pH | Primary Nutrient Delivered | Physical Effect on Heavy Clay |
| Gypsum ($CaSO_4$) | Neutral (No Change) | Calcium ($Ca$) & Sulfur ($S$) | Flocculates clay plates, opening up macro-pores and improving subsoil drainage. |
| Agricultural Lime ($CaCO_3$) | Raises pH (Alkaline) | Calcium ($Ca$) | Sweetens acid soils; will not leach out sodium effectively in sodic profiles. |
| Elemental Sulfur ($S$) | Lowers pH (Acidic) | Sulfur ($S$) | Used to acidify alkaline dirt; does not provide structural flocculation. |
| Organic Compost | Neutral to Mild Buffering | Broad Trace Nutrition & Carbon | Builds long-term aggregate stability; physically lightens density over time. |
8. Frequently Asked Questions (FAQ)
How long does it take for gypsum to break up clay soil?
Gypsum is a slow-release chemical amendment rather than an instant mechanical fix. While it begins to dissolve upon the first watering, visible structural changes—such as faster drainage and reduced surface crusting—typically take between 3 to 12 months to manifest, depending on your seasonal rainfall and how much sodium needs to be cleared from the profile.
Can you apply too much gypsum to soil, and what happens?
Yes. Applying an excessive overdose of gypsum can saturate your soil’s exchange sites completely with calcium, causing a severe nutrient imbalance. This overload can physically strip away and leach out vital magnesium and potassium ions, leading to severe plant deficiencies, stunted growth, and yellowing leaves. Always follow rate recommendations based on a verified soil test.
Should I use gypsum or lime on my heavy clay dirt?
Your choice must be driven by your soil’s pH. If your clay soil is highly acidic (pH below 6.0), use agricultural lime, as it will loosen the clay while correcting the acidity. If your soil is already neutral or alkaline (pH 6.8 to 8.0), you must use gypsum; using lime in this scenario will spike your pH to toxic levels, locking up essential micronutrients like iron and zinc.
Does gypsum help with standing surface water and puddles after rain?
Yes, but only if the standing water is caused by chemical clay dispersion. If water is puddling because your yard sits in a low-lying basin with a high water table, or because construction equipment packed the ground tight, gypsum will not resolve the issue. If the puddle stays cloudy and muddy long after the rain stops, gypsum will clear the water and improve infiltration.
9. Conclusion: Reclaiming Your Heavy Clay Soil
Transforming a challenging plot of heavy clay into a loose, well-drained, and fertile growing space requires transitioning away from aggressive mechanical intervention. Repeatedly tilling compacted ground only breaks apart its structural aggregates, compounding your drainage problems over time. By utilizing gypsum for clay soil, you deploy a targeted chemical solution that works at a microscopic level, clearing away structure-destroying sodium and binding clay plates into a manageable crumb structure.
True, lasting soil health cannot be achieved with mineral inputs alone. Think of gypsum as the initial step that creates the physical space your soil needs to breathe. To lock in this structural progress permanently, back up your gypsum applications with consistent organic management—adding compost, encouraging microbial growth, and utilizing deep-rooted cover crops. By combining precise soil chemistry with active biological care, you will successfully reclaim your land, paving the way for deep root systems, vibrant plant growth, and an easy-to-manage backyard ecosystem.