Few plants match the sheer hardiness, architectural beauty, and therapeutic utility of Aloe barbadensis Miller. Yet, millions of these resilient desert succulents meet an early, mushy death inside residential homes every single year. You buy a vibrant, plump specimen, place it on a sunny windowsill, water it occasionally, and within months, the lower leaves begin to turn an ominous, translucent brown, softening until the entire plant collapses sideways from its base. This heartbreaking failure is almost never caused by a lack of sunlight or internal structural weakness; it is the direct result of root suffocation. When housed in standard, peat-heavy retail mediums, water sits stagnantly around the delicate subterranean networks, creating a toxic, oxygen-depleted environment that breeds deadly fungal pathogens. To keep your plant thriving for decades, you must bypass generic commercial dirt and engineer a highly porous substrate tailored explicitly to its evolutionary needs. Understanding how to select or blend the best aloe vera potting soil is the foundational step toward eliminating anaerobic root conditions and preventing root rot entirely.
As a succulent horticultural specialist, I have inspected thousands of root systems and analyzed varying container substrates. To successfully grow aloe vera indoors, you must understand a basic rule of succulent physiology: aloe leaves are highly specialized water-storage tanks, meaning the plant carries its own water supply. Consequently, the root system does not want to sit in a wet reservoir; instead, it requires maximum gas exchange and rapid drainage. In this comprehensive, skyscraper-level guide, we will break down the physical laws of container drainage, analyze key soil components, and provide a precise, step-by-step DIY recipe to protect your plants from root rot.
1. Soil Physics 101: What Aloe Vera Roots Physically Demand
To understand why traditional potting soil acts as a death sentence for aloe vera, we must look at the physical properties of water movement within a confined container.
The Perils of Low Porosity Standard houseplants like pothos or calatheas thrive in soils dominated by fine particles of peat moss and fine compost. These small particles pack tightly together, creating an abundance of microscopic spaces called micro-pores. Micro-pores excel at holding onto water through capillary action, keeping the soil damp for weeks. However, for an aloe vera plant, this high water-retention capacity is catastrophic. The fine particles eliminate the larger gaps, known as macro-pores, which are essential for airflow. Without macro-pores, fresh oxygen cannot penetrate the substrate, forcing the root zone into an anaerobic state. Deprived of oxygen, the root cells quickly suffocate, die, and slough off, leaving the plant completely defenseless against soil-borne pathogens.
Percolation and Drainage Rates In its native habitats across the arid Arabian Peninsula, northern Africa, and Madagascar, aloe vera grows in loose, gravelly, or sandy soils. When rare, torrential rains fall, the water percolates down through the porous earth within seconds, leaving the roots briefly damp but quickly surrounded by air. When growing in a pot, your engineered medium must mimic this rapid percolation rate. When you pour water onto the surface of an ideal succulent mix, it should submerge and completely drain out of the bottom drainage holes within 5 to 10 seconds. If water puddles on top of your pot for minutes before slowly sinking in, your soil lacks the necessary structural macro-porosity.
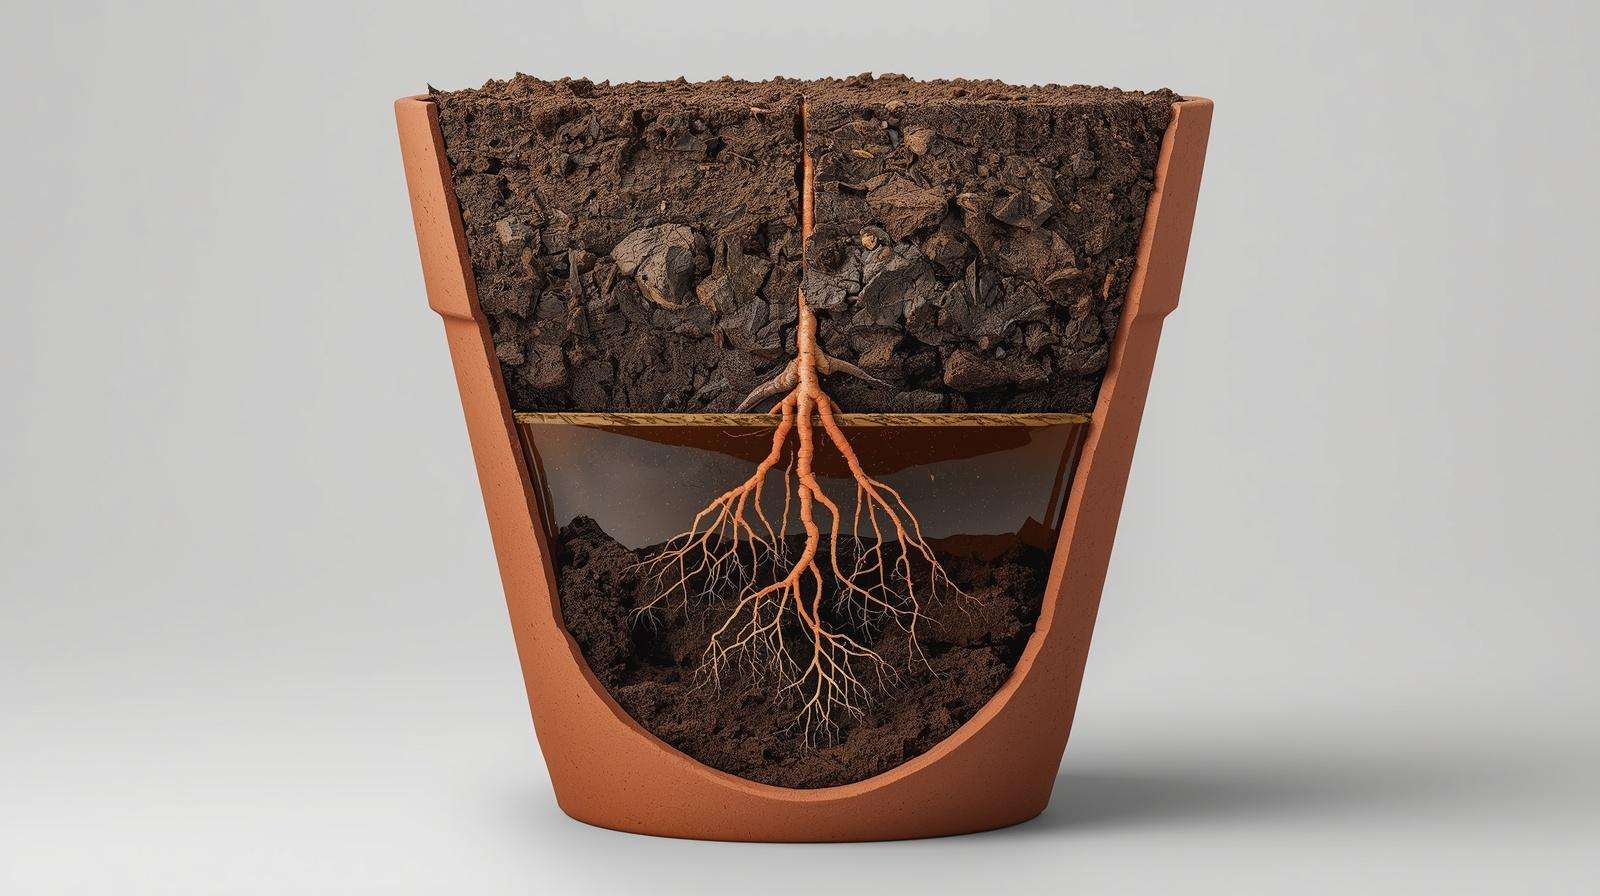
Perched Water Tables in Containers A critical concept in container agronomy that many indoor growers overlook is the perched water table. Gravity pulls water downward through a pot, but capillary action pulls it back up toward the fine soil particles. At the bottom of every container, these two opposing forces equalize, creating a layer of completely saturated soil that refuses to drain naturally. This is the perched water table. In heavy, fine-textured soils, this saturated zone can easily occupy the bottom 2 to 3 inches of the pot. Because aloe vera roots naturally grow downward to anchor the top-heavy plant, they end up permanently submerged in this waterlogged “zone of death,” which quickly invites fungal root rot. By introducing large, coarse mineral particles, you lower the capillary pull of the soil, flattening the perched water table and protecting the lower roots.
2. The Anatomy of a Perfect DIY Aloe Vera Potting Soil Recipe
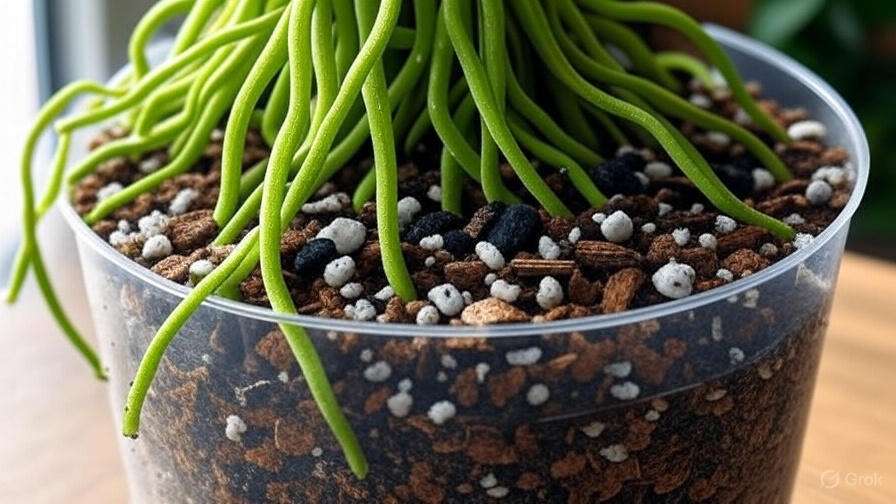
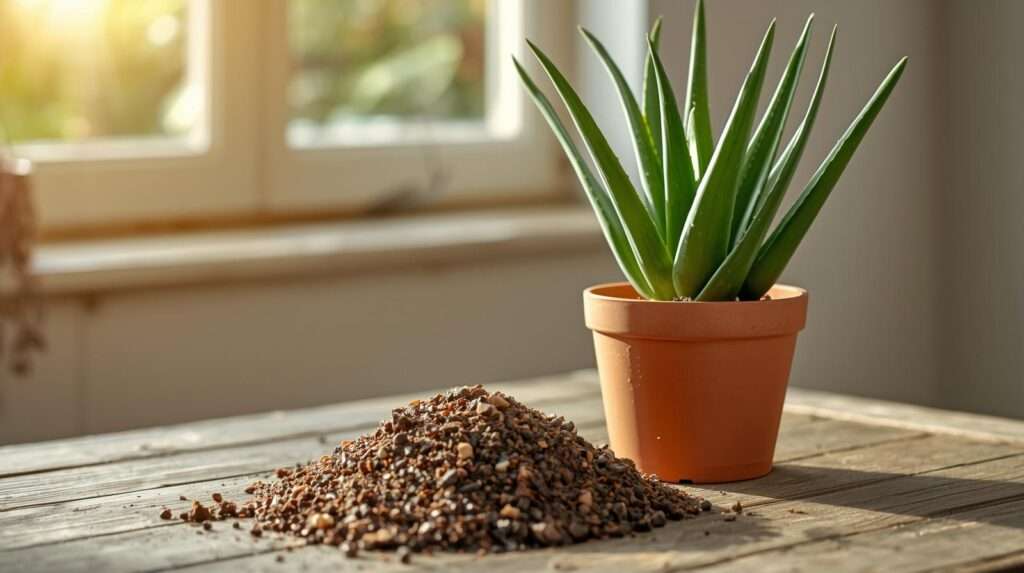
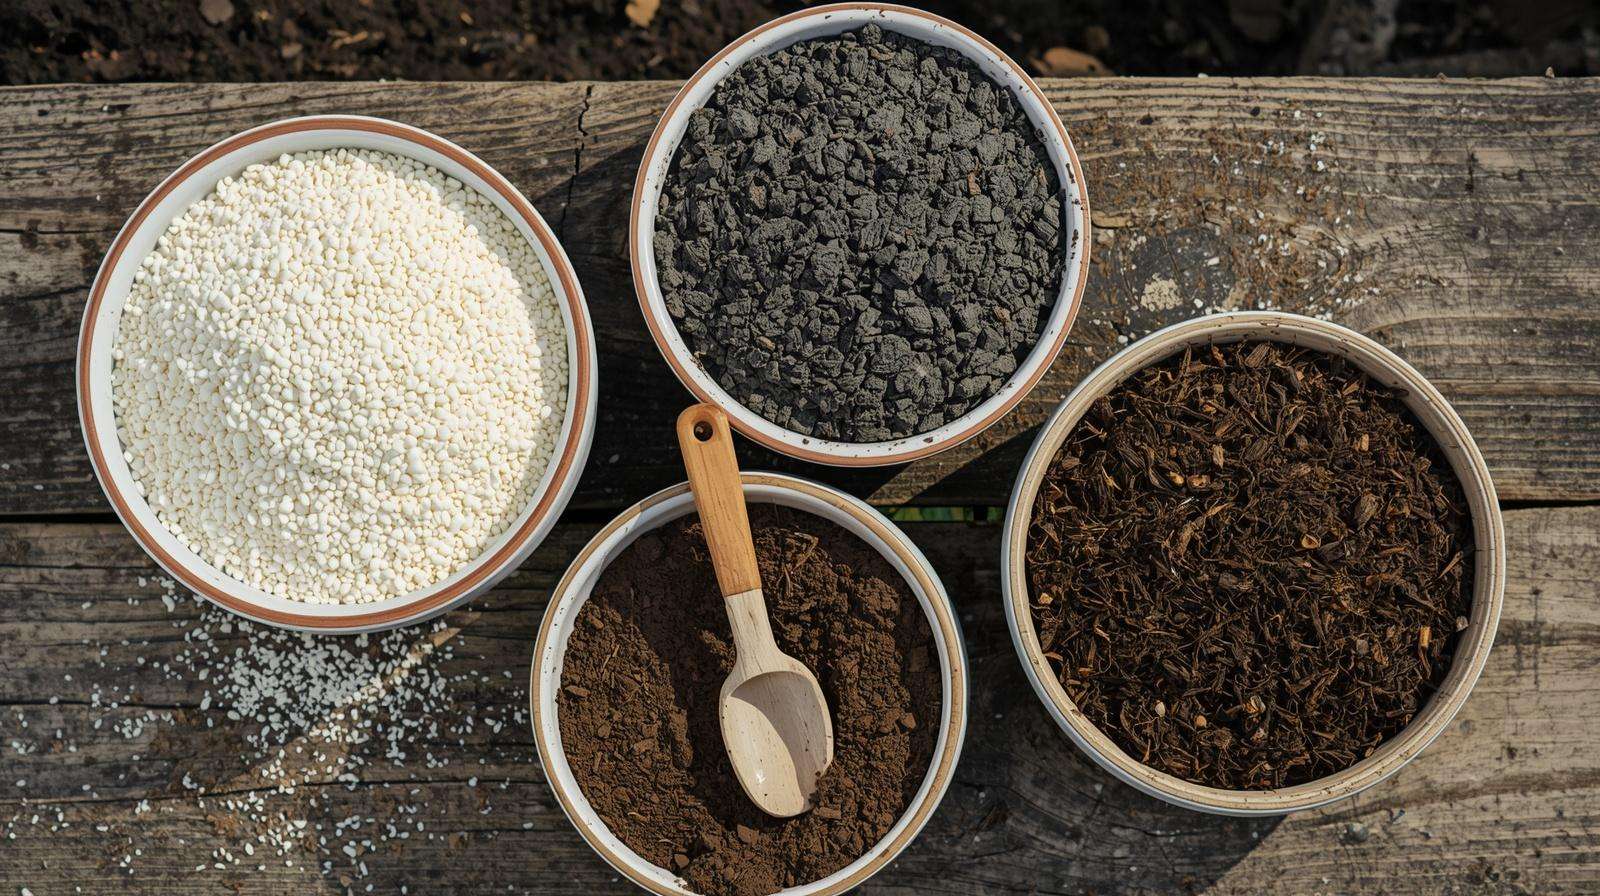
Rather than relying on luck with pre-packaged commercial options, blending your own substrate allows you to control the exact balance of organic moisture retention and inorganic drainage grit. A premium aloe medium is split into three distinct categories.
The Mineral Component (Inorganic Matter)
Inorganic ingredients do not break down over time, meaning they provide long-term structural stability and maintain essential air channels within your pot for years.
-
Horticultural Pumice: This is the absolute gold standard for succulent substrates. Pumice is a naturally porous volcanic rock filled with thousands of tiny micro-cavities. It excels at trapping trace amounts of moisture and nutrients inside its porous structure while leaving the outer macro-pores completely open for airflow. It is heavy enough to anchor top-heavy aloe plants and will not float to the top of the pot during watering.
-
Perlite: A lightweight, expanded volcanic glass, perlite is an excellent, cost-effective alternative to pumice. It significantly boosts aeration and lightens the overall weight of the container. However, because it is so light, it tends to float to the surface over time, forming a white crust during heavy watering sessions.
-
Coarse Horticultural Sand / Quartz Grit: Never use fine play sand or beach sand, as the tiny, rounded grains will wedge into small spaces, turning your soil mix into a dense, cement-like block. Instead, use sharp, coarse horticultural sand or industrial poultry grit. These jagged, larger grains fracture the soil structure, creating excellent pathways for rapid water movement.
The Organic Base Component
While minerals provide vital drainage, aloe vera still requires a small amount of organic material to safely hold onto moisture and deliver necessary nutrients to the roots.
-
Coconut Coir: Derived from processed coconut husks, coco coir is far superior to traditional peat moss for succulent cultivation. It features a completely neutral pH (6.0 to 6.8), breaks down very slowly, and absorbs water easily even when completely dry. Traditional peat moss, by contrast, is highly acidic and becomes hydrophobic when dry, forming a crust that repels water and starves the root system.
-
Aged Pine Bark (Fine Cleanings): Incorporating small, aged pine bark nuggets adds excellent structural variation to your organic base, mimicking the natural forest floors and rocky inclines where wild succulents grow.
Nutritional Bio-Amendments
-
Worm Castings (Verandah Compost): Aloe vera does best with a slow, steady, and incredibly gentle supply of nutrition. High-nitrogen synthetic fertilizers cause aloe leaves to swell rapidly with weak, watery tissue, resulting in floppy, drooping leaves that easily snap. Worm castings provide a perfectly balanced, low-NPK, non-burning microbial foundation that gently feeds the plant without damaging the roots.
3. The Master Recipe: Step-by-Step Mixing Ratios
Creating the ideal substrate requires precise volumetric ratios. To ensure your aloe vera remains completely safe from waterlogging, use the Ultimate 3-2-1 Drainage Mix. This specific formulation has been refined to maximize core aeration while retaining just enough moisture to prevent leaf wrinkling.
The Ultimate 3-2-1 Drainage Mix Formulation:
-
3 Parts Inorganic Grit: Combine 2 parts horticultural pumice (or perlite) with 1 part coarse grit or sharp horticultural sand. This establishes the high-porosity matrix.
-
2 Parts Organic Base: Use 2 parts pre-hydrated coconut coir or clean, sifted composted pine bark fine cleanings.
-
1 Part Nutrient Multiplier: Add 1 part pure worm castings to deliver a gentle, long-term release of essential micronutrients and beneficial soil biology.
VOLUMETRIC MIXING RATIO:
[ PUMICE / PERLITE ]  --> 33.3% |====================| (2 Parts)
[ COARSE GRIT/SAND ]  --> 16.6% |==========|          (1 Part)
[ COCONUT COIR     ]  --> 33.3% |====================| (2 Parts)
[ WORM CASTINGS    ]  --> 16.6% |==========|          (1 Part)
Adjusting for Your Microclimate
No single soil recipe works perfectly across every geographic zone. You must fine-tune your ingredient ratios to compensate for your indoor environment’s ambient relative humidity:
-
High-Humidity or Coastal Environments: If you live in a damp, humid climate or keep your home cool with low airflow, increase the inorganic fraction. Shift to a 4-2-1 ratio (4 parts pumice/grit to 2 parts coir). This extra aeration accelerates evaporation, ensuring the container does not remain damp for more than 3 days.
-
Arid or Highly Heated Indoor Climates: If your home features dry desert air or intense winter heating that causes containers to dry out within 24 hours, shift to a 3-3-1 ratio (equal parts inorganic grit and coconut coir) to safely boost moisture retention without destroying macro-porosity.
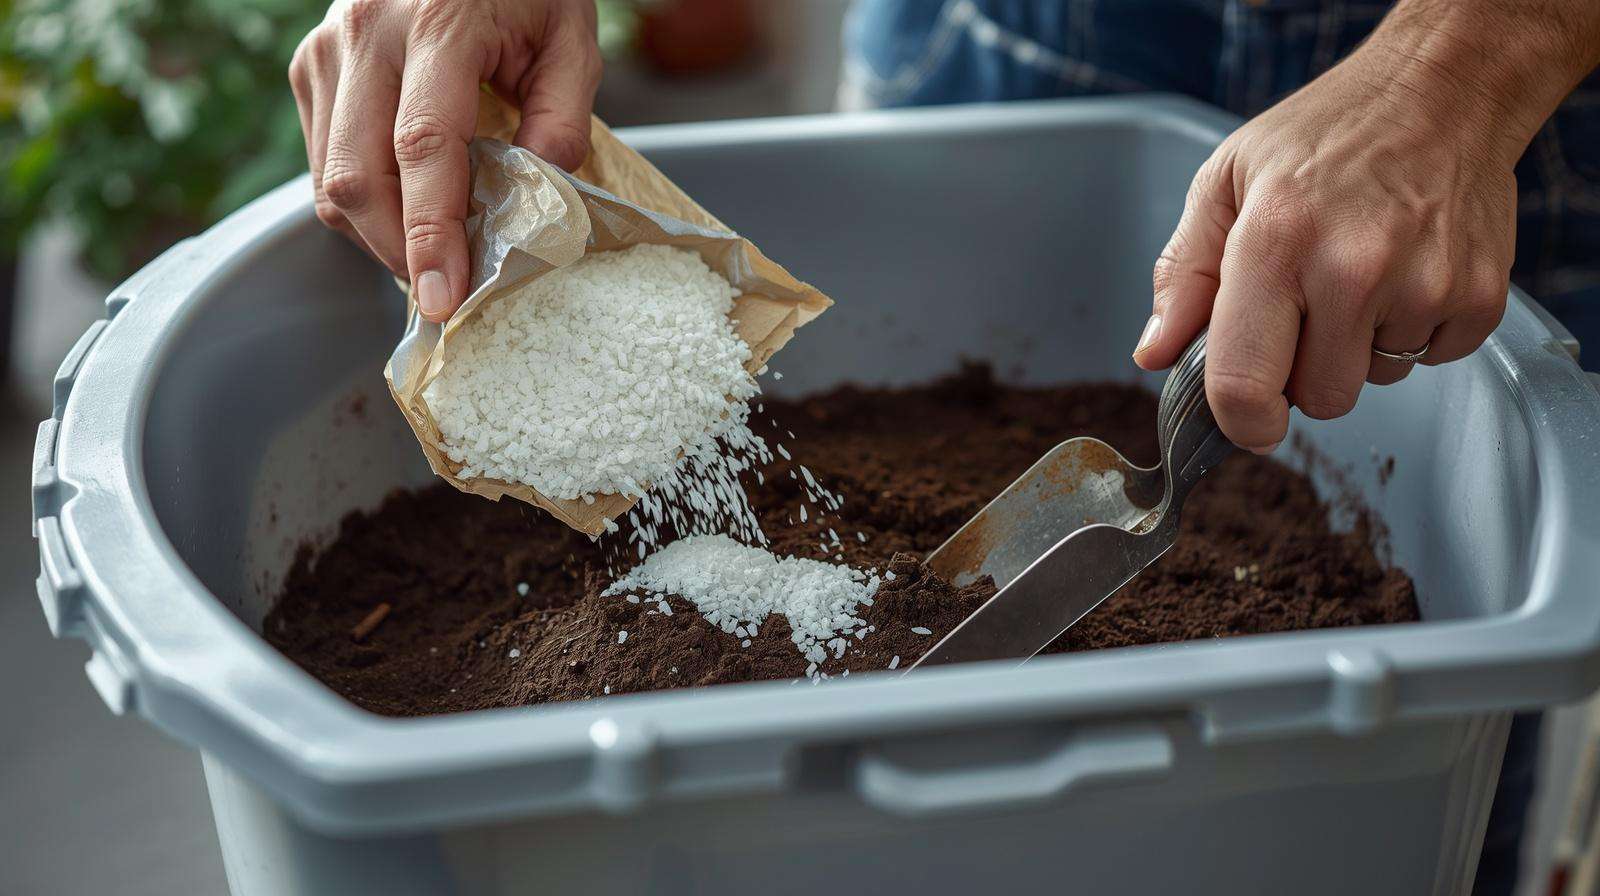
The Mixing Protocol
To prevent the different-sized particles from stratifying or separating within the container, always blend your ingredients while they are dry. Dump the measured components into a clean plastic tote or wheelbarrow. Use a garden trowel to thoroughly turn the mixture over until the white perlite or grey pumice is completely and uniformly distributed throughout the dark brown coconut coir.
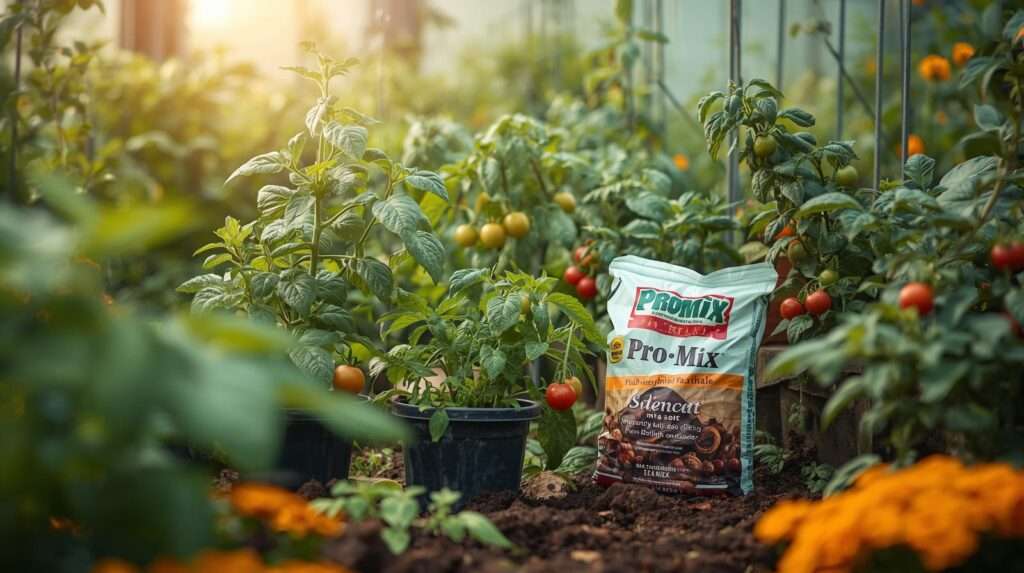
4. Evaluating Retail Options: What to Look for (and Avoid)
If you lack the space or time to source raw materials and blend your own recipe from scratch, purchasing a pre-mixed retail bag is a viable alternative. However, you must look closely at the ingredient label, as many commercial brands use misleading marketing terms.
Red Flags on Ingredient Labels
-
“Forest Products” or Wood Waste Listed First: This indicates the manufacturer has filled the bag with cheap, un-composted wood chips and sawdust. As these wood products decompose inside your container, they rob the soil of nitrogen and compact tightly together, creating a dense, soggy barrier that rots aloe roots.
-
Built-In Continuous Release Chemical Fertilizers: Avoid bags that boast “Feeds for up to 6 months” using synthetic chemical fertilizer beads. These beads release a constant spike of salts whenever you water, which quickly burns the tender root hairs of desert succulents and causes brown, dry leaf tips.
How to Fix a Substandard Commercial Succulent Mix
Most mass-market “Cactus and Succulent” retail mixes sold at home improvement centers still contain far too much peat moss to be safe for indoor aloe vera. You can easily upgrade a cheap store-bought bag with this simple modification rule: Blend the retail mix 1:1 with pure horticultural pumice or extra perlite. This instantly doubles the overall macro-porosity of the commercial product, turning a heavy, water-retaining substrate into a safe, fast-draining aloe medium.
5. Beyond the Soil: Container and Potting Mechanics
The highest-quality soil mix can still fail if it is paired with an improper container or poor potting habits. Substrate engineering and container material science work hand-in-hand.
Material Science: Terracotta vs. Plastic
-
Unglazed Terracotta Pots: This is the absolute best container choice for aloe vera. Clay is a naturally porous material. When you water your plant, the terracotta walls absorb excess moisture from the edges of the soil profile and allow it to evaporate outward into the surrounding air. This breathable action dries out the soil profile evenly from all sides, drastically reducing the duration of the perched water table.
-
Plastic or Glazed Ceramic Pots: These materials are completely non-porous. Moisture can only escape through the top surface of the soil or out the bottom hole, trapping water inside the lower root zone for up to three times longer than a clay pot. If you choose to use plastic or glazed ceramic, you must increase the inorganic pumice fraction in your soil mix by an extra 15% to compensate for the lack of wall evaporation.
The Drainage Hole Requirement and The Gravel Myth
Your container must feature at least one open drainage hole at the base. One of the most destructive myths in home gardening is that you can create a drainage layer in a hole-less pot by throwing a handful of gravel, rocks, or broken charcoal into the bottom. This does not work. According to the physics of water movement in unsaturated solids, water will not cross the boundary from fine potting soil into coarse gravel until the soil above is completely saturated. Placing gravel at the bottom of a container simply pushes the perched water table higher up into the pot, moving the saturated “zone of death” closer to the crown of your aloe plant and accelerating root rot.
Proper Potting Technique
When placing your aloe vera into its new container, gently spread the roots outward over a mound of your dry DIY soil mix. Fill in the remaining spaces around the sides. Do not use your thumbs to firmly press or compact the soil down around the base of the plant. Pressing forces the coarse mineral particles together, crushing the micro-cavities and destroying the macro-pores you just engineered. Instead, gently tap the bottom of the pot against your workbench three or four times to settle the soil naturally around the roots.
6. Diagnostic Guide: Is Your Current Soil Rotting Your Aloe?
Root rot is a progressive disease caused by fungal pathogens like Phytophthora and Pythium. Because it happens completely out of sight beneath the surface, you must learn to read the early warning signs before the damage becomes terminal.
Early Warning Signs Above the Soil
-
Translucent, Blistered, or Puffy Leaves: The leaves lose their crisp, firm upright stance and begin to droop or bend horizontally. They may look waterlogged, pale yellow, or take on a dull, greyish-green hue.
-
A Distinct Wobbliness at the Base: If you gently grasp the main stem of your aloe plant near the soil line and give it a slight wiggle, it should feel anchored to the container. If the plant rocks loosely back and forth like a loose tooth, the root system has already decayed and lost its grip on the soil.
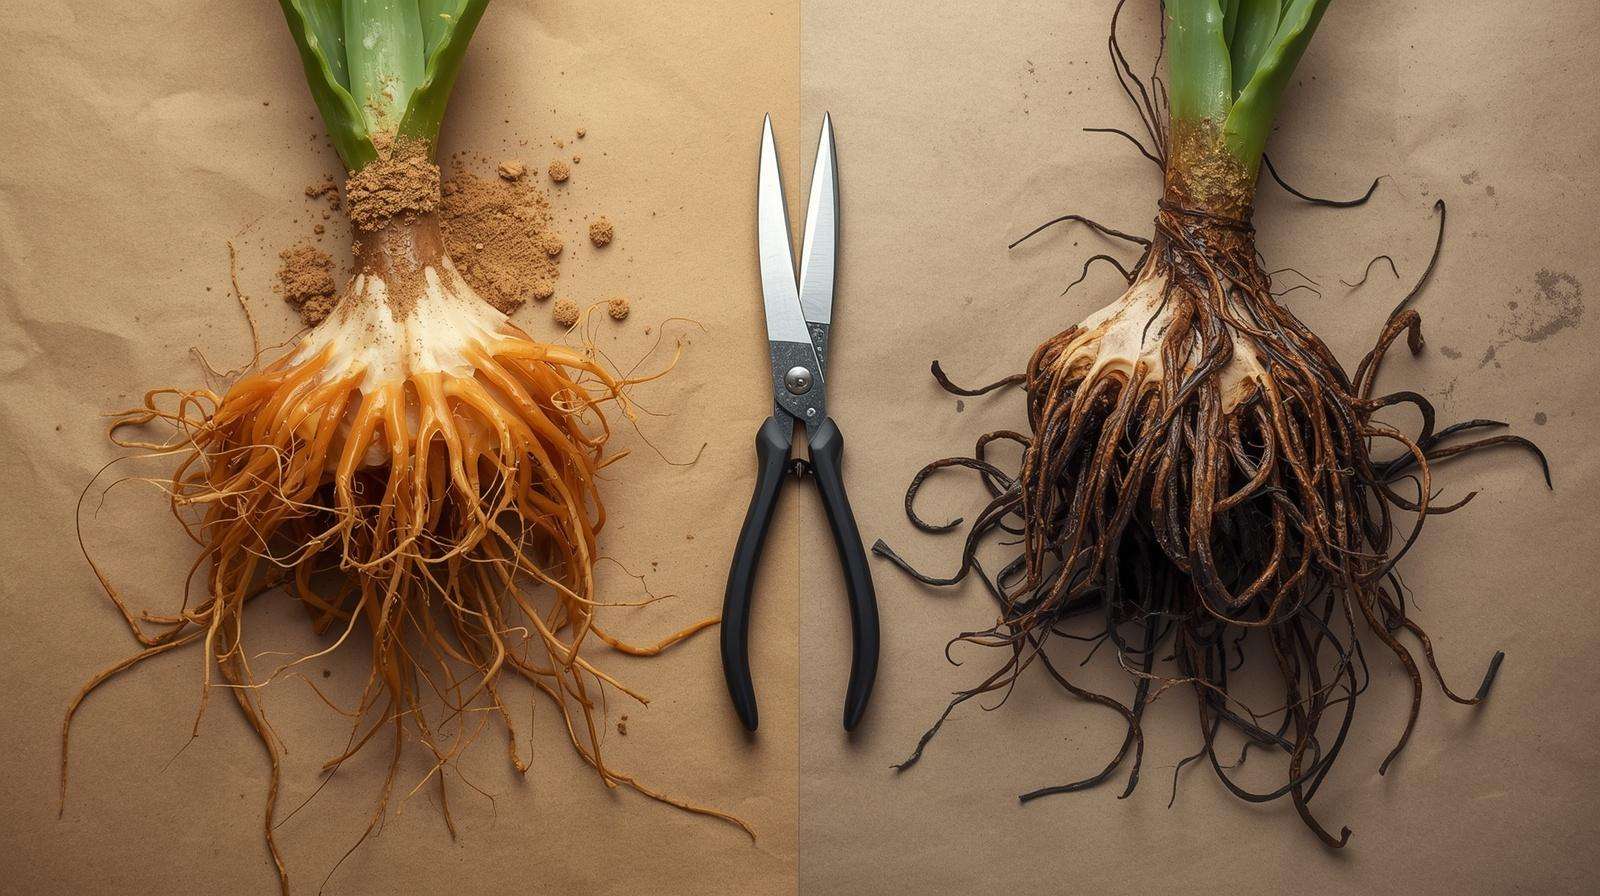
Sub-Surface Root Inspection
If you suspect your plant is in trouble, unpot it entirely and shake away the damp soil to run an immediate root inspection:
-
Healthy Aloe Roots: Plump, firm, and light orange, tan, or white in color.
-
Rotted Aloe Roots: Slimy, limp, stringy, and dark dark brown or jet black. They will easily slide apart when pulled gently and emit a foul, sour, or stagnant odor.
Emergency Repotting Rescue Protocol
If you catch the rot early enough, you can save the plant using this agronomic triage protocol:
-
Remove and Clean: Wash away every bit of the old, contaminated soil from the remaining root mass using clean water.
-
Amputate: Use a sharp knife sanitized with isopropyl alcohol to clip away all black, slimy, or dead roots. Cut back until you reach clean, healthy tissue. If the rot has traveled up into the base of the stem, slice off the entire rotted bottom of the plant.
-
Sanitize and Callus: Dust the raw, healthy cuts with elemental sulfur powder or ground cinnamon (a natural antifungal agent). Set the bare plant out on a dry paper towel in a shaded room for 3 to 5 days to allow the wounds to form a dry, hard callus.
-
Repot Dry: Place the callused plant into a clean terracotta pot filled with fresh, dry Ultimate 3-2-1 Drainage Mix. Do not water the plant for the first 10 to 14 days. This dry resting period allows the callused edges to safely generate fresh, clean root initial cells without immediately exposing them to moisture-loving pathogens.
7. Comparative Matrix: Substrate Ingredients at a Glance
Understanding the specific strengths and limits of each substrate component makes it easy to customize your mix over time.
| Substrate Ingredient | Aeration Value | Moisture Retention | Durability / Lifespan | Nutrient Holding Capacity (CEC) |
| Horticultural Pumice | Excellent | Low (Internal Only) | Indefinite (Never Breaks Down) | Low |
| Perlite | Excellent | Very Low | 2 to 3 Years (Crushes Easily) | Very Low |
| Coarse Sand / Grit | Good | None | Indefinite | None |
| Coconut Coir | Moderate | High | 3 to 5 Years (Slow Decay) | Medium |
| Worm Castings | Low | High | Less than 1 Year (Digested) | High |
| Standard Potting Soil | Low | Very High | 1 to 2 Years (Compacts Quickly) | High |
8. Frequently Asked Questions (FAQ)
Can I use regular garden dirt for my indoor aloe vera plant?
Absolutely not. Regular garden topsoil contains fine silts and outdoor clays that pack down into a dense, solid block when confined within the walls of an indoor pot. It lacks any usable macro-porosity and lacks proper drainage, ensuring rapid root suffocation and rot within a few watering cycles.
How often should I water aloe vera when using a high-drainage soil mix?
Ditch the calendar schedule and water according to the moisture level of the substrate. Insert a clean wood chopstick down into the center of the pot. Pull it out after 10 seconds; if it comes up completely clean with no damp soil clinging to it, the mix is dry. Pour water evenly over the surface until it runs freely out the bottom holes, then allow it to dry out completely before watering again.
Is cactus soil the exact same thing as aloe vera potting soil?
While they belong to the same general family of fast-draining substrates, many commercial “cactus soils” are still formulated with up to 60% peat moss to save on manufacturing costs. While true desert cacti can occasionally tolerate this if grown under intense outdoor sun, indoor aloe vera requires a lighter mix with a much higher percentage of inorganic grit to stay safe from rot.
Should I add lime to my aloe soil to adjust the acidity?
No. Aloe vera prefers a neutral to slightly acidic pH range between 6.0 and 7.0. Because coconut coir naturally sits at a highly compatible neutral pH of 6.2 to 6.5, there is absolutely no need to add agricultural lime or any other heavy alkaline buffers to your mix.
9. Conclusion: Healthy Soil, Healthy Aloe
Successfully growing Aloe barbadensis Miller over the long term requires shifting your focus from feeding the foliage to protecting the root zone. You do not need a magical green thumb to keep these striking succulents alive; you simply need to respect their evolutionary adaptation to dry, well-aerated environments.
By avoiding heavy, peat-heavy soils and instead engineering a high-porosity substrate like the Ultimate 3-2-1 Drainage Mix, you create an optimal balance of airflow and rapid water drainage. This simple chemical and structural fix eliminates the threat of waterlogging, flattens the perched water table, and keeps root rot entirely at bay. When you provide your aloe vera with soil that allows its roots to breathe, your plant will reward you with firm, upright, medicinal leaves that thrive for decades.