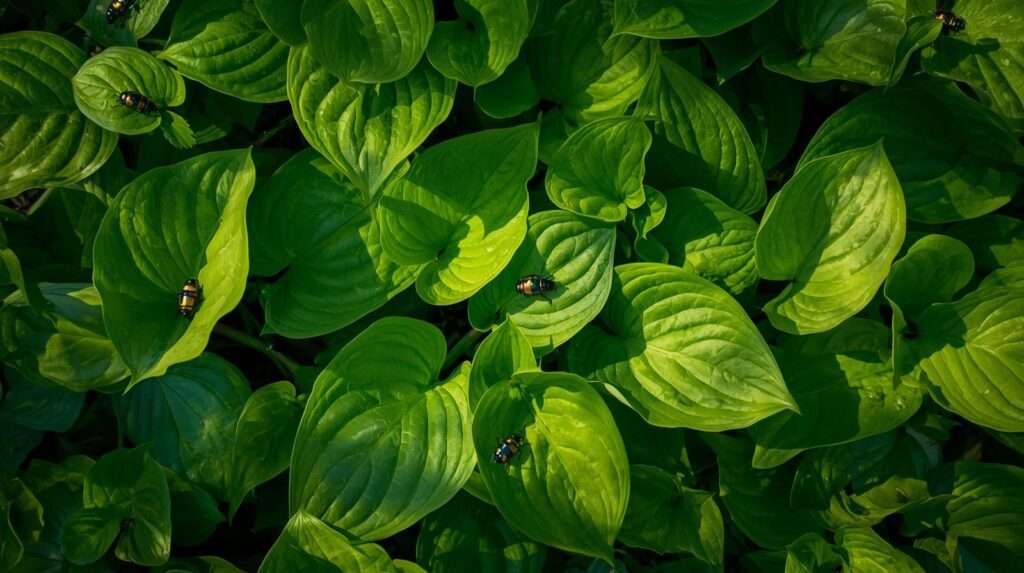
Imagine stepping into your garden or balcony in USA after a sudden heavy downpour or a scorching dry spell, only to find your precious tomato plants wilting dramatically, your leafy greens turning yellow and droopy, or your favorite houseplant’s leaves browning and falling off overnight. Panic sets in as you wonder if all your hard work — and investment — is about to be lost. Emergency Plant Triage
Emergency plant triage is your lifesaving first-aid protocol for exactly these moments. Borrowed from medical emergency principles, plant triage involves rapid assessment, accurate diagnosis, immediate stabilizing actions, and a structured recovery plan to give struggling plants the best chance of survival. In home gardens and small-scale farming across Bangladesh and similar tropical regions, where humidity swings, monsoon rains, and heat stress are common, knowing how to act fast can save 70-80% of plants that look “beyond hope.”
This comprehensive guide delivers expert, step-by-step instructions grounded in proven horticultural practices. Whether you’re a beginner gardener dealing with sudden wilting or an experienced grower facing pest outbreaks or transplant shock, you’ll learn how to diagnose the root cause in minutes, perform life-saving interventions, nurse plants back to health, and prevent future crises. By the end, you’ll feel confident turning most dying plants around — saving time, money, and the heartbreak of total loss.
What Is Emergency Plant Triage and Why It Matters
Emergency plant triage is a systematic approach to prioritize and treat plants in acute distress when time, resources, or multiple plants are affected. Unlike routine care (regular watering, fertilizing, or pruning), triage focuses first on life support: stopping further damage, stabilizing the plant, and then guiding it toward recovery.
Why does this matter for gardeners and small farmers? Plants in crisis lose moisture, stop photosynthesizing effectively, and become vulnerable to secondary infections. Quick intervention minimizes losses, especially in vulnerable setups like container gardens, raised beds, or indoor collections. In regions with high humidity and frequent rainfall like Barishal, overwatering-related root rot or sudden environmental shocks are leading causes of plant decline. Acting within the first few hours or days dramatically improves survival rates.
This method draws from established principles used by university extension services and experienced growers worldwide. Over years of advising gardeners on agricultural tips, one consistent observation stands out: most “dead” plants still have salvageable tissue if assessed and treated promptly. Patience combined with the right actions turns potential failures into success stories.
Step 1: Quick Assessment – Is Your Plant Salvageable?
The first rule of emergency plant triage is: don’t assume it’s dead too quickly. Many plants that look terrible still have living tissue and can recover with proper care.
Signs of Life vs. True Death Perform these simple checks immediately:
- The Scratch Test: Use your fingernail or a clean knife to gently scratch the stem or a branch. If you see green, moist tissue underneath, that part is alive. Brown, dry, or brittle tissue indicates death in that section. Start near the base, as lower parts often survive longer.
- The Bend/Snap Test: Gently bend a stem or twig. Living tissue is flexible and bends; dead tissue snaps cleanly and feels brittle.
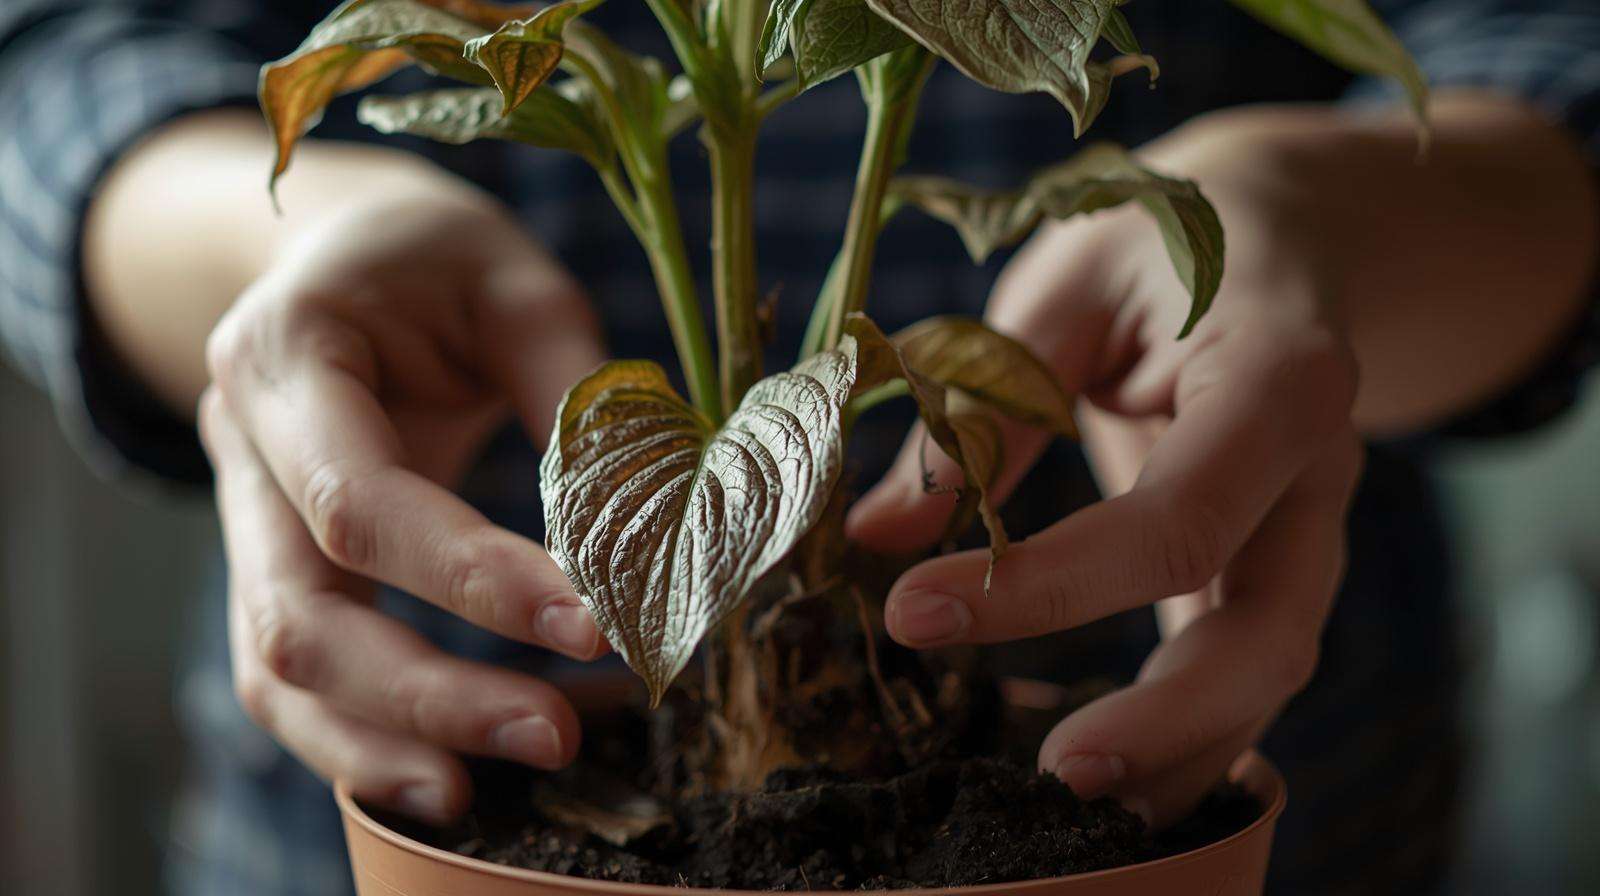
- Root Inspection: Carefully remove the plant from its pot or dig around the base. Healthy roots are firm, white or tan, and plump with possible white tips. Mushy, black, or foul-smelling roots signal rot, but if some healthy roots remain, recovery is often possible.
- Leaf and Bud Check: Look for any green in stems or new buds. Even plants with mostly brown leaves can rebound if the core is viable. Leaves are excellent indicators — dry brown ones can be pruned, but complete absence of green is more concerning.
Common Symptoms and What They Indicate
- Wilting or drooping: Often underwatering, but can also signal root issues preventing water uptake.
- Yellowing leaves: Nutrient problems, overwatering, or pests.
- Browning crispy edges: Underwatering or heat/light stress.
- Soft, rotting tissue: Overwatering and fungal issues.
- Sudden leaf drop: Transplant shock or environmental change.
Pro Tip: Create a quick visual checklist. Take photos of the plant before and during triage for tracking progress. If no green tissue appears after thorough checks and the roots are completely decayed, focus energy on propagation (cuttings from any salvageable parts) or replacement. In many cases, however, plants surprise us with resilience.
When multiple plants are affected (e.g., after a storm or pest surge), prioritize those with the most viable tissue or highest value to you — whether for food production or emotional attachment.
Step 2: Diagnose the Crisis – Identify the Root Cause Fast
Accurate diagnosis is the cornerstone of successful emergency plant triage. Treating the wrong issue wastes time and can worsen the problem. Focus on the “Big Three” culprits first, as they account for the majority of sudden declines.
Water-Related Issues (The Most Common Killer)
- Overwatering: Leads to root rot. Signs include yellowing lower leaves, soggy soil that smells sour, and wilting despite wet soil. In humid climates, poor drainage exacerbates this.
- Underwatering: Causes crispy brown leaves, drooping, and soil pulling away from pot edges. Plants may recover quickly once rehydrated if caught early.
Environmental Stress
- Too much or too little light, extreme temperature swings, drafts, or transplant shock. In tropical areas, sudden heatwaves or prolonged cloud cover during monsoons can stress plants rapidly.
- Other factors: Nutrient deficiencies (pale leaves), root-bound conditions (roots circling the pot), chemical exposure (herbicide drift), or physical damage from wind/storms.
Pests and Diseases Quick visual scan: Look for insects (aphids, mealybugs, spider mites), webbing, sticky residue, or spots/molds on leaves. Root rot often involves fungal pathogens thriving in wet conditions.
Diagnostic Decision Tree (Simple Table for Quick Reference)
| Symptom | Possible Cause | Immediate Test/Action |
|---|---|---|
| Wilting + soggy soil | Overwatering/root rot | Check drainage; inspect roots |
| Wilting + dry soil | Underwatering | Finger test soil; soak if dry |
| Yellowing leaves | Overwatering or nutrient lack | Soil moisture check + root inspection |
| Brown crispy edges | Underwatering/heat stress | Increase humidity; shade if needed |
| Spots/mold/insects | Pests or disease | Isolate plant; magnify for pests |
Expert Insight: In practice with growers in similar climates, overwatering combined with poor drainage causes the bulk of emergencies. The good news? It’s highly reversible when addressed early. Always rule out cultural (watering/light) issues before assuming disease.
Step 3: Immediate Triage Actions – Stabilize in the First Hour
Once you’ve assessed and diagnosed, act fast. The goal is to stop damage and create conditions for recovery.
General First-Aid Protocol (Follow in Order)
- Isolate the plant immediately to prevent pest or disease spread to healthy ones.
- Prune damaged parts: Use sterilized shears to remove dead, yellow, or heavily affected leaves and stems. This reduces stress on the plant and redirects energy to new growth. Leave some healthy foliage for photosynthesis.
- Inspect and clean roots: Gently remove from the pot. Rinse roots under lukewarm water if muddy. Trim away any rotten (mushy, black) roots with clean tools. A light rinse with diluted 3% hydrogen peroxide (1 part peroxide to 3-4 parts water) can help control fungal issues without harming remaining healthy roots.
- Address the primary issue:
- For underwatered plants: Soak the pot in a basin of room-temperature water for 15–30 minutes until the soil is fully hydrated, then let it drain completely.
- For overwatered plants: Allow soil to dry out or repot into fresh, well-draining mix. Avoid watering until the top 2 inches of soil feel dry.
- Improve immediate environment: Move to appropriate light (shade stressed plants temporarily), ensure good airflow, and maintain moderate humidity. Avoid direct harsh sun or cold drafts.
Specific Treatments for Common Crises
Reviving Underwatered Plants Place the pot in a sink or bucket and water thoroughly from the top until it drains out the bottom, or bottom-water for even absorption. Repeat as needed over a day or two, but don’t flood again. Mist leaves lightly to reduce transpiration stress. Most plants show improvement within 24–48 hours if roots are intact.
Saving Overwatered Plants with Root Rot This is a frequent emergency in rainy seasons. After trimming rotten roots and rinsing, repot in fresh, airy soil mix (add perlite or sand for drainage). Place in indirect light and withhold water until the soil dries. Some growers use a diluted hydrogen peroxide soil drench to aerate and fight pathogens. Be patient — new growth may take 1–3 weeks.
Pest Outbreaks Manually remove visible insects with a damp cloth or spray with neem oil solution (safe and effective natural option). Isolate and monitor. For severe cases, insecticidal soap can help without harsh chemicals.
Disease Management and Shock Recovery For fungal issues, improve airflow and reduce moisture on leaves. For transplant or temperature shock, create a temporary humidity dome (plastic bag over the plant) and keep in stable, indirect light. Reduce fertilizer until recovery begins.
Step 4: Recovery and Rehabilitation – Nursing Back to Health
After the critical first-hour stabilization in emergency plant triage, the focus shifts to gentle, consistent rehabilitation. Recovery is not instant — it requires patience and observation, but most plants show signs of improvement within 7–14 days if the root cause was correctly addressed.
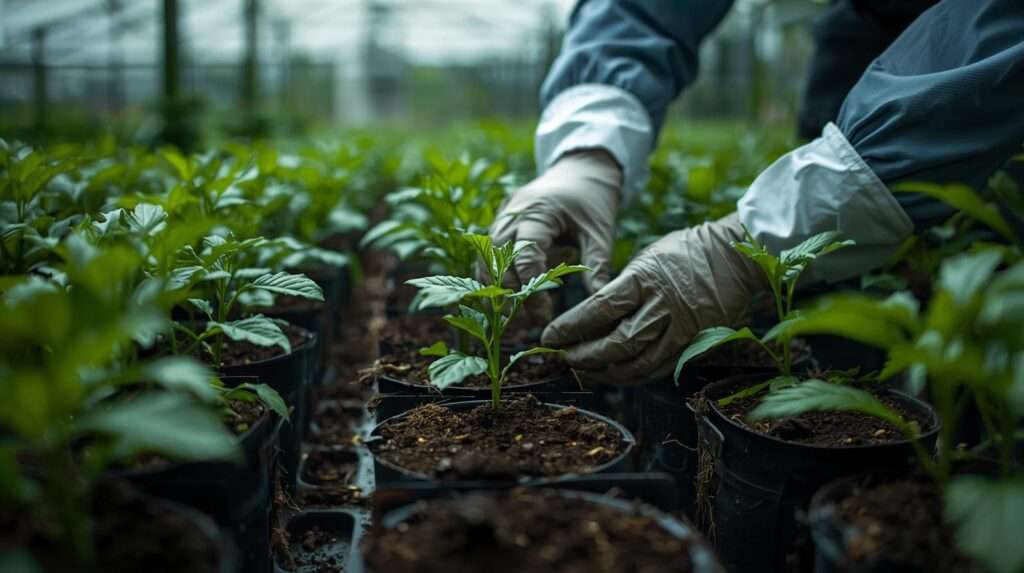
Repotting Best Practices Only repot if the current soil is compromised (soggy, infested, or nutrient-poor). Choose a pot only 1–2 inches larger in diameter to avoid shocking the plant further. Use a well-draining potting mix tailored to the plant type — for vegetables and most garden plants, a blend of garden soil, compost, perlite, and coconut coir works well in tropical conditions like those in Barishal. Ensure the new pot has multiple drainage holes. After repotting, firm the soil gently around the roots without compacting it too much, and water lightly to settle the mix.
Watering Schedule Post-Triage “Less is more” during early recovery. Water only when the top 1–2 inches of soil feel dry to the touch. In humid climates, this may mean watering every 3–5 days instead of daily. Use room-temperature water to avoid root shock. Bottom watering is often gentler for recovering plants as it encourages roots to grow downward. Always allow excess water to drain freely — never let pots sit in saucers filled with water.
Light, Temperature, and Humidity Adjustments
- Place recovering plants in bright, indirect light for the first week. Harsh direct sunlight can scorch stressed foliage.
- Maintain temperatures between 20–30°C (68–86°F), which suits most tropical and subtropical plants common in Bangladesh.
- Increase humidity around the plant using a pebble tray with water or occasional misting (avoid misting if fungal issues were present). A simple humidity dome made from a clear plastic bag can help for the first few days but should be ventilated daily to prevent mold.
Fertilization Timing Do not fertilize immediately after triage. Stressed plants cannot efficiently use nutrients and may suffer burn. Wait until you see consistent new growth (usually 2–4 weeks), then apply a diluted (half-strength) balanced liquid fertilizer every 2–3 weeks during the growing season. Organic options like compost tea or well-rotted manure are gentler for recovering plants.
Monitoring Progress and What to Expect
- Days 1–7: Focus on stability. You may see no visible change or even slight further leaf drop as the plant sheds damaged parts. This is normal.
- Week 2–4: New leaf buds or brighter green growth often appear. Wilting should stop, and turgor (firmness) returns to stems and leaves.
- Month 1+: Stronger growth resumes. Prune any remaining weak stems to encourage bushier habits.
If progress stalls, re-evaluate the diagnosis — sometimes a secondary issue (hidden pests or ongoing poor drainage) emerges.
Propagation as a Backup Plan If the main plant is severely damaged but some healthy stems remain, take cuttings. Dip the cut end in rooting hormone (or use natural alternatives like honey or cinnamon), place in moist perlite or water, and keep in high humidity and indirect light. Many vegetables like tomatoes and herbs root easily, turning one struggling plant into several new ones.
Real-World Examples from Gardeners
- Tomato Plant After Monsoon Flood: A gardener in a low-lying area near Barishal found plants wilted with yellow leaves after flooding. Roots were partially rotted. After trimming damaged roots, repotting in fresh mix, and providing shade for a week, the plants produced new growth within 10 days and resumed fruiting within 6 weeks.
- Houseplant Recovery from Underwatering: A neglected snake plant with crispy, folded leaves revived dramatically after a thorough bottom soak and placement in brighter indirect light. Within three weeks, upright leaves returned.
- Pest-Damaged Chili Plant: Severe aphid infestation caused stunted growth. Manual removal combined with neem oil sprays and improved airflow led to full recovery and a good harvest later in the season.
These examples illustrate that emergency plant triage works across different plant types when applied systematically.
Tools and Supplies for Your Emergency Plant Triage Kit
Being prepared turns panic into confident action. Assemble a simple emergency plant triage kit and keep it accessible in your garden shed or storage area.
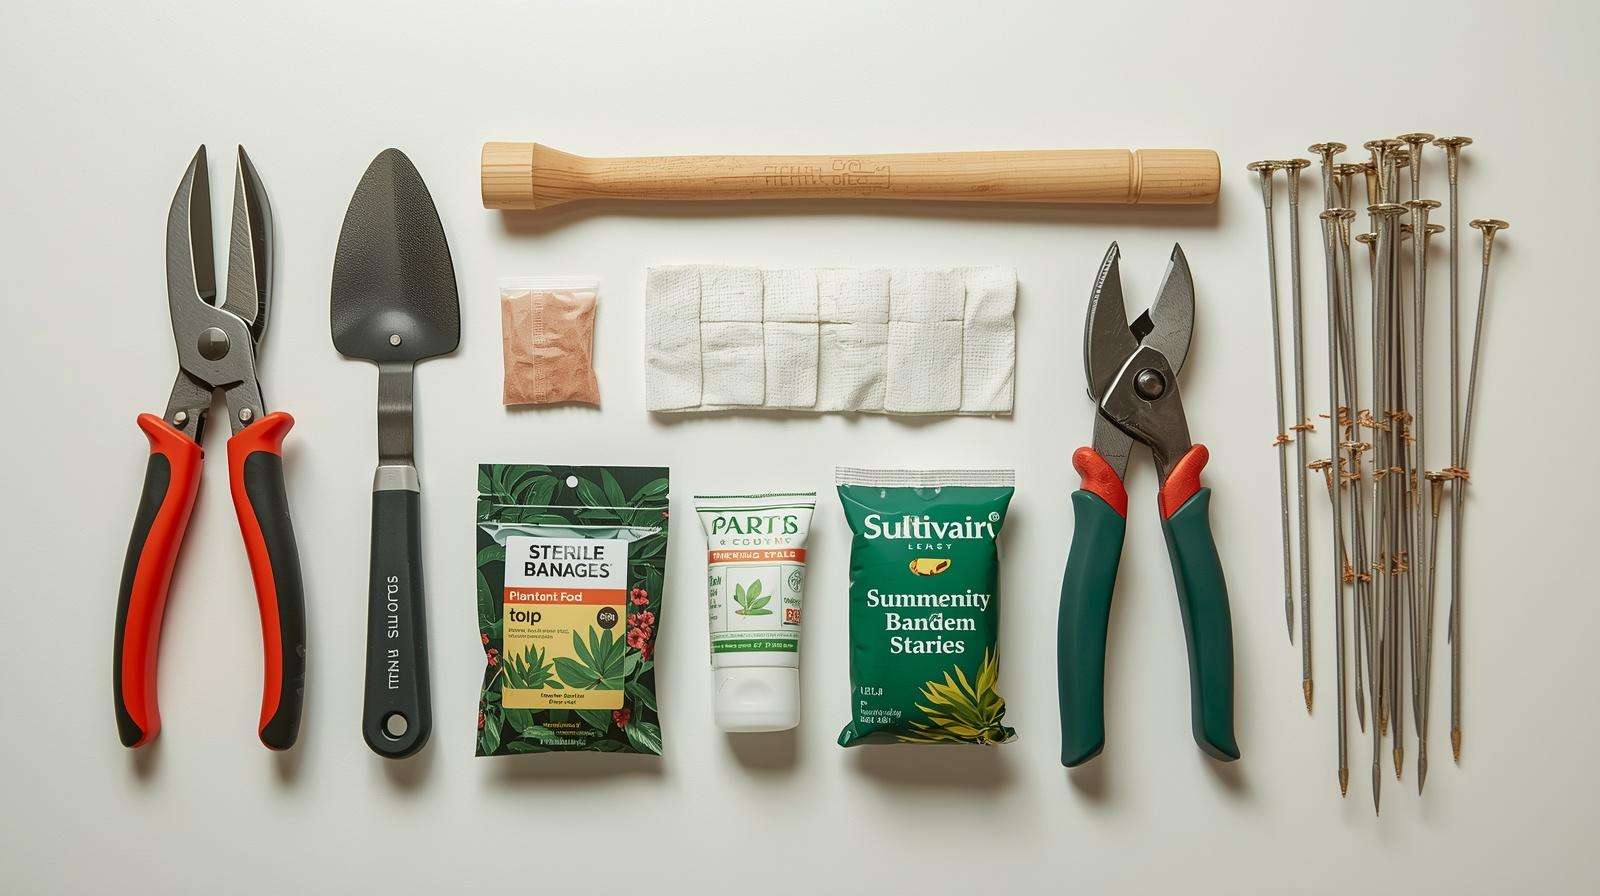
Must-Have Items:
- Sharp, sterilized pruning shears or scissors (sterilize with rubbing alcohol or flame between cuts)
- Clean gardening gloves
- Fresh, well-draining potting mix (pre-mixed or components: garden soil, compost, perlite, coconut coir)
- 3% hydrogen peroxide (for root rot treatment — dilute properly)
- Neem oil and insecticidal soap (natural pest control)
- Moisture meter or wooden chopstick (for checking soil dryness)
- Small trowel or hand fork
- Plastic pots with drainage holes (various sizes for repotting)
- Clear plastic bags or cloches for humidity domes
- Magnifying glass or phone camera for close inspection of pests/disease
- Notebook or phone notes app to track before/after observations
DIY Alternatives: Use cinnamon powder as a natural antifungal on cut roots, or rainwater (if clean) instead of tap water for sensitive plants. In resource-limited settings common in small-scale agriculture, these low-cost options remain highly effective.
Safety Notes: Always wear gloves when handling diseased material or chemicals. Dispose of heavily infected plant parts by burning or sealing in bags — never compost them to avoid spreading pathogens. Wash tools thoroughly after use.
Preventing Future Plant Emergencies
The best emergency plant triage is the one you never need. Prevention builds long-term resilience in your garden or farm.

Proactive Habits:
- Right Plant, Right Place: Match plants to available light, space, and climate. Heat-tolerant varieties perform better during dry spells; humidity-resistant types handle monsoon seasons.
- Proper Watering Techniques: Water deeply but infrequently. Check soil moisture before watering. Early morning is ideal to reduce fungal risk.
- Soil Health: Amend soil regularly with organic matter. Good drainage prevents the most common emergency — root rot.
- Integrated Pest Management (IPM): Encourage beneficial insects, use companion planting (e.g., marigolds with vegetables), and monitor weekly rather than reacting to outbreaks.
- Seasonal Preparedness: Before monsoons, improve drainage in beds and pots. During heatwaves, apply mulch to retain soil moisture and reduce evaporation.
Monitoring Routine: Perform a quick weekly inspection: Check leaves, stems, soil, and overall vigor. Early detection of yellowing, wilting, or pests allows minor adjustments instead of full triage.
Building Resilience:
- Mulch around garden plants to regulate soil temperature and moisture.
- Practice crop rotation in vegetable beds to reduce disease buildup.
- Harden off seedlings properly before transplanting to minimize shock.
Implementing these habits dramatically reduces the frequency of crises, making your garden more productive and sustainable.
Special Considerations by Plant Type
Vegetable & Crop Plants (Tomatoes, Peppers, Leafy Greens, Chili) Focus on food safety — avoid chemical treatments close to harvest. After triage, prioritize recovery of edible parts. Leafy greens often rebound quickly from underwatering, while fruiting plants like tomatoes need consistent moisture once stabilized but hate wet feet. In Bangladesh’s climate, watch for fungal wilts common after rains.
Houseplants & Ornamentals Indoor plants frequently suffer from low light, AC drafts, or inconsistent watering. Triage often involves moving them to brighter spots temporarily and adjusting humidity. Snake plants, pothos, and peace lilies are particularly forgiving and recover well even from severe neglect.
Fruit Trees & Shrubs Larger plants require scaled-up actions: heavy pruning of damaged branches, deep root-zone watering, and soil drenching for nutrient delivery. Young trees in shock benefit from temporary shading and staking for wind protection.
Regional Notes for Tropical Climates: In areas like Barishal with high rainfall and humidity, prioritize excellent drainage and airflow. Fungal diseases spread rapidly, so preventive neem sprays during wet seasons can reduce emergency situations. Heat stress during dry periods calls for mulching and afternoon shading.
Common Mistakes to Avoid During Triage
Even experienced gardeners make these errors under stress:
- Over-correcting: Adding fertilizer or excessive water to a weakened plant often causes more harm.
- Ignoring Drainage: Repotting into the same poor-draining container repeats the problem.
- Panicking and Overwatering: “It looks dry, so I’ll water more” is a frequent cause of root rot.
- Using Unsterilized Tools: This spreads disease from one plant to another.
- Rushing Recovery: Expecting instant results leads to disappointment. Allow time for natural healing processes.
Avoiding these pitfalls increases your success rate significantly.
FAQs About Emergency Plant Triage
How long does it take for a dying plant to recover? Most plants show initial improvement in 7–14 days, with full recovery taking 4–8 weeks depending on severity and species. Patience is key.
Can you save a plant with no leaves? Yes, if the stem and roots still show green tissue and firmness. New leaves can emerge from dormant buds once conditions improve.
Is root rot reversible? Often yes, if caught early and enough healthy roots remain after trimming. Advanced cases with completely decayed roots are harder to save.
What’s the best emergency remedy for wilting? First determine the cause. For underwatering, a thorough soak helps quickly. For overwatering or root issues, focus on drainage and root care instead of more water.
When should I give up on a plant? If there is no green tissue, roots are entirely mushy and foul-smelling, and no new growth appears after 3–4 weeks of proper care, it may be time to compost and start fresh or propagate from any remaining healthy parts.
Other common questions:
- Is it safe to use hydrogen peroxide on edible plants? (Yes, when diluted and allowed to break down.)
- Can houseplants recover from months of neglect? (Many can, especially hardy varieties.)
Final word
Emergency plant triage equips you with a clear, effective system: Assess viability → Diagnose the cause → Stabilize immediately → Support recovery → Prevent future issues. By following this protocol, you transform moments of garden panic into opportunities for learning and successful rescue.