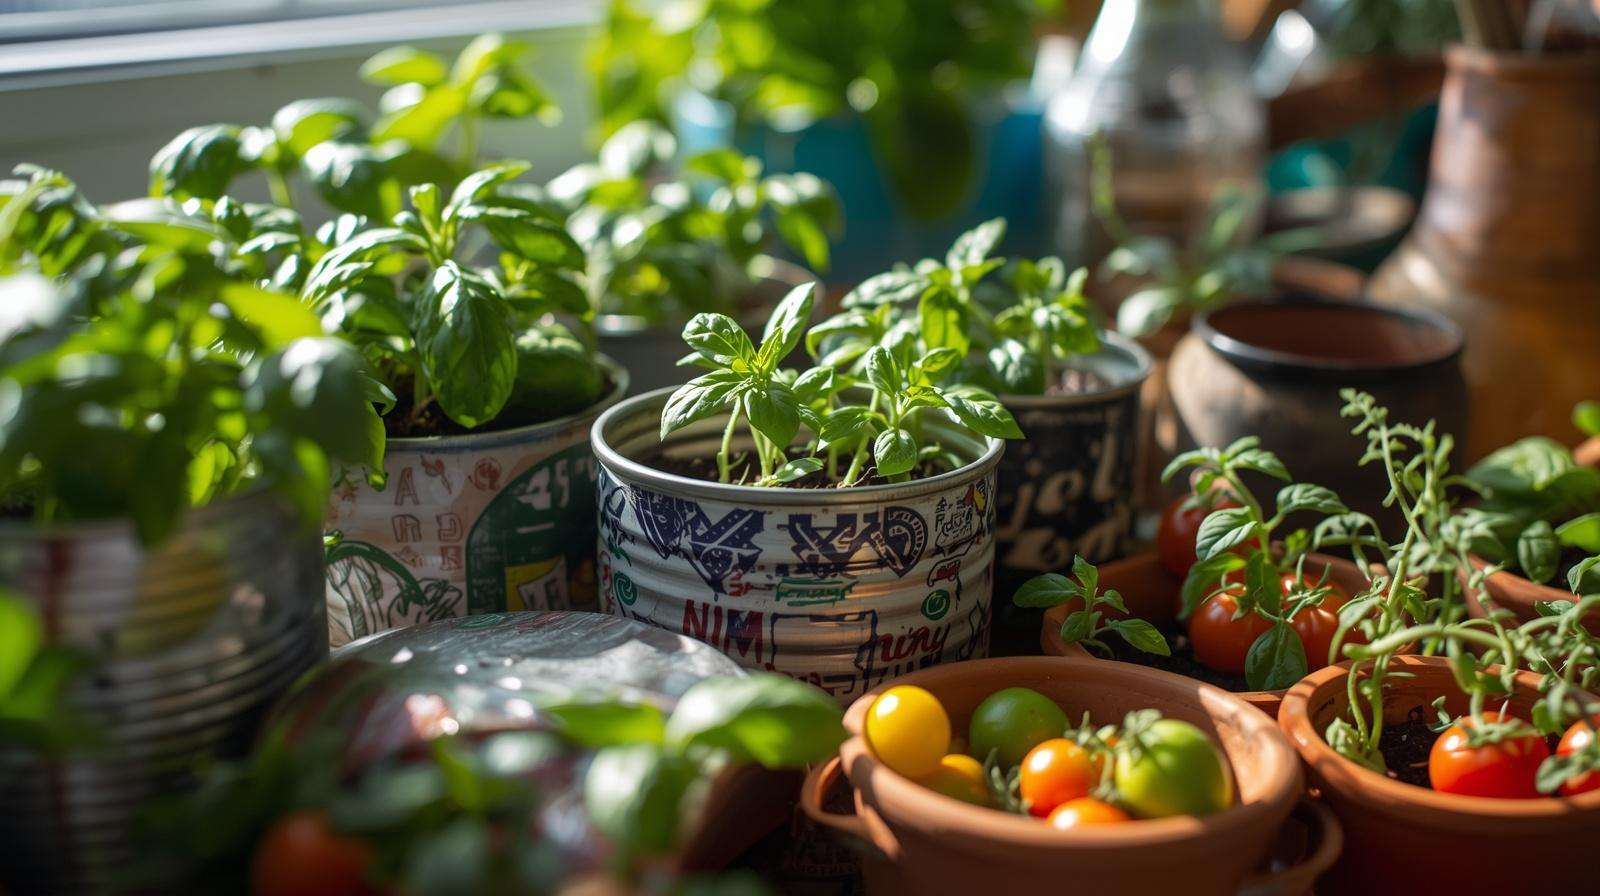
Imagine stepping into your kitchen and snipping fresh basil or mint for your meal, or watching vibrant microgreens sprout on your windowsill in just a week — all without spending a fortune or needing a spacious backyard. For many urban dwellers in small apartments, dorms, or homes with limited outdoor access, the dream of growing your own plants often feels out of reach due to high costs and space constraints. But starting an indoor garden on a tiny budget is not only possible — it’s practical, rewarding, and more achievable than you might think.
With rising grocery prices and a growing desire for fresher air, homegrown produce, and a relaxing hobby, countless beginners are turning to indoor gardening. Whether you live in a compact space like many in Dhaka or other bustling cities, you can create a thriving setup using recycled materials, smart low-cost choices, and simple techniques. In this comprehensive guide, I’ll share 15 field-tested affordable tips that have helped numerous beginners launch successful indoor gardens for under $50–100 in many cases.
As an agricultural specialist with years of hands-on experience supporting urban and space-constrained gardeners, I’ve seen firsthand how a small investment in knowledge and creativity yields big returns in fresh herbs, leafy greens, cleaner indoor air, reduced stress, and even educational family activities. This skyscraper-style article goes beyond basic lists — it provides detailed, actionable steps, real-world examples, troubleshooting advice, cost breakdowns, and expert insights tailored for complete beginners. By the end, you’ll have a clear, step-by-step plan to launch your own budget-friendly indoor garden today.
Why Start an Indoor Garden on a Tiny Budget? Benefits and Motivation
Starting an indoor garden offers far more than just a few leaves or pretty foliage. In today’s world of expensive store-bought produce and limited green spaces, homegrown options deliver real savings and wellness perks.
Fresh herbs and microgreens can slash your grocery bills — a single packet of basil seeds costs pennies but can yield harvests worth many times that over months. Microgreens, for instance, grow in 7–14 days and provide nutrient-dense additions to salads and sandwiches at a fraction of supermarket prices. Beyond food, indoor plants naturally purify air by filtering common pollutants, boost mental well-being through the calming act of nurturing growth, and add affordable decor that makes small spaces feel vibrant and alive.
For families, it’s an engaging, educational activity that teaches responsibility and biology without expensive equipment. In humid or tropical climates common in regions like Bangladesh, indoor setups allow controlled conditions that outdoor gardening might struggle with due to weather or pests.
The best part? You don’t need fancy hydroponic systems or costly grow lights to succeed. Many beginners start with just a sunny windowsill and household recyclables, proving that budget indoor gardening is accessible to everyone. Real-world examples show apartment dwellers harvesting continuous supplies of parsley, chives, and lettuce while spending minimally. The motivation is simple: small daily actions compound into sustainable habits that save money, improve health, and bring joy.
Assessing Your Space and Lighting – The Foundation of Success
Success in any indoor garden begins with understanding your environment. No matter how tiny your budget, evaluating your space and light conditions prevents common failures and maximizes results.
Choosing the Right Spot in Your Home
Look for areas with consistent natural light, such as south- or west-facing windowsills, shelves near bright windows, countertops, or even hanging spots. In apartments, a kitchen windowsill often works well for herbs because it’s convenient for harvesting. Avoid dark corners initially — start where light is brightest and expand later.
Measure your available surface: Even a 1–2 foot wide area can support multiple small pots or a vertical setup. Consider traffic — places where plants won’t get knocked over or exposed to drafts from doors or AC units. For very small spaces, think vertically: walls, over-door organizers, or stacked shelves turn limited floor area into productive growing zones.
Lighting Solutions on a Budget
Natural light is free and ideal. Most herbs and greens need 6–8 hours of bright, indirect sunlight daily, while microgreens tolerate less. If your space has low light (common in shaded apartments), don’t despair — affordable hacks exist.
Repurpose desk lamps or old LED bulbs for supplemental lighting. Full-spectrum LED shop lights or grow bulbs (often under $10–20) provide efficient options without high electricity use. Position lights 6–12 inches above plants and use a cheap timer (or phone reminder) for 12–16 hours daily. Reflective surfaces like aluminum foil or white cardboard behind plants bounce light effectively, boosting growth without extra cost.
In humid climates, ensure good airflow around lights to prevent mold. Many successful budget gardeners rely primarily on windows with occasional lamp boosts, keeping energy bills low.
Space-Saving Layout Ideas
Vertical gardening maximizes tiny areas. Use sturdy shelves, hanging baskets made from recycled fabric or string, or wall pockets from old pockets or bottles. Tiered plant stands (DIY from wooden crates or thrift finds) create layers. For windowsills, group compatible plants in trays for easy watering and movement.
These foundational choices set you up for success without overspending, aligning perfectly with the goal of starting an indoor garden on a tiny budget.
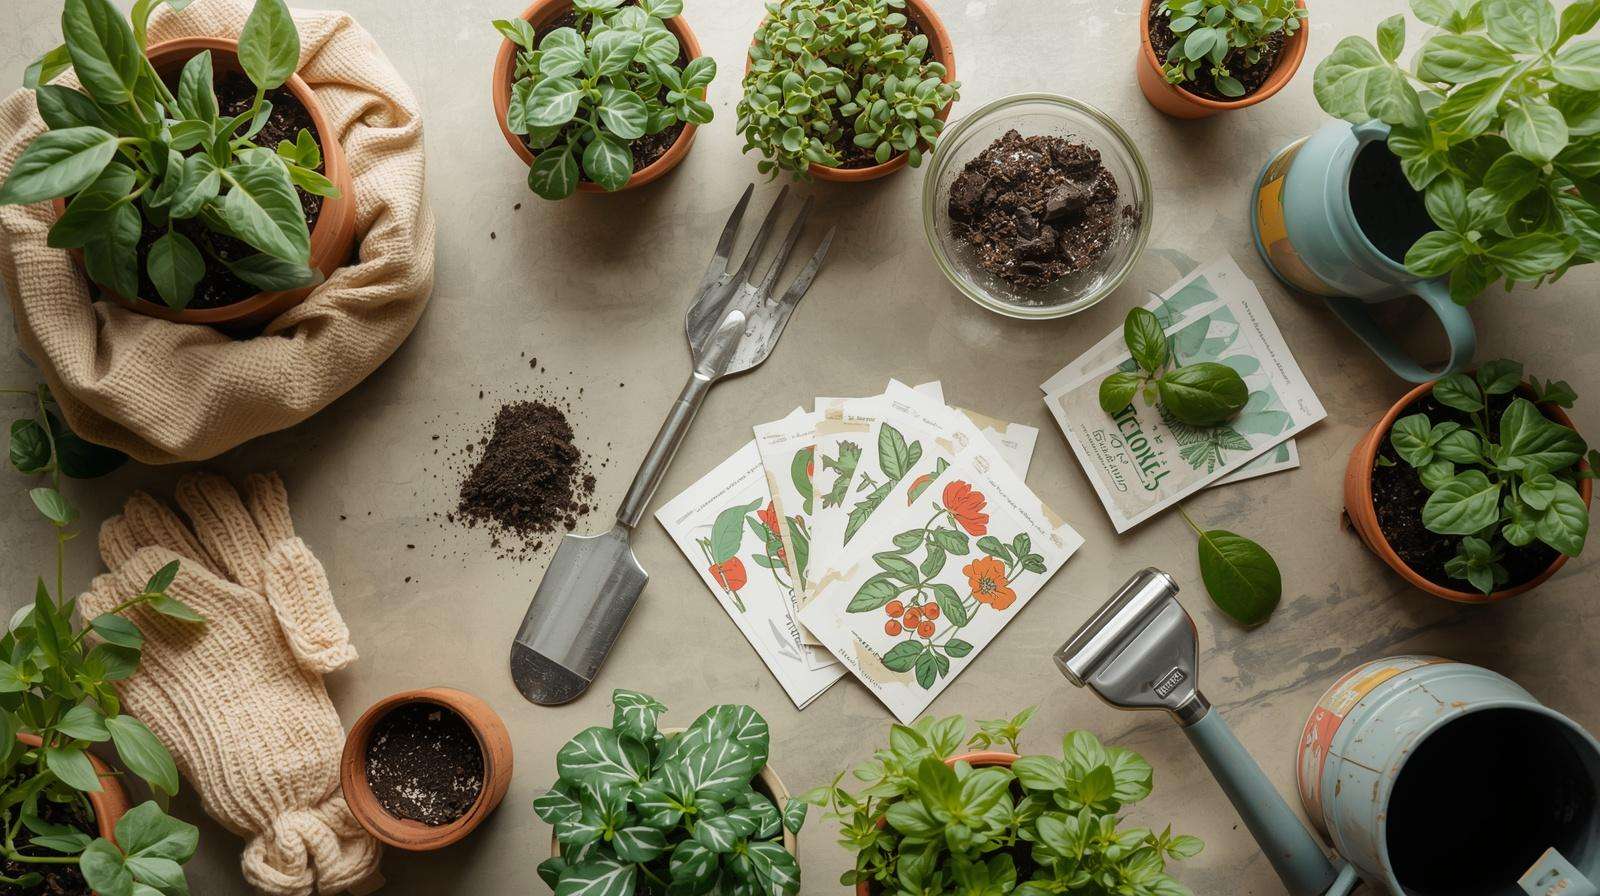
Essential Supplies for Starting an Indoor Garden on a Tiny Budget
The key to staying under budget is starting small and prioritizing reusable or free/cheap materials. Focus on high-value, multi-use items rather than buying everything at once.
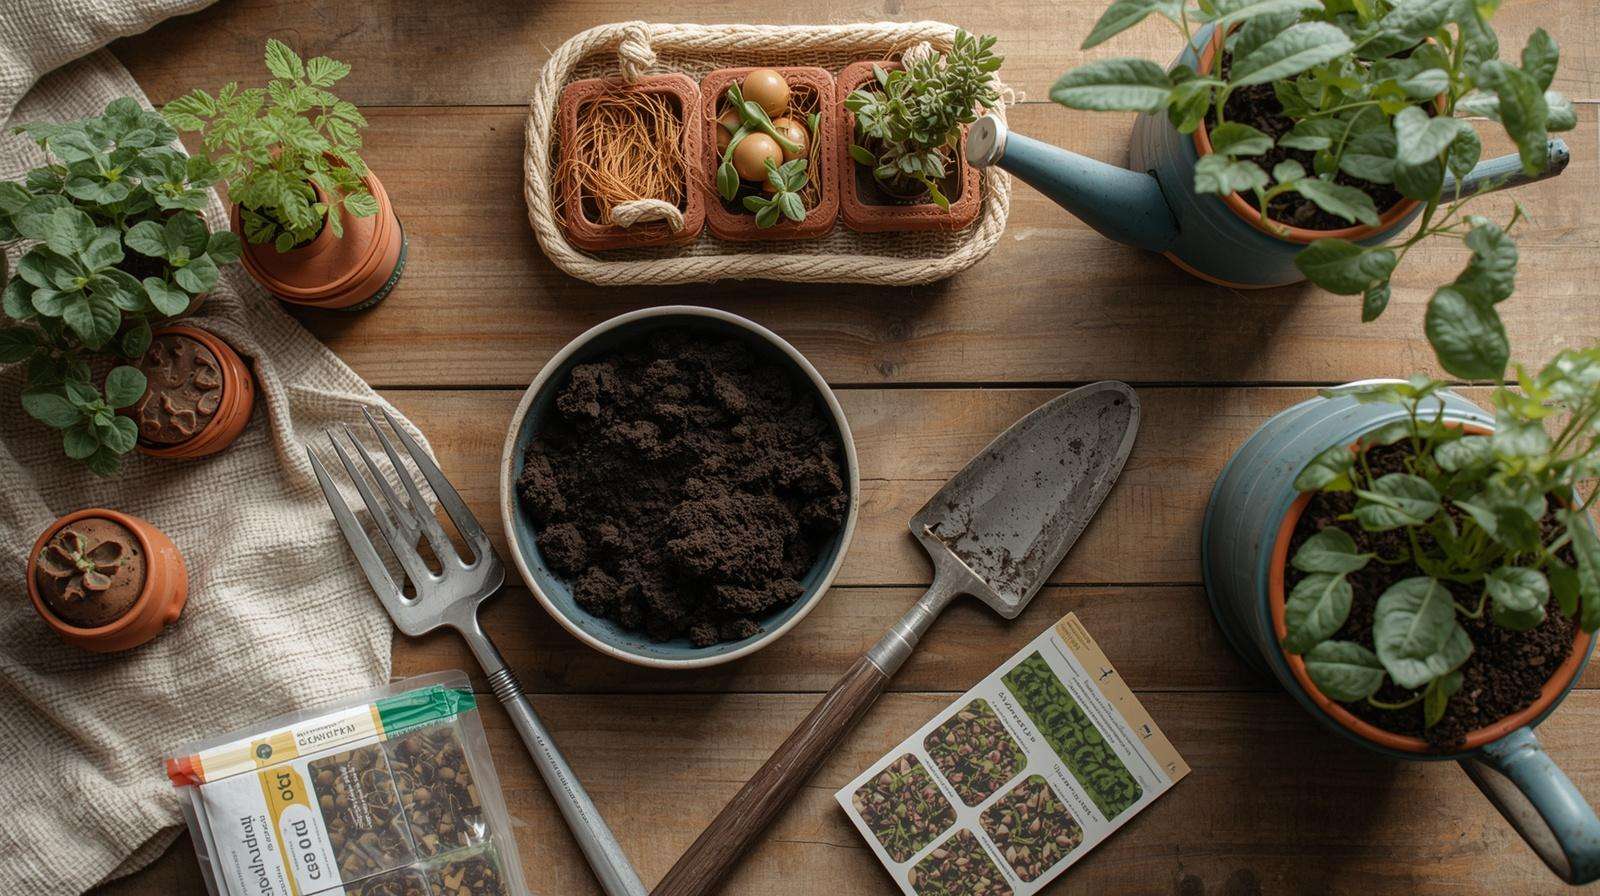
Budget-Friendly Containers and Planters
Skip expensive ceramic pots initially. Recycled household items work wonderfully:
- Yogurt cups, egg cartons, or plastic takeout containers for seedlings (poke drainage holes with a nail or knife).
- Cut plastic bottles or milk jugs for larger plants — the bottom half becomes a pot, the top a mini greenhouse cloche.
- Old jars, tin cans (cleaned thoroughly), or even shoeboxes lined with plastic for temporary use.
- Thrift store finds or free marketplace items like mismatched mugs (add drainage).
Always ensure drainage to prevent root rot — add a layer of small stones, broken pottery, or even crushed eggshells at the bottom. Upcycling not only saves money but reduces waste, making your garden more sustainable.
Affordable Soil and Growing Mediums
Garden soil from outdoors often harbors pests or diseases indoors, so create a lightweight DIY mix. A simple, effective recipe:
- 2 parts coco coir (soaked from a cheap brick — expands hugely and is renewable).
- 1–2 parts well-rotted compost or finished kitchen compost.
- 1 part perlite or coarse sand/vermiculite substitute (rice hulls or crushed charcoal in some regions).
This airy mix drains well yet retains moisture, crucial for indoor conditions. For seed starting, use a finer version with more coir and less compost. Source compost from kitchen scraps (banana peels, eggshells) or community sources. Avoid heavy mixes that compact easily in small pots.
Cost tip: A small bag of coir and perlite can last for many setups, often totaling under $10–15 for your first garden.
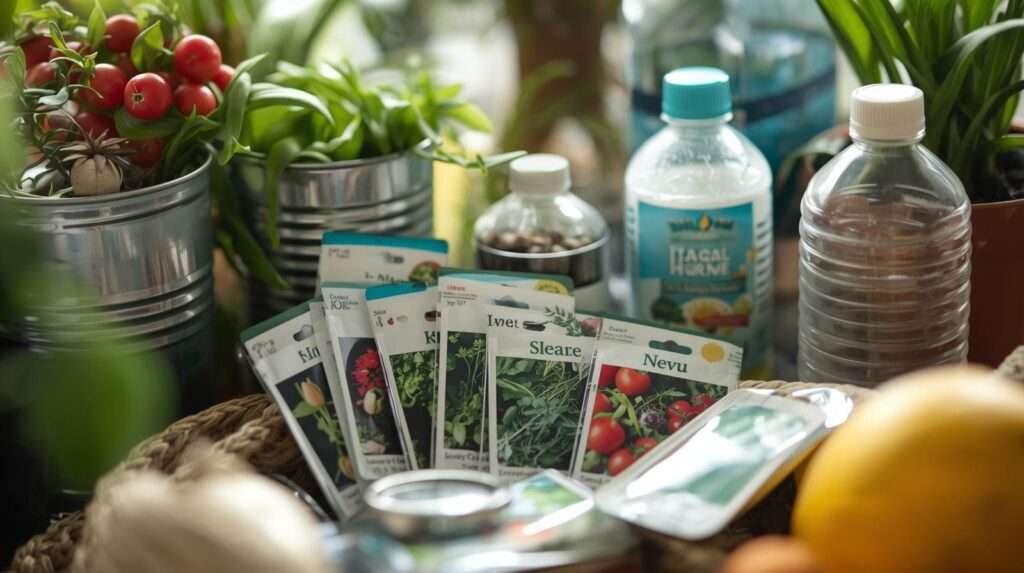
Seeds, Cuttings, and Starter Plants
Seeds are the most budget-friendly starting point — one packet often costs less than a single supermarket herb plant and provides dozens of opportunities. Look for fast-germinating options at local markets, agricultural stores, or reliable online sources in small quantities.
Even cheaper: Propagate from kitchen scraps. Regrow green onions, basil, mint, or celery bottoms in water before transplanting. Supermarket “living herb” pots can be divided and rooted for free expansion.
Recommended beginner plants for tiny budgets:
- Microgreens and sprouts (radish, sunflower, pea shoots, broccoli) — harvest in days, minimal space.
- Herbs: Basil, mint, parsley, chives, cilantro — compact, flavorful, and forgiving.
- Leafy greens: Lettuce, spinach, or loose-leaf varieties for continuous cutting.
- Low-maintenance houseplants from seed/cuttings: Spider plant offsets, pothos, or coleus for non-edible greenery and air purification.
These choices ensure quick wins, building confidence while keeping costs near zero after the initial seed investment.
15 Affordable Tips for Starting and Maintaining Your Indoor Garden
This is the heart of the guide — 15 practical, proven tips that transform a tiny budget into a thriving indoor garden. Each tip includes why it works, step-by-step instructions, real examples, and troubleshooting advice drawn from years of helping beginners succeed.
Tip 1: Start with Microgreens or Sprouts for Fastest Results Microgreens deliver the quickest return on investment. Many varieties are ready to harvest in 7–14 days using only a shallow tray and seeds. How to do it: Soak seeds (if needed), spread them densely on moist paper towel or a thin layer of soil in a recycled tray, cover lightly, and place in bright indirect light. Mist daily. Harvest with scissors when they reach 2–3 inches. Budget impact: A tablespoon of radish or broccoli seeds costs very little but yields multiple harvests. Ideal for beginners because failures are low-risk and results are visible quickly. Pro tip: In humid climates, ensure good airflow to prevent damping-off fungus.
Tip 2: Grow from Seeds Instead of Buying Seedlings Buying young plants is convenient but expensive. Seeds cost 5–10 times less per plant. How to start: Fill small recycled containers with moist seed-starting mix, plant 2–3 seeds per pot, cover lightly, and keep warm (70–75°F/21–24°C). Use a plastic bag or cut bottle as a humidity dome until sprouts appear. Cost comparison: One packet of lettuce seeds can produce 50+ plants over time versus buying one seedling for the same price. Common mistake to avoid: Planting too deep — most seeds need only 1/4 inch of soil or light covering.
Tip 3: Use Recycled Containers Creatively with Proper Drainage Turn waste into wealth. Plastic bottles, yogurt cups, egg cartons, and food containers become excellent pots. Step-by-step: Clean thoroughly, poke 3–5 drainage holes at the bottom, add a thin layer of pebbles or crushed eggshells, then fill with potting mix. For hanging options, use string or old wire to suspend bottles. Example: Cut 2-liter bottles in half — bottom for pot, top inverted as a self-watering reservoir. This method has helped many apartment gardeners create 10+ plant stations for free.
Tip 4: Make Your Own Seed-Starting Mix Commercial mixes are overpriced for small-scale use. Simple recipe: 50% coco coir (or coconut fiber), 30% compost, 20% perlite/sand/rice hulls. Mix well and moisten before use. This blend is lightweight, drains well, and prevents compaction in small containers. Savings: One coco coir brick (under $5) expands to make enough mix for dozens of pots.
Tip 5: Choose Low-Maintenance, High-Yield Plants Focus on forgiving varieties that give maximum output in small spaces:
- Basil, mint, parsley, chives (herbs)
- Loose-leaf lettuce, spinach, kale (greens)
- Radish, green onions (quick veggies)
- Spider plant or pothos (for air-purifying decor) These plants tolerate minor mistakes, regrow after harvesting, and thrive in average indoor conditions.
Tip 6: Maximize Vertical and Hanging Space When horizontal space is limited, go up. Ideas: Stack sturdy shelves, hang planters from curtain rods or ceiling hooks using macrame made from old t-shirts or yarn, or attach wall pockets from recycled fabric. A simple wooden crate turned on its side creates instant tiers. Benefit: One square foot of wall space can hold 4–6 small plants, dramatically increasing your garden’s capacity without extra floor area.
Tip 7: Master Proper Watering Techniques Overwatering is the #1 killer of beginner indoor gardens. Best method: Water from the bottom by placing pots in a tray of water for 15–20 minutes, allowing soil to absorb what it needs. Check soil moisture by inserting a finger 1 inch deep — water only when dry. Cheap tool alternative: Use a chopstick or wooden skewer as a moisture meter. Reduce watering frequency in cooler months or humid environments.
Tip 8: Provide Adequate but Cheap Lighting Light is essential for photosynthesis. Use reflective surfaces (aluminum foil or white paper) to amplify natural window light. Supplement with inexpensive LED desk lamps on a timer. Position lights 6–12 inches above foliage and run for 12–16 hours daily. Energy-saving tip: Combine natural daylight with evening lamp use to keep electricity costs minimal.
Tip 9: Fertilize Naturally and Inexpensively Skip commercial fertilizers. Make compost tea by steeping kitchen compost in water for 24–48 hours, then dilute and use weekly. Banana peel water (soak peels for 2–3 days) provides potassium, while crushed eggshells supply calcium. Diluted urine (1:10 with water) is a surprisingly effective nitrogen source when used sparingly. These methods keep plants healthy without ongoing expense.
Tip 10: Ensure Good Air Circulation Stagnant air leads to mold and weak growth. Use a small USB fan (repurposed from old electronics) on low speed or gently wave a cardboard fan daily. Space plants slightly apart and avoid overcrowding.
Tip 11: Monitor and Control Pests Organically Indoor pests like aphids or fungus gnats appear occasionally. Prevent them with good airflow and proper watering. For control: Wipe leaves with diluted neem oil (or soapy water made from mild dish soap), pick off insects manually, or use yellow sticky traps made from cardboard coated with petroleum jelly. Early detection keeps problems minor and chemical-free.
Tip 12: Practice Succession Planting Don’t plant everything at once. Sow new seeds every 7–10 days so you have continuous harvests instead of one big flush followed by gaps. This keeps your tiny garden productive year-round.
Tip 13: Propagate for Free Expansion Once established, multiply plants at no cost. Take stem cuttings of mint or basil, place in water until roots form (1–2 weeks), then transplant. Divide overcrowded herbs or regrow green onion roots repeatedly. This turns one plant into many.
Tip 14: Track Progress with a Simple Journal Keep a small notebook or phone notes recording planting dates, watering schedule, light conditions, and observations. This helps you learn from successes and mistakes faster, turning your budget garden into a more efficient system over time.
Tip 15: Scale Up Gradually Without Extra Cost Resist the urge to expand too quickly. Master 4–6 plants first, then add more using propagated cuttings and recycled containers. This prevents overwhelm and wasted resources while building your skills confidently.
Step-by-Step Guide to Setting Up Your First Indoor Garden
Follow this simple 8-step process to launch successfully:
- Choose your spot — Select the brightest available windowsill or shelf.
- Gather materials — Collect recycled containers, seeds, and basic mix ingredients.
- Prepare containers — Clean and add drainage.
- Mix and fill soil — Moisten your DIY mix and fill pots.
- Plant seeds or cuttings — Follow depth and spacing guidelines.
- Water gently — Use bottom watering initially.
- Position for light — Ensure 6–8+ hours of bright light daily.
- Monitor and adjust — Check daily for the first week, then establish a routine.
Sample Mini Garden Plan (under $30):
- Windowsill Herb Garden: Basil, mint, parsley in recycled cups.
- Microgreens Tray: Radish and sunflower in a shallow food container. Expect first harvests in 1–4 weeks depending on what you grow.
Common Mistakes to Avoid When Starting on a Tiny Budget
Even with good intentions, beginners often face these pitfalls:
- Overwatering → Leads to root rot; always check soil first.
- Insufficient light → Causes leggy, weak plants; add reflective surfaces or supplemental lamps.
- Poor drainage → Use holes and bottom layers religiously.
- Starting too many plants → Focus on 3–5 varieties initially.
- Using outdoor garden soil → Brings pests indoors.
- Neglecting airflow → Promotes mold in humid conditions.
Address issues early with the affordable fixes outlined in the tips above, and your garden will thrive.
Maintenance, Harvesting, and Long-Term Success
Daily care takes just 5–10 minutes: Check soil moisture, rotate pots for even light, and harvest regularly. Use the “cut-and-come-again” method for lettuce and herbs — snip outer leaves to encourage bushier growth.
For long-term sustainability, start a small indoor compost system using bokashi or a simple worm bin made from stacked plastic containers. Adjust for seasons: In winter, move plants closer to windows or increase artificial light hours.
Advanced Budget Hacks and Creative Ideas
Once comfortable, try semi-hydroponics using recycled water bottles with perlite or clay pebbles. Practice companion planting (e.g., basil near lettuce to deter pests naturally). Integrate plants into home decor with creative hanging displays or colorful painted recycled pots.
Explore local seed swaps, agricultural extension services, or online gardening communities for free advice and materials tailored to your climate.
Frequently Asked Questions (FAQs)
How much does it really cost to start an indoor garden on a tiny budget? Most beginners can launch with $20–50 using recycled items and basic seeds. Ongoing costs are minimal — mainly seeds and occasional soil refresh.
What are the easiest plants for complete beginners? Microgreens, radish, green onions, mint, basil, and loose-leaf lettuce are forgiving and fast-growing.
Can I grow vegetables indoors without grow lights? Yes. Focus on leafy greens and herbs near bright south-facing windows. Supplemental cheap LED lamps help in low-light spaces.
How do I prevent mold and pests in a small space? Ensure good drainage, proper airflow, and avoid overwatering. Use organic methods like soapy water or neem alternatives.
Is it worth starting from seeds versus buying small plants? Seeds are far more cost-effective long-term and give you more plants from one purchase.
How much time per day does an indoor garden require? Usually 5–15 minutes for watering, checking, and harvesting once established.
What if I have very low natural light? Prioritize shade-tolerant plants like mint or pothos and add affordable supplemental lighting.
Can kids or families participate on a budget? Absolutely — it’s an excellent educational activity using safe, recycled materials.
Conclusion
Starting an indoor garden on a tiny budget opens the door to fresh produce, cleaner air, and a deeply satisfying hobby — all without needing much money or space. By following these 15 affordable tips, assessing your environment wisely, and starting small with recycled materials and easy plants, even complete beginners can enjoy success within weeks.
Take action today: Pick one windowsill, gather a few recycled containers, and sow your first seeds. The rewards — both practical and emotional — grow with every harvest.
Share your progress or questions in the comments below. For more agricultural tips and guidelines tailored to urban and tropical gardening, explore our other guides on herb care, natural pest control, and sustainable home growing.
Happy gardening — your green journey begins with one small, budget-friendly step!